1998 Jaguar XJR Cooling Fan Conversion

1998 Jaguar XJR Cooling Fan Conversion
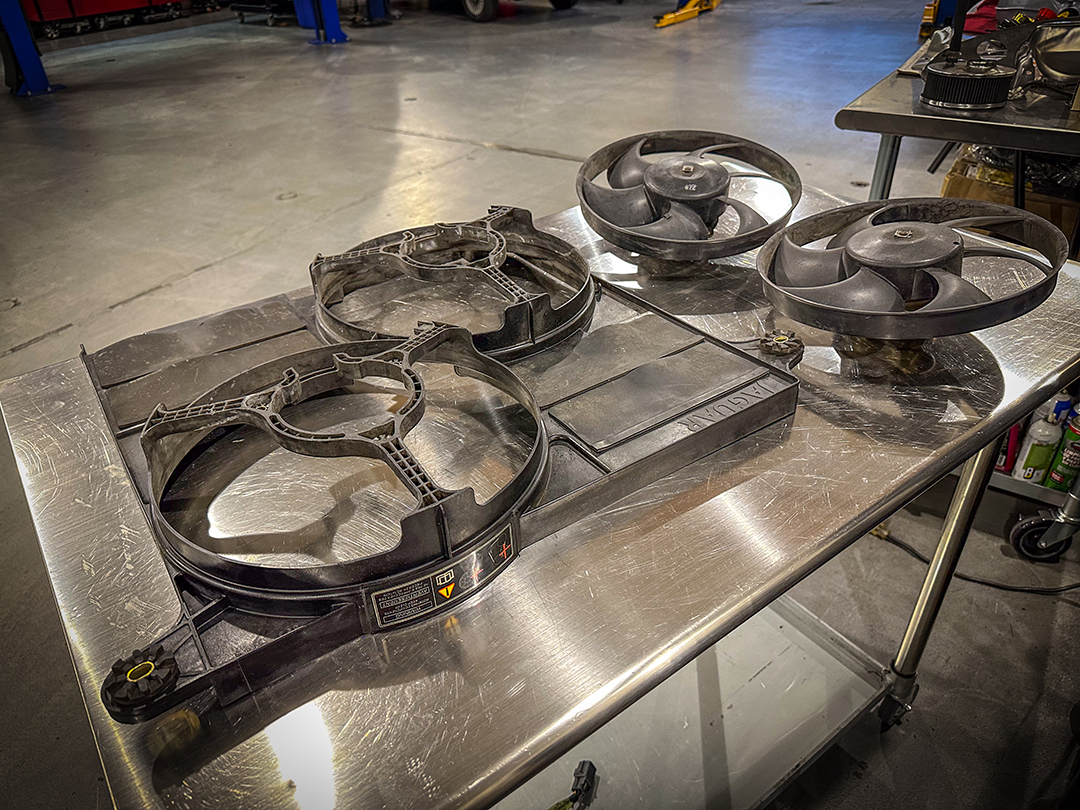
The other day we started on a 3d printing project for a customer’s 1998 Jaguar XJR Cooling Fan Conversion. One of the customer’s radiator cooling fans stopped working and the engine started to overheat. The fan assembly from Jaguar were quoted between $1100 and $1400 (for 2 fans and the shroud) We told the customer that there was a second option. The other option was to convert the fans over to brushless slimline style cooling fans.
The Process
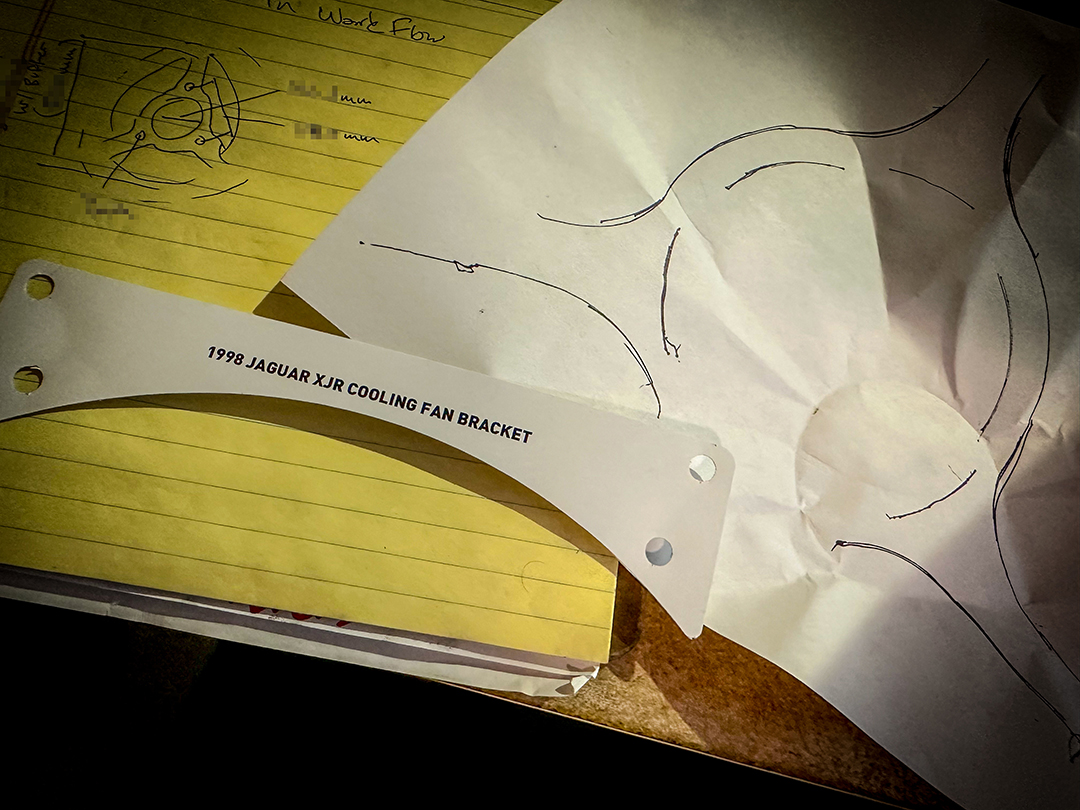
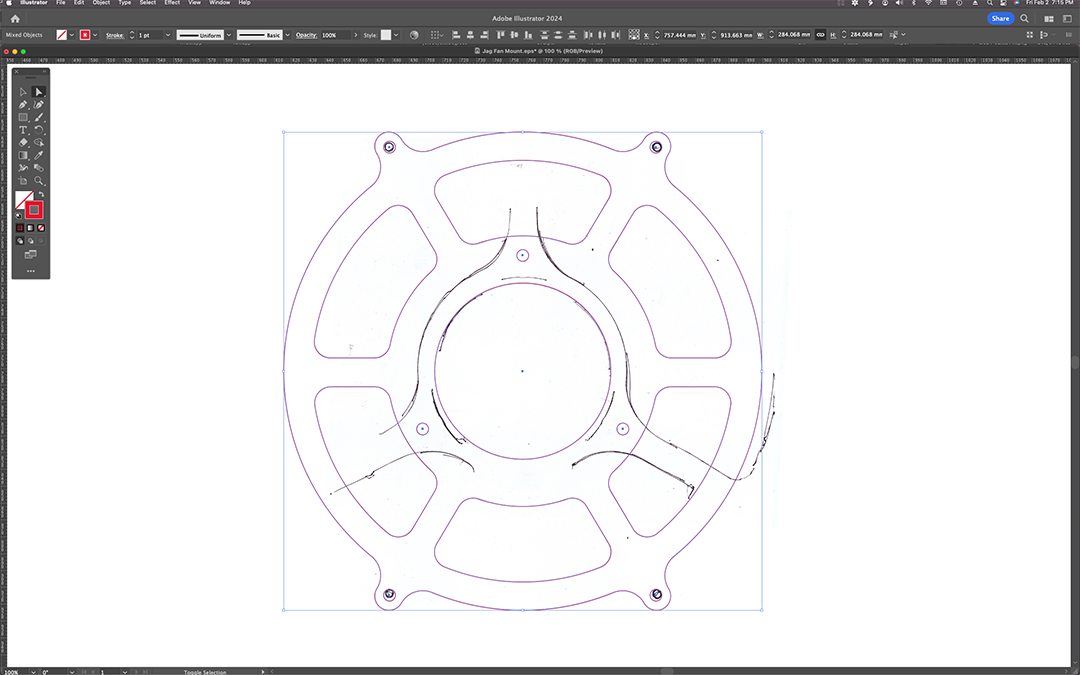
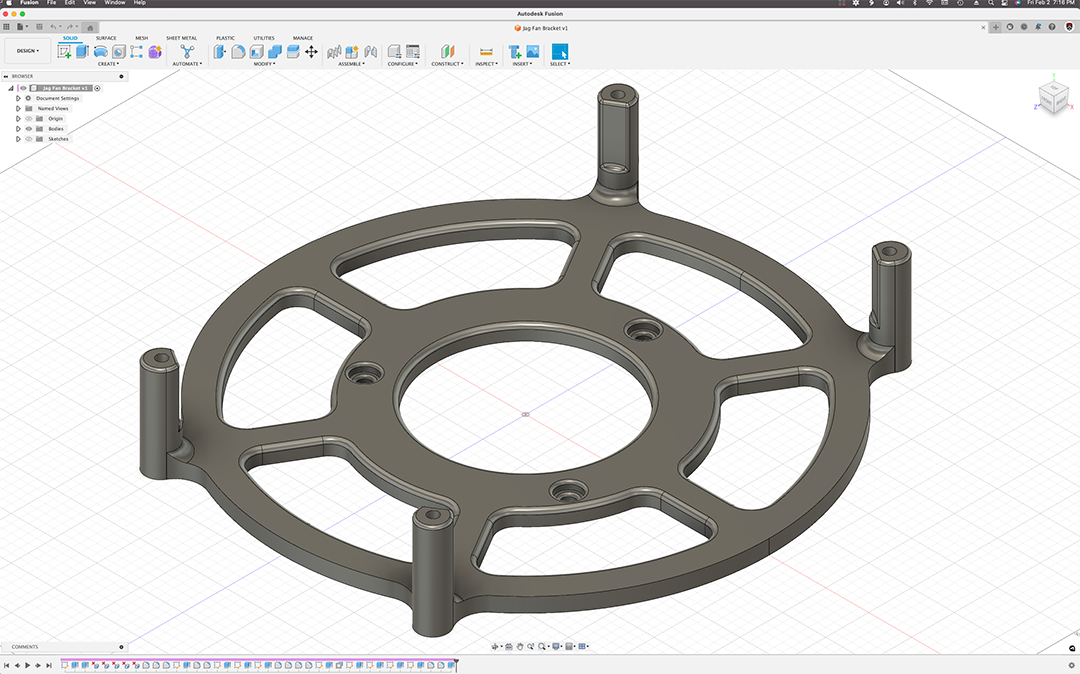
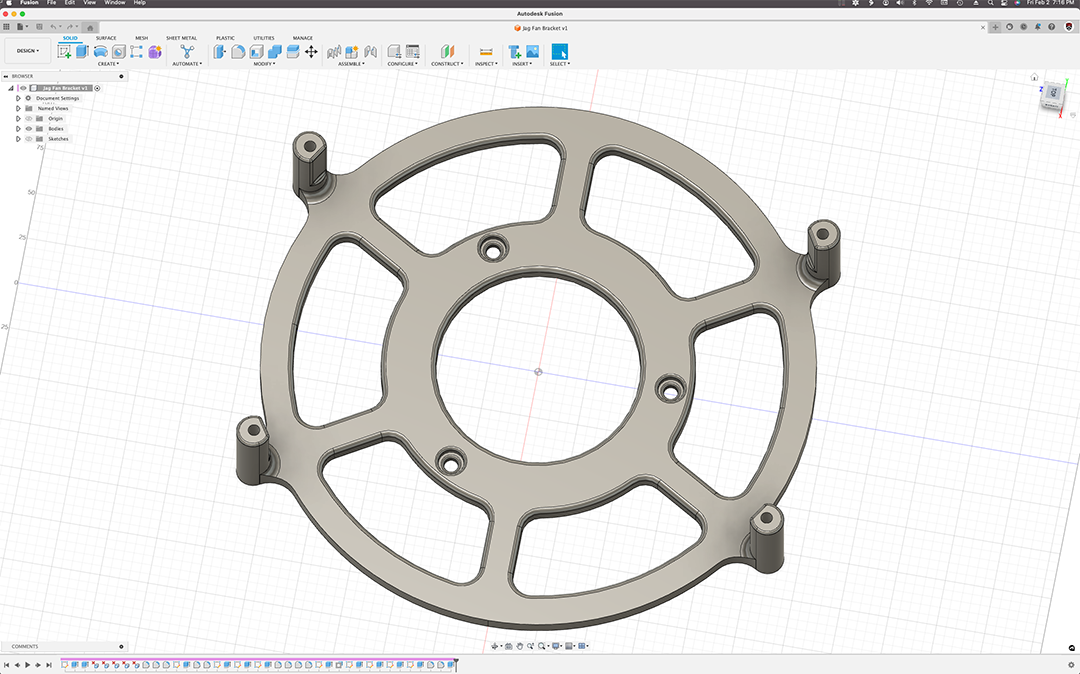
I took about 20 measurements and traced the mounting holes. Then I scanned the tracings on my flatbed scanner. After that, I digitized the files and imported them into Fusion 360. After a few hours, the CAD files were done and it was ready to print. I stayed up until about 3am, making sure the first bracket was printing ok. It wasn’t. Some of the settings needed tweaked. I changed the settings and hit print again, praying that when I woke up the print would be good.
When I woke up 3 hours later the print was almost done and looked really nice. When that was done I removed it from the build plate. Then, I hit print again. I went into the shop to start modifying the shroud.
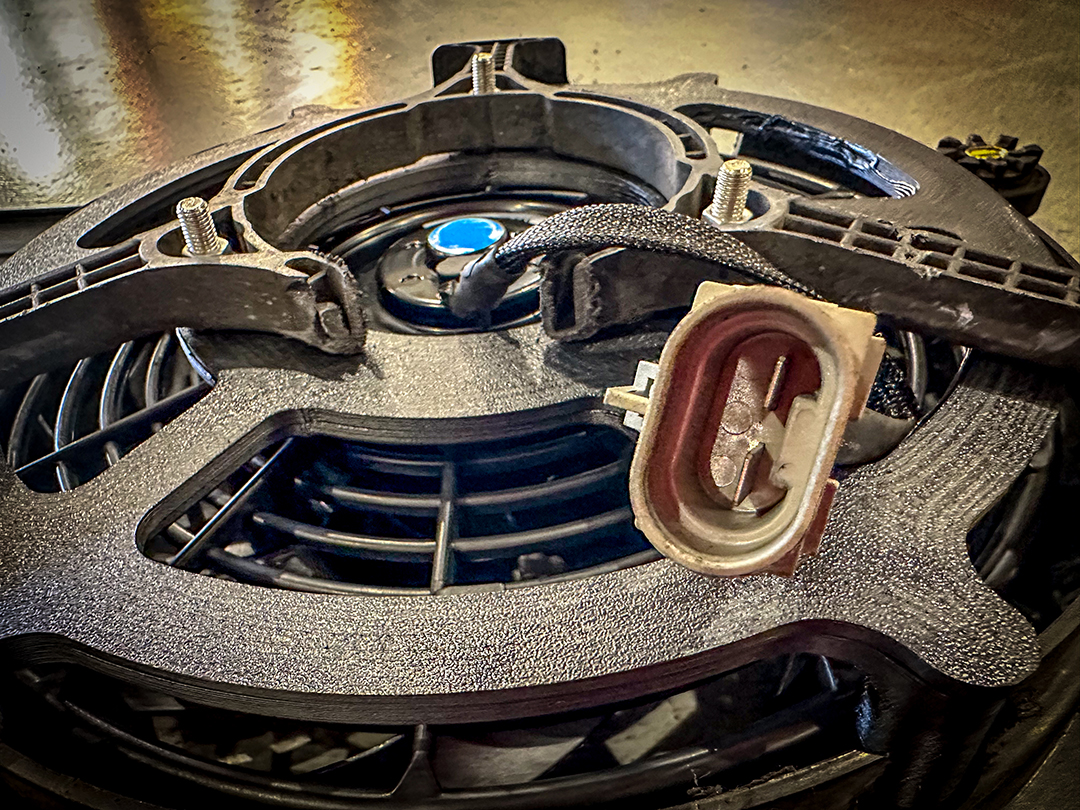
One of my techs ended up taking the motor apart and we extracted the OEM harness connectors. I wired and loomed that electrical connector to the fan harness. Furthermore, this made for a really nice, cohesive OEM looking connection.
Fitment
This bracket will fit the following Jaguars:
- Vanden Plas – 1993, 1994, 1995, 1996, 1997, 1998, 1999, 2000, 2001, 2002, & 2003
- XJ6 – 1993, 1994, 1995, 1996, & 1997
- XJ8 – 1993, 1994, 1995, 1996, 1997, 1998, 1999, 2000, 2001, 2002, & 2003
- XJR – 1993, 1994, 1995, 1996, 1997, 1998, 1999, 2000, 2001, 2002, & 2003
How was it made?
The XJR Cooling Fan Conversion is printed on a highly modified AnyCubic Kobra Max 3d printer with Priline Polycarbonate CF. For example, here are the A-Z photos of how it was done, and how it all turned out.
Gallery
-
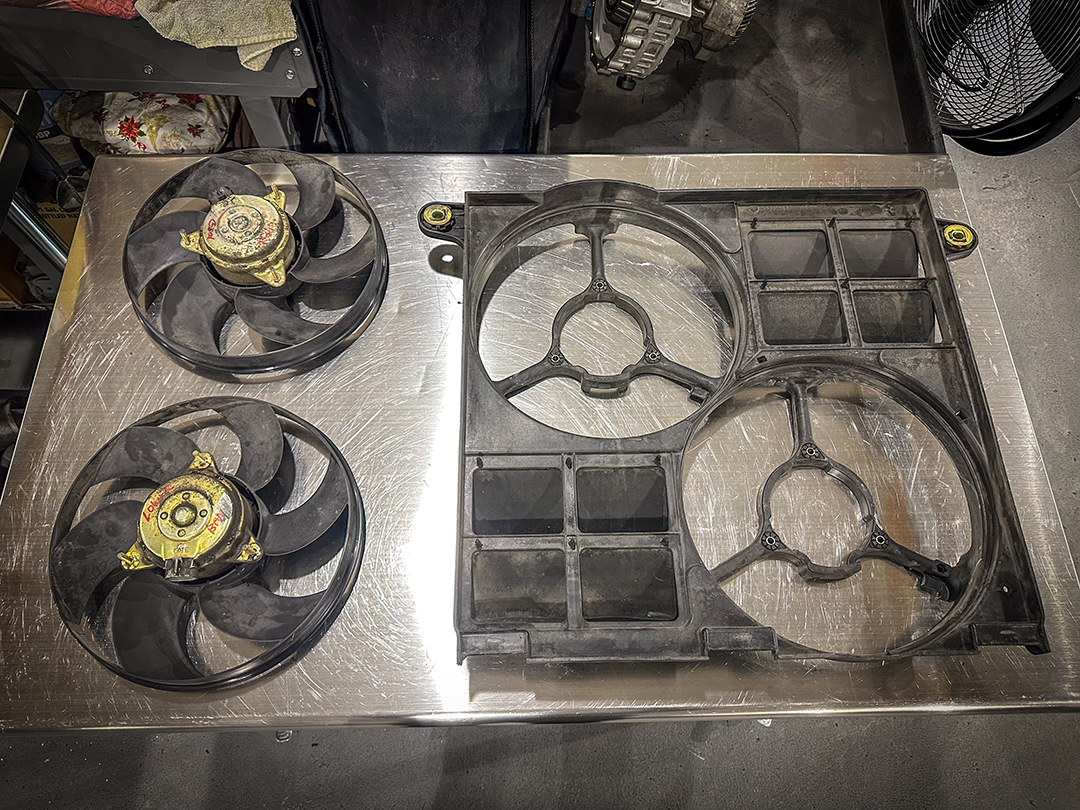
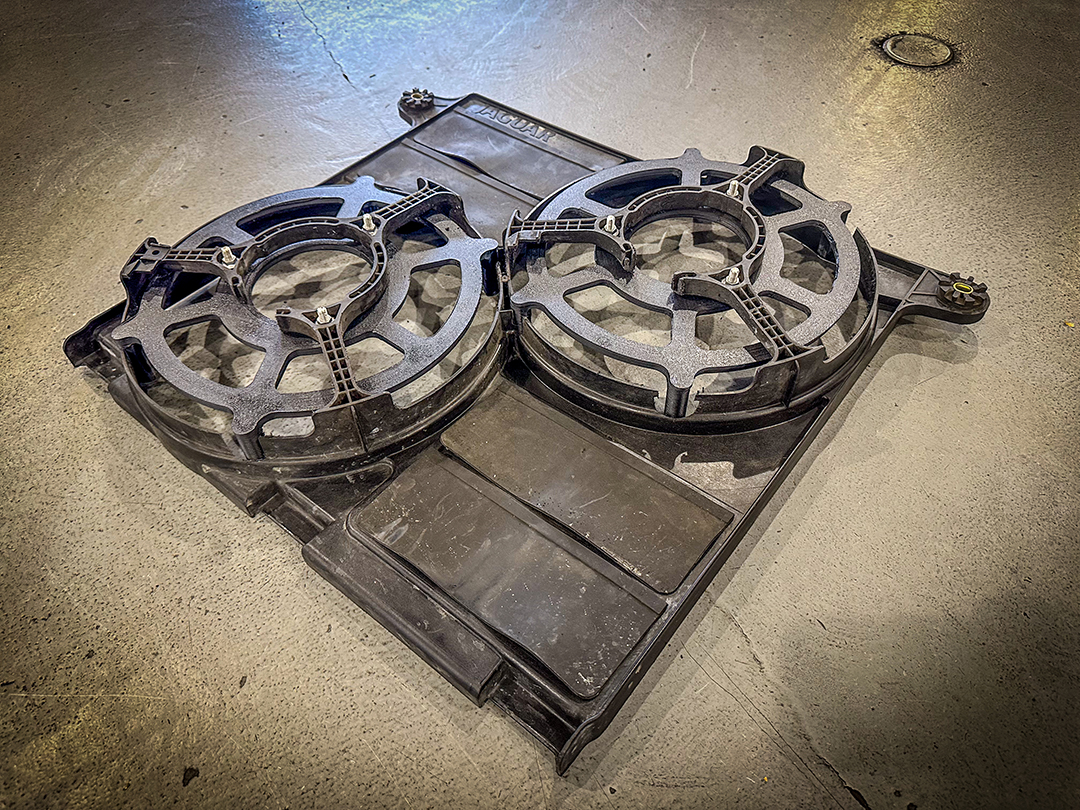
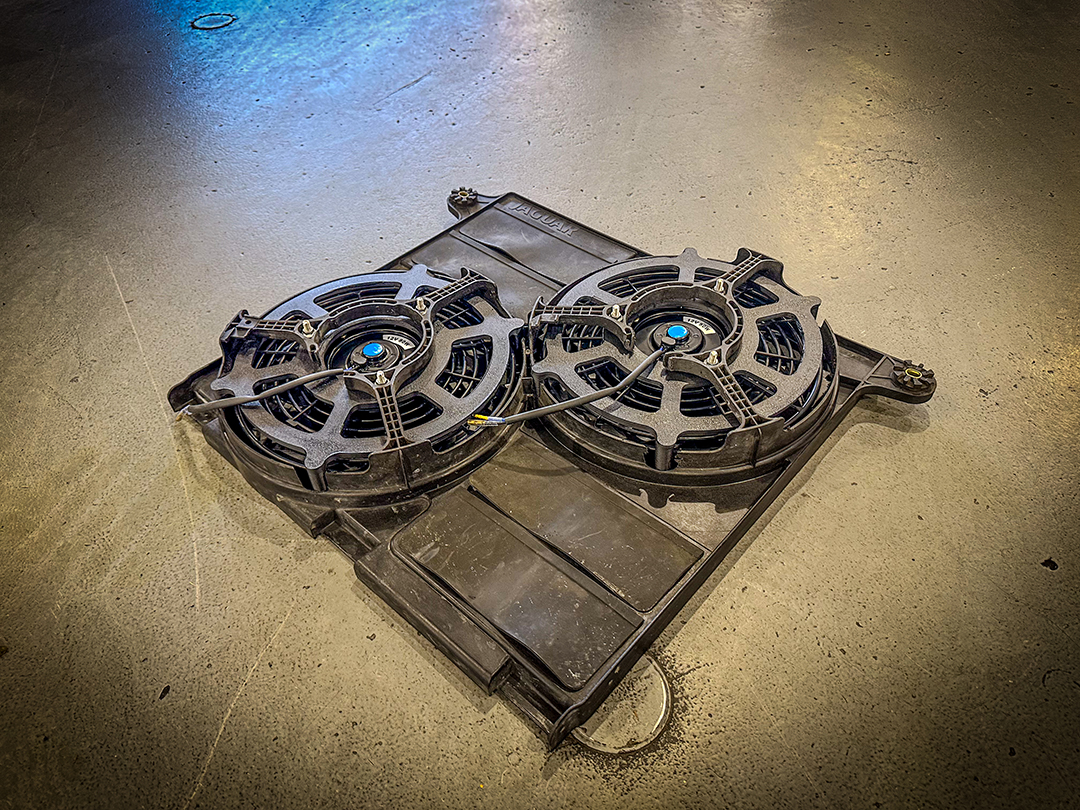
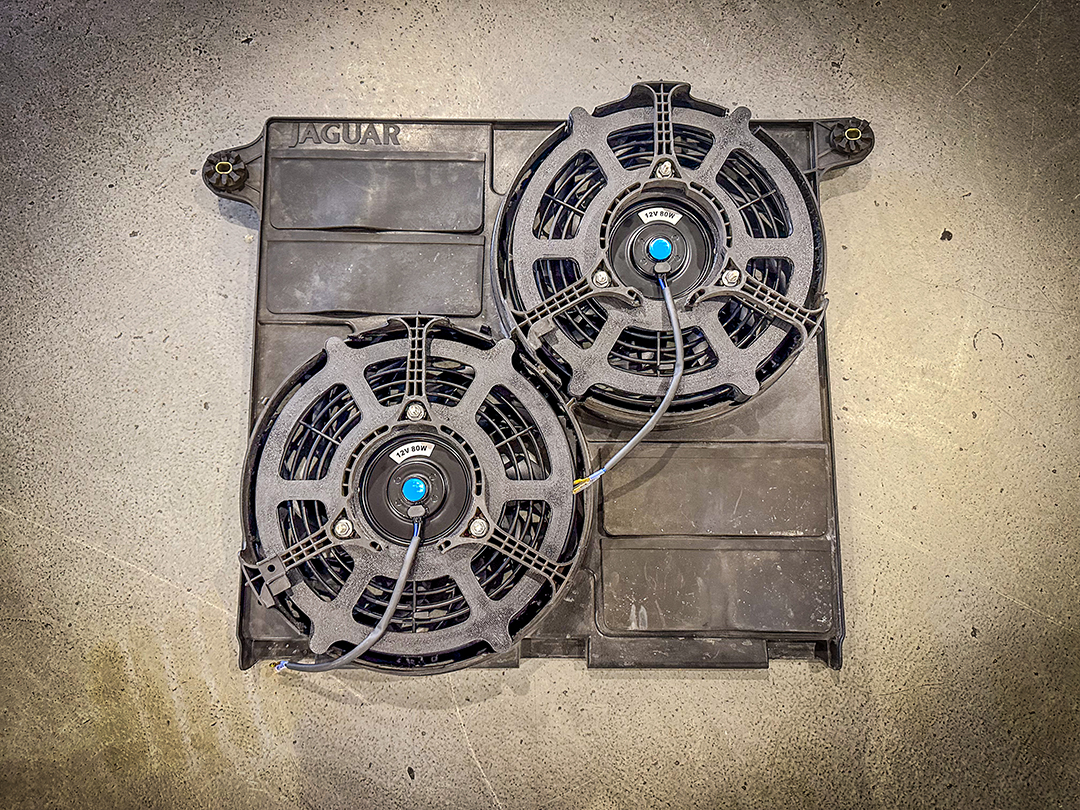
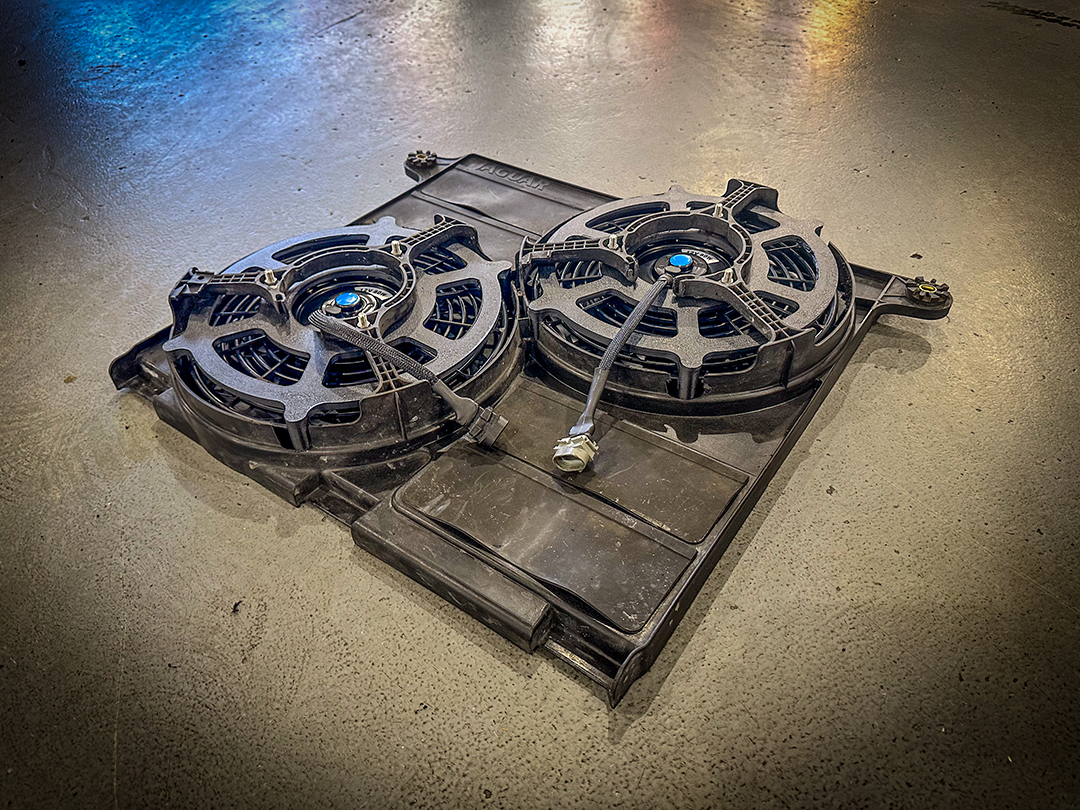
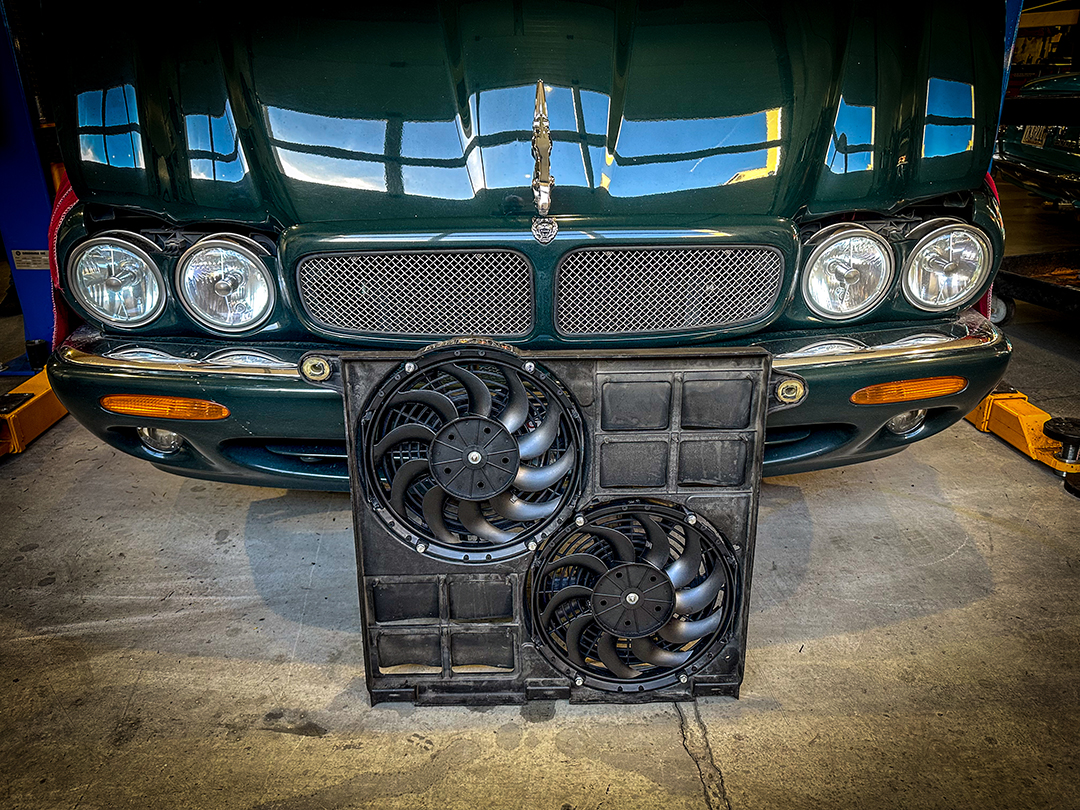
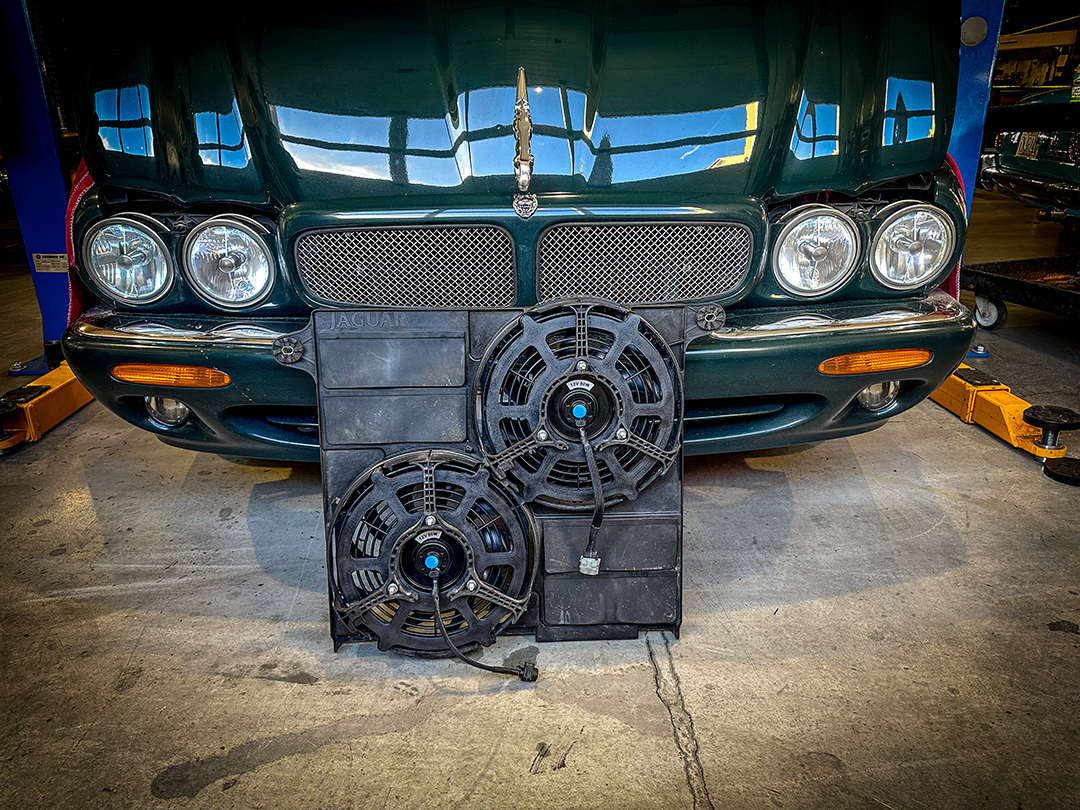
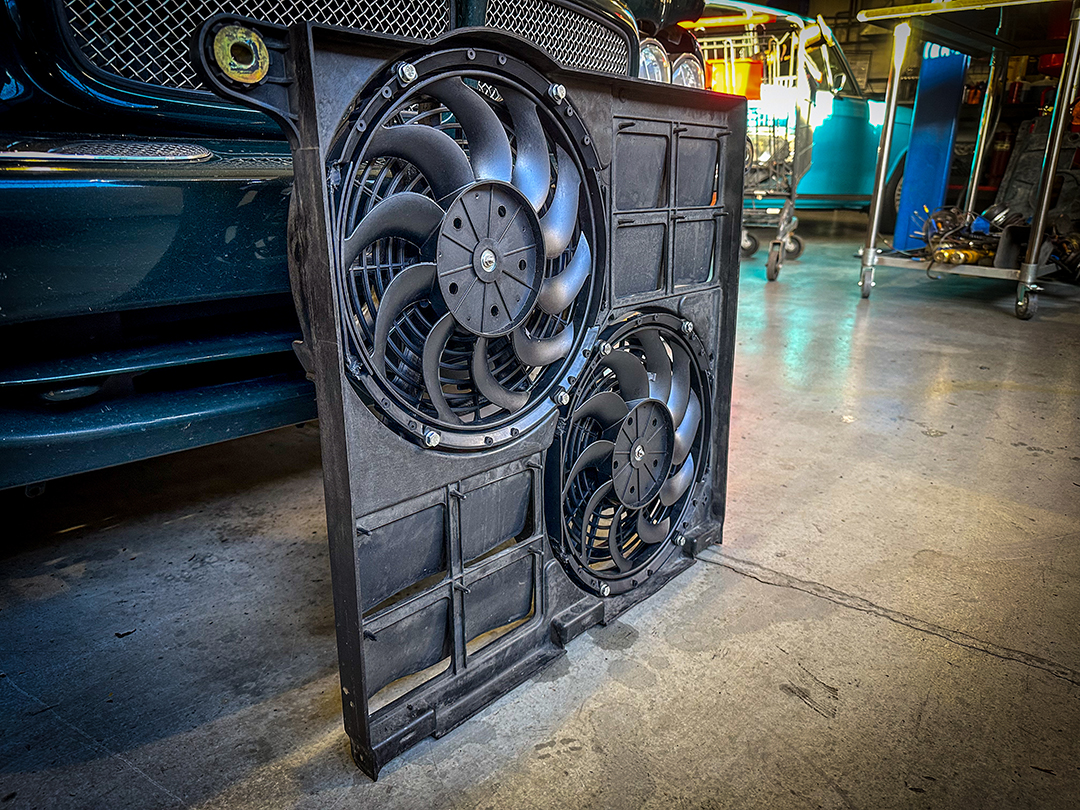
- Front – Fans and shroud disassembled
-
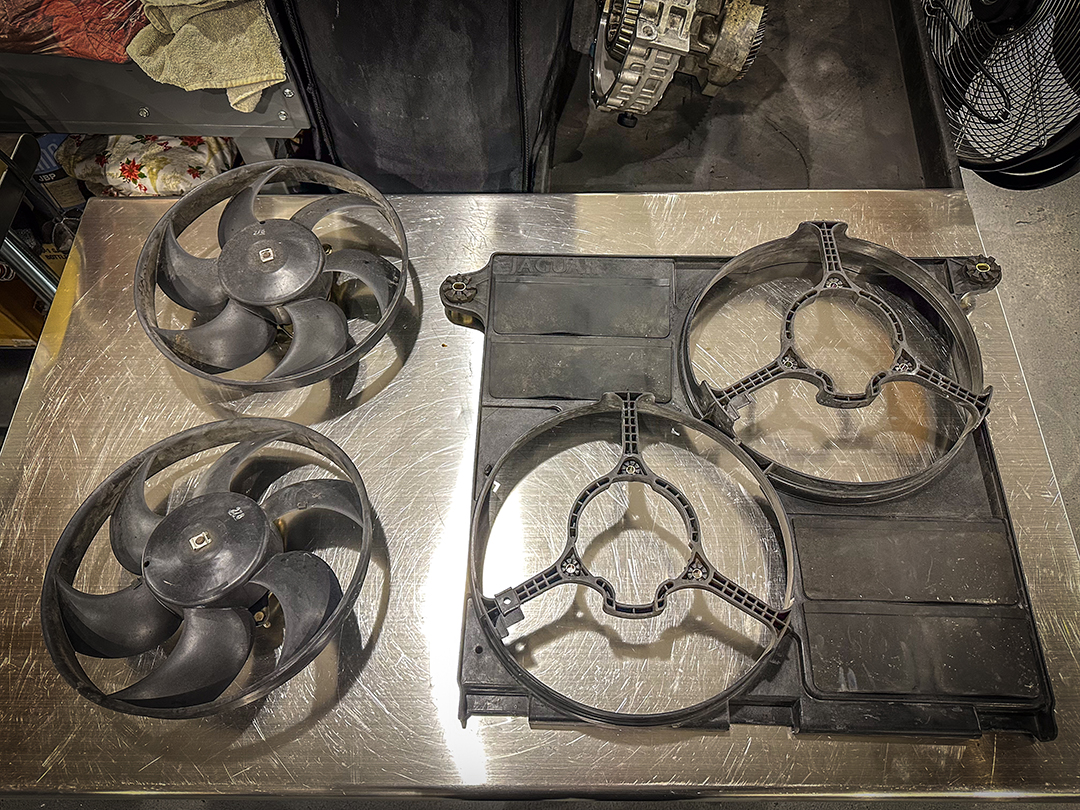
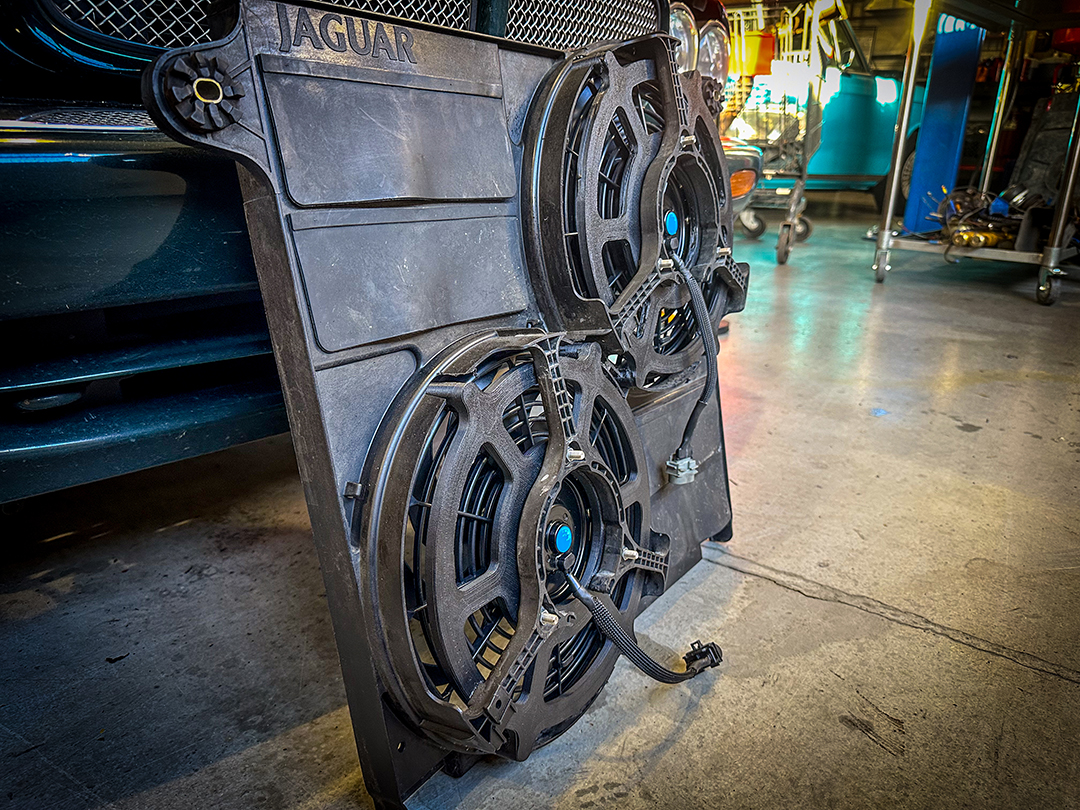
- Rear – Fans and shroud disassembled
-
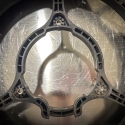
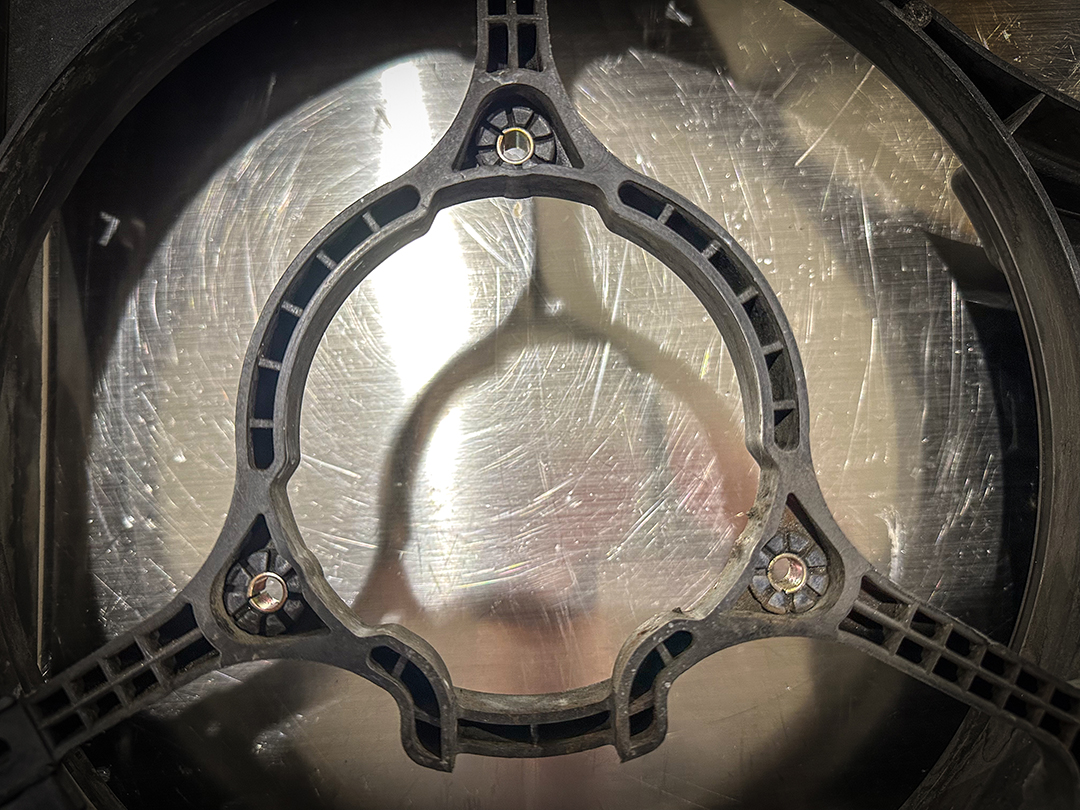
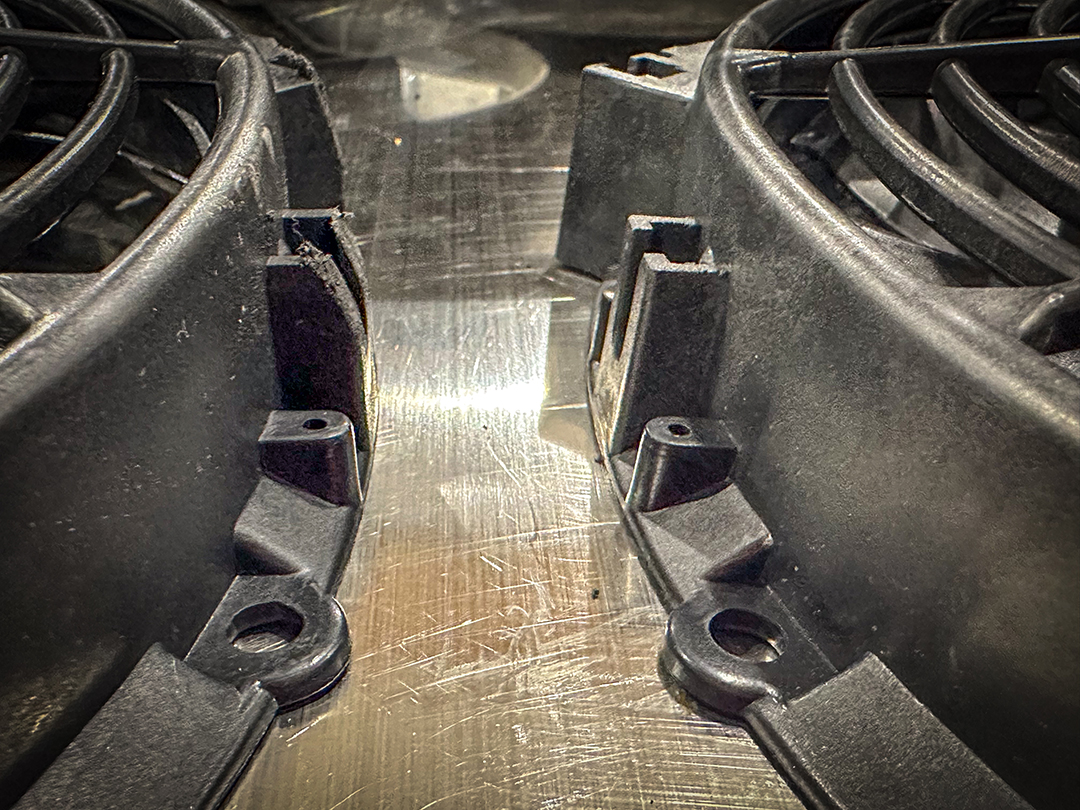
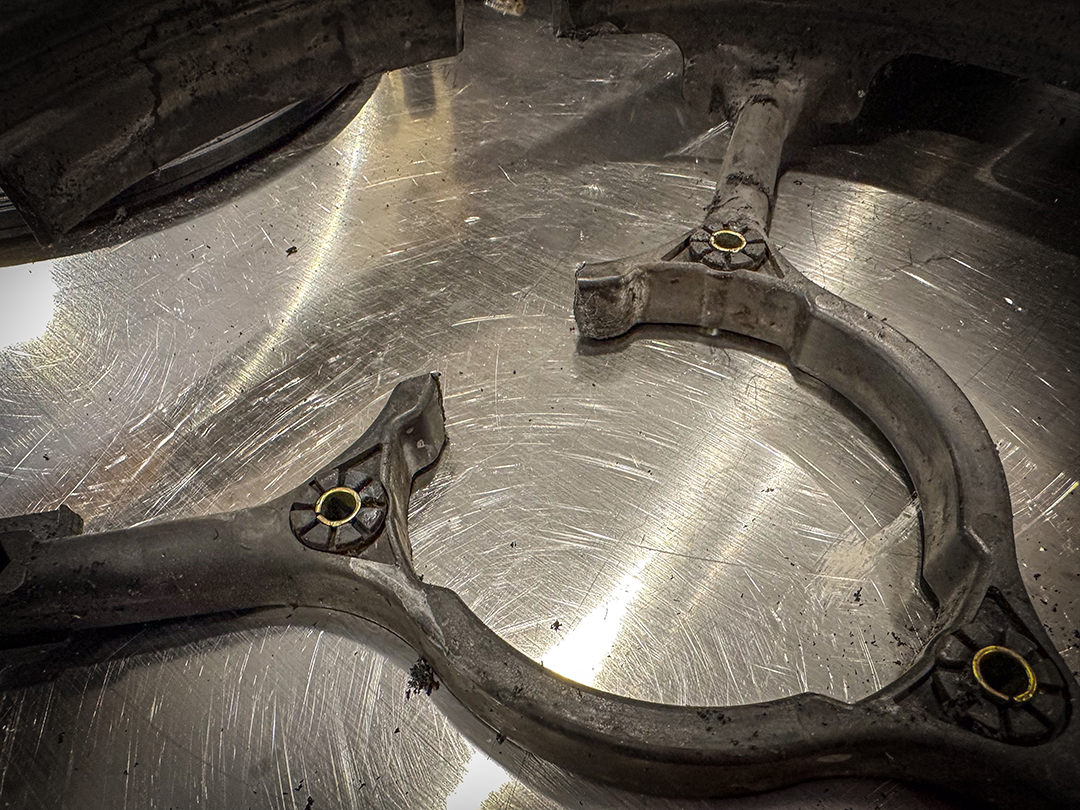
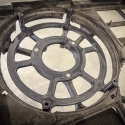
- Bolt pattern on the back of the fan shroud.
-
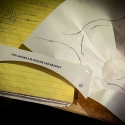
- Measurements, tracings and templates we made of the shroud and fan motor mounts.
-
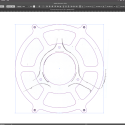
- 2d Digitizing the measurements, tracings and templates.
-
- Drafting the digitized measurements, tracings and templates.
-
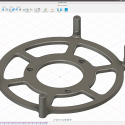
- Bottom Angle
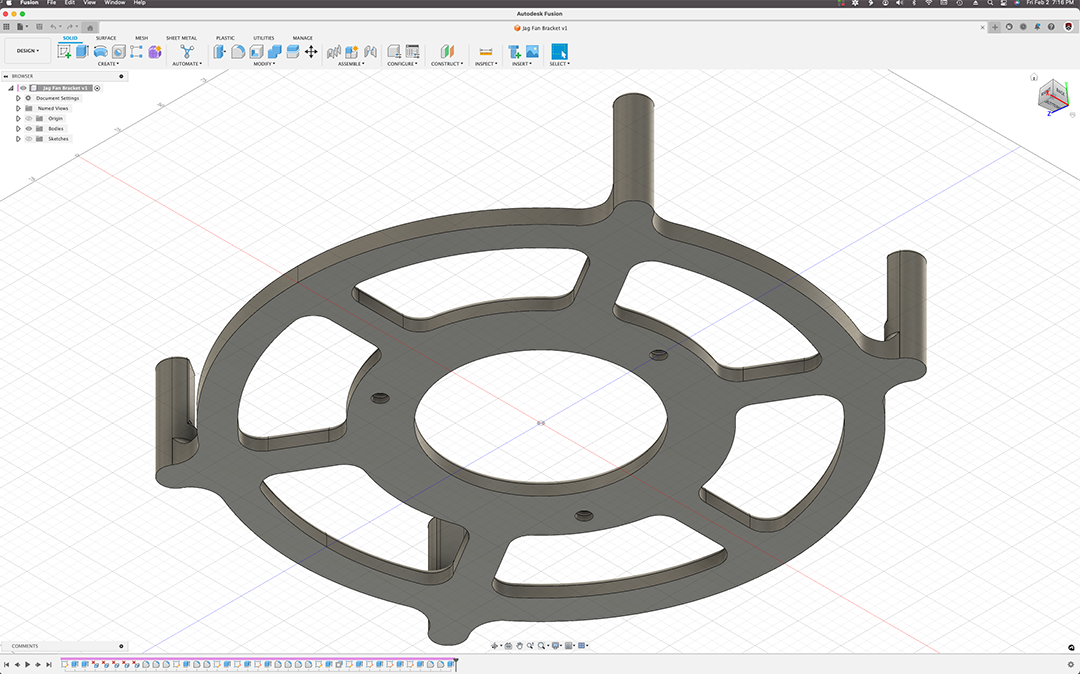
-
- Final CAD Drawings Rendered
-
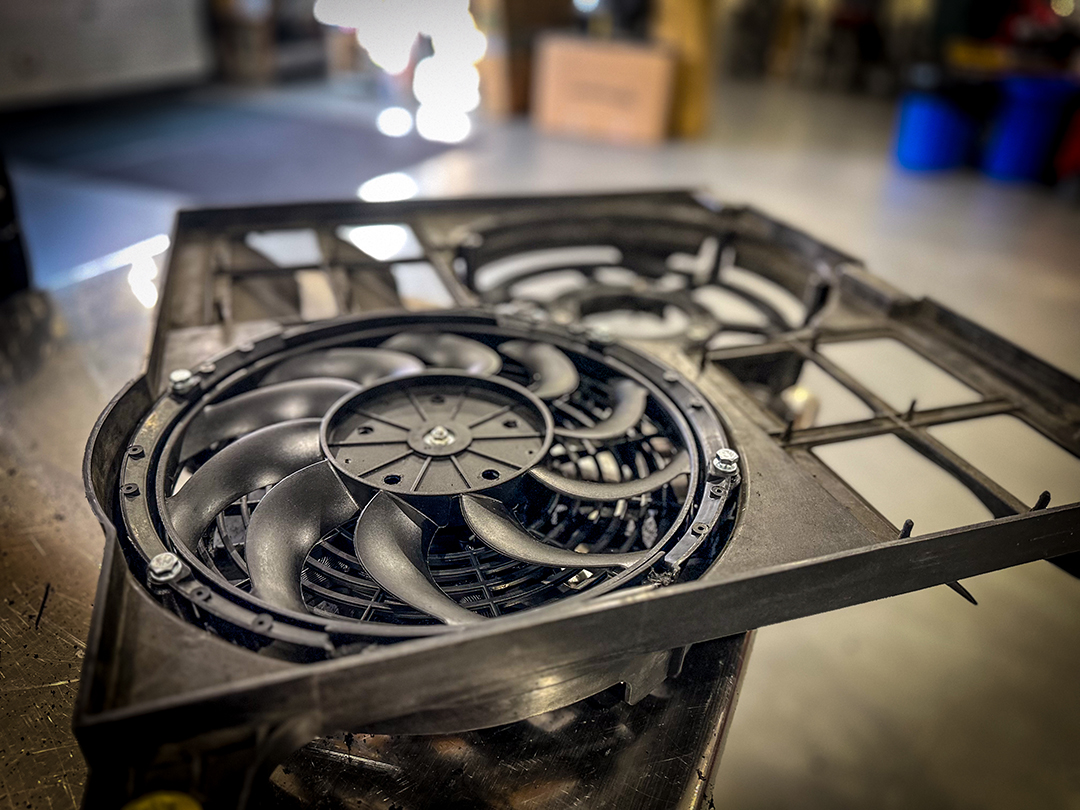
- Minor modification of the slimline fans. Left side is modified.
-
- Another shot of the minor modification of the slimline fans.. Left side is modified.

-
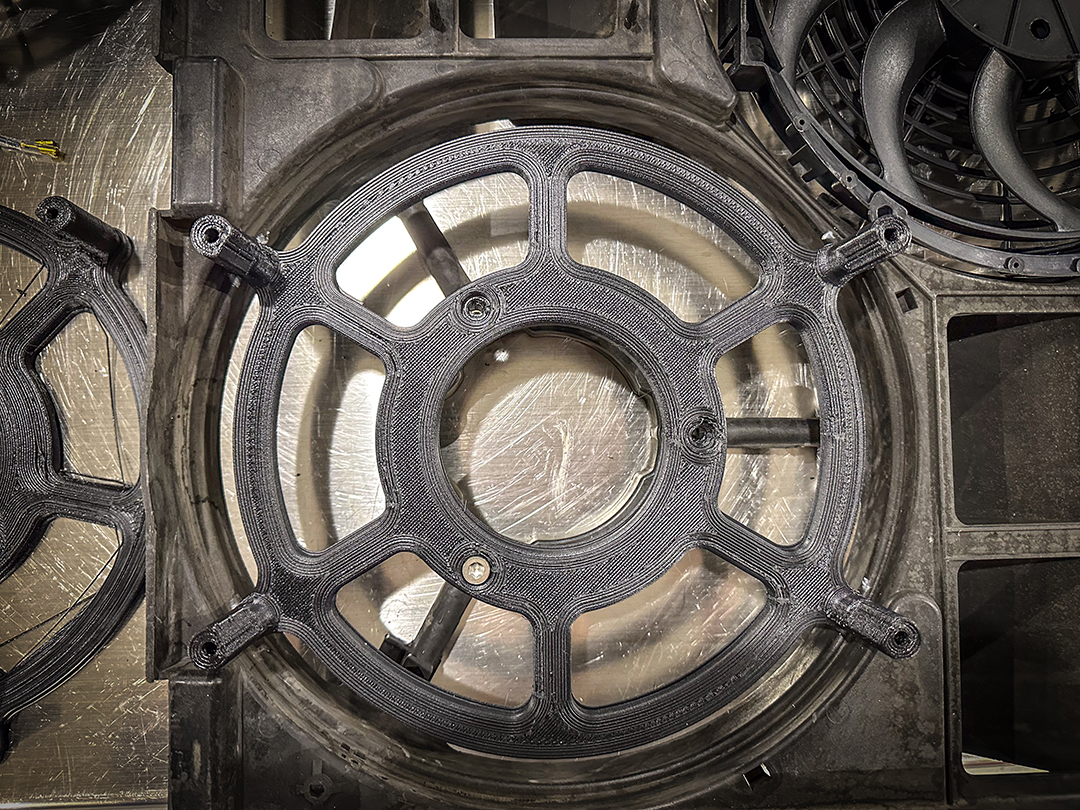
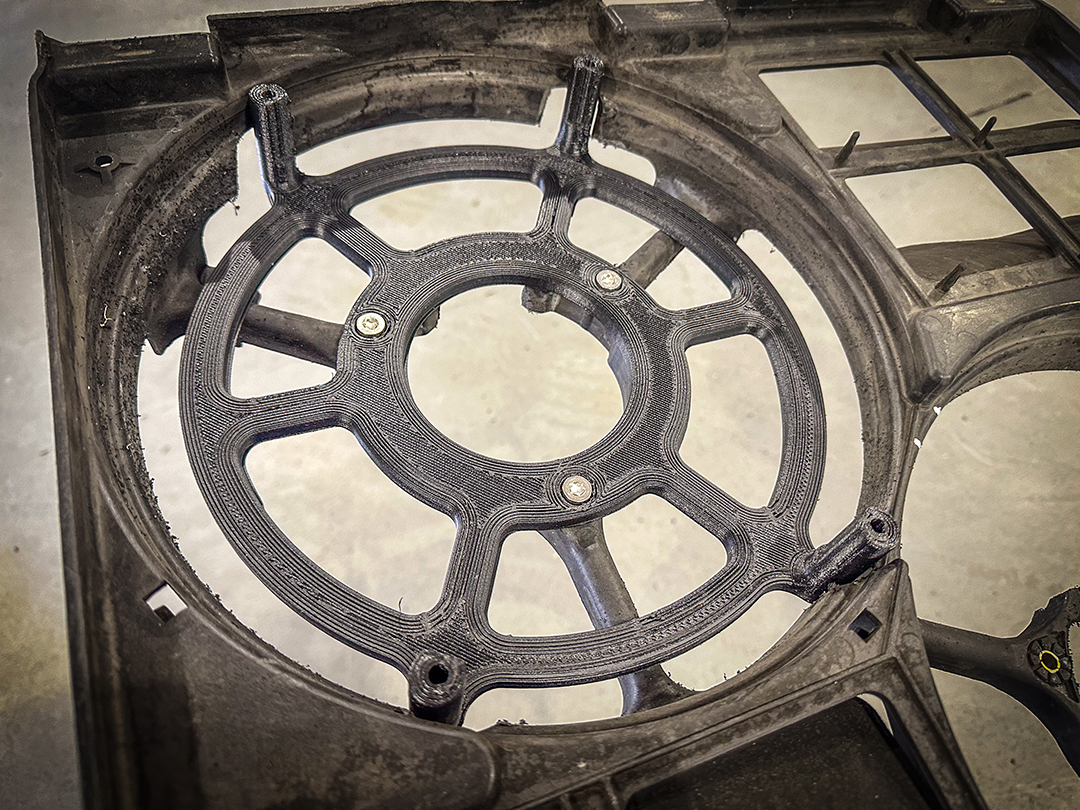
- Printed bracket mocked up for some minor trimming.
-
- Marks for trimming shroud for fitting the bracket.
-
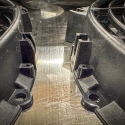
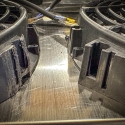
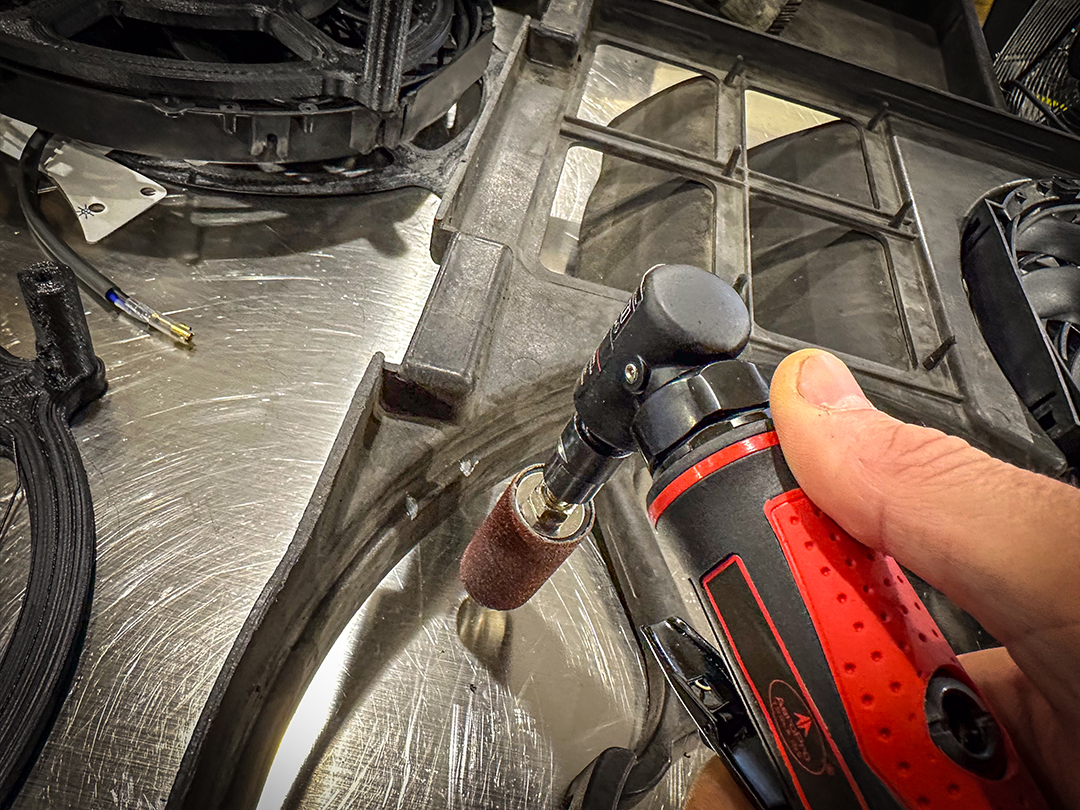
- How we clearanced the shroud for the bracket.
-
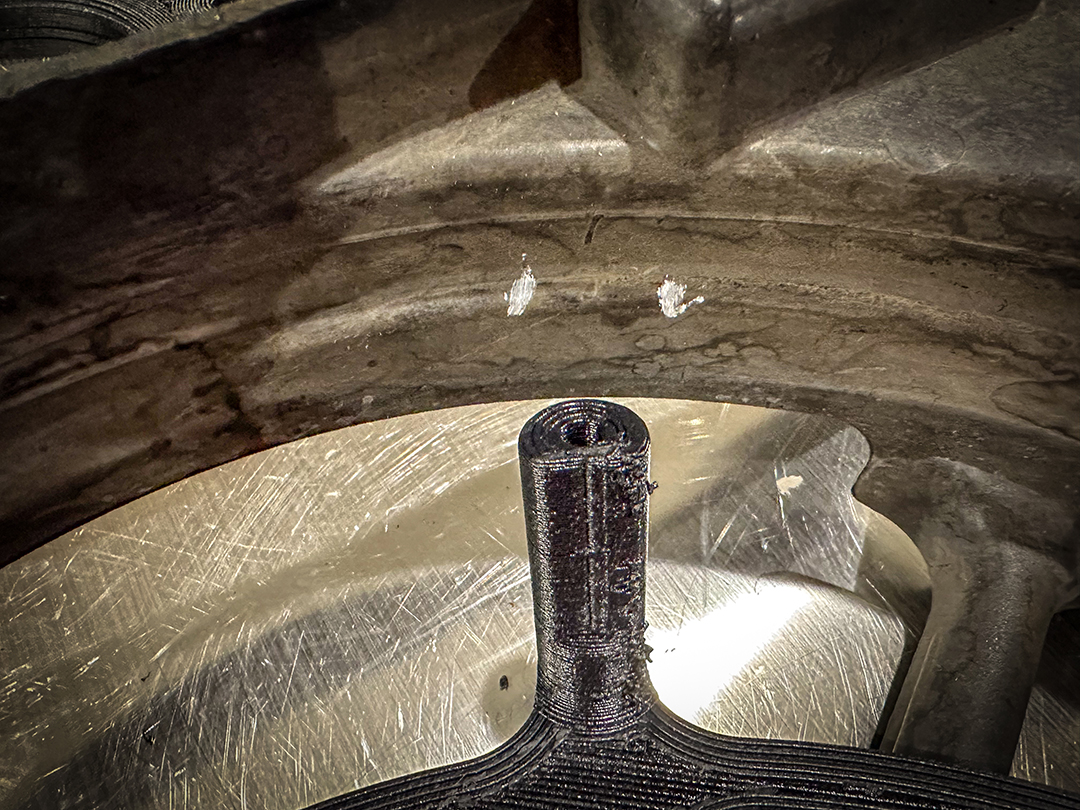
- One last modification. This had a piece sticking up about 3/4″ / 20mm that has to be removed.
-
- XJR Polycarbonate Carbon Fiber
-
- Fitting the brackets, both sides
-
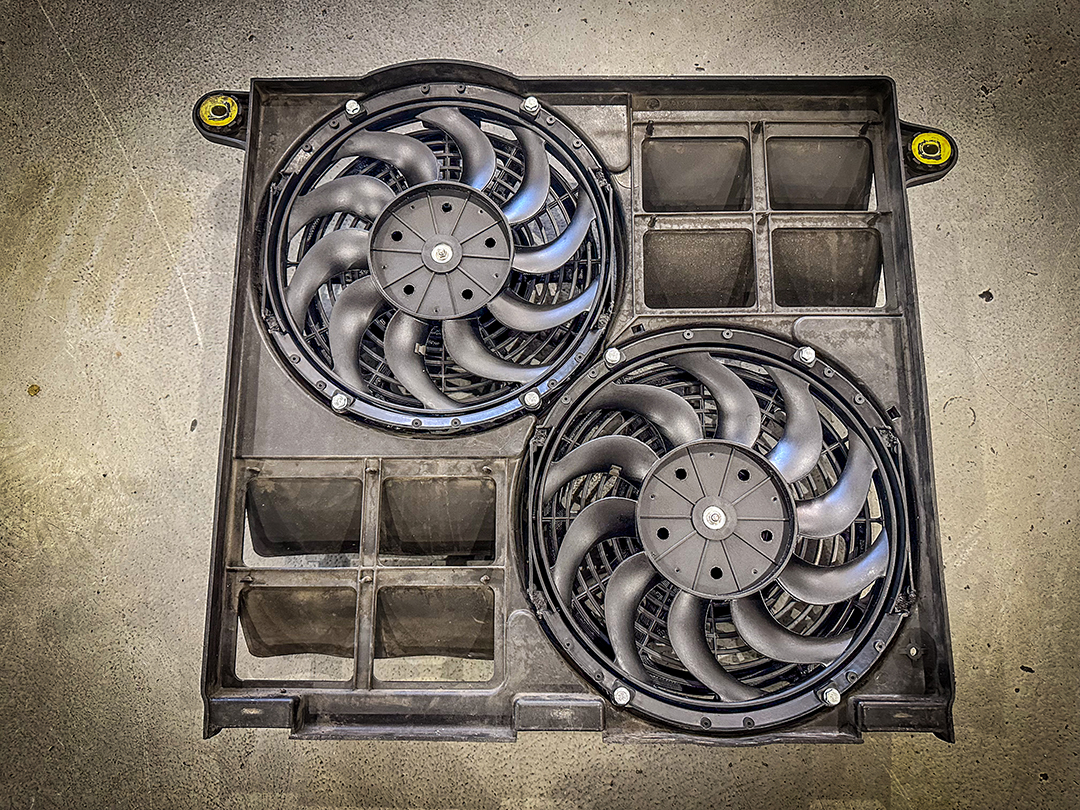
- Mounting the fans.
-

- Fans installed. Hindsight, I should have wired the plugs first.
-
- Install – Back side
-
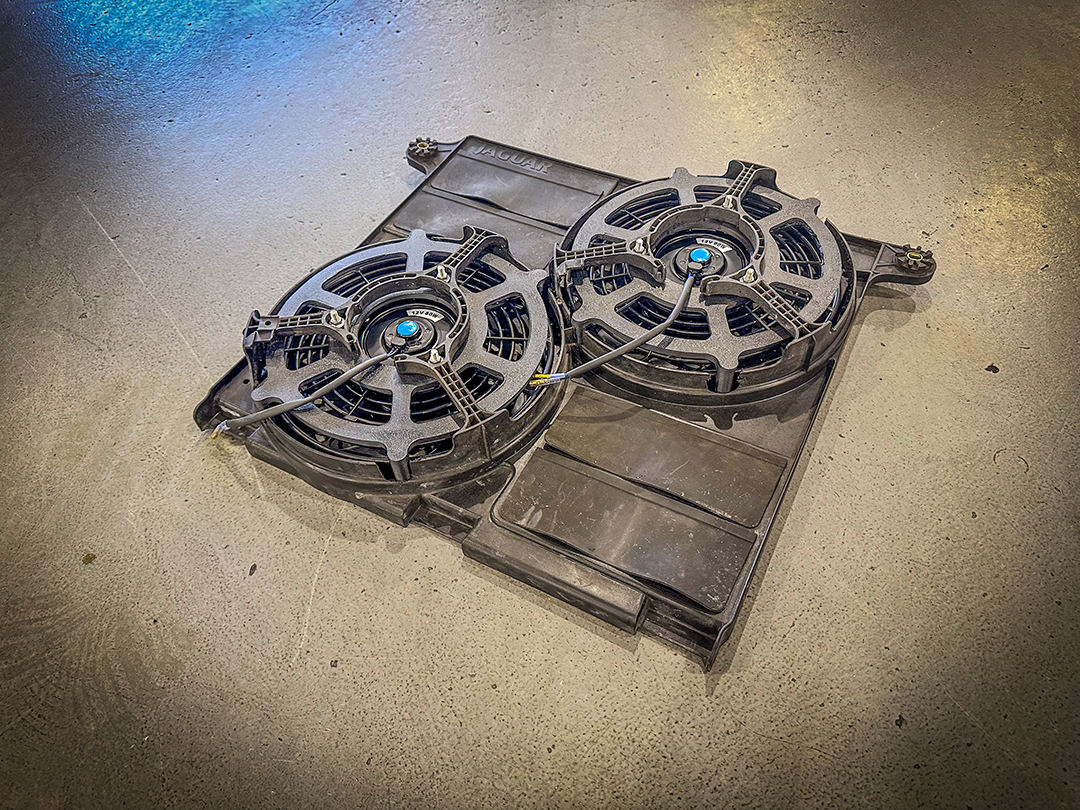
- Quarter shot of the fans installed
-
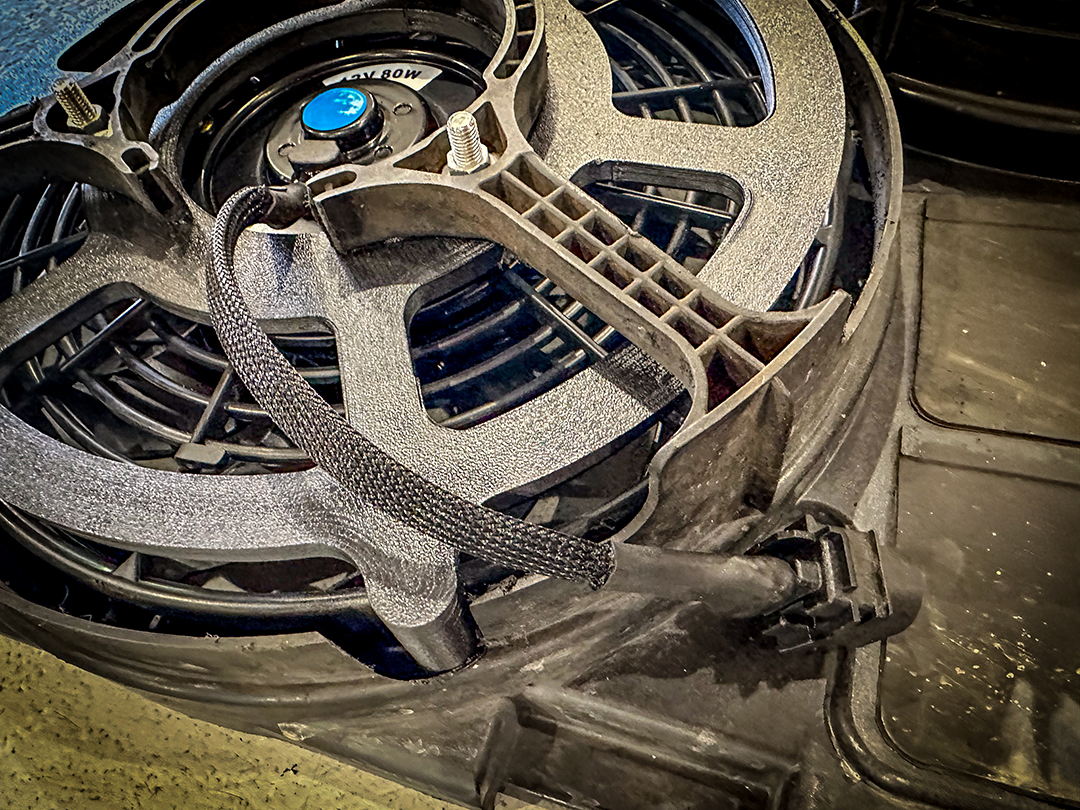
- OEM fan connectors wired and loomed
-
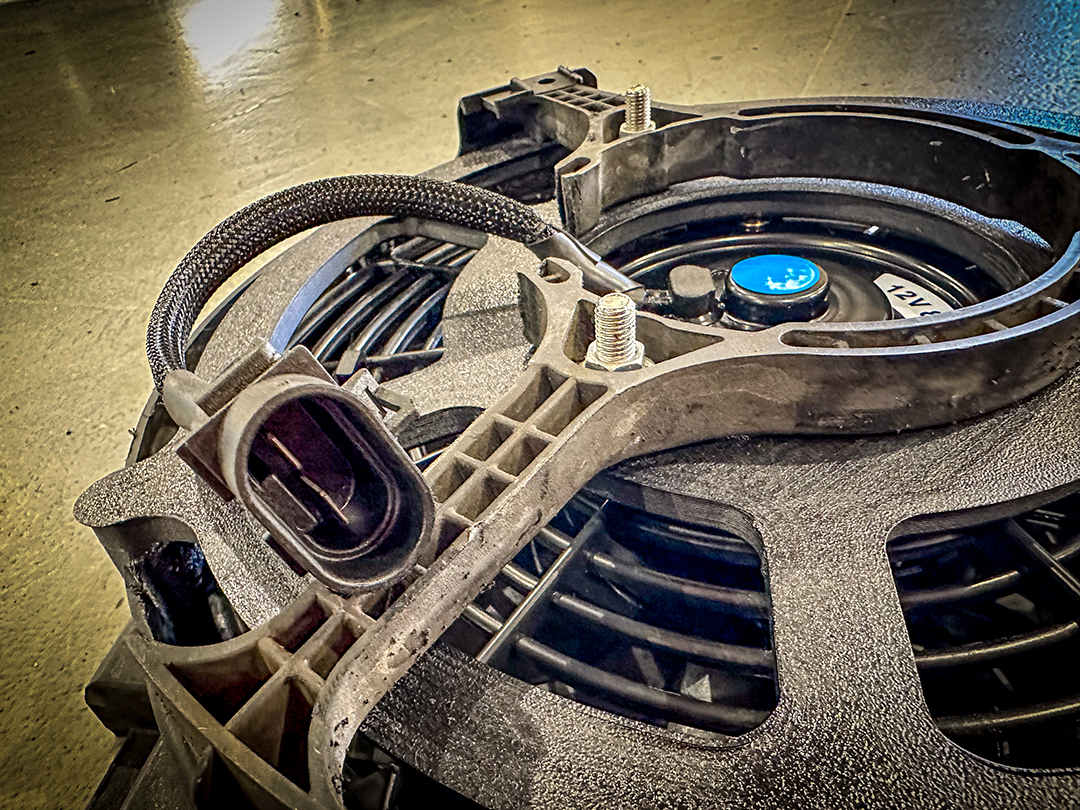
- Upper fan close up of the OEM fan connector.
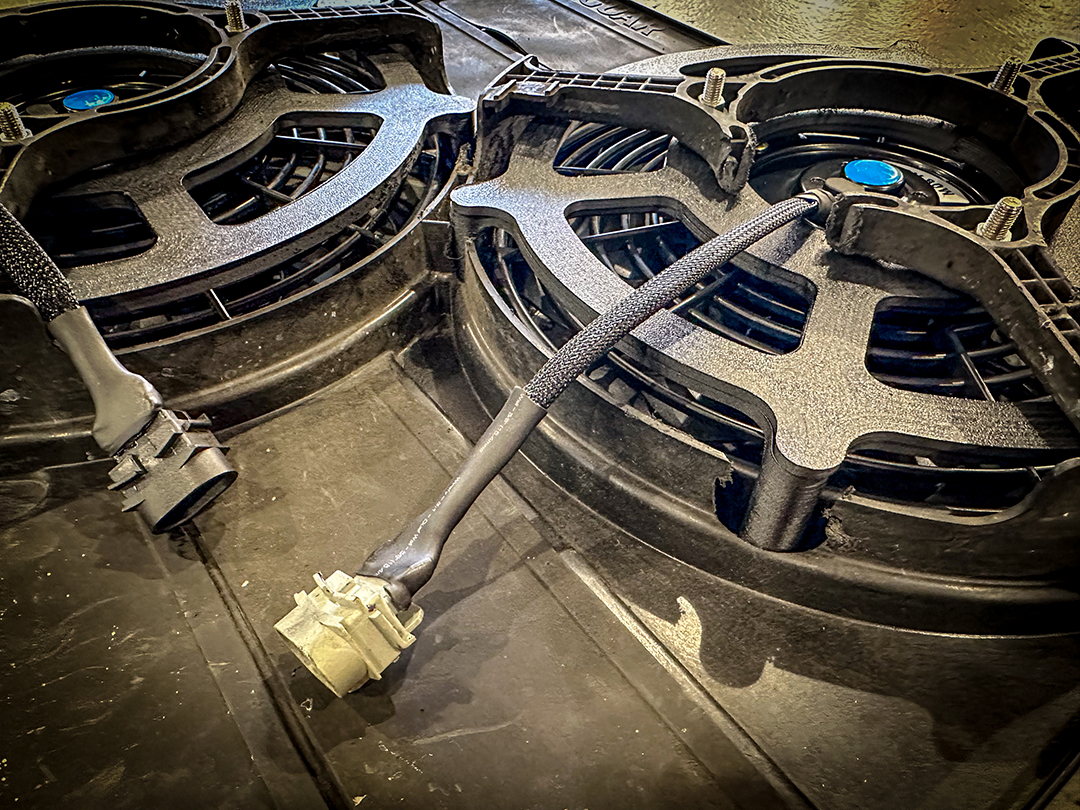
-
- Lower fan close up of the OEM fan connector.
-
- Another lower fan shot.
-
- One last upper fan connector close up.
-
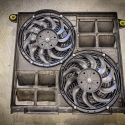
- Front side – Complete
-
- Ready for install
-
- Rear – Ready for install
-
- Polycarbonate Carbon Fiber – Jaguar XJR Radiator Fans
-
- Front side shot – ready for install
-
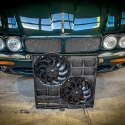
- JAguar XJR Functional Application
-
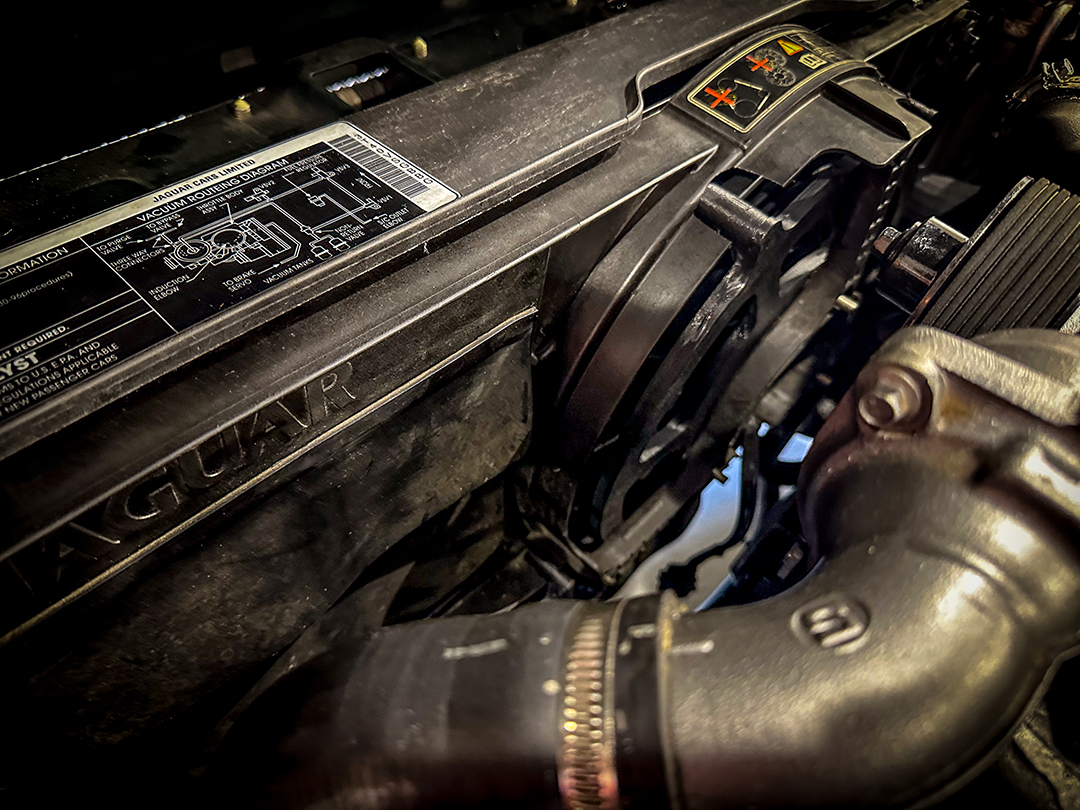
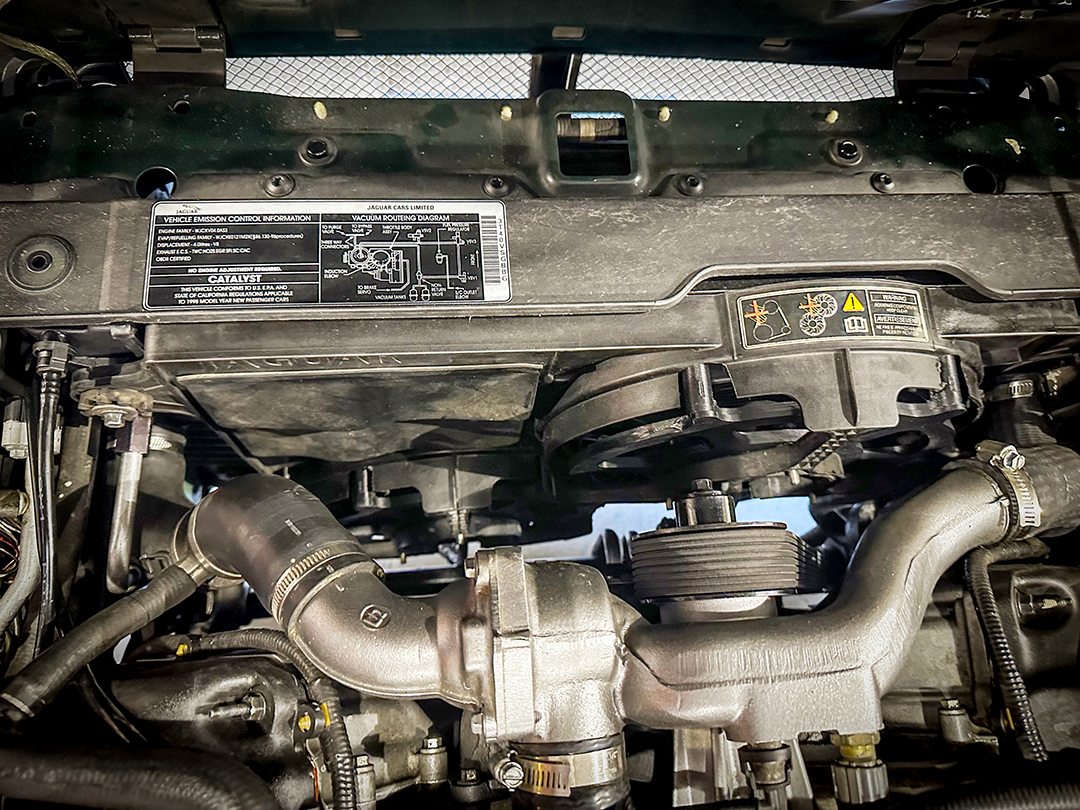
- Upper shot installed with much more room to service belts, etc.
Question / Contact Meister Werks
For more information on how to get your XJR Cooling Fan Conversion installed, please call 425-254-0627. You can also contact us by clicking here. Meister Werks European & Import is located one block south from The Renton Landing in Renton, WA, across the street from the former Boeing Store and on the westside of the Paccar / Kenworth plant.