Land Rover Range Rover HSE Headlight Refurb
What Is Vapor Liquid Headlight Refurb?
The vapor liquid headlight restoration technique, also known as vapor polishing Headlight Refurb, is a modern and highly effective method for restoring hazy, yellowed, and oxidized plastic headlight lenses. Unlike traditional sanding and polishing methods that remove a layer of plastic and then apply a clear coat, this technique uses a chemical solvent to essentially melt and reform the surface of the lens, resulting in a perfectly clear, like-new finish.
Why Choose Vapor Liquid Restoration?
The Headlight Refurbishing method offers several advantages over conventional restoration kits. While traditional kits are often messy and require significant effort, vapor restoration is a quicker process that delivers superior, longer-lasting results. . Additionally, it eliminates the need for repeated polishing. This will fully restore even severely damaged lenses, giving them a durable, high-gloss finish that stands up to UV exposure.
The Process: A Step-by-Step Guide
-
Preparation. First, you must properly clean the headlights with a degreaser and microfiber cloth. The area around the headlight should be masked with painter’s tape. This protects the surrounding paint from the vapor.
-
Sanding. We sand the headlight with progressively finer grits of sandpaper. First we start with a coarse grit (around 400) and moving up to a very fine grit (around 2000 or 3000). This removes the heavily oxidized top layer. Furthermore, it creates a smooth surface for the vapor to work on.
-
Vapor Application. A special heater kettle is used to heat a liquid polymer solution, causing it to vaporize. . The user then directs this vapor stream onto the sanded headlight lens. The vapor’s chemical reaction with the polycarbonate plastic of the lens causes the surface to become clear and smooth again.
-
Curing: The headlights are left to cure and harden, a process that usually takes a few minutes. The result is a crystal-clear lens that looks brand new.
Pro Tips for Range Rover Headlight Refurb
Range Rover headlights, like those on other premium vehicles, are expensive to replace. Therefore, using a high-quality Headlight Refurbishing method is a smart choice. Due to the shape and complexity of some Range Rover headlight designs, it is important to take extra care during the sanding and taping phases to ensure an even finish. Also, be sure to use a high-quality, professional-grade vapor restoration kit for the best results.
For more information on how to get your Range Rover’s Headlight Refurbishing, service, maintenance or custom work, contact us at 425-254-0627. You can also schedule an appointment or receive a quote by clicking here. Meister Werks European & Import is located one block south from The Renton Landing in Renton, WA, across the street from the former Boeing Store and at the westside of the Paccar / Kenworth plant.
BMW F30 340i – B58 Engine – Water Pump, Thermostat & More Leaks
-

- Water Pump leak
-
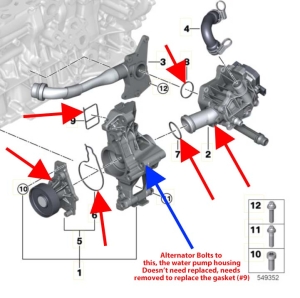
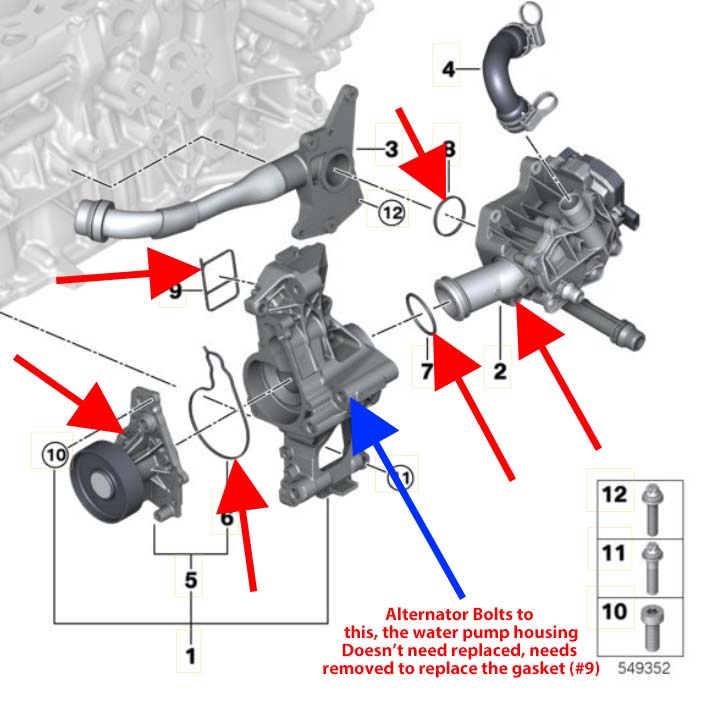
- Water pump thermostat assembly diagram
-
- Thermostat
-
- Thermostat leak

-

- Oil filter housing and cooler leak
-

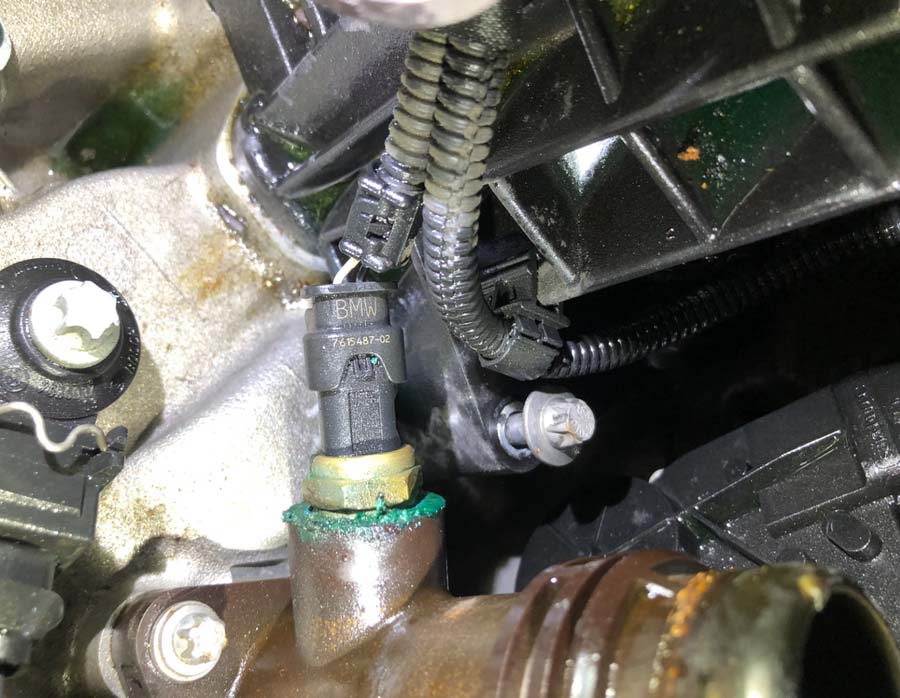
- Coolant flange sensor leak
-
- Coolant Flange Hose
-

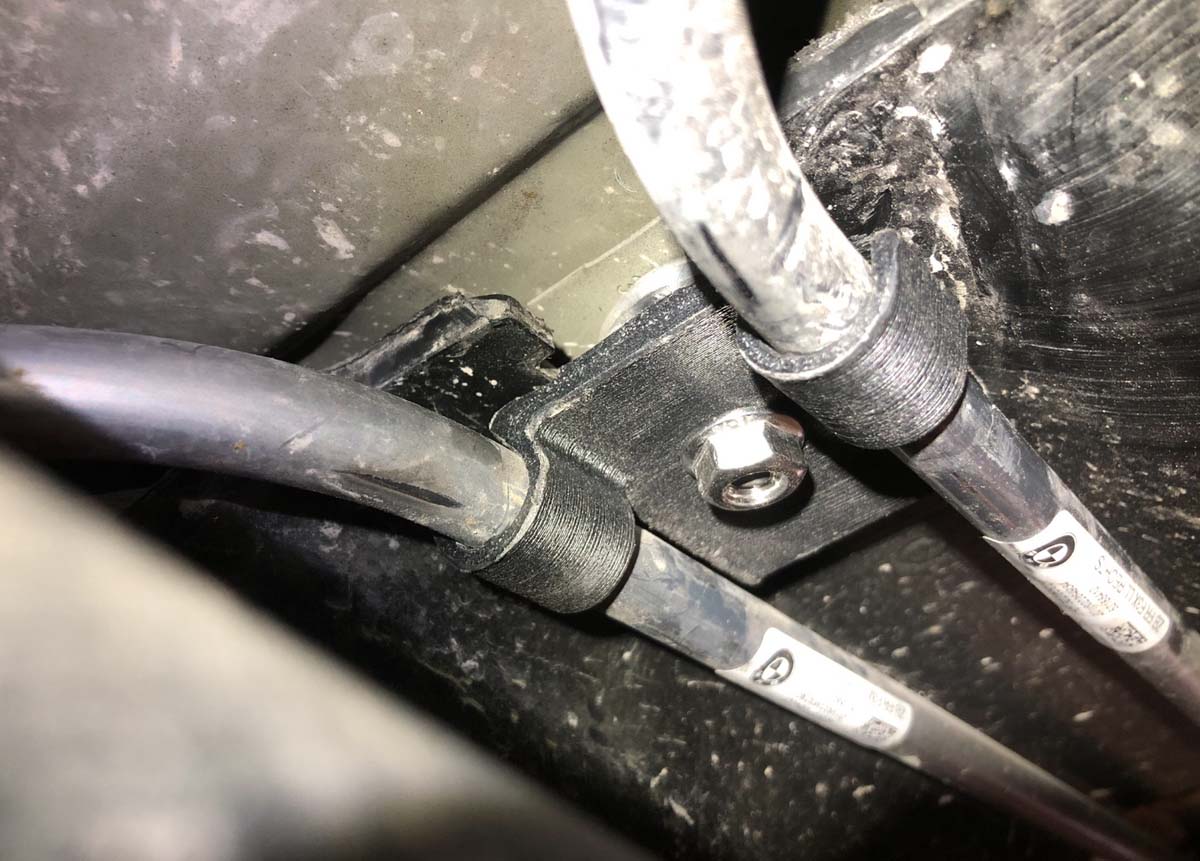
- Upgraded Poly-CF parking brake cable bracket
Diagnostic / Inspection:
– Confirmed coolant leak. Leak is on the oil cooler/oil filter housing. Needs repaired ASAP. * Coolant needs flushed and oil service needed when replacing the oil cooler
– Front drive shaft flex joint is cracked and needs replaced
-Transmission service is overdue.
– Rear diff service is overdue.
– Engine and cabin air filter are overdue for replacement.
– Parking brake cable bracket is broken and needs replaced with upgraded.
_________________________
After replacing all aluminum oil filter housing, there was a leak coming from the new part’s mating surface. Need to remove and install a Genuine BMW part.
_________________________
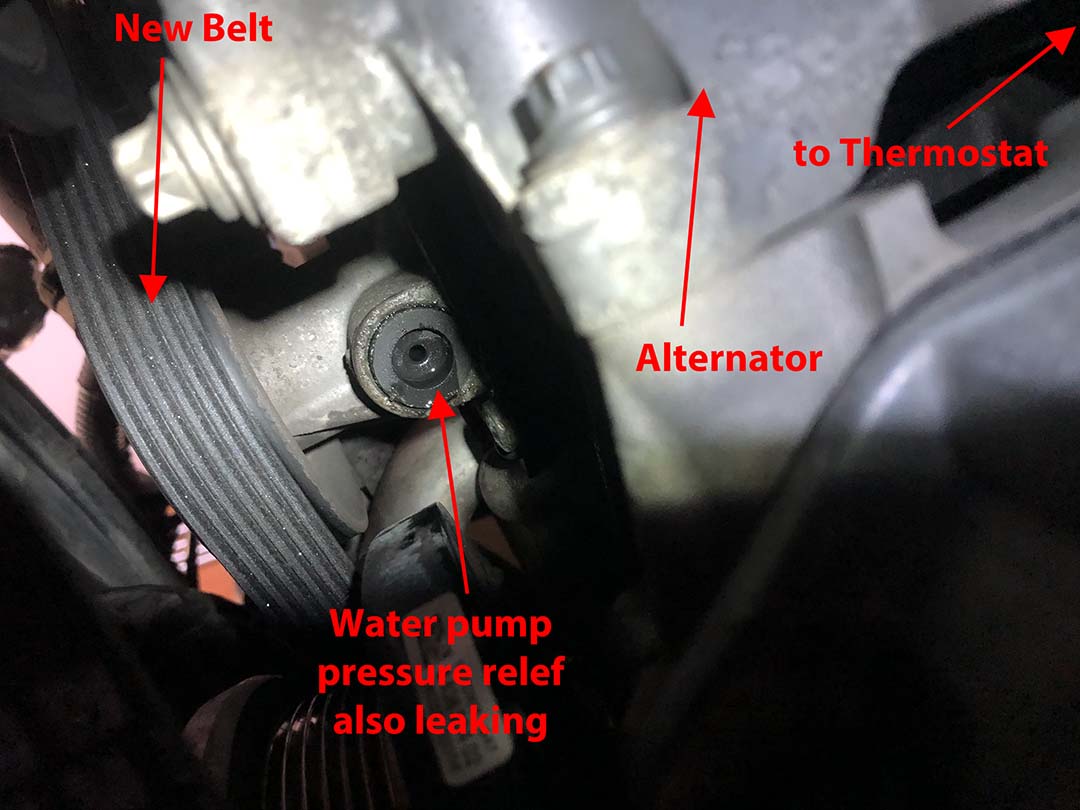
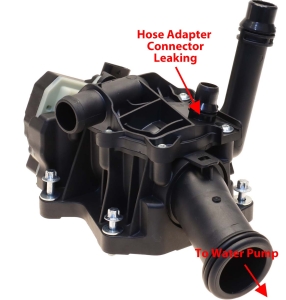
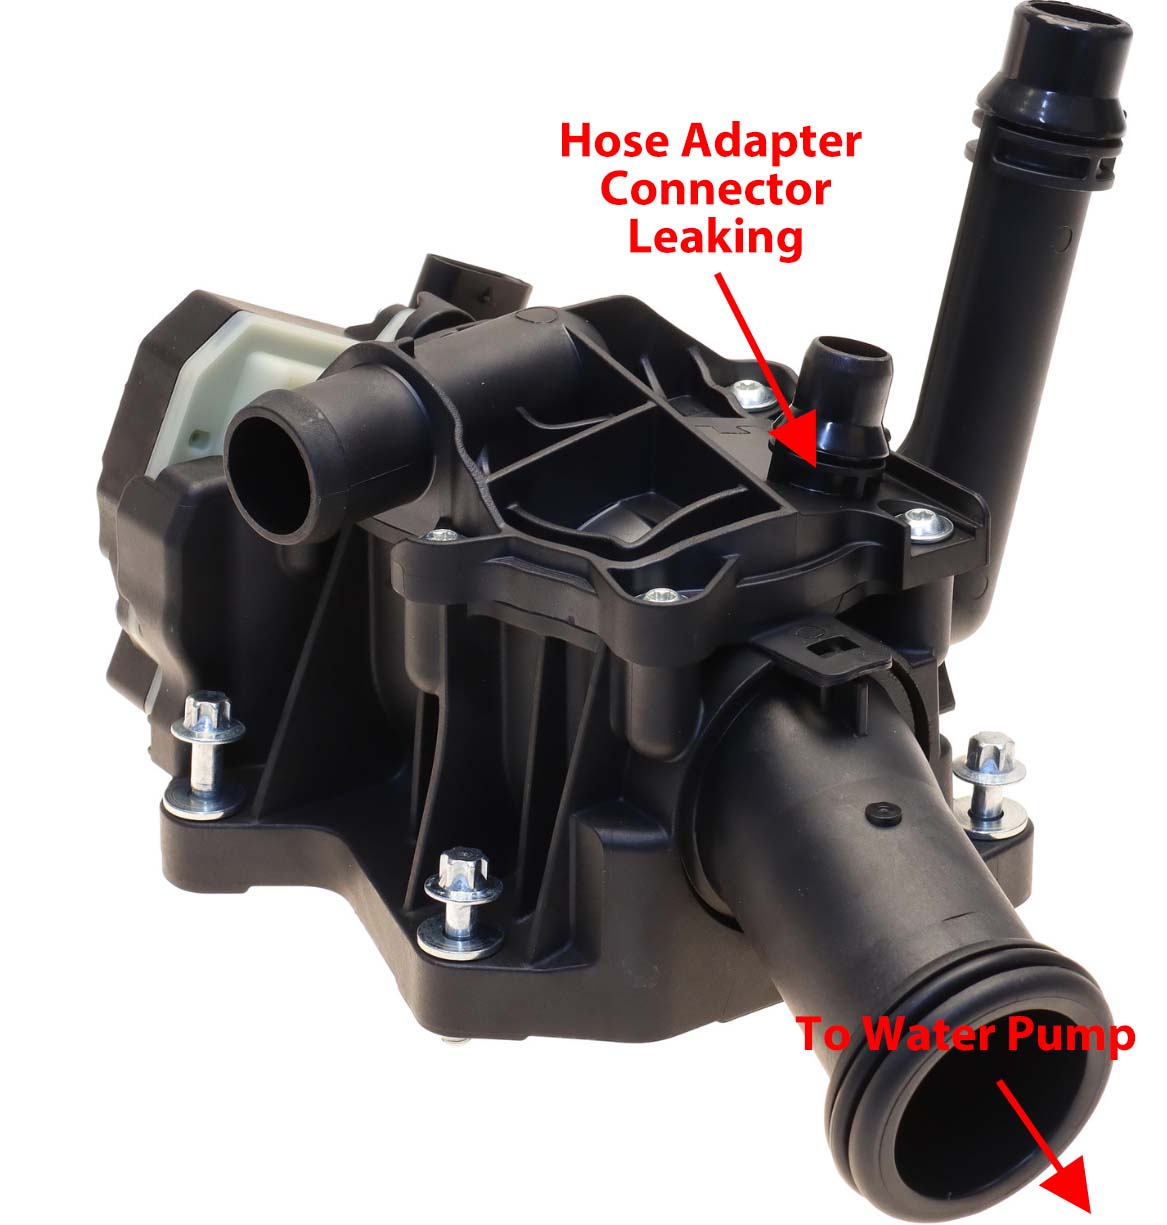
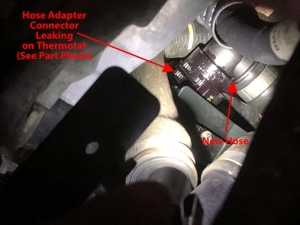
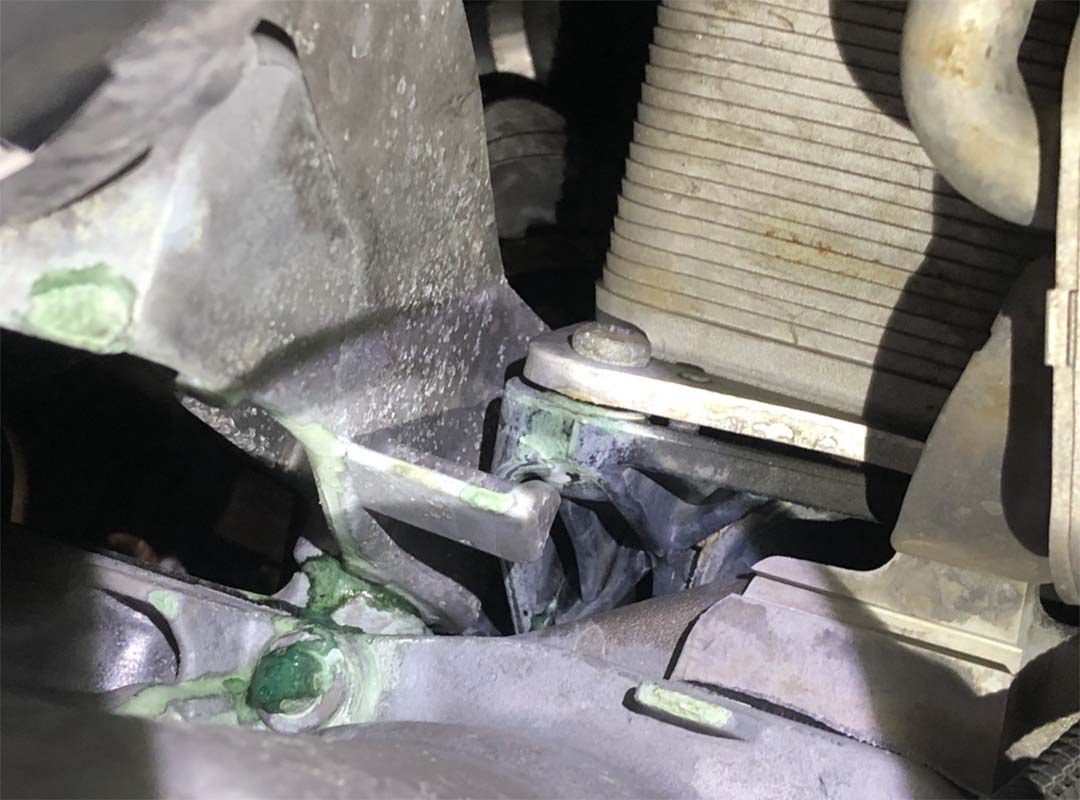
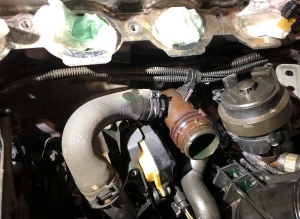
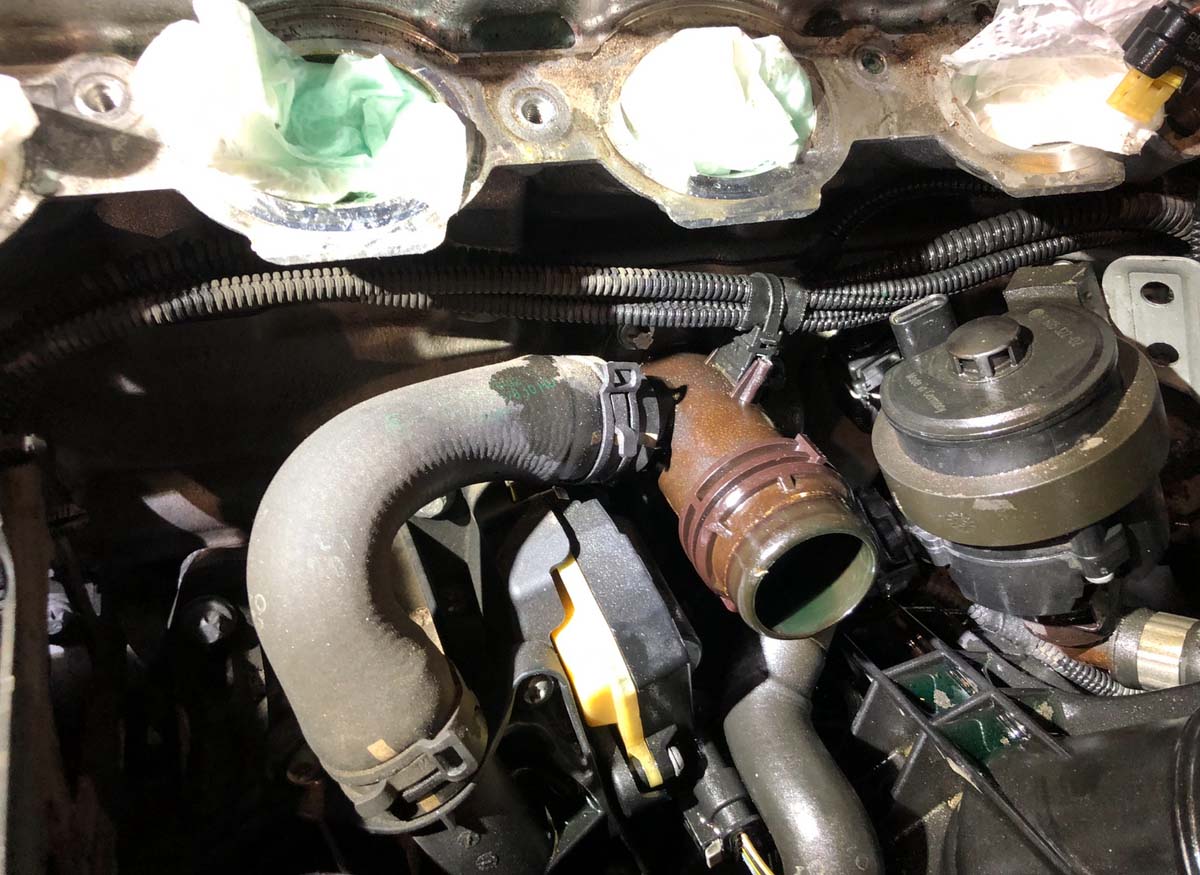
Once the Genuine BMW oil cooler and oil filter housing was replaced. We filled with coolant and two more leaks revealed themselves. The coolant hose fitting on the thermostat houing is leaking. The hose is brand new, not leaking from hose. Also, we found a second leak directly on the water pump plastic pressure relief fitting. Needs a new water pump and thermostat.
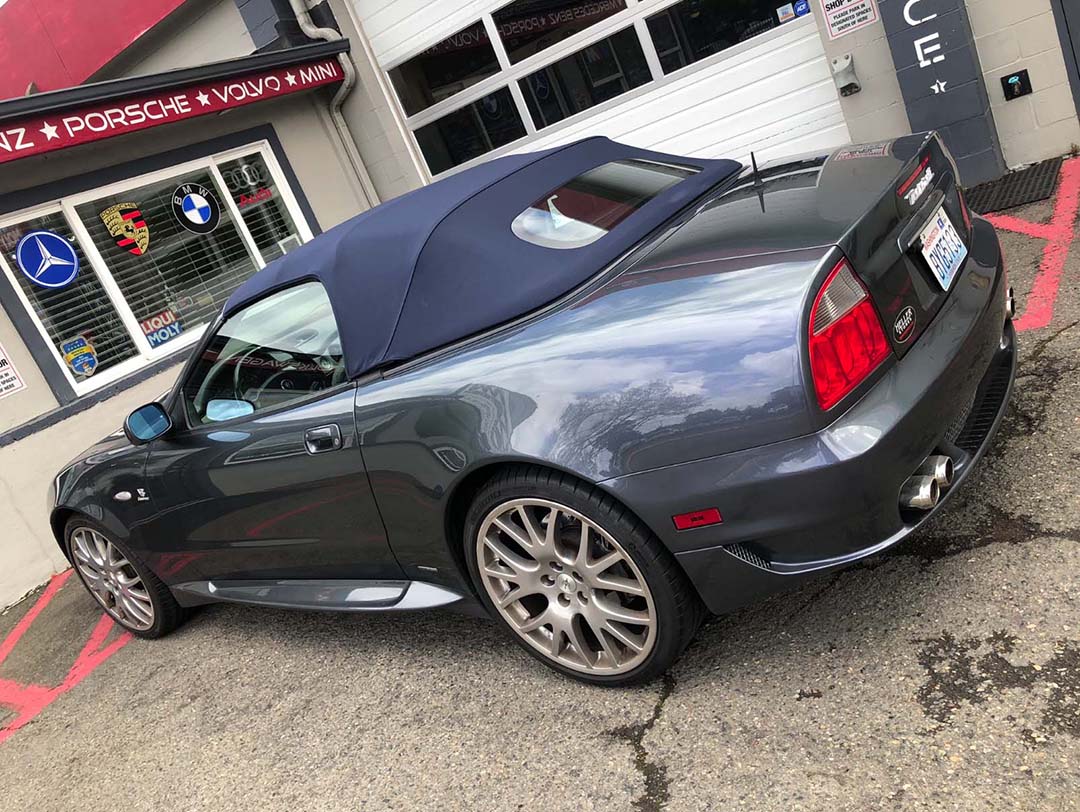
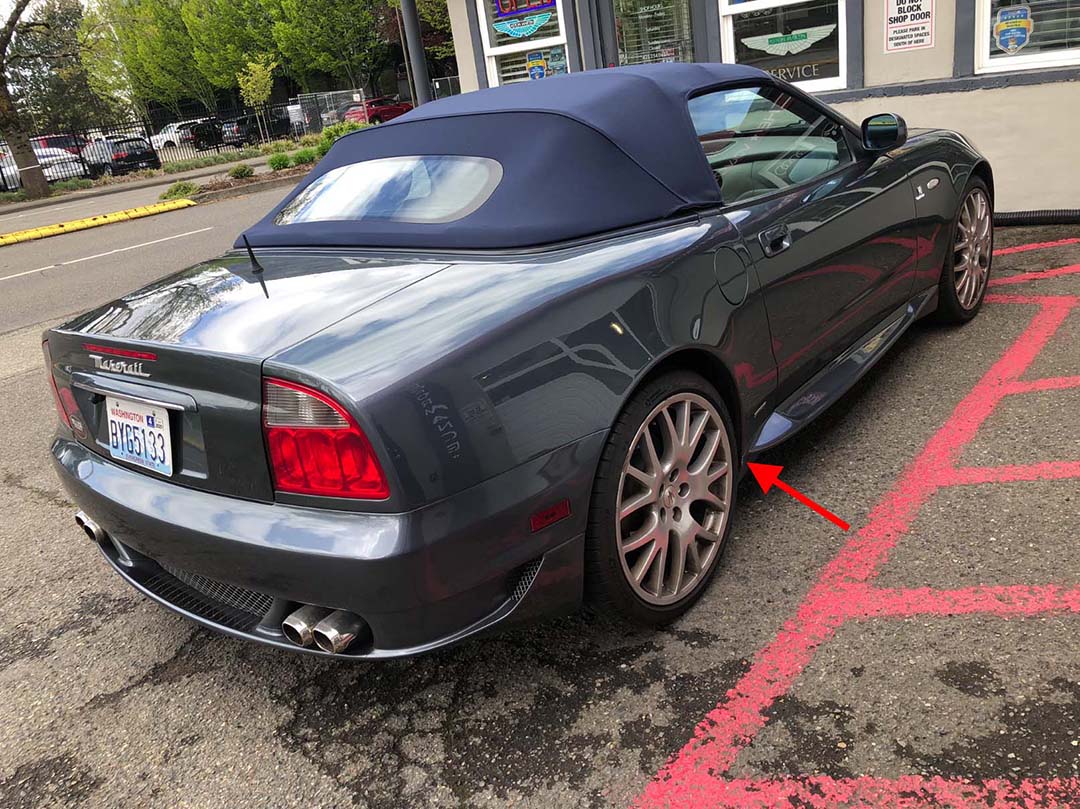
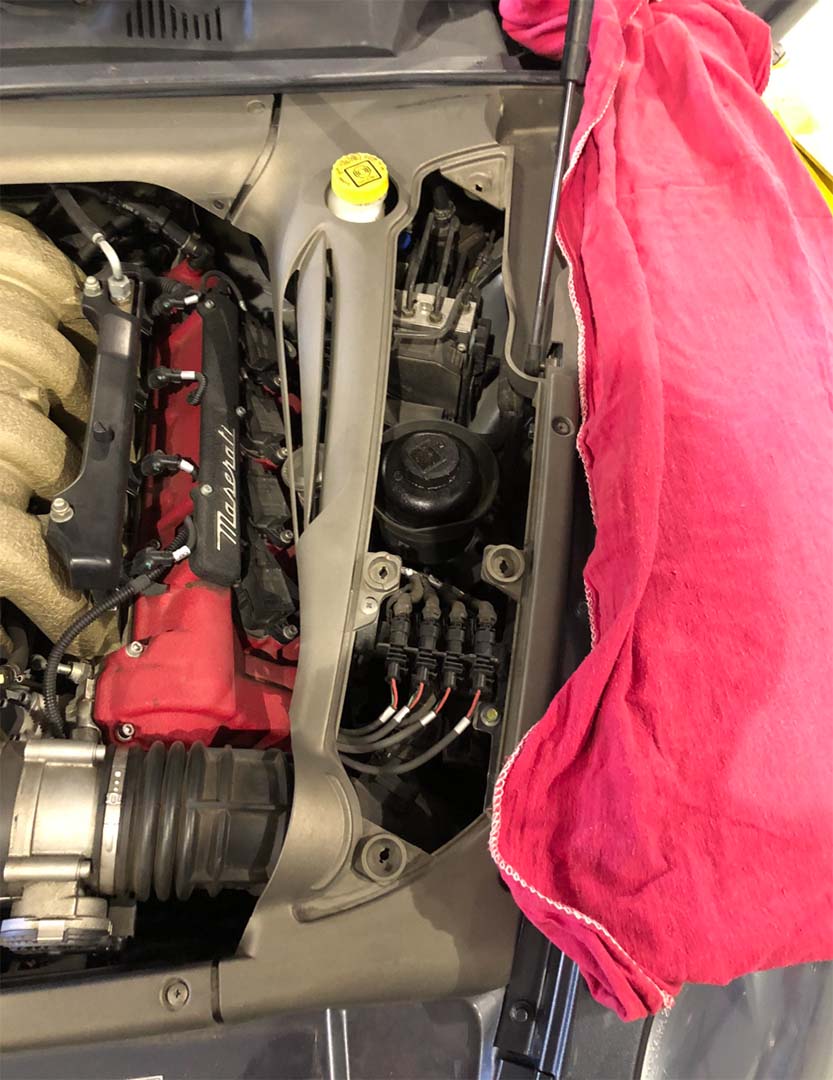
2006 Maserati 4200 GranSport – Diagnostic – Inspection – Repairs
Diagnostic, Inspection & Repairs
Rear Left Pre-Work
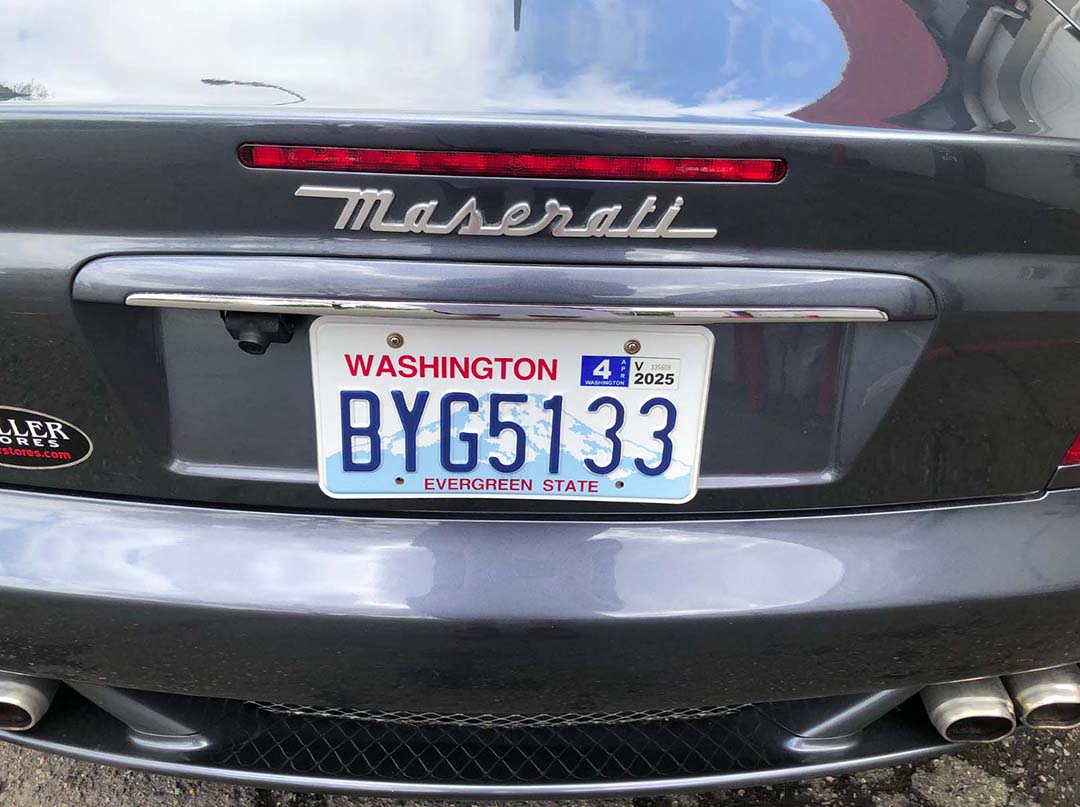
Plate
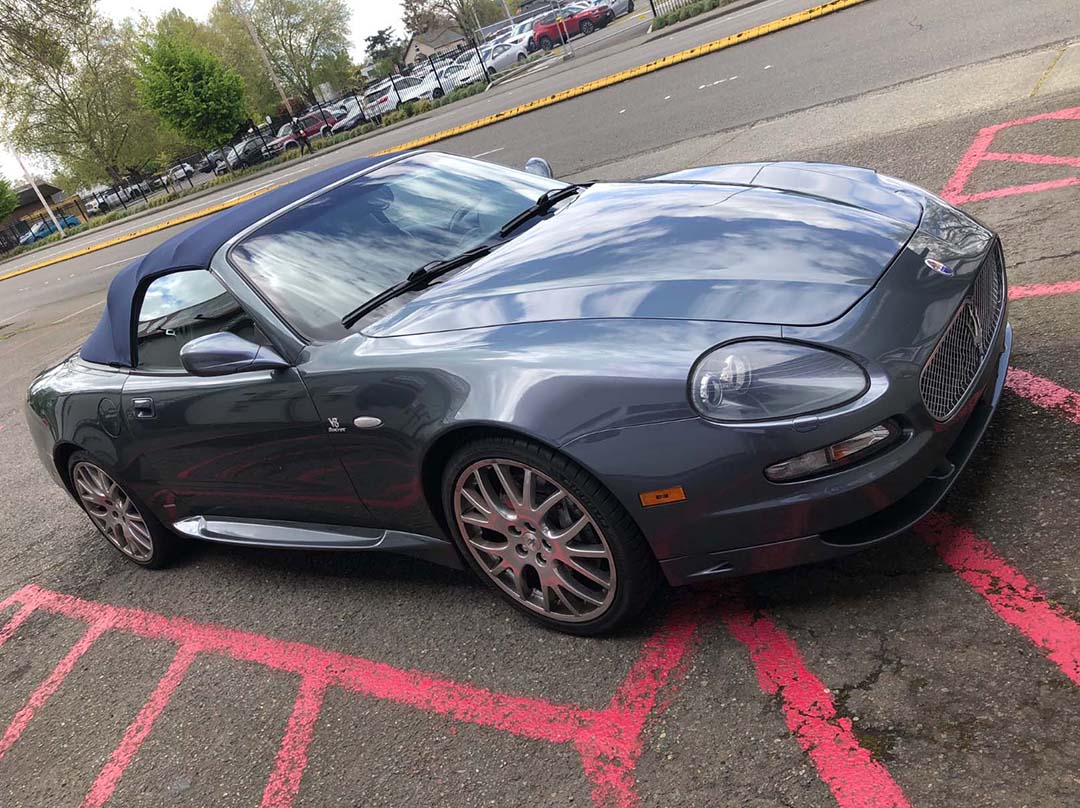
Front Right Pre-Work
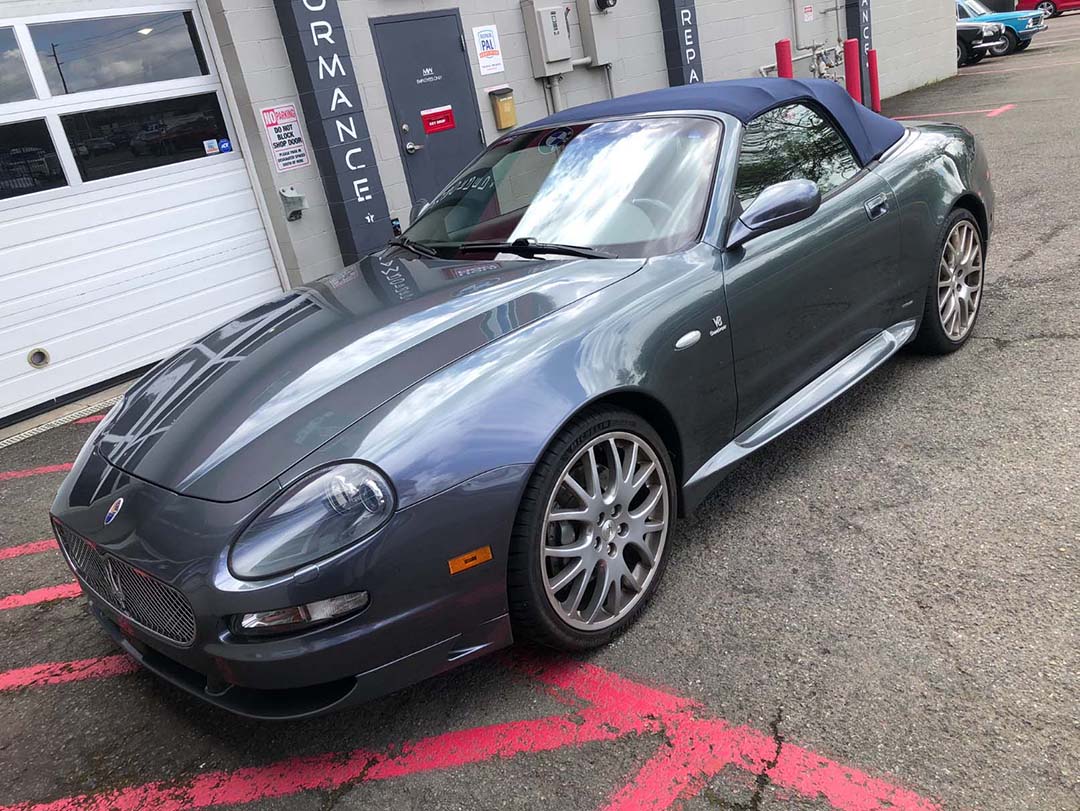
Front Left Pre-Work
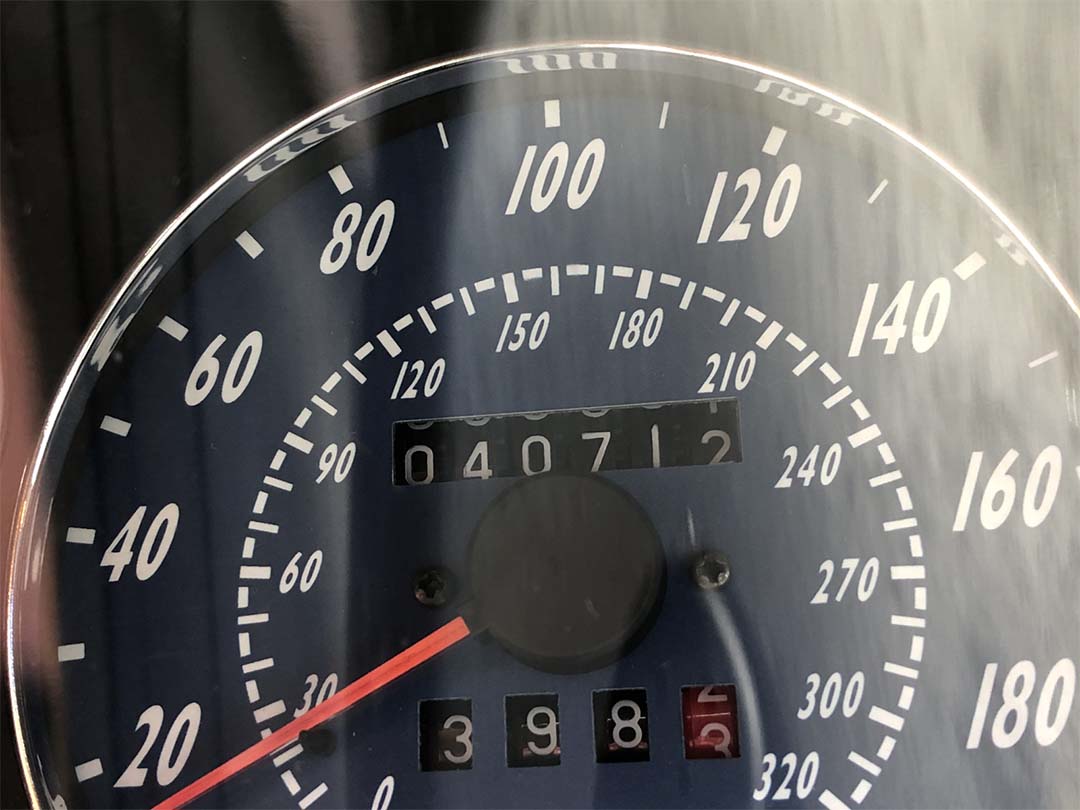
Mileage
Rear Right Pre-Work w/ Scratch
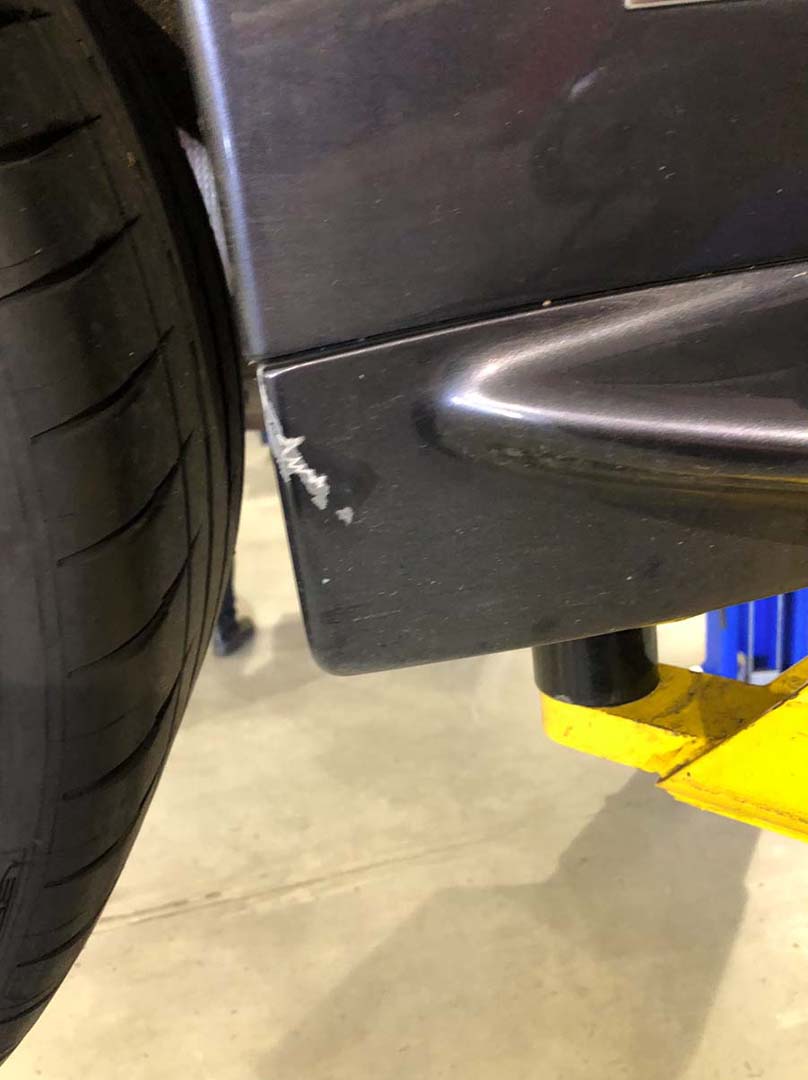
Scratch 2
Scratch 1
Arrival – Start Work
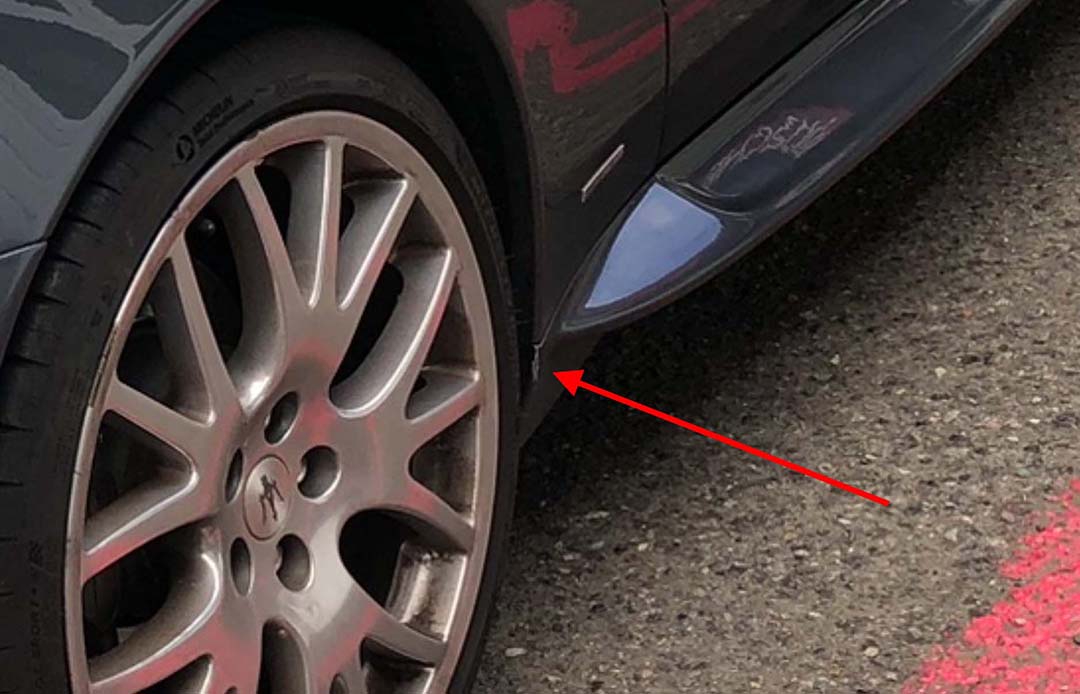
Missing Panel
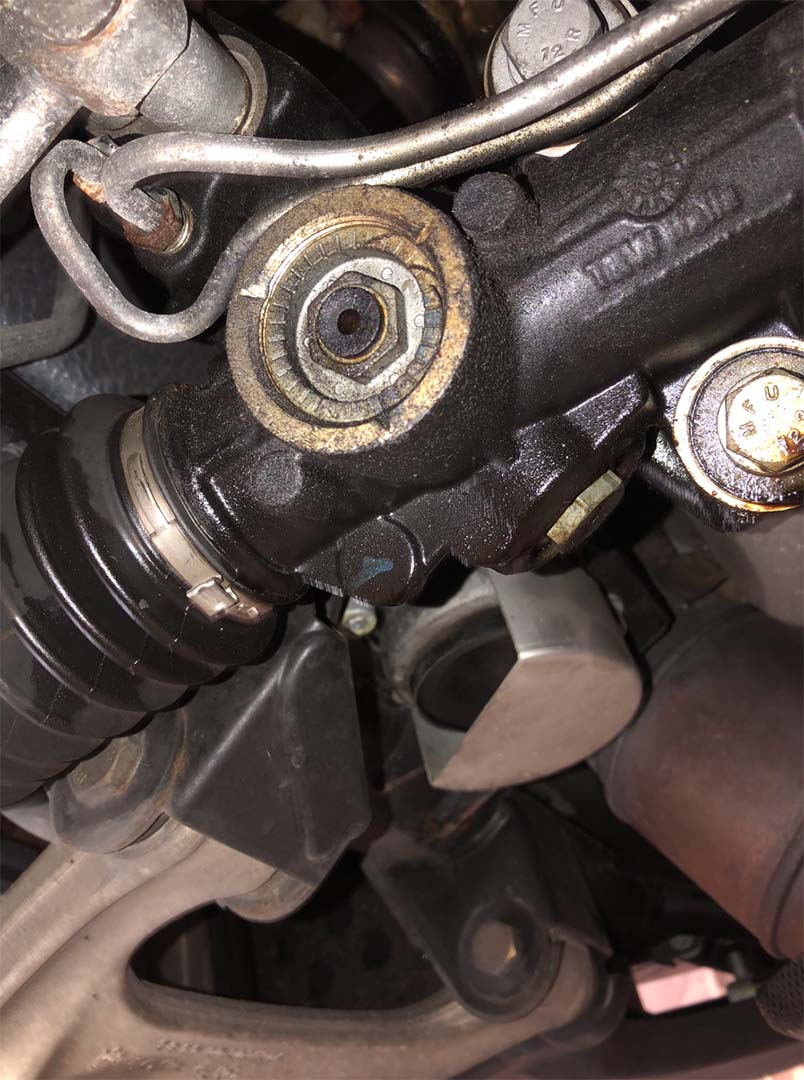
Steering Rack Leak

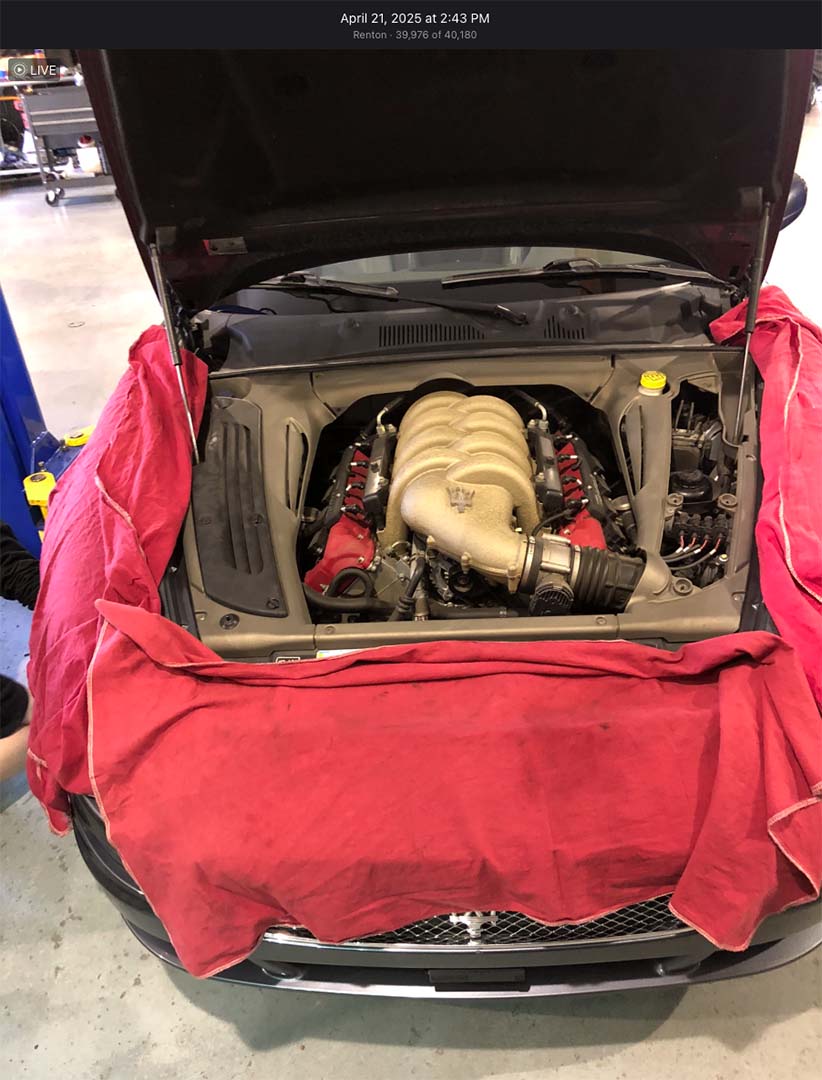
Valve Cover Gasket Leak Right
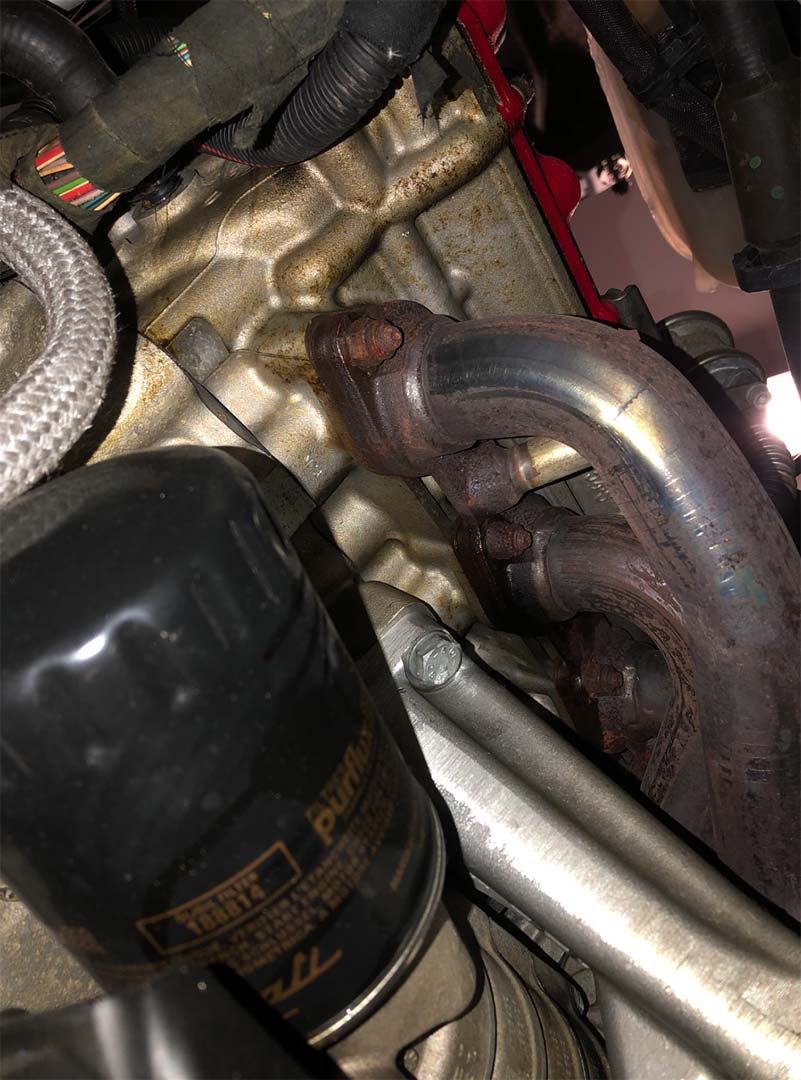
Valve Cover Gasket Leak Left
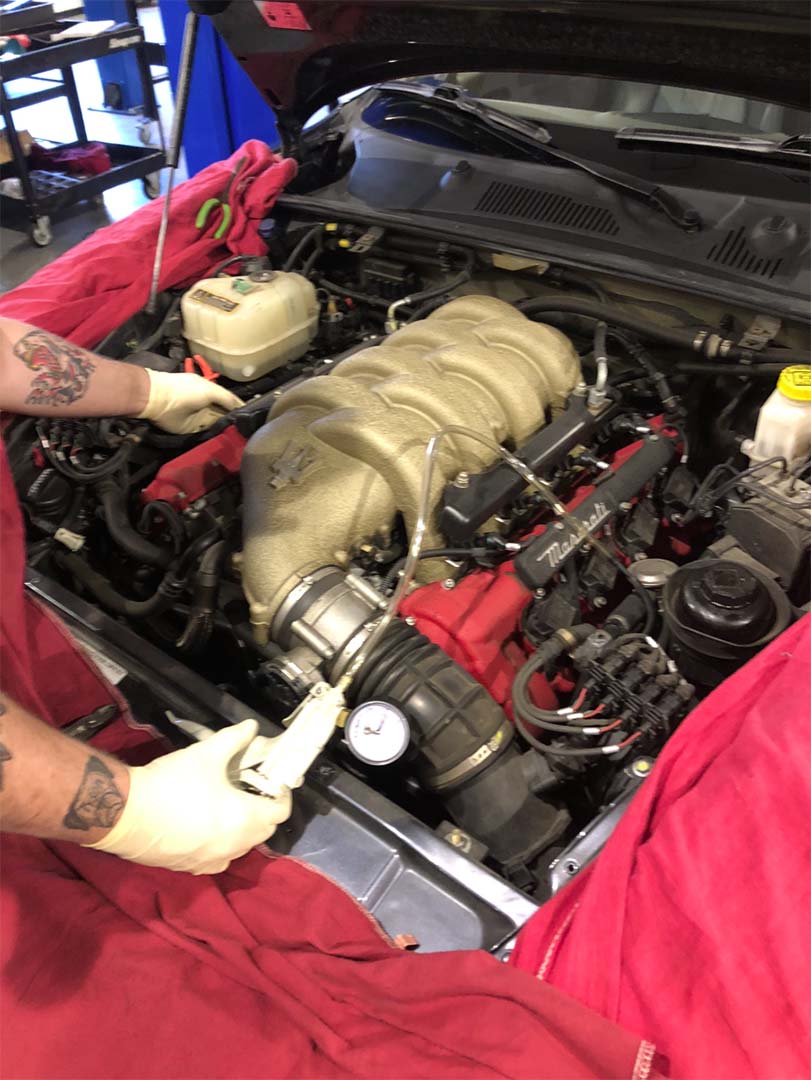
After Repairs – Vacuum Testing
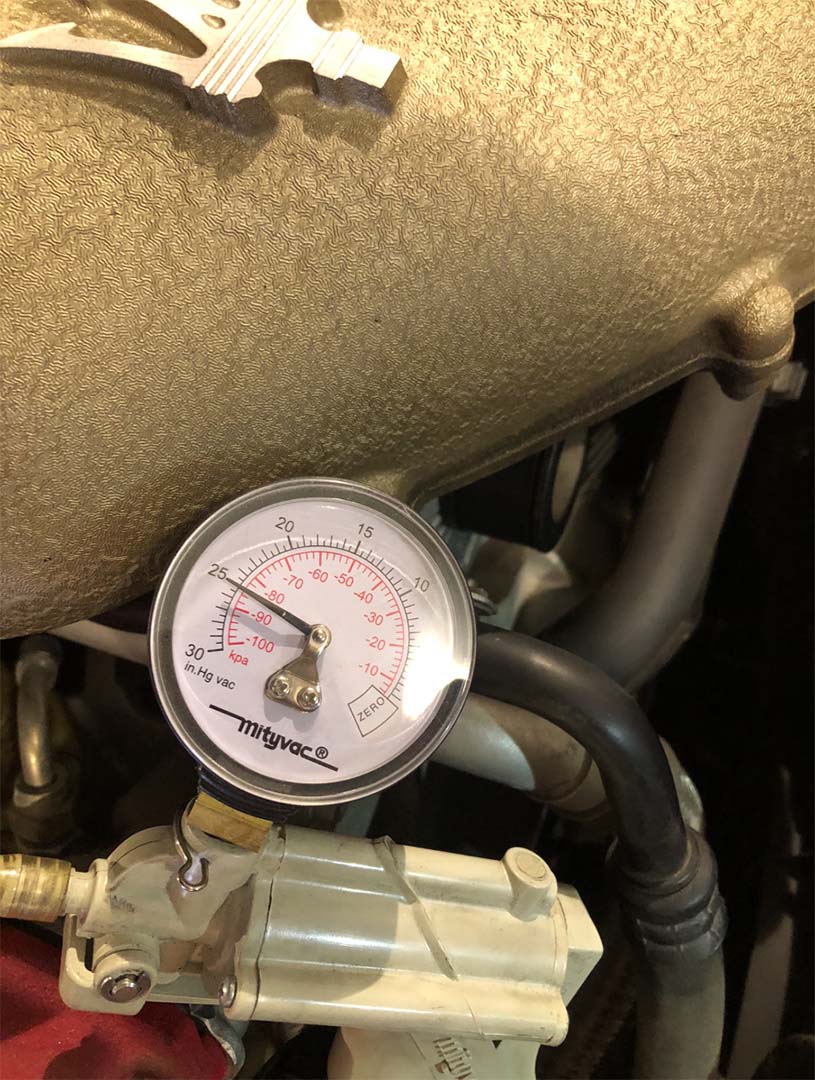
After Repairs – Vacuum Test Right
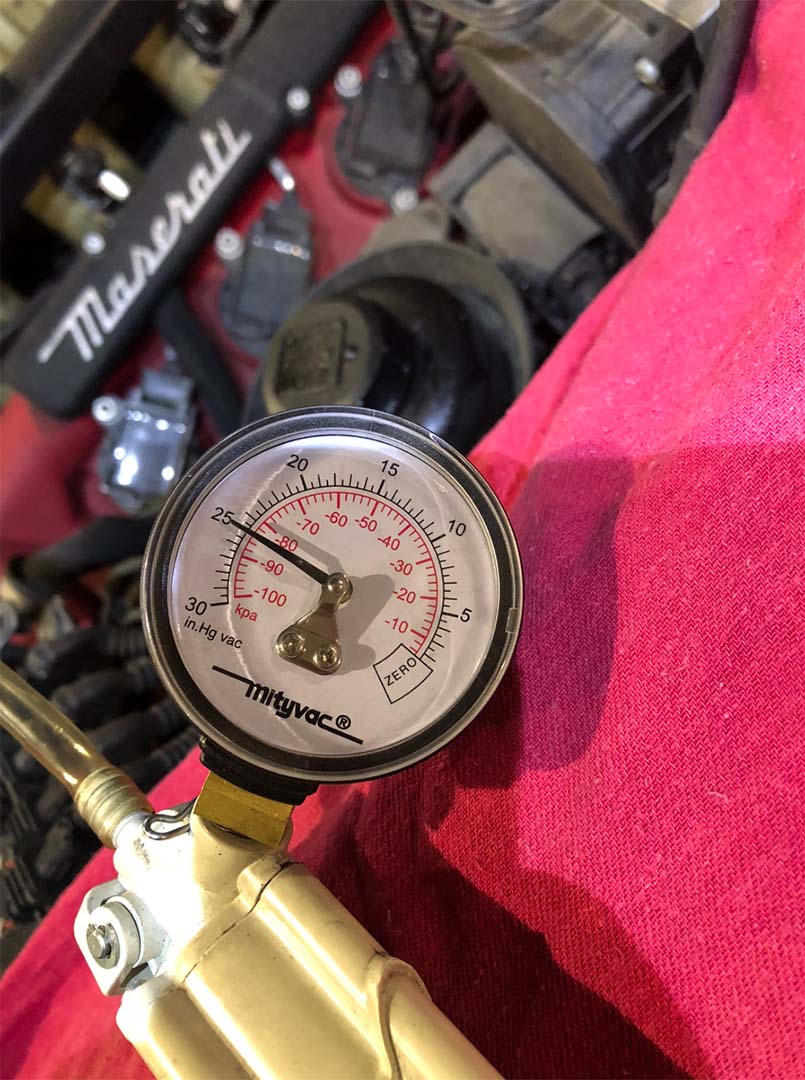
After Repairs – Vacuum Test Left
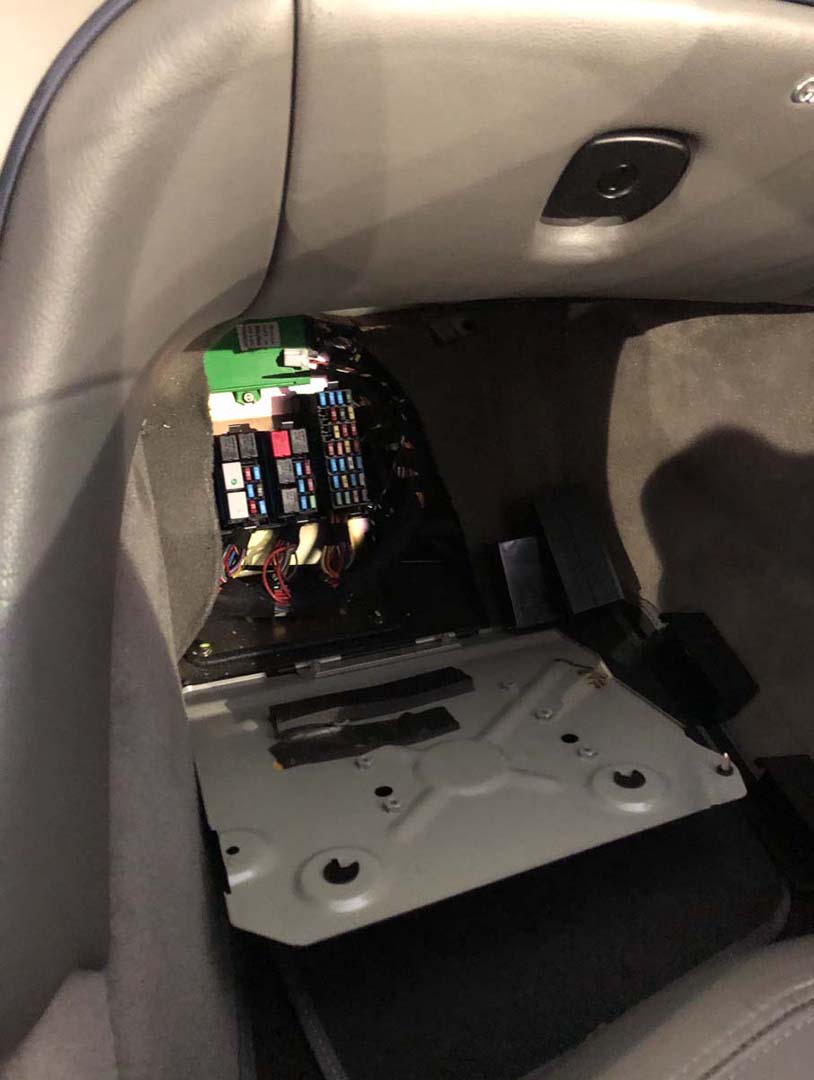
Fuse & Relay Testing – Passenger Side Footwell / Floor Board

Accessing HVAC Cabin Air Filter **** As you can see this area is not as dirty as the customer’s photo. In fact we detailed his Maserati afterwards and it looked much cleaner than this when he picked up his vehicle.

Replacing Old Dirty HVAC Cabin Air Filter
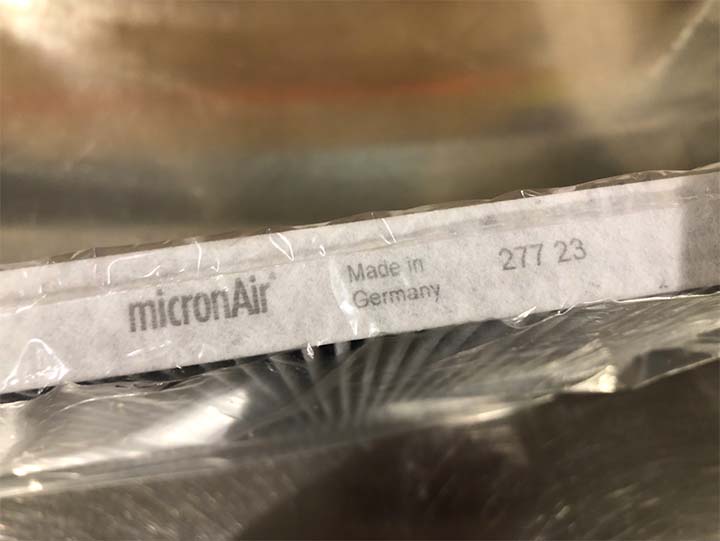
New HVAC Cabin Filter Side
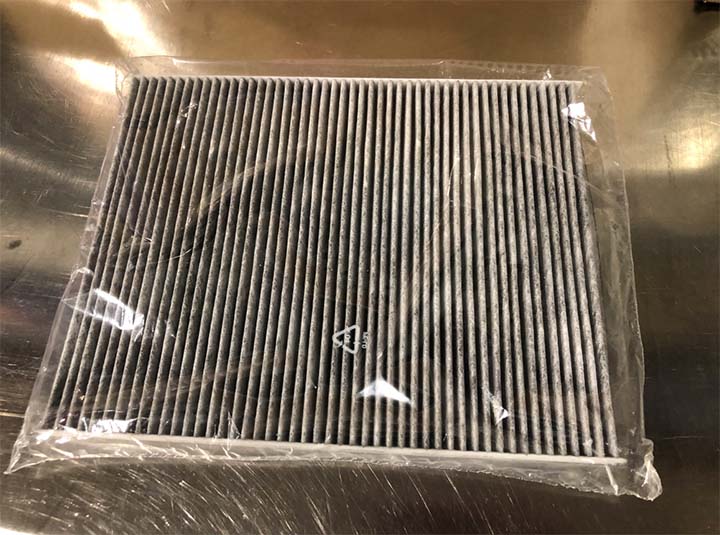
New HVAC Cabin Air Filter

Replacing Engine Air filter – Under Left Wheel Well LIner Cover
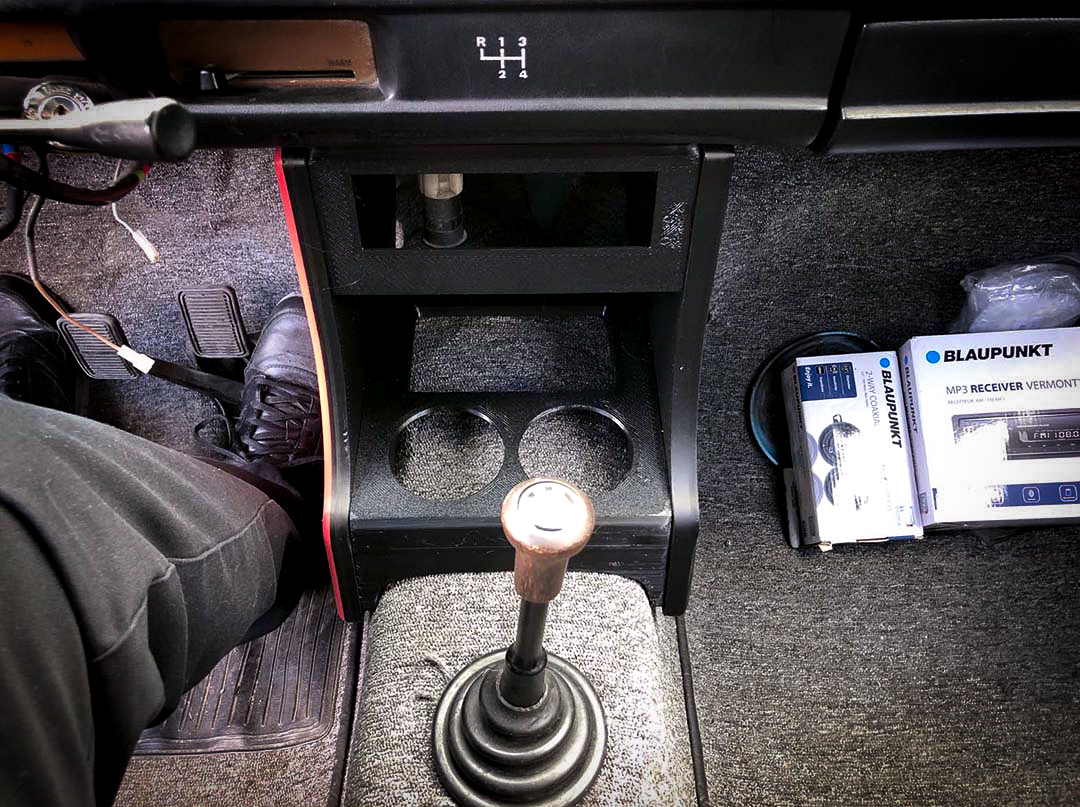
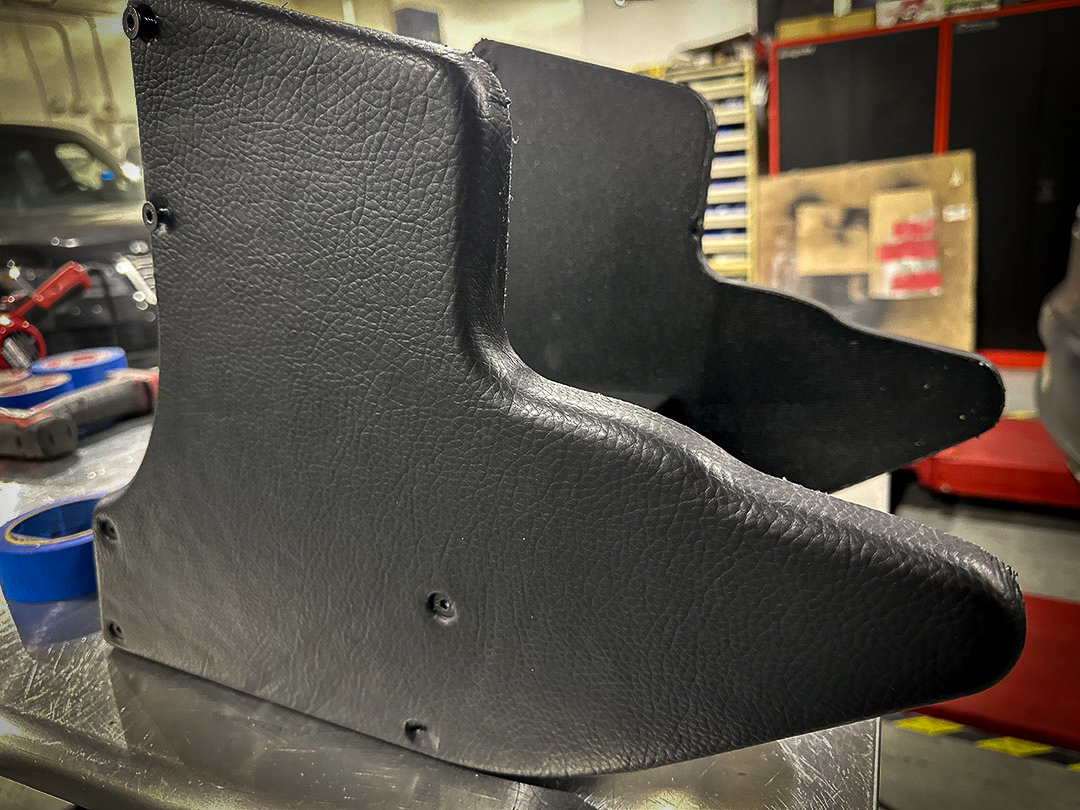
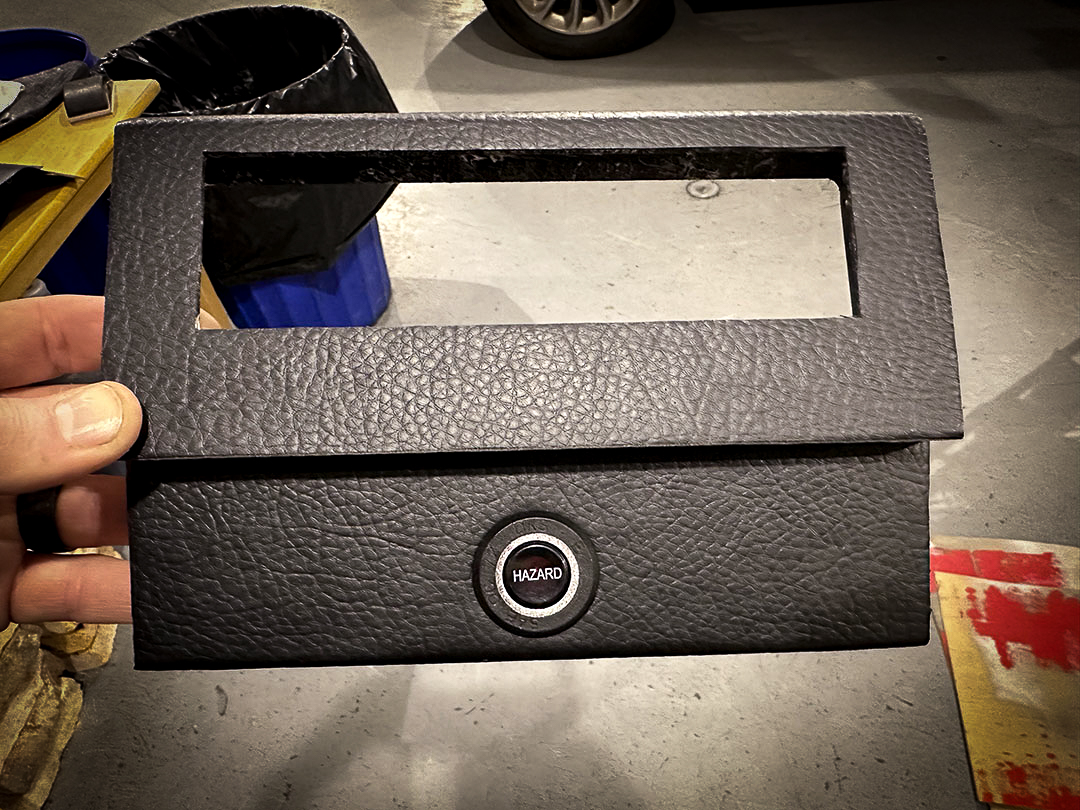
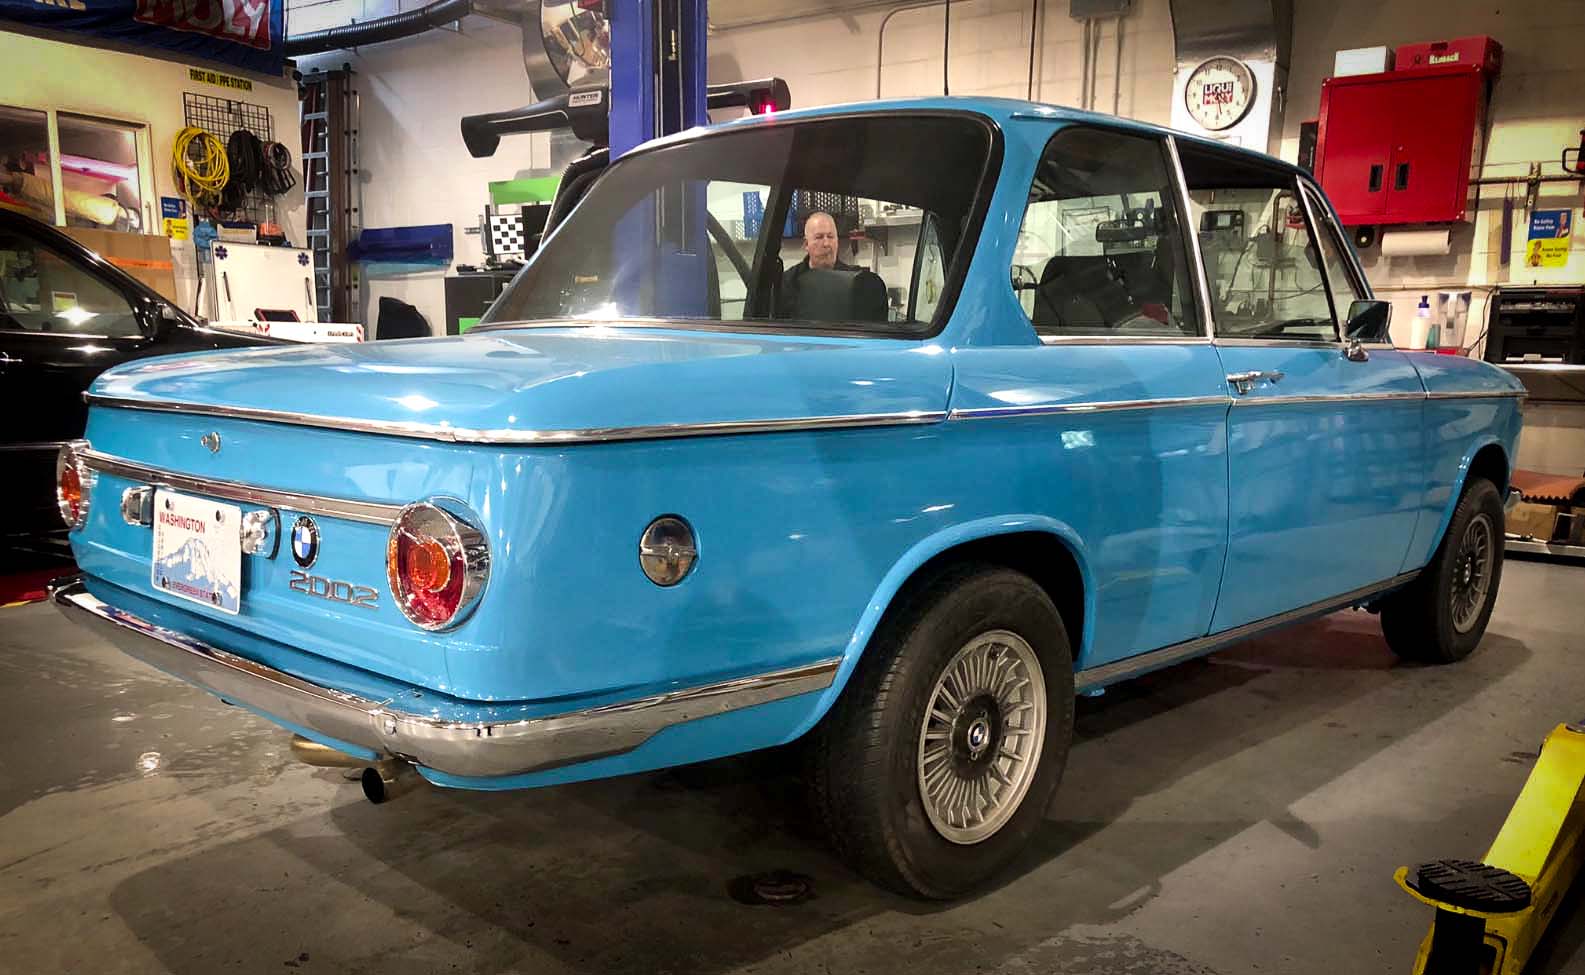
Last week we designed and made a 1972 BMW 2002 Center Console for one of our customers. Our customer brought his 2002 in over a year ago to do some restoration work. This was one of the items on his list that he wanted, among many other items.
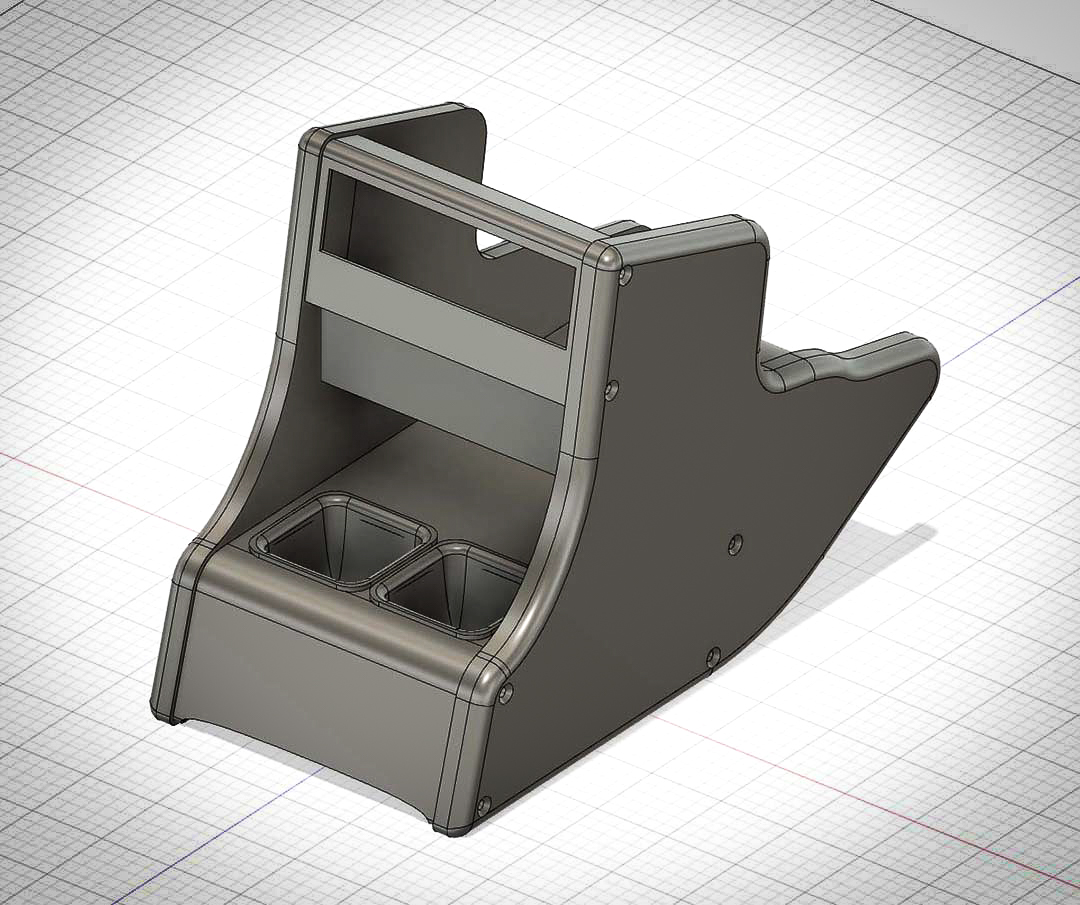
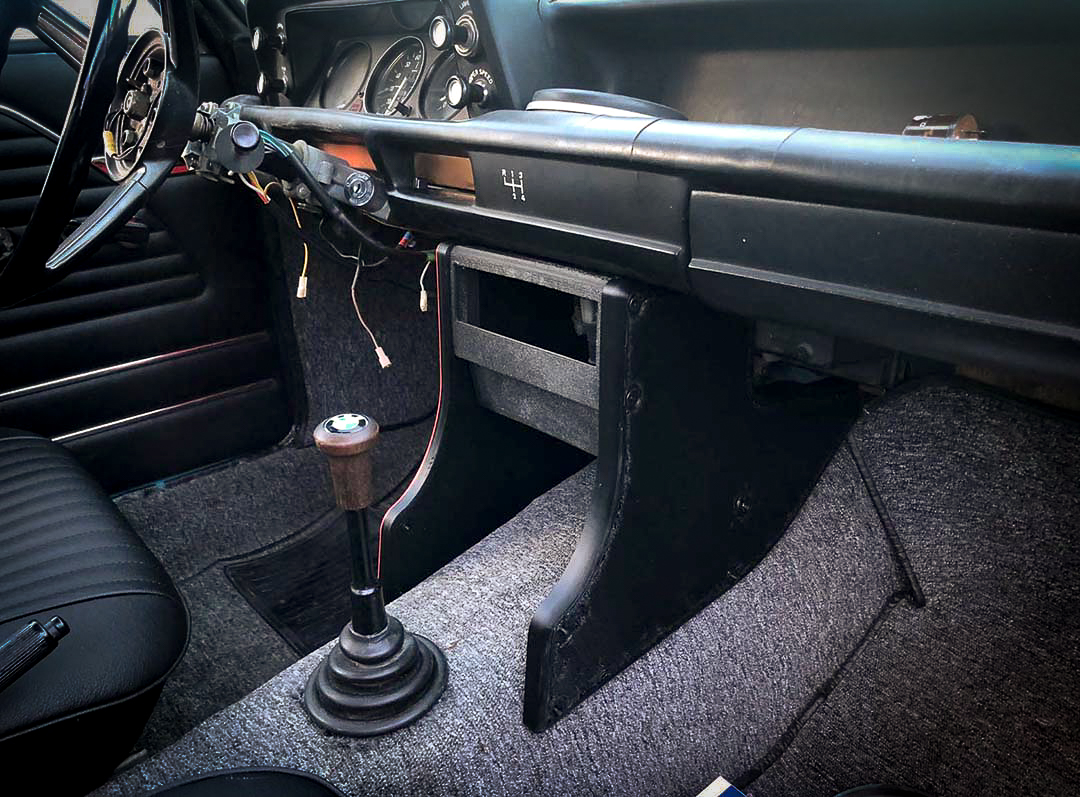
There are a few companies online that sell center console kits. However, most of them have 52mm gauge pods built in, or you have to buy multiple kits to get what you want. In this instance we designed to draft up our concept in Fusion 360 CAD and make it ourselves. We drafted up the basic profile of the sides. Then we 3d printed the sides, and test fit to make sure the fit was proper under the dash. After that we 3d printed drafts of the center sections. The first prints were about 15mm narrow on either side and did not allow us to put it under the dash.
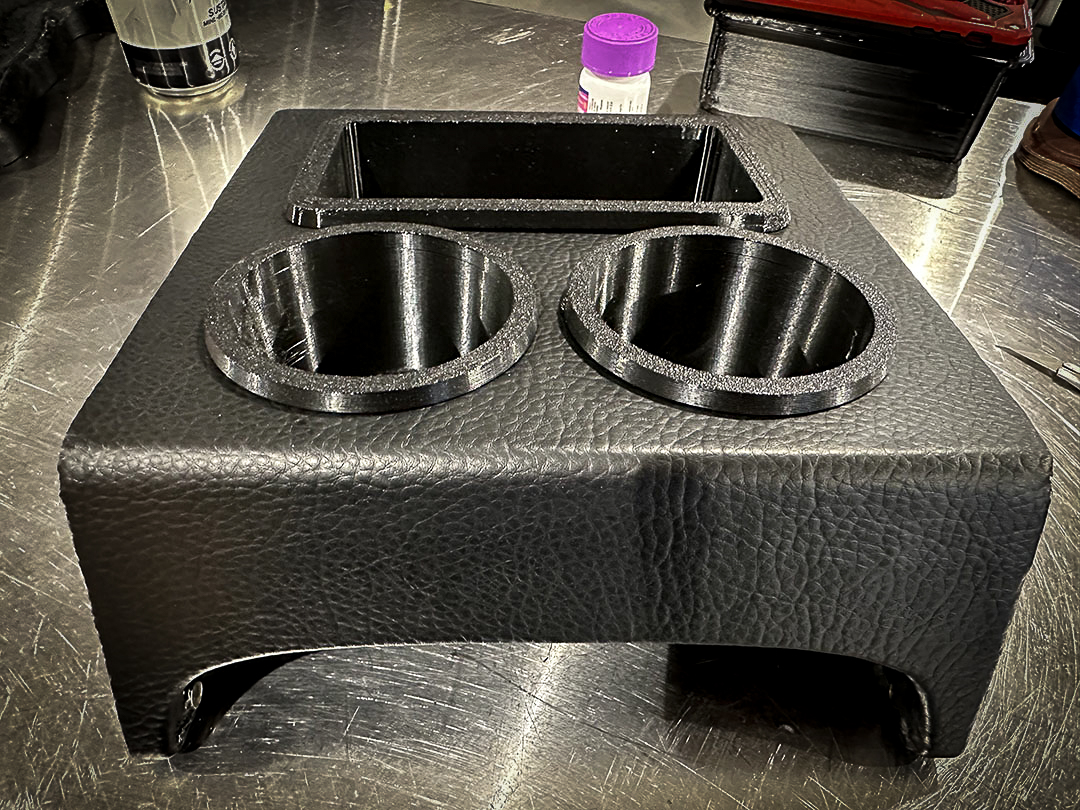
After knowing the exact size, we changed a few features on the design. For example, we changed the cup holders from swuare to round. We did not like they was they looked and they did work correctly on the first draft. After finalizing our design, we started printing our final prints. We ended up using about 3kg or around 6.6lbs of filament with the drafts and final production pieces. Don’t mind the red size panel, I ran out of black filament. It will get covered up later, so I doesn’t really matter too much.
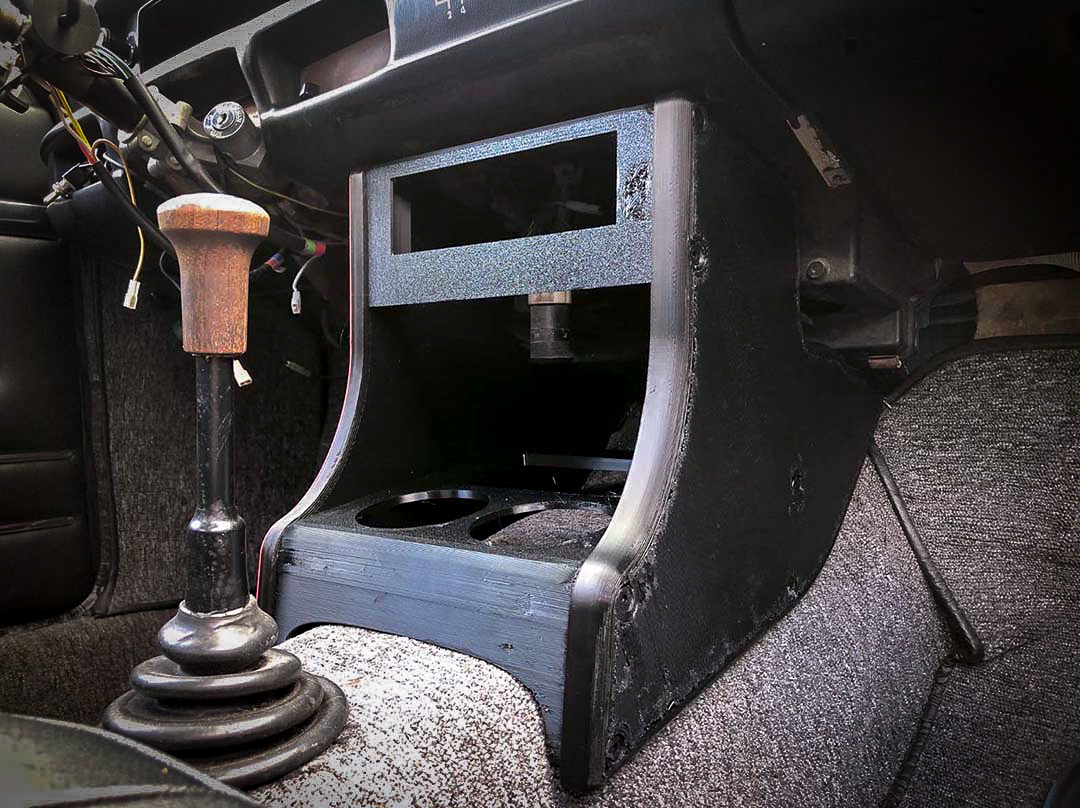
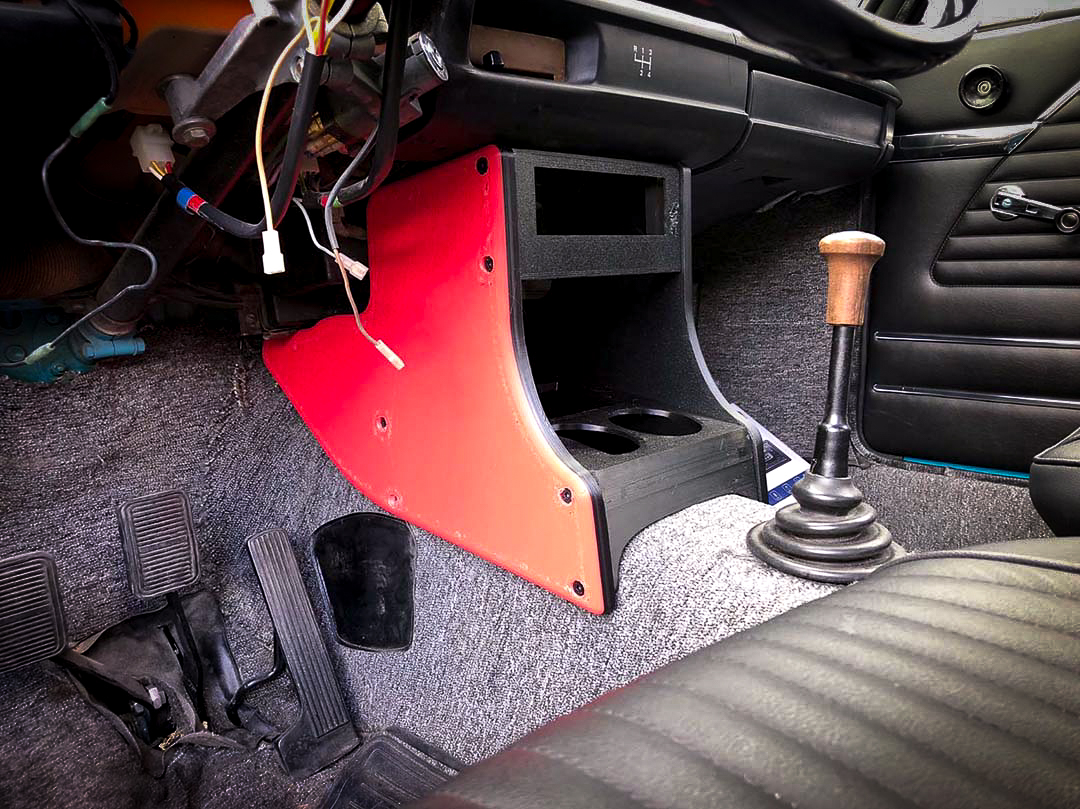
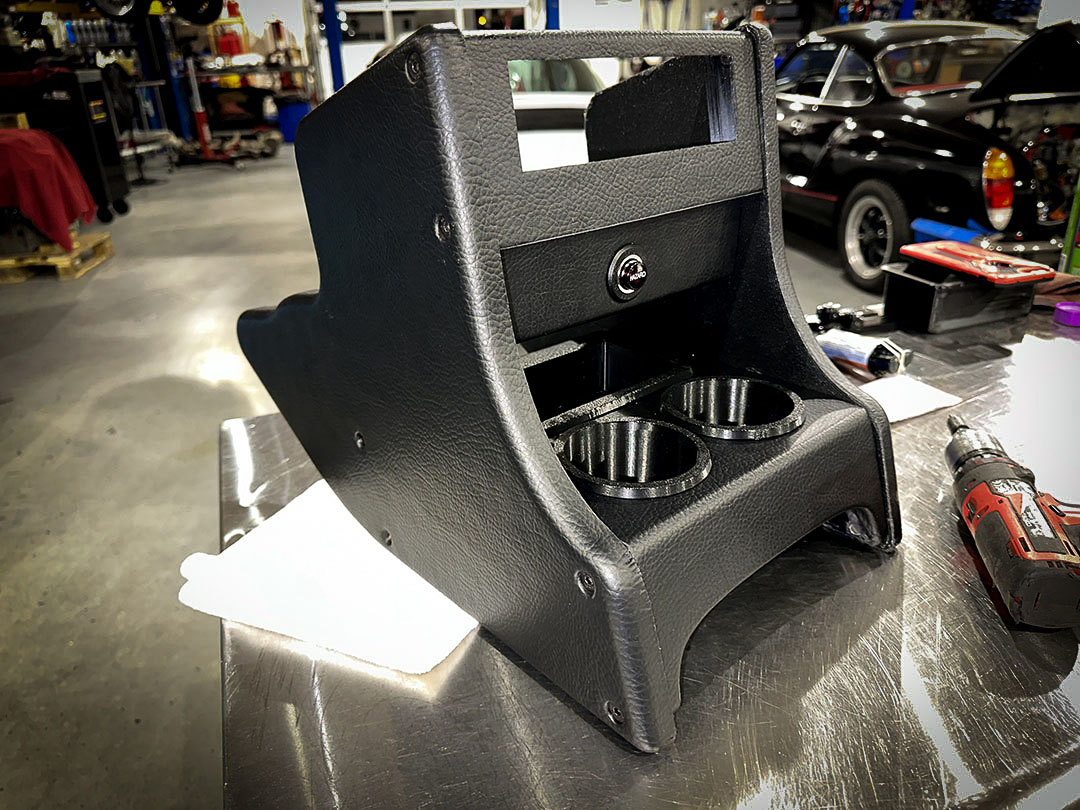
After the final parts were finished printing, we installed brass wood inserts into the plastic. We use a torch to get the brass inserts hot, then screwed them in. If we didn’t get them hot first, the PETG plastic we use to print this would have cracked. PETG is a very strong plastic that is weather and UV safe. Similar to ABS, but easier to print than ABS but much stronger. Most people use PLA on there 3d printers. PLA breaks down overtime, is not UV, and will absorb moisture. PETG is more difficult to print than PLS and it requires a hotter temperature to extrude from the nozzle. We use special diamond tip nozzles and had to customize and modify our 3d printer. We do this in order for us get better quality prints off our printer.
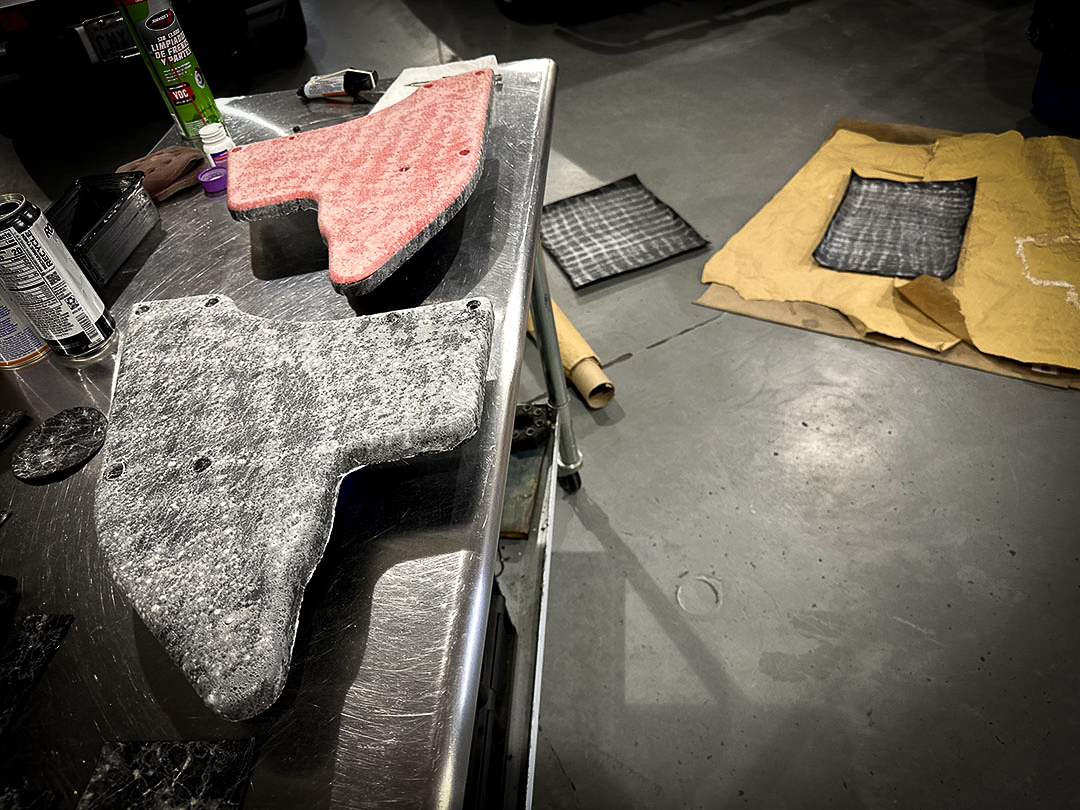
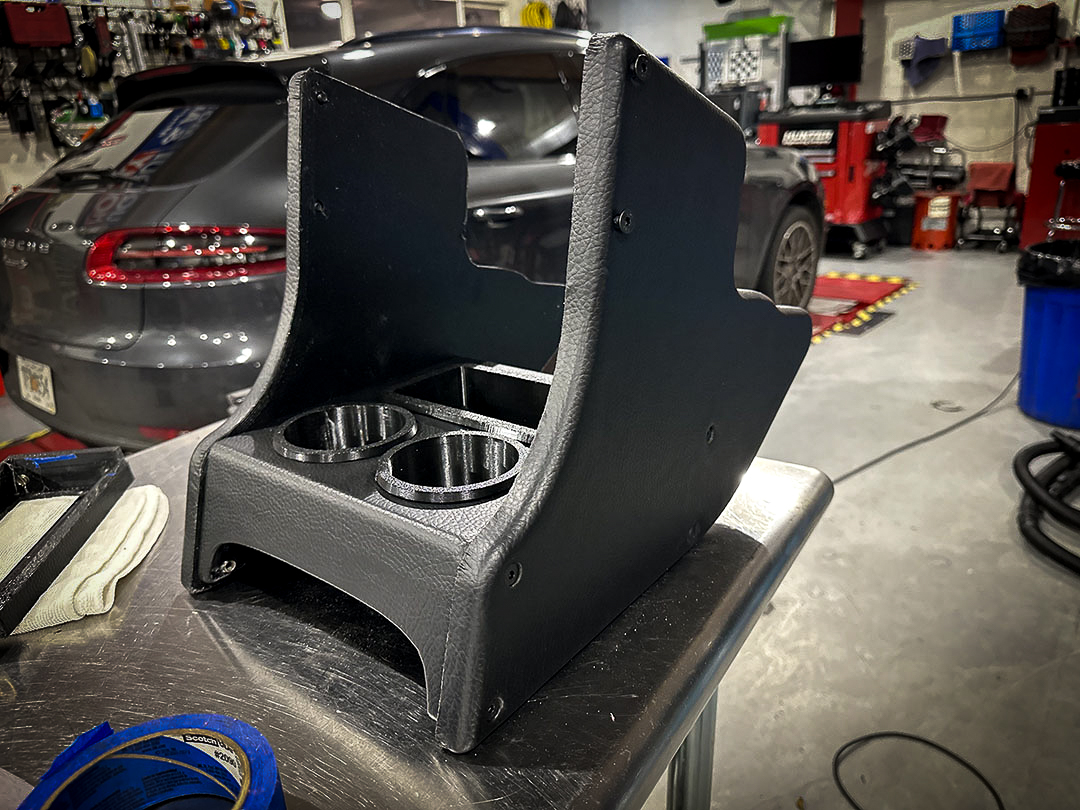
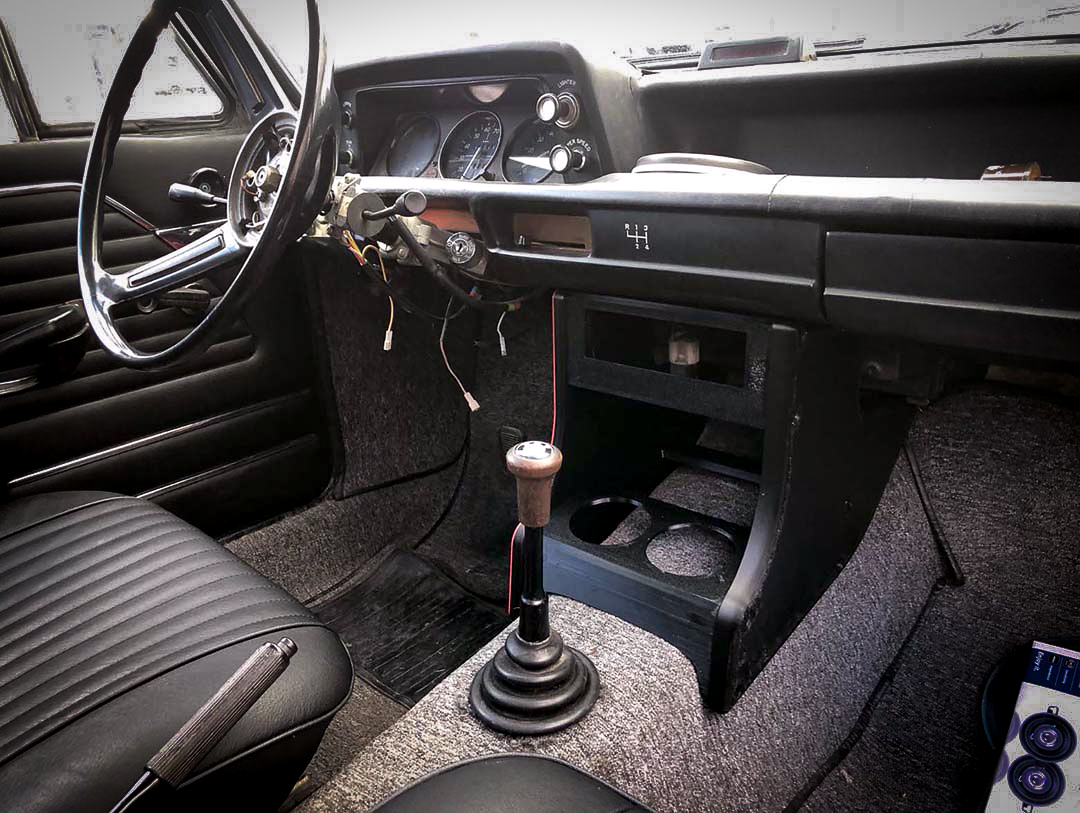
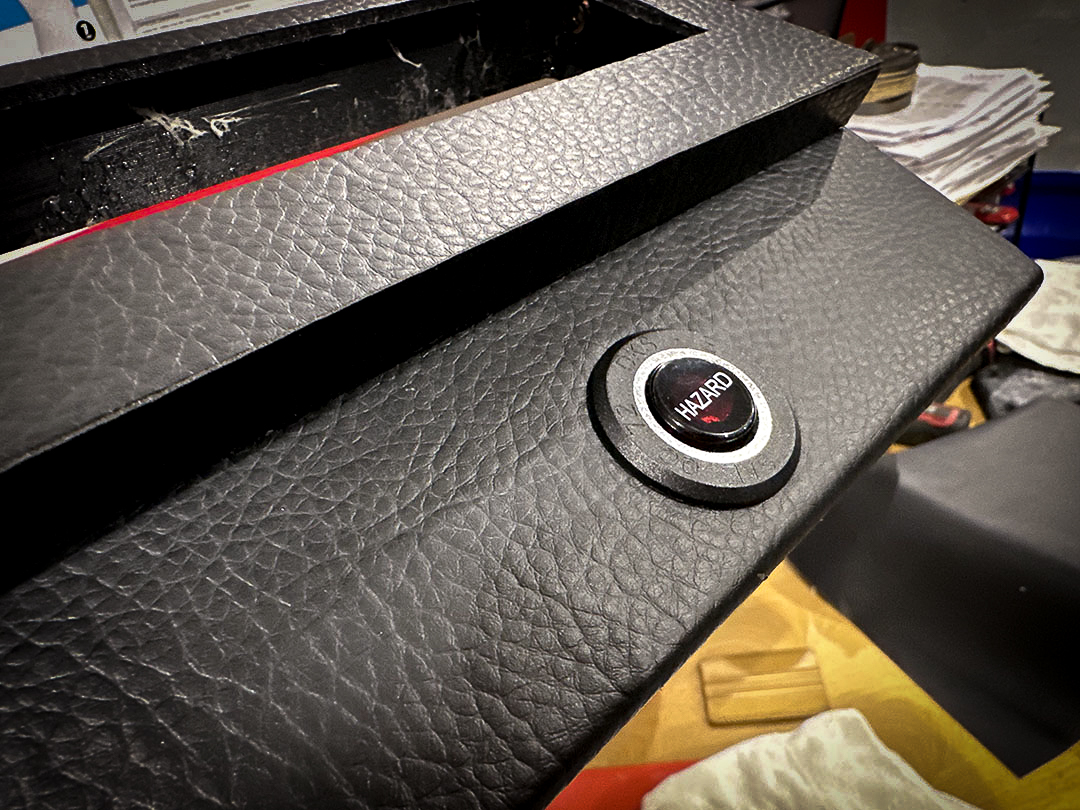
Once the brass insert were installed we dry fit the parts together to make sure everything fit properly. Once we verified the fitment, we started wrapping the parts with marine grade vinyl upholstery . This material looks exactly like leather, and gives the piece a more vintage look and feel.
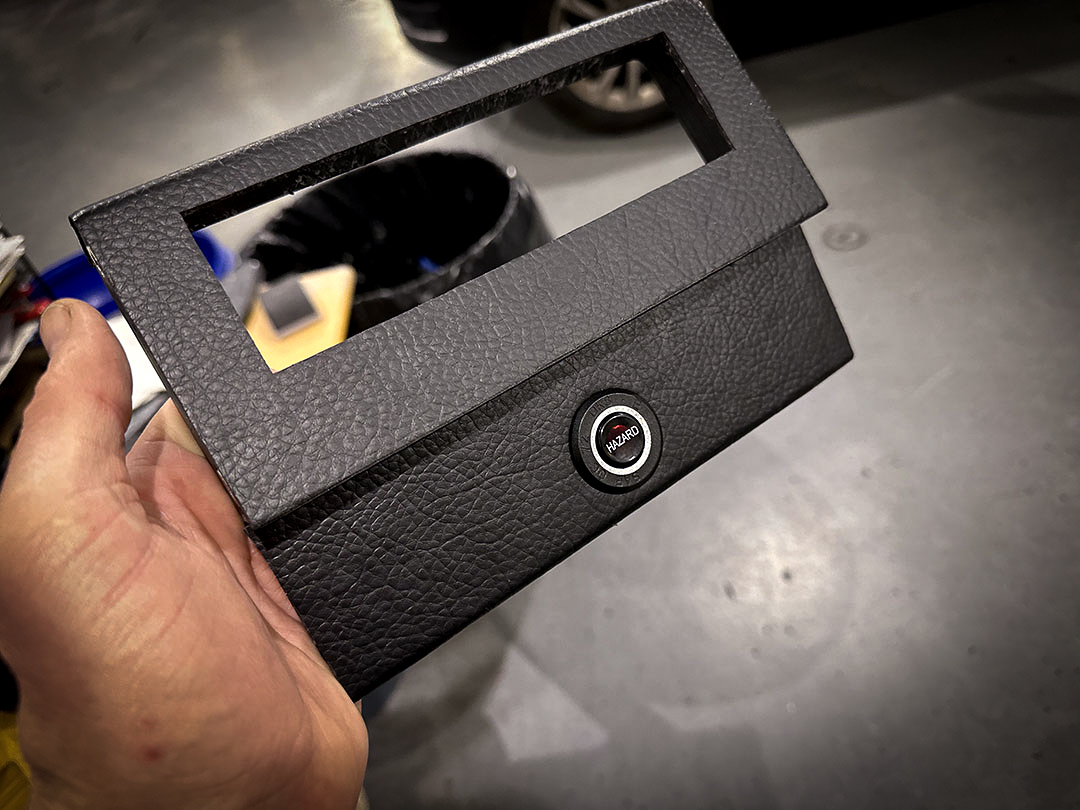
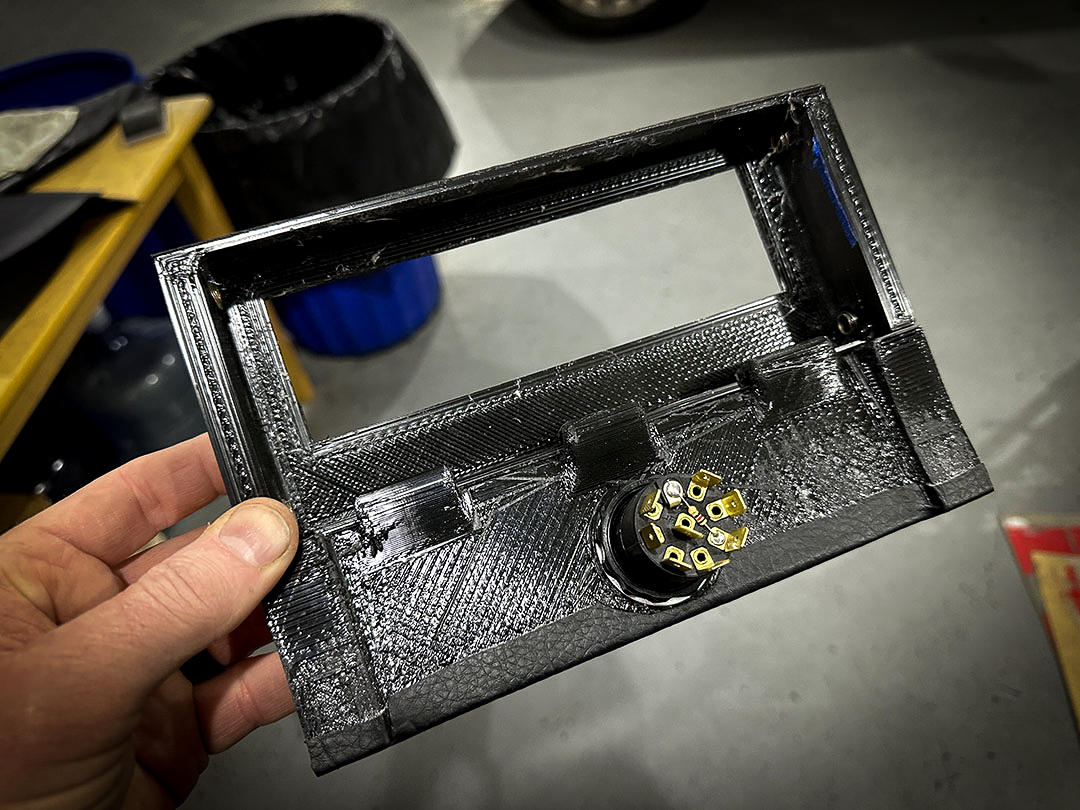
Once we installed all of the faux leather (pleather) on this BMW 2002 Center Console, we installed felt on the circumference of the cup holder inserts and rear tray. We also put felt around the outside of the cup holders and tray inserts to make sure there were no rattles. (not in photos) This also help press fit them into place, although, they can still be removed for cleaning purposes.

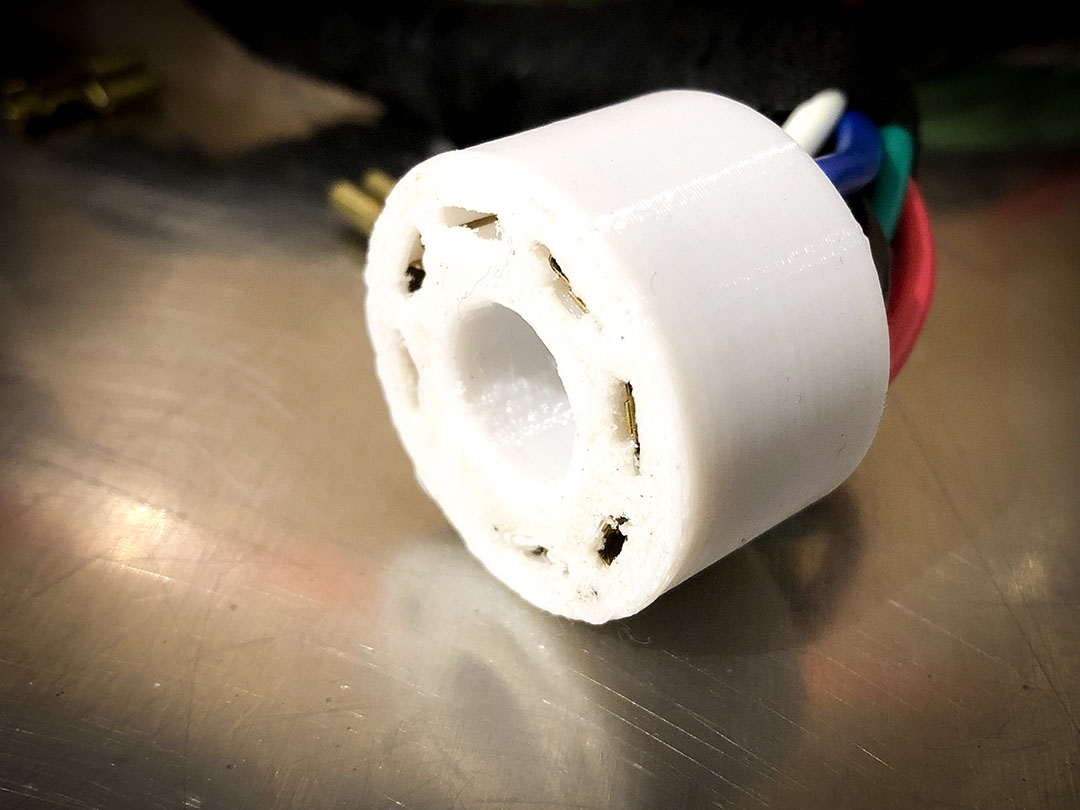
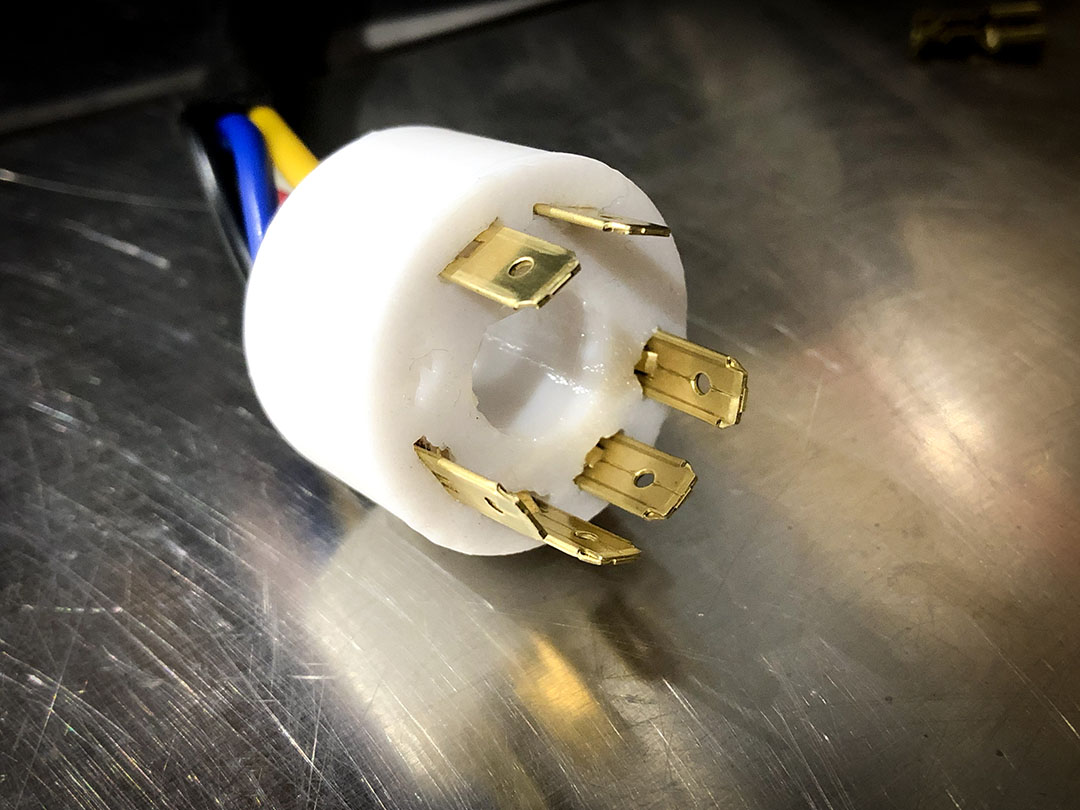
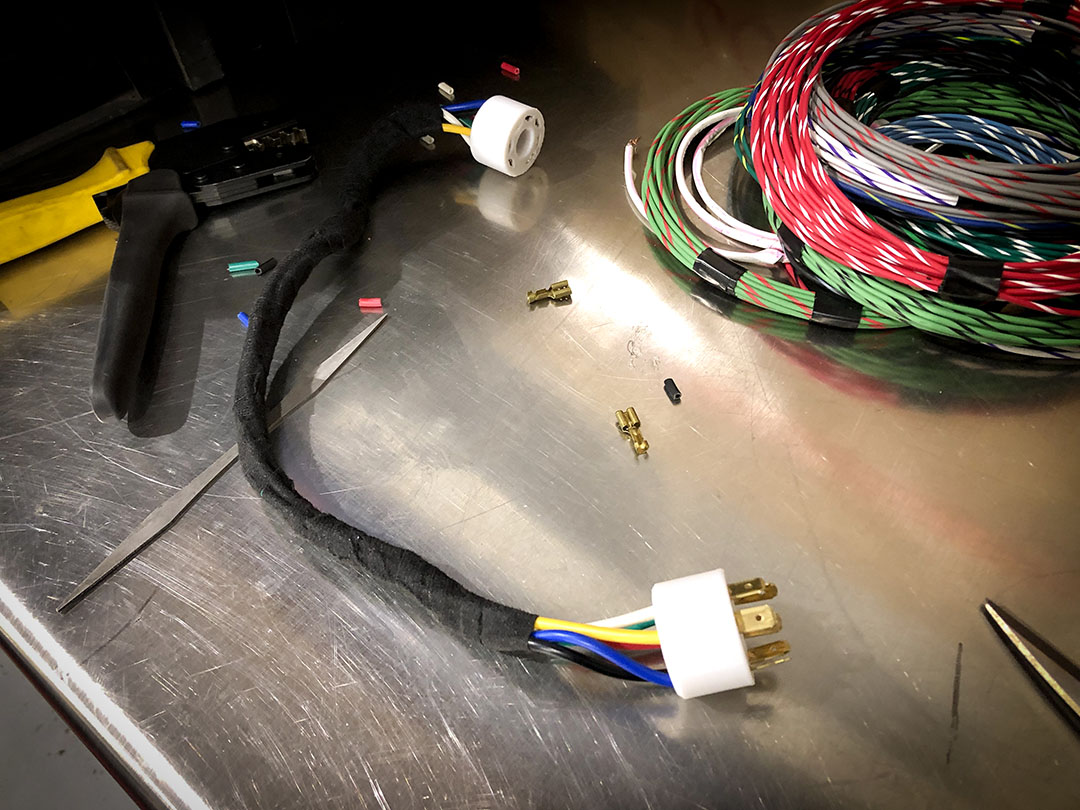
One other thing we noticed after the dry fit, the hazard button harness does not fit. We are also 3d printing a connector so we can elongate the harness and allow us to plug in the switch in the lower location. In hind sight, we should have put the switch up top, however we did not want the radio to be and knuckle height when shifting the BMW. I personally have owned vintage vehicles that had the radio directly infront of the shifter and always found myself touching the buttons when shifting into reverse, first, third and fifth gears. So having the button in this location, recessed, was probable a better decision.
For more information on how to get your European classic car in the shop for some service, maintenance or custom work, contact us at 425-254-0627. You can also schedule an appointment or receive a quote by clicking here. Meister Werks European & Import is located one block south from The Renton Landing in Renton, WA, across the street from the former Boeing Store and at the westside of the Paccar / Kenworth plant.
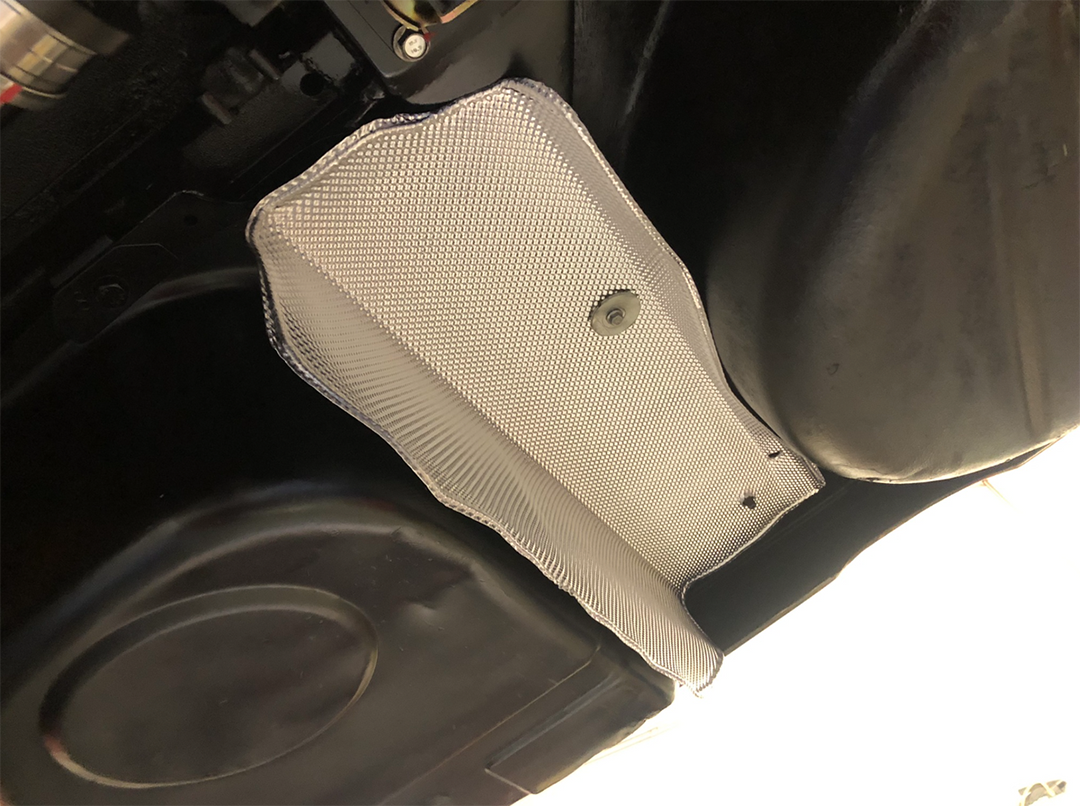
Custom Heat Shield – BMW E24
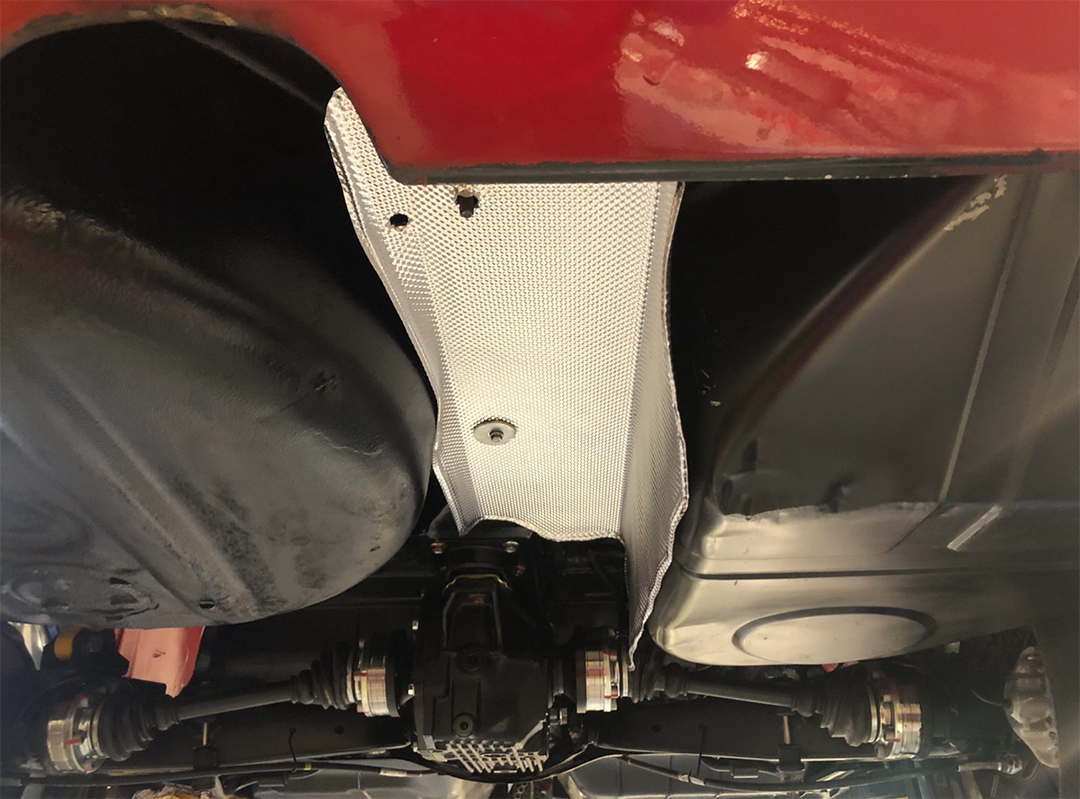
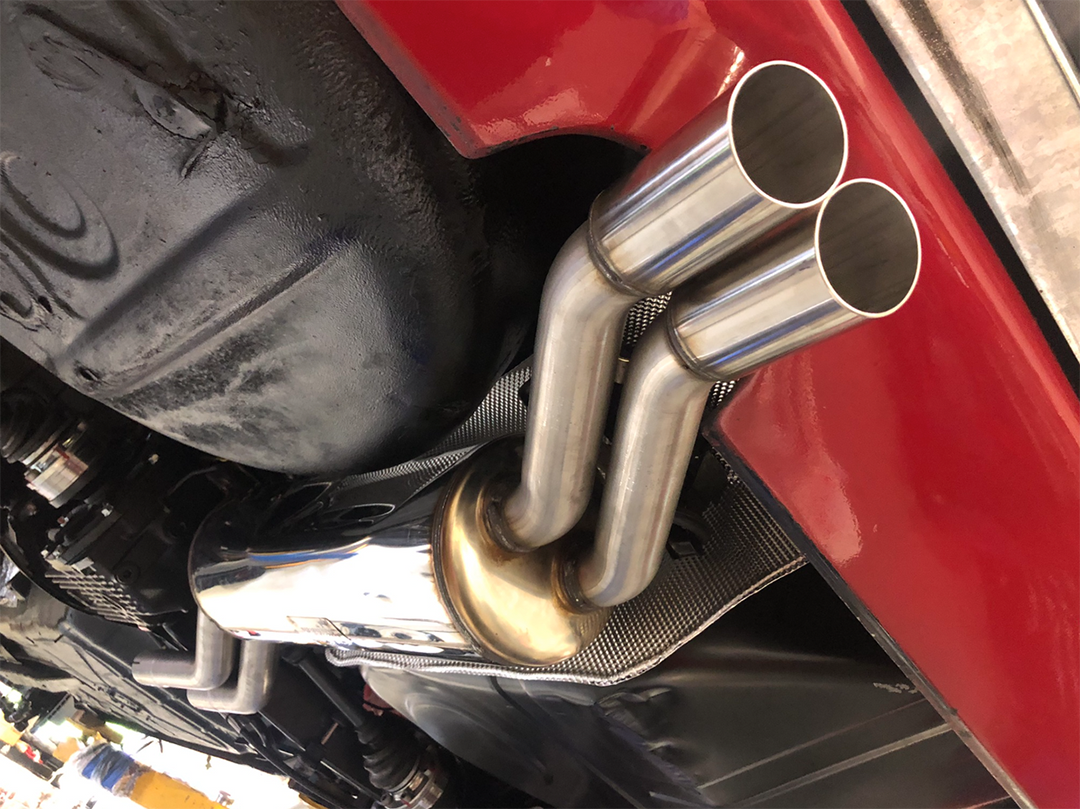
This is a custom heat shield we made for a German market 1980 BMW 635csi E24 w/ a M90 engine. We’ve been working on this for a while and the attention to detail is imperative. This E24 is getting a brand new Super Sprint stainless steel exhaust system. We need to make sure the heat from that is contained and stays away from the fuel tank. First, we took measurements. Then, we hand bent a flat sheet of heat shield material with a flat metal bar. After that, we trimmed the edges to the body contour. Finally, we used our bead roller to roll the edges which makes it much more rigid.
-
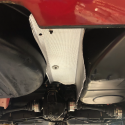
- Rear Heat Shield
-
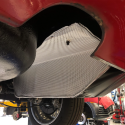
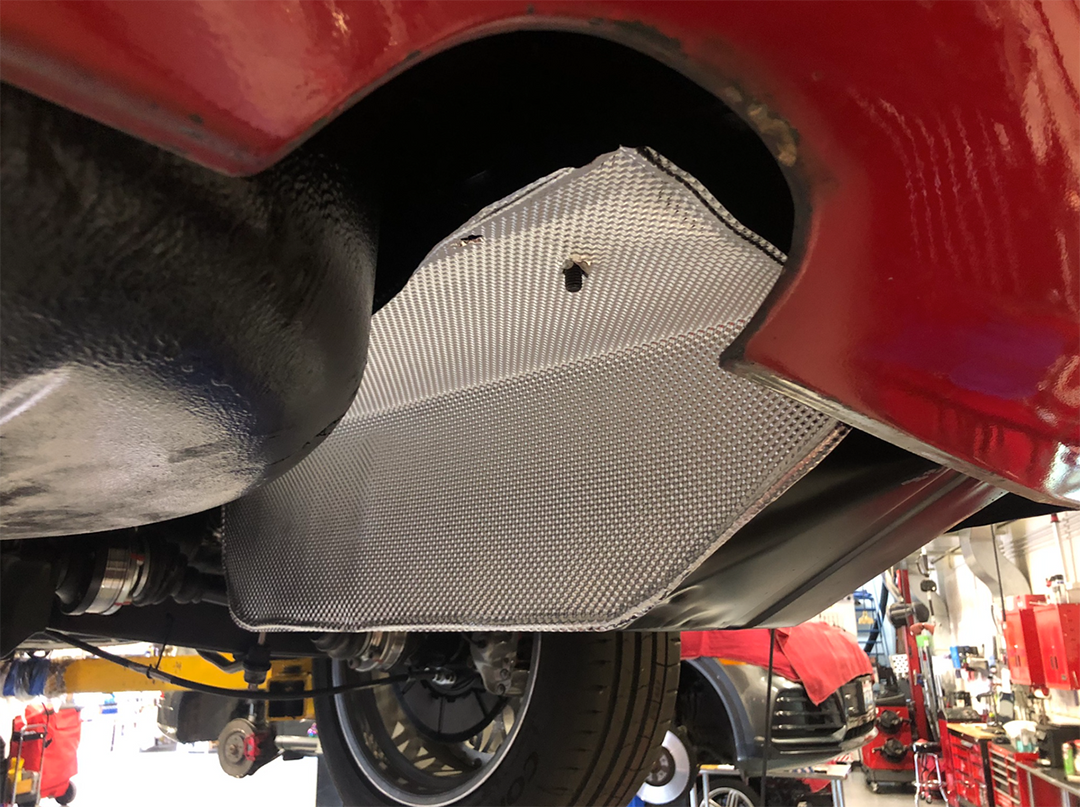
- Left Heat Shield
-

- Right Heat Shield
-
- Heat Shield w/ SS Exhaust Installed
For more information on how to get your classic European in the shop for some service, maintenance or custom work, contact us at 425-254-0627. You can also schedule an appointment or receive a quote by clicking here. Meister Werks European & Import is located one block south from The Renton Landing in Renton, WA, across the street from the former Boeing Store and at the westside of the Paccar / Kenworth plant.
Why you need this?
A heat shield for your European car’s exhaust system is essential for performance and safety. The exhaust system generates high temperatures. Without a heat shield, nearby components could be damaged due to the heat. This shield acts as a barrier. It prevents heat from radiating towards sensitive parts of the vehicle, such as the undercarriage or nearby wiring harnesses. By installing a heat shield, you ensure that your car’s performance remains consistent, protecting important components from potential heat-related issues. Additionally, it helps maintain a comfortable temperature within the car’s cabin and prevents overheating, ultimately extending the lifespan of your vehicle. Prioritizing a heat shield for your European car’s exhaust system is a wise investment in both vehicle efficiency and longevity.