Porsche 356 & 912 Fuel Pump Overhaul Instructions
Perfroming an overhaul on a 356 Fuel Pump on your Porsche is a rewarding project. Any owner with basic mechanical skills can do this. This guide has the pumps found on the 356B Super, 356C, SC, and 912 models. Please read these instructions carefully before you begin work on your 356 Fuel Pump.
 Safety First: Prepare Your Workspace
Gasoline is highly flammable, so you must use precautions. Always work in a well-ventilated area away from open flames.
-
Cool the Engine: Never work on the fuel system while the engine is hot.
-
Clean Spills: Wipe up any fuel spills immediately to prevent fire hazards.
-
Dispose of Rags: Place fuel-soaked towels in an approved metal container. They can spontaneously ignite if left in a pile.
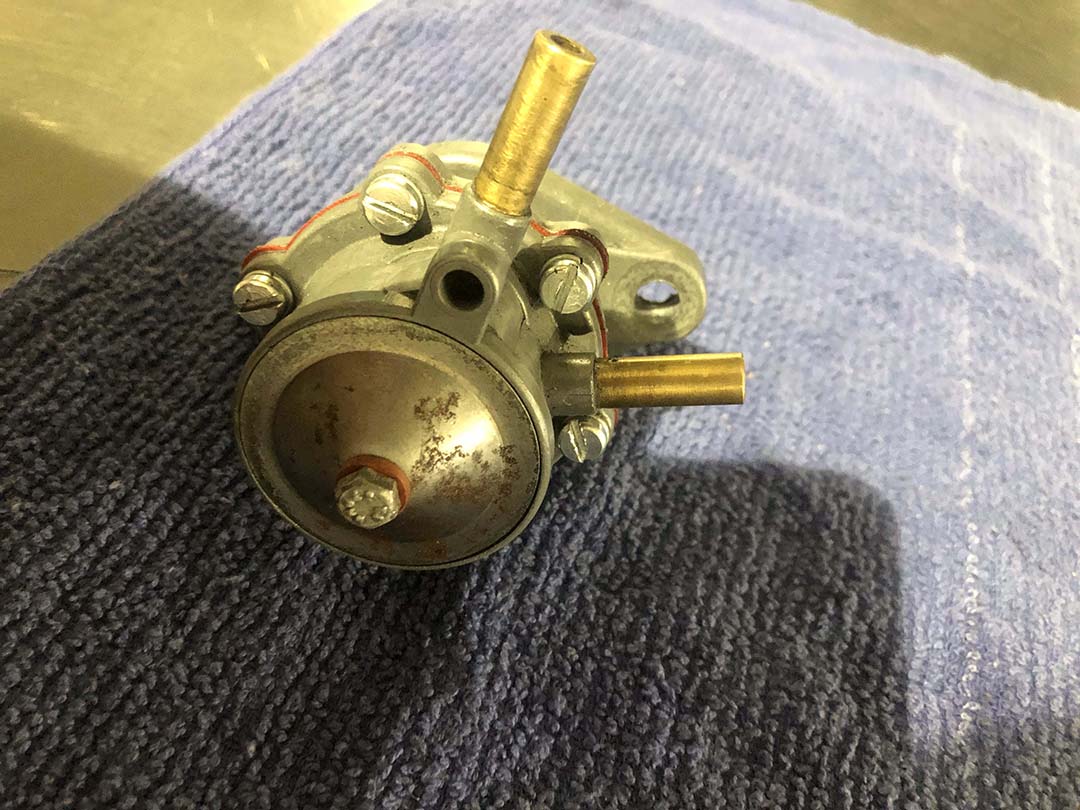
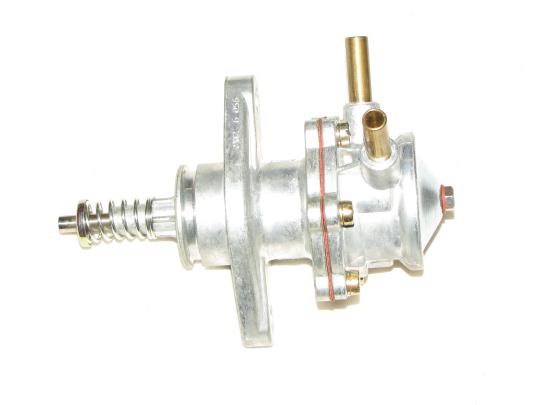
1: Remove the Fuel Pump
First, let the car cool completely to avoid fire risks. Locate the 356 Fuel Pump tin wear piece directly below the pump. After that, remove the two screws. Next, disconnect and plug both the inlet and outlet fuel pipes. Finally, remove the 8mm nuts and washers to pull the pump from the engine crankcase.
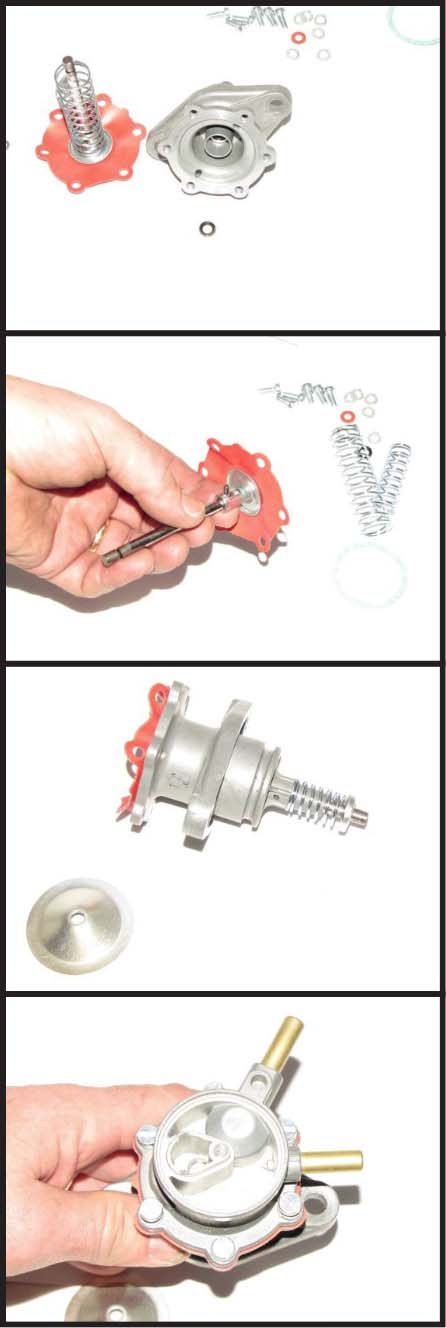
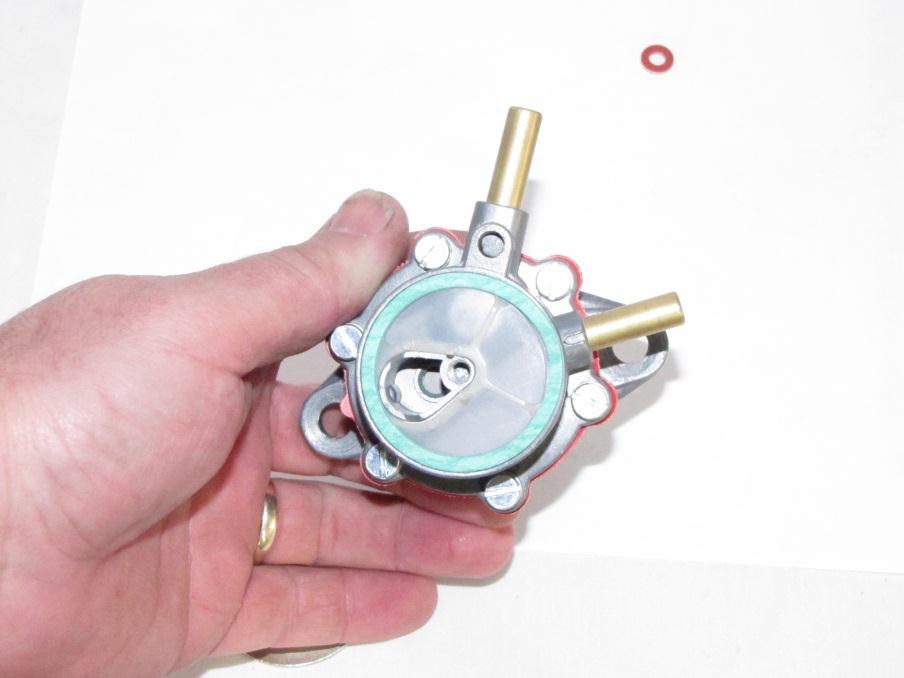
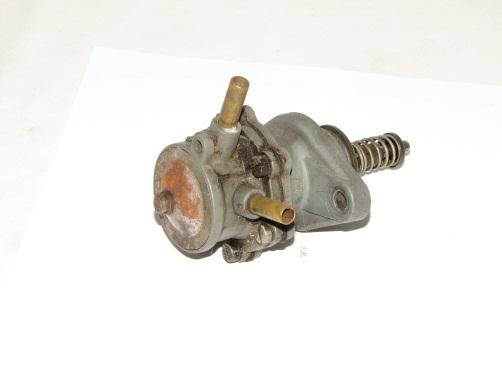
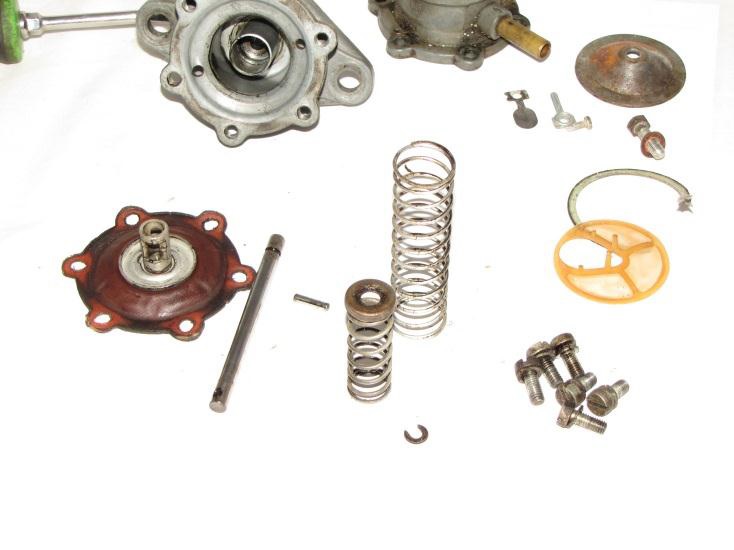
2: Disassemble the Unit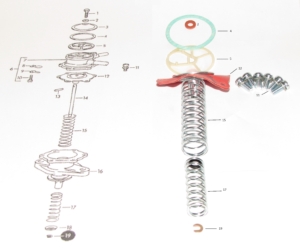

Drain any remaining fuel and note the direction of the inlet and outlet pipes. You will need this orientation for correct re-assembly of the 356 Fuel Pump later.
-
Open the Top: Remove the 5mm bolt from the top to take off the cover and filter screen.
-
Separate the Housing: Remove the six flat-head screws around the body to separate the top and bottom halves.
-
Remove the Diaphragm: Compress the pump spring on the housing and slide out the retaining clip. Carefully release the tension, then pull the diaphragm and shaft assembly from the pump.
3: Cleaning and Surface Prep
Clean both housings and the top filter plate thoroughly. You can use a parts washer or a media blaster with fine glass beads.
-
Protect the Valves: Do not blast the check valves, as damage will cause the Pump to fail.
-
Resurface Gaskets: Warped gasket surfaces lead to leaks. Use 400-grit wet sandpaper on a flat surface to smooth the housing faces.
-
Final Wash: Re-clean every part after blasting to remove any lingering grit.