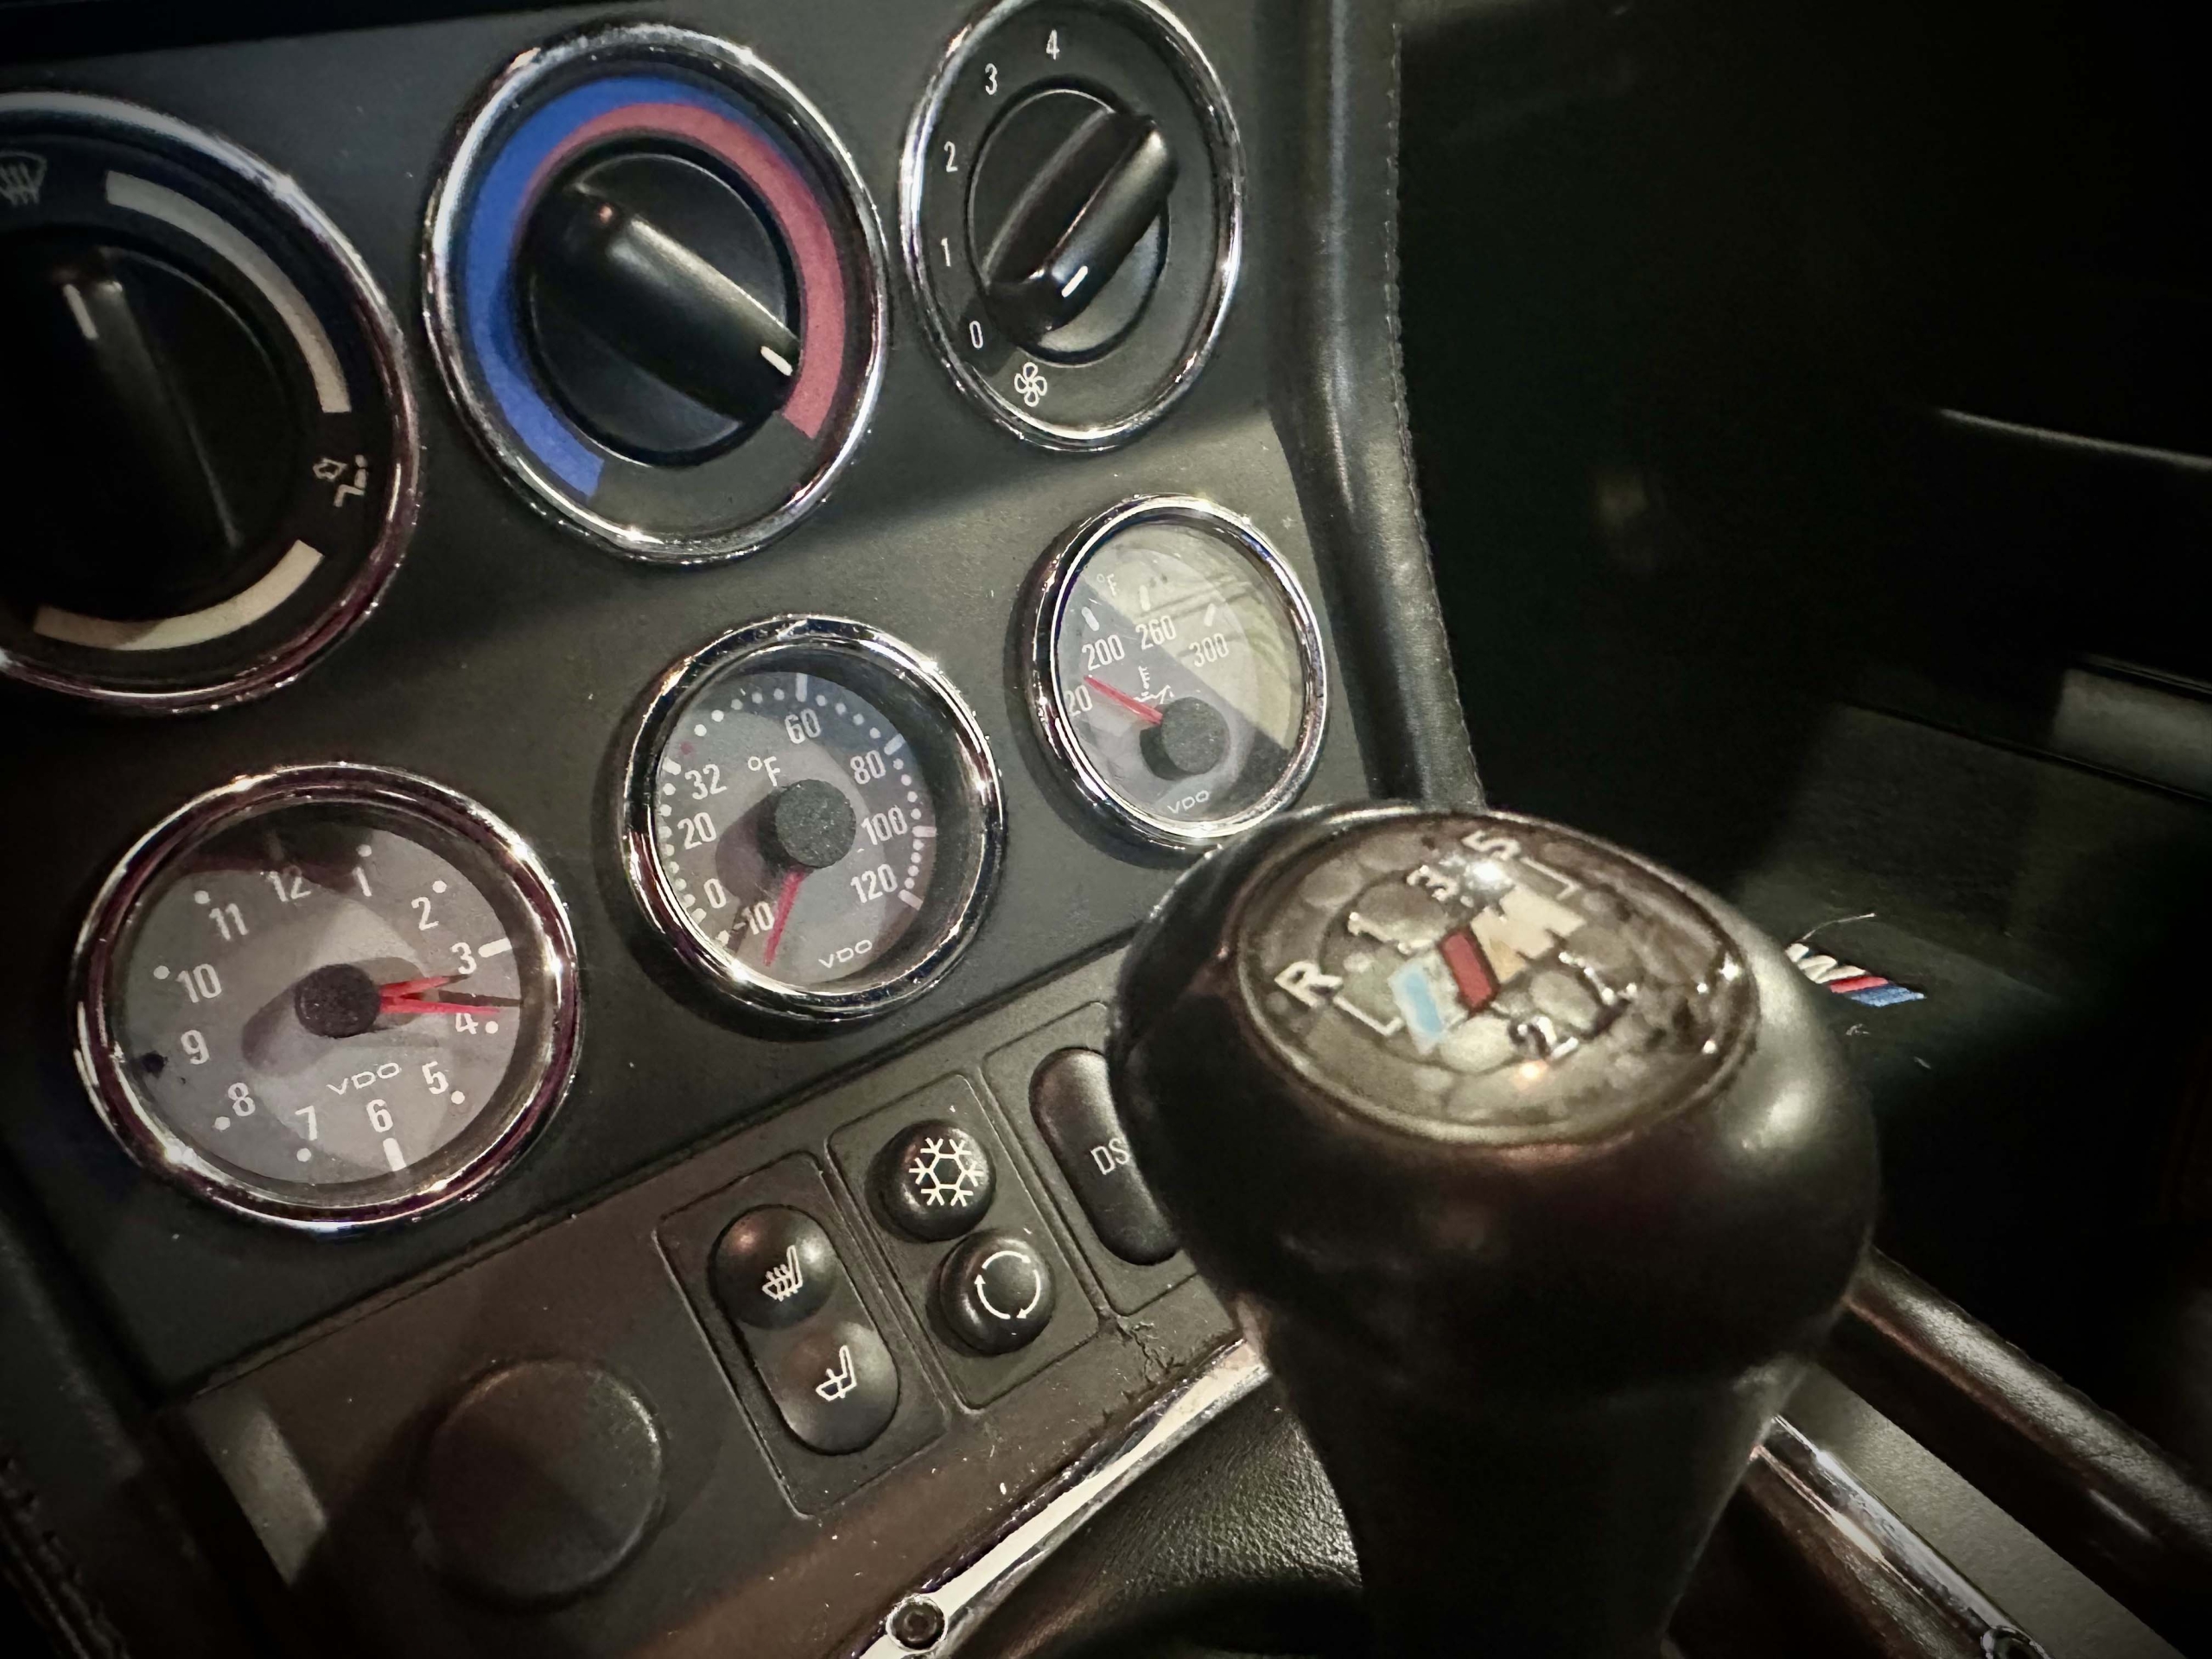
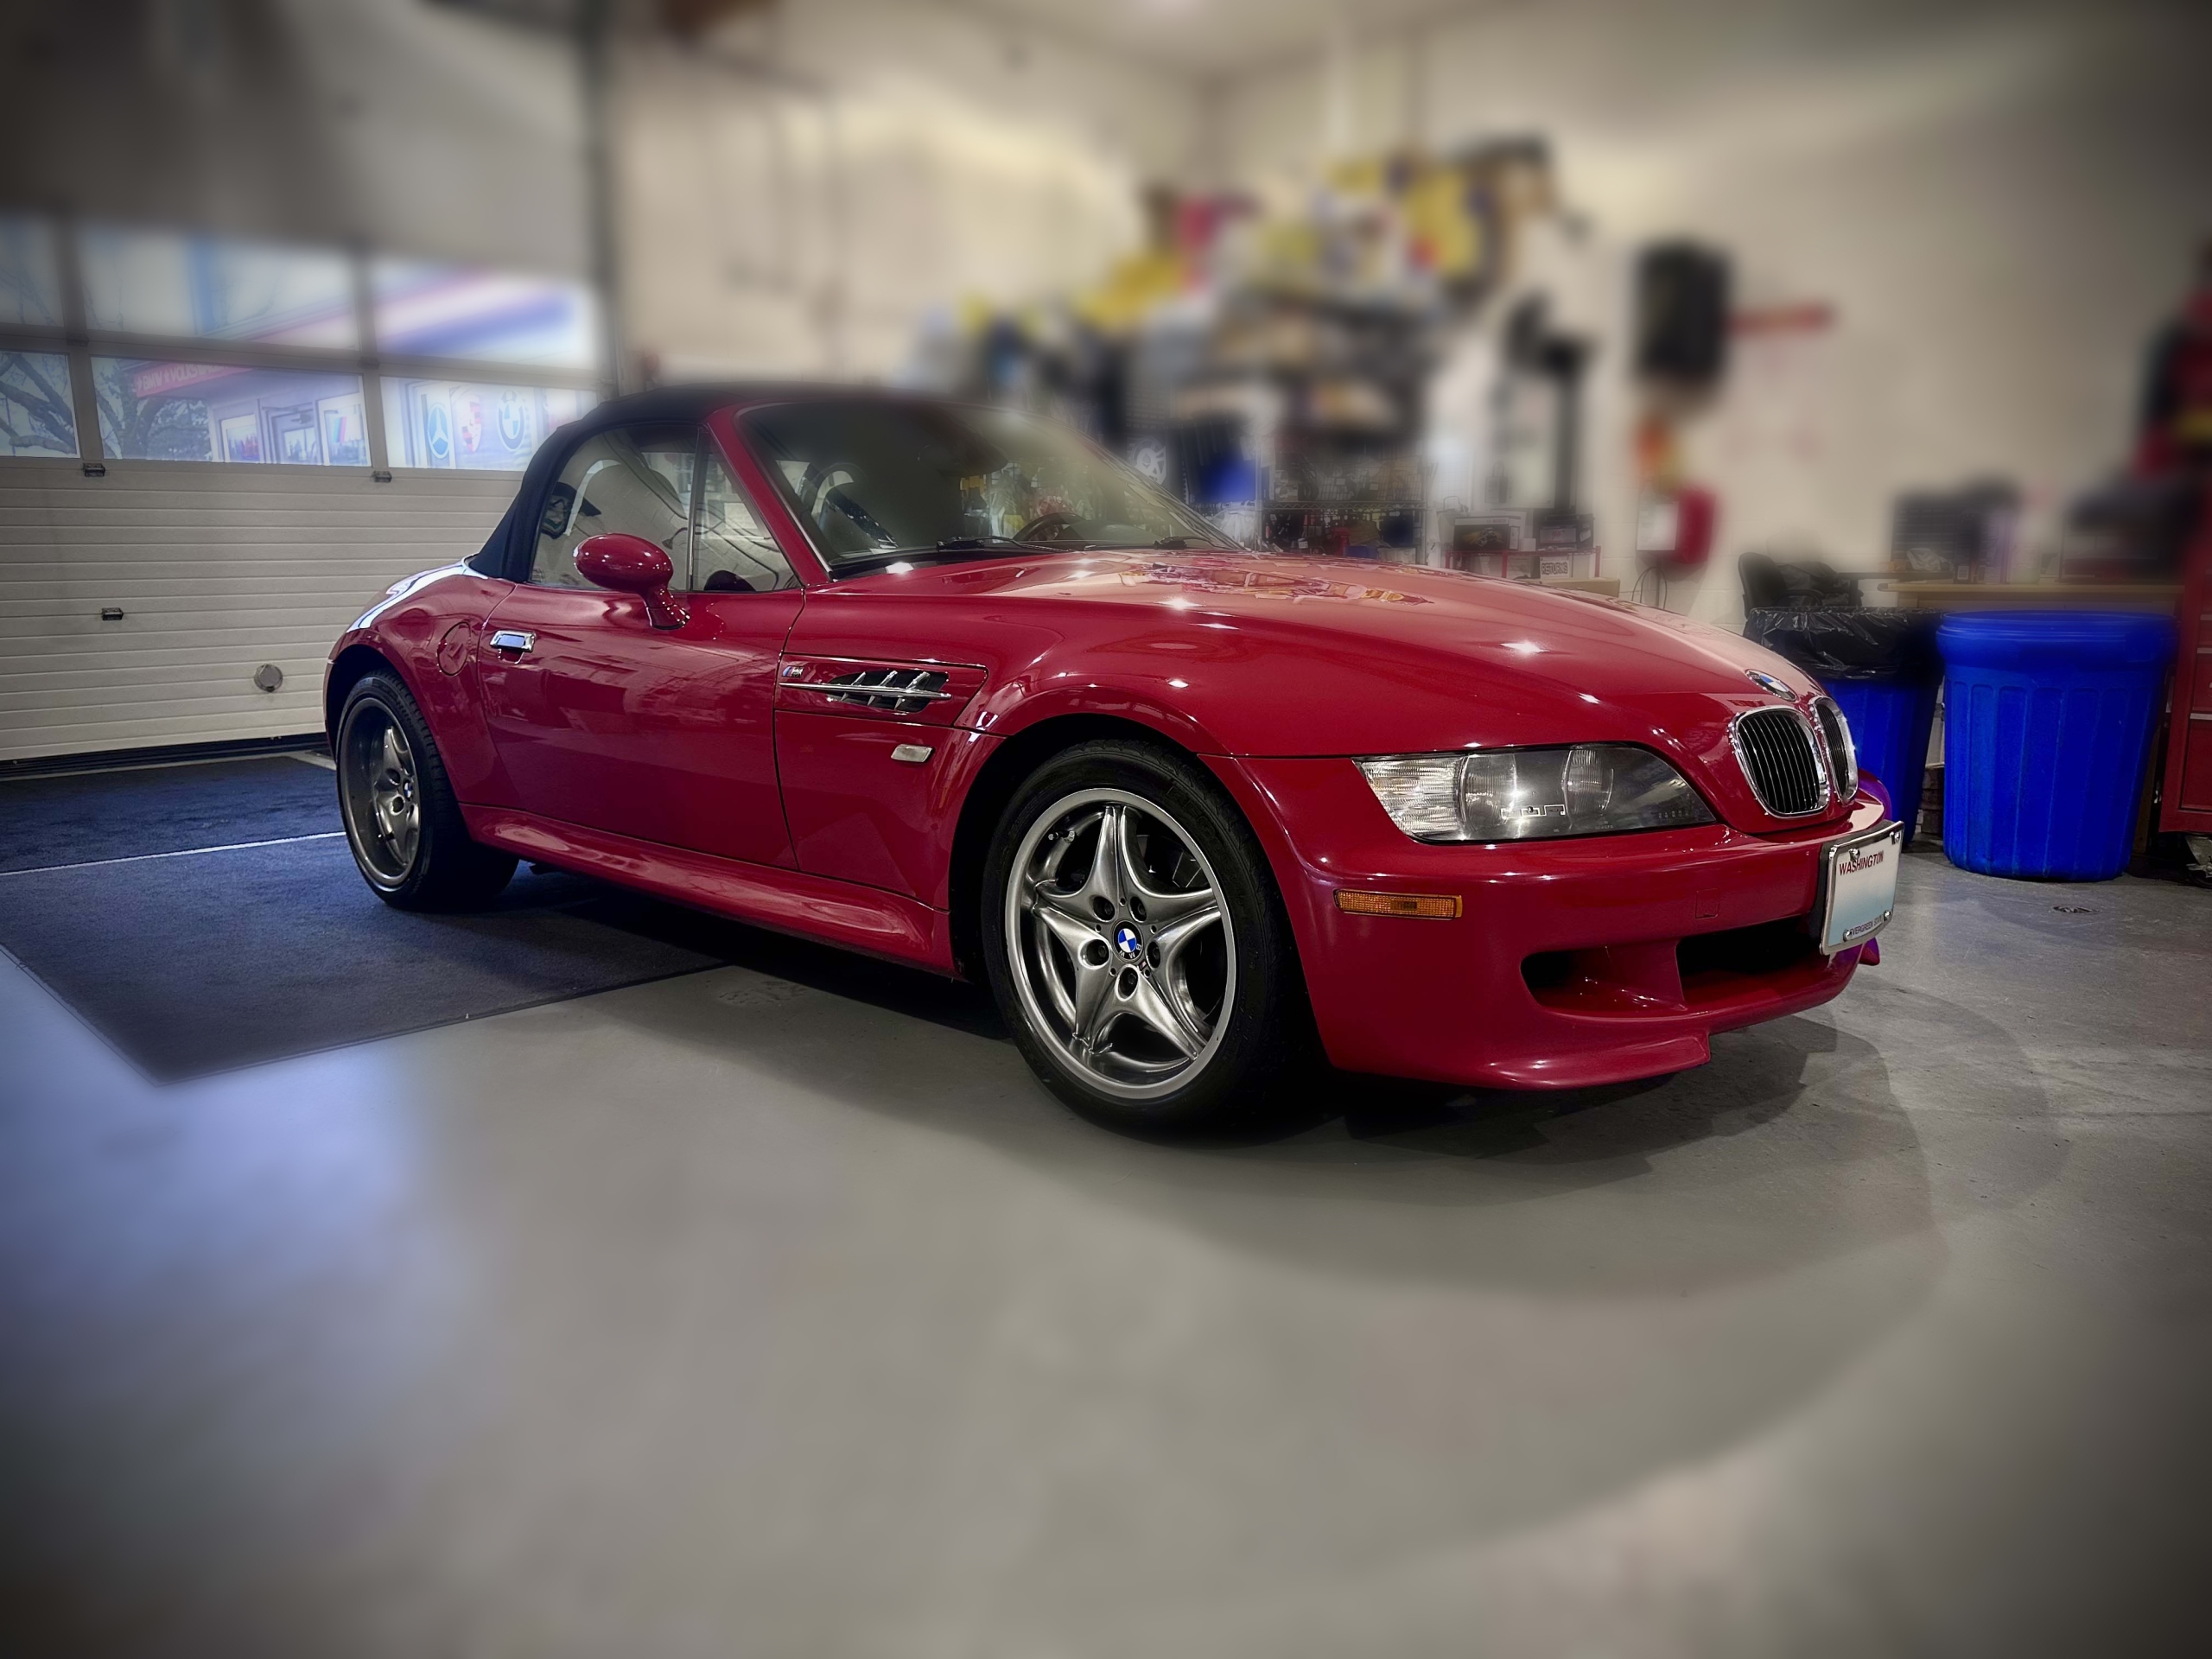
Solving Complex Check Engine Light Issues: 2002 BMW Z3 M Roadster
We recently diagnosed a Check Engine Light (CEL) on this beautiful 2002 BMW Z3 M Roadster. The owner came to us with persistent CEL concerns that ended up being a Catalyst fault codes. Despite having replaced multiple sensors previously, the vehicle still struggled with performance issues. Our team performed a deep dive into the BMW’s electronics to find the root cause.
Uncovering Electronic Overvoltage Faults
We began by scanning the vehicle’s on-board computer for fault codes. Interestingly, we found multiple “overvoltage” faults across several systems. These included the ABS module, instrument cluster, and steering angle sensor.
These codes suggest the vehicle may have been jump-started incorrectly at some point. Voltage spikes like these can damage sensitive European electronics. Consequently, these overvoltage issues can lead to “unplausible” data across the entire vehicle network. Additionally, the o2 sensors that were replaced, may have been the incorrect ones. It’s very easy to put the wrong sensor in the wrong plug and bung. Also, universal o2 sensors are not always the best. You have to wiring the correctly and sometime they have issues if they are not perfect. This is why we always use the OES part that is plug and play.
Detailed Inspection of Oxygen and Air Sensors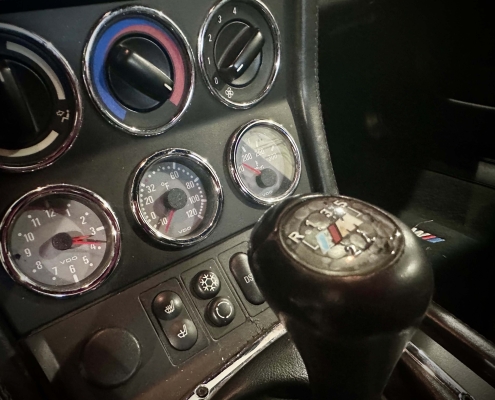
Next, we focused on the customer’s specific complaint regarding the for the oxygen (O2) sensors. Our inspection revealed that the sensors currently installed looked old and poorly mounted. For example, the Bank 2 downstream cable was too long and not clipped into its original BMW location.
We also found several critical fault codes related to the engine’s fuel trim controls:
-
Oxygen Sensor Pre-Cat (Cyl 4-6): Failed period duration.
-
Trim Control Pre-Cat and Post-Cat: Intermittent and history faults.
-
Voltage Monitoring: Inconsistent readings from the sensors causing the check engine light.
 The Recommended Path to Engine Performance
To restore the Z3 M Roadster check engine light to its factory performance, we recommended a comprehensive sensor refresh. Therefore, we advised replacing all four oxygen sensors—both upstream and downstream—to ensure the ECU receives accurate exhaust data.
Furthermore, we recommended replacing the Exhaust Gas Temperature (EGT) sensor and the Mass Air Flow (MAF) sensor. These components work together to manage the air-fuel mixture. When they age or fail, the engine runs rich or lean, which eventually destroys the expensive catalytic converters.
Renton European Specialists for a Check Engine Light
Classic BMW M-series vehicles require precision parts and expert knowledge. At Meister Werks European, we use high-quality OES and Genuine BMW parts to guarantee a perfect fit. We also provide a 1-year or 12,000-mile warranty on all parts and labor.
Don’t let a fault code ruin your driving experience. Whether you have a Z3 M Roadster or a modern BMW, our technicians can solve your most frustrating electrical issues. Schedule your diagnostic appointment today at our Renton shop by calling (425) 254-0627 or visiting www.rentoncarrepair.com.
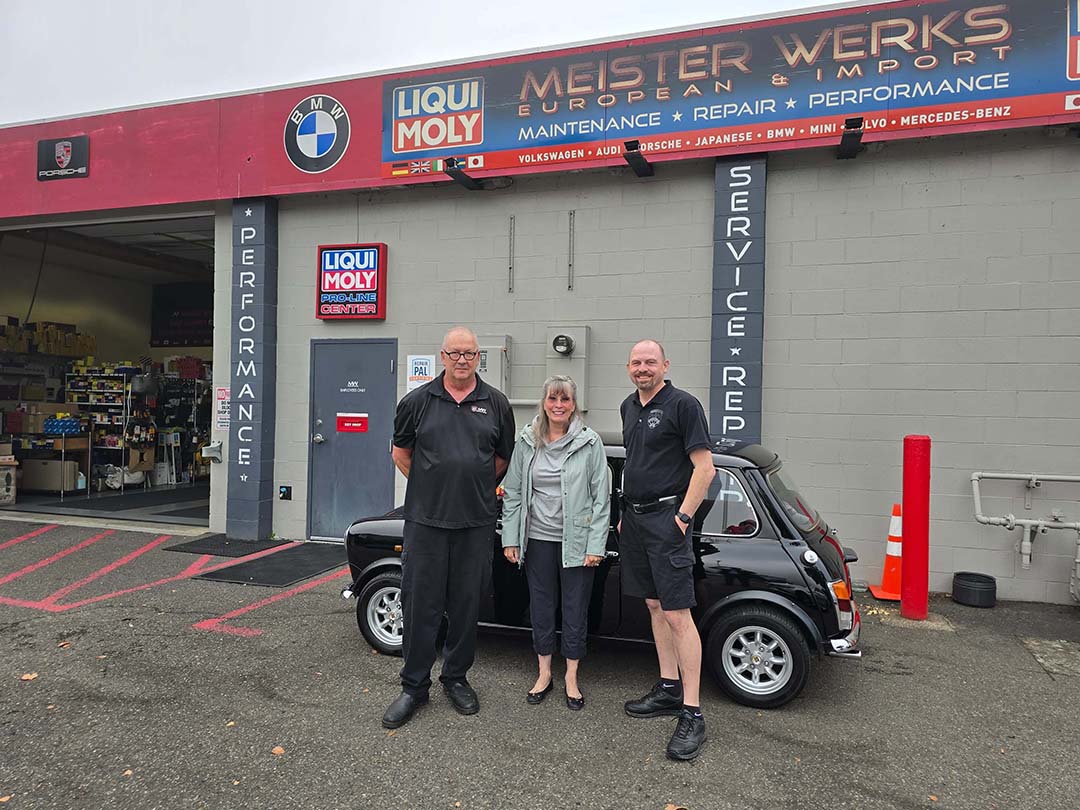
Giving a 1990 Classic Mini Cooper a New Lease on Life at Meister Werks European!
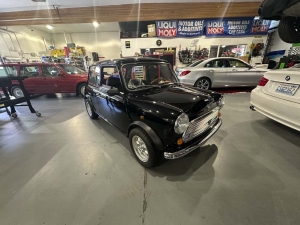
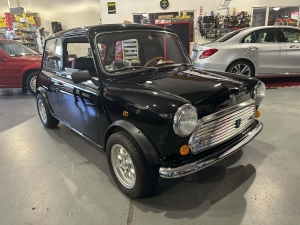
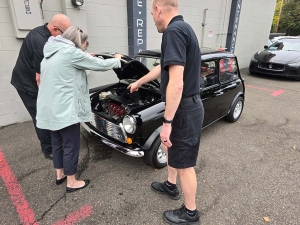
Here at Meister Werks European, we absolutely love all things European automotive. But there’s something extra special about a Classic Mini Cooper. These iconic little cars always bring a smile to our faces, and we recently had the pleasure of working on a fantastic 1990 model. It needed a bit of TLC, and we were more than happy to help our customer get their beloved Mini back in tip-top shape.
 Diagnostic & Inspcection

When this delightful Classic Mini Cooper rolled into our shop, our first step, as always, was a thorough diagnostic and a factory Classic Mini inspection. This helps us pinpoint any hidden issues and ensures we have a complete picture of the car’s health. We want to make sure every repair is done right!
Ignition System & Carbs
One of the first things we tackled was the ignition system. We performed a much-needed spark plug R&R (removal and replacement). New spark plugs mean better combustion. This translates to smoother running and better fuel economy for any Classic Mini Cooper. We also made sure the fuel system was clean by doing a fuel filter R&R. A clean fuel filter keeps dirt and debris out of the engine, which is vital for performance.
Next up, we fine-tuned the heart of this Classic Mini Cooper – its carburetor and engine timing. Adjusting these components correctly is crucial for optimal engine performance and ensuring the car runs as it should. It’s all about getting that perfect balance!
Cooling System
The cooling system also needed some attention. We performed a thermostat replacement. This is important for regulating engine temperature. Then, we tackled a installed a brand new radiator. Replacing the old leaking radiator with a new one was a must. To finish it off, we did a complete coolant flush and bleed the cooling system. This ensures fresh coolant is circulating efficiently, preventing overheating, especially important for a Classic Mini Cooper in any weather
 Brake System Overhaul
Safety is always a top priority, so we moved on to the braking system. We performed a brake master cylinder replacement.We also replaced the brake light switch at the same time. These are critical components for effective braking and ensuring your brake lights work when you press the pedal. We also replaced the front brake pads and rotors. This significantly improves stopping power. Furthermore, we replaced the hydraulic brake hoses on the car. Finally, we finished with a complete brake fluid flush. Fresh brake fluid means a firmer pedal and more reliable braking for this Classic Mini Cooper.
Tail Light Seals
Lastly, we addressed some smaller but important details. We performed a tail light seals R&R. This helps keep moisture out of the tail light assemblies, preventing future electrical issues and keeping the lights looking great on this vintage beauty.
Wrapping it up
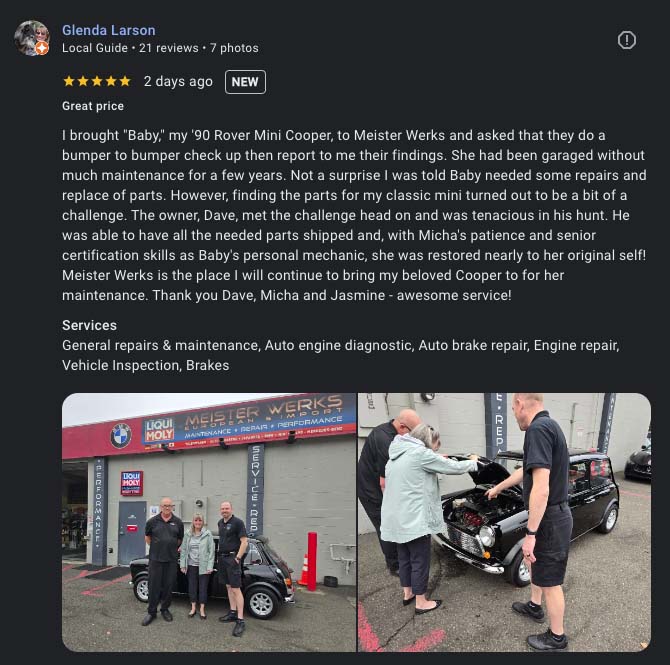
In conclusion, after all these repairs and maintenance tasks, this 1990 Classic Mini Cooper was ready to hit the road again, running better than ever! Our customer was thrilled, and we were proud to have played a part in preserving this piece of automotive history.
For more information on how to get your Classic Mini Cooper in the shop for some service, maintenance or custom work, contact us at 425-254-0627. You can also schedule an appointment or receive a quote by clicking here. Meister Werks European & Import is located one block south from The Renton Landing in Renton, WA, across the street from the former Boeing Store and at the westside of the Paccar / Kenworth plant.


Land Rover Range Rover HSE Headlight Refurb
What Is Vapor Liquid Headlight Refurb?
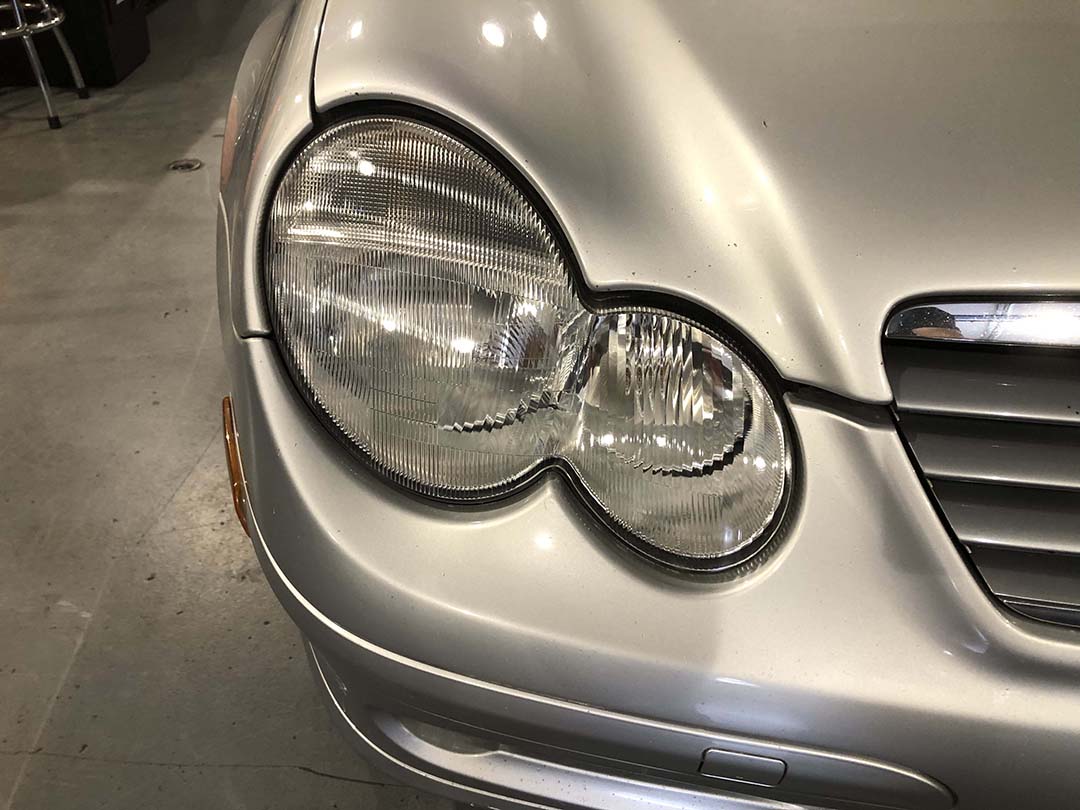
The vapor liquid headlight restoration technique, also known as vapor polishing Headlight Refurb, is a modern and highly effective method for restoring hazy, yellowed, and oxidized plastic headlight lenses. Unlike traditional sanding and polishing methods that remove a layer of plastic and then apply a clear coat, this technique uses a chemical solvent to essentially melt and reform the surface of the lens, resulting in a perfectly clear, like-new finish.
Why Choose Vapor Liquid Restoration?
The Headlight Refurbishing method offers several advantages over conventional restoration kits. While traditional kits are often messy and require significant effort, vapor restoration is a quicker process that delivers superior, longer-lasting results. . Additionally, it eliminates the need for repeated polishing. This will fully restore even severely damaged lenses, giving them a durable, high-gloss finish that stands up to UV exposure.
The Process: A Step-by-Step Guide
-
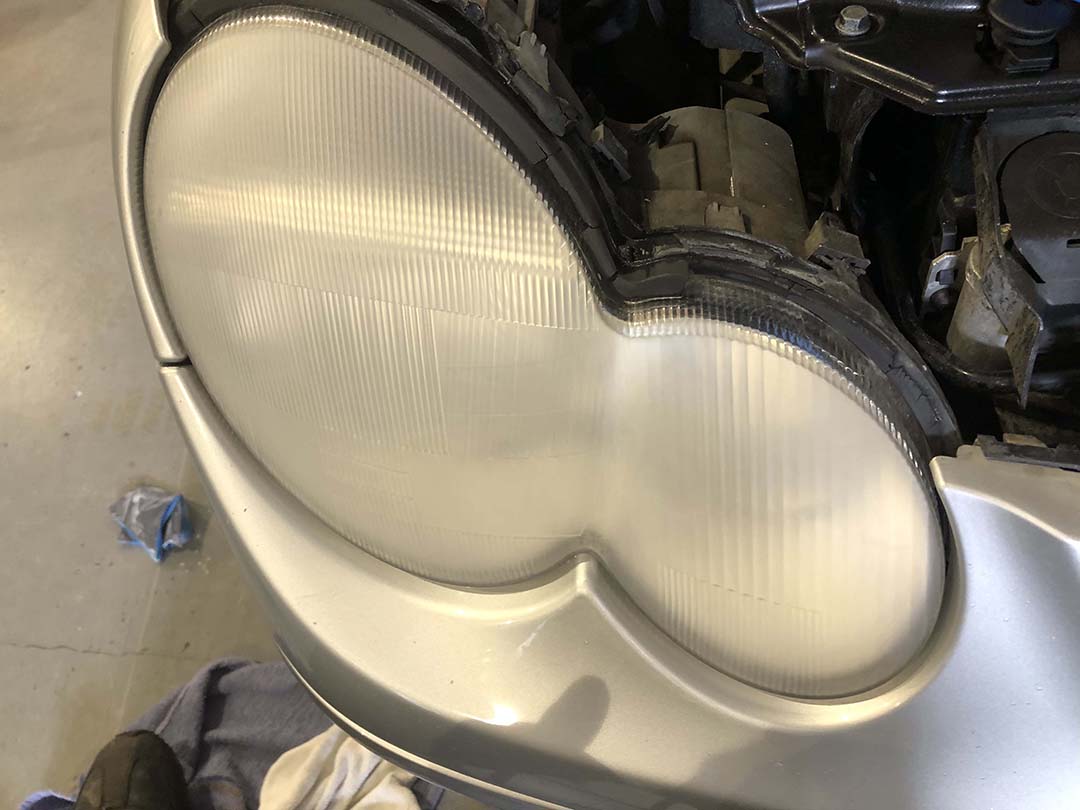
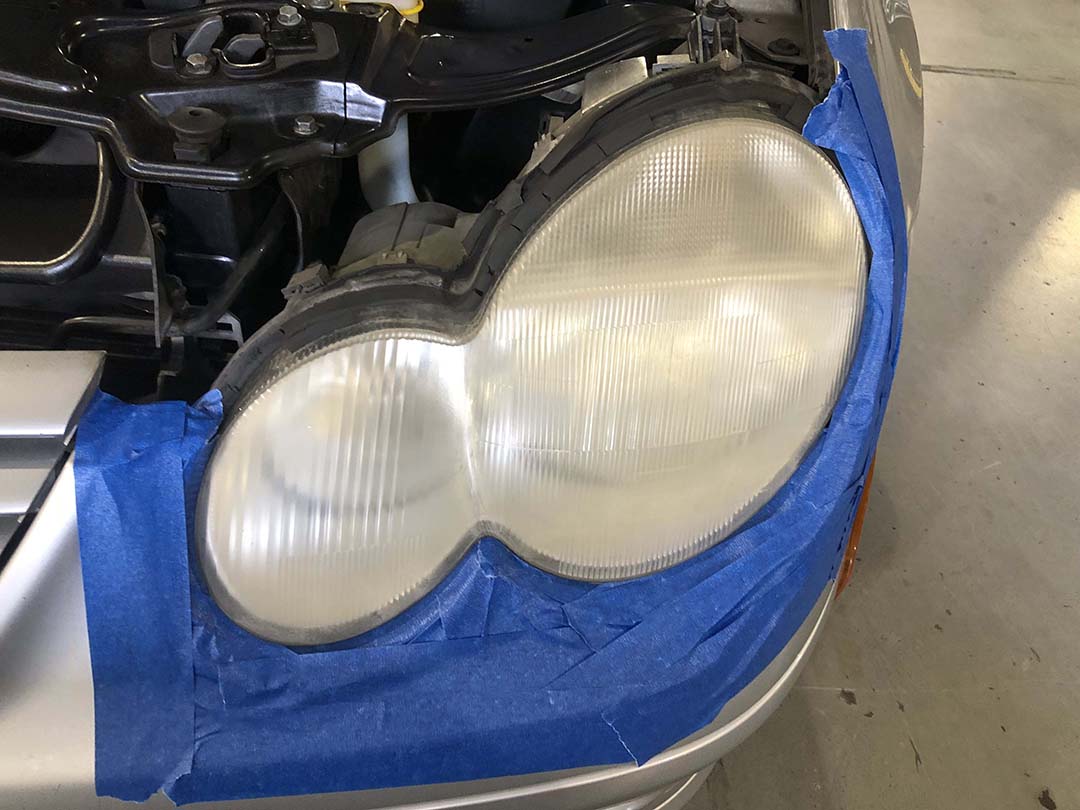
Preparation. First, you must properly clean the headlights with a degreaser and microfiber cloth. The area around the headlight should be masked with painter’s tape. This protects the surrounding paint from the vapor.
-
Sanding. We sand the headlight with progressively finer grits of sandpaper. First we start with a coarse grit (around 400) and moving up to a very fine grit (around 2000 or 3000). This removes the heavily oxidized top layer. Furthermore, it creates a smooth surface for the vapor to work on.
-
Vapor Application. A special heater kettle is used to heat a liquid polymer solution, causing it to vaporize. . The user then directs this vapor stream onto the sanded headlight lens. The vapor’s chemical reaction with the polycarbonate plastic of the lens causes the surface to become clear and smooth again.
-
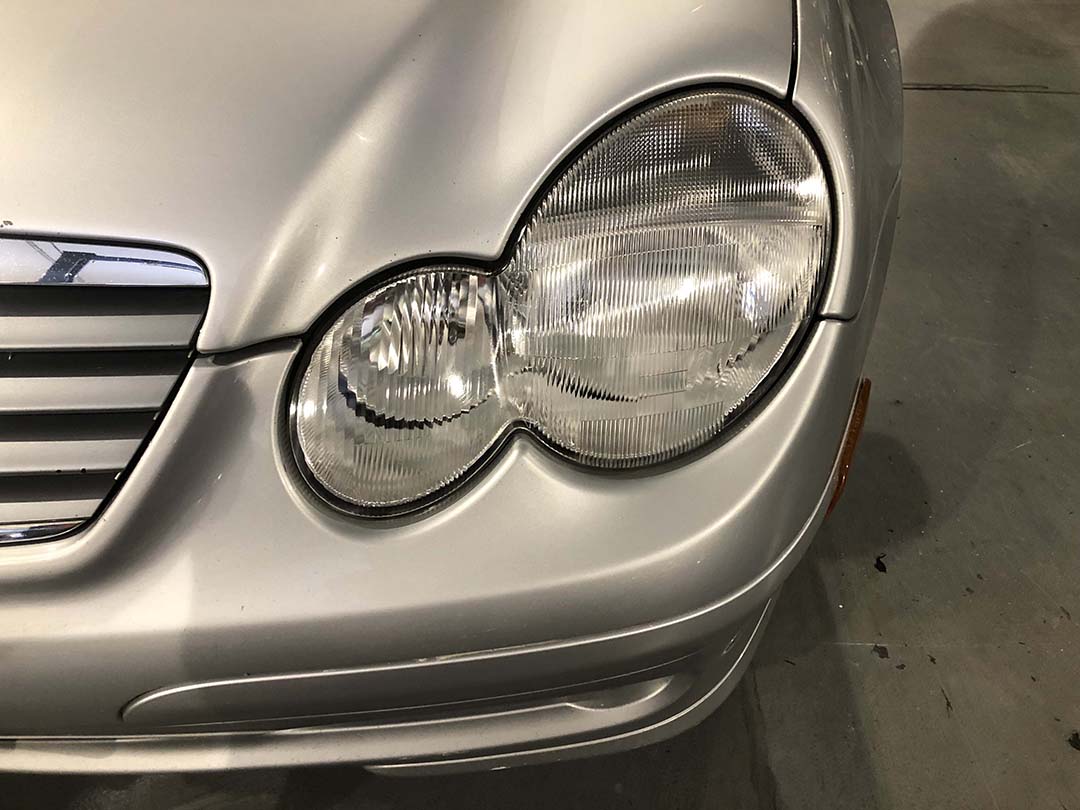
Curing: The headlights are left to cure and harden, a process that usually takes a few minutes. The result is a crystal-clear lens that looks brand new.
Pro Tips for Range Rover Headlight Refurb
Range Rover headlights, like those on other premium vehicles, are expensive to replace. Therefore, using a high-quality Headlight Refurbishing method is a smart choice. Due to the shape and complexity of some Range Rover headlight designs, it is important to take extra care during the sanding and taping phases to ensure an even finish. Also, be sure to use a high-quality, professional-grade vapor restoration kit for the best results.
For more information on how to get your Range Rover’s Headlight Refurbishing, service, maintenance or custom work, contact us at 425-254-0627. You can also schedule an appointment or receive a quote by clicking here. Meister Werks European & Import is located one block south from The Renton Landing in Renton, WA, across the street from the former Boeing Store and at the westside of the Paccar / Kenworth plant.
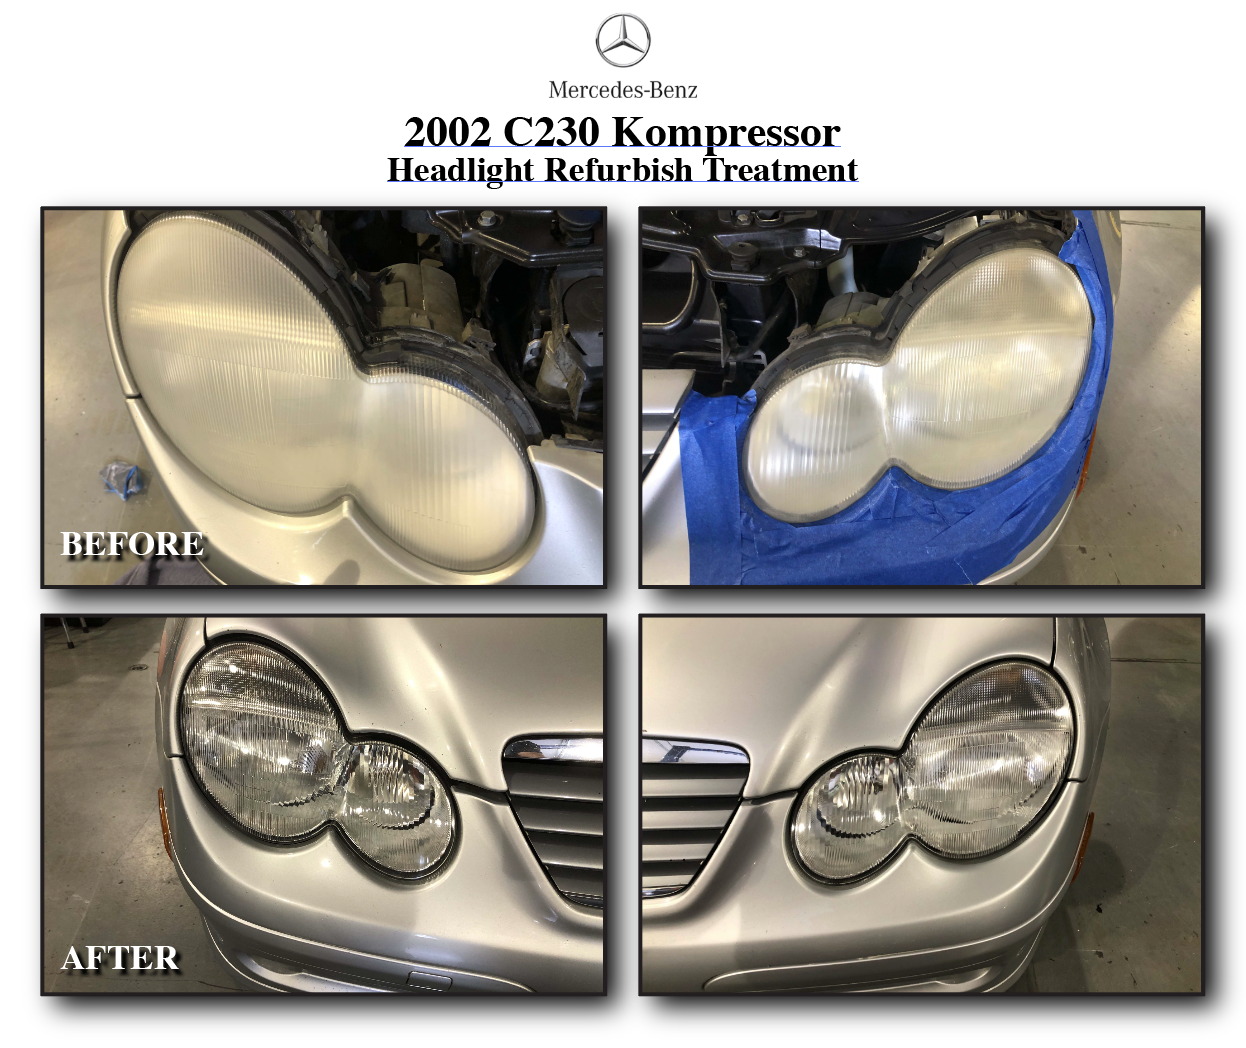
Mercedes C230 Coupe Headlight Refurbish
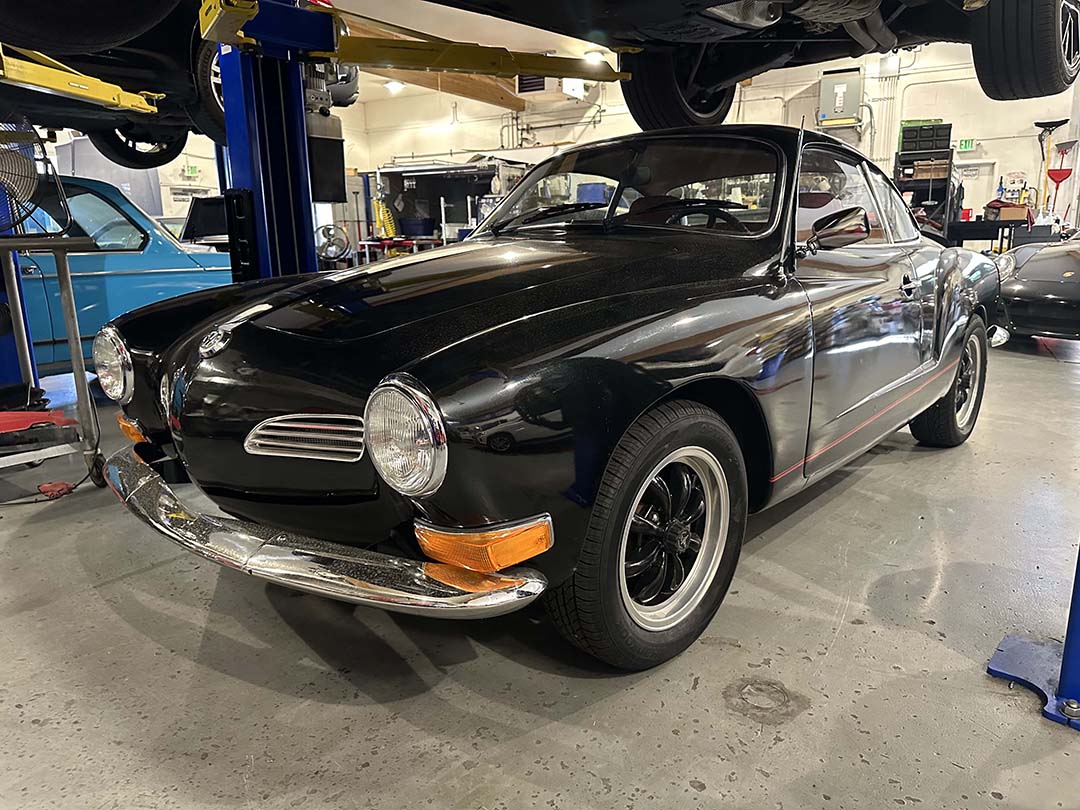
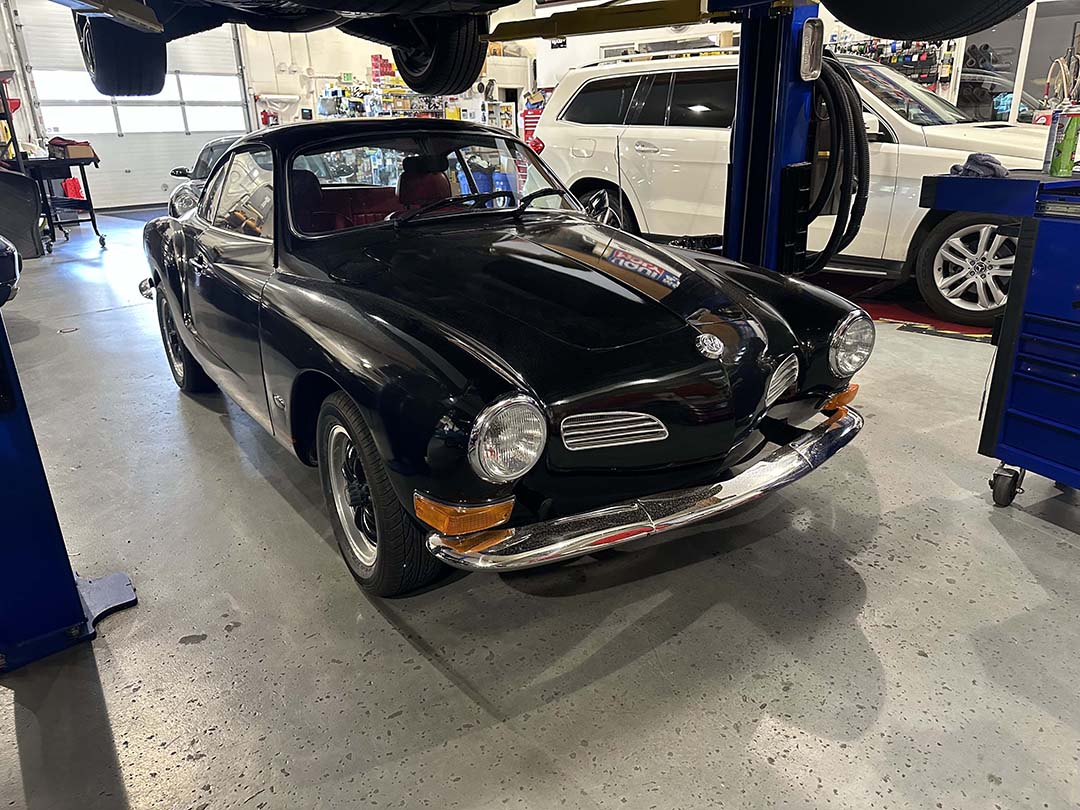
1972 Karmann Ghia For Sale: A European Classic!
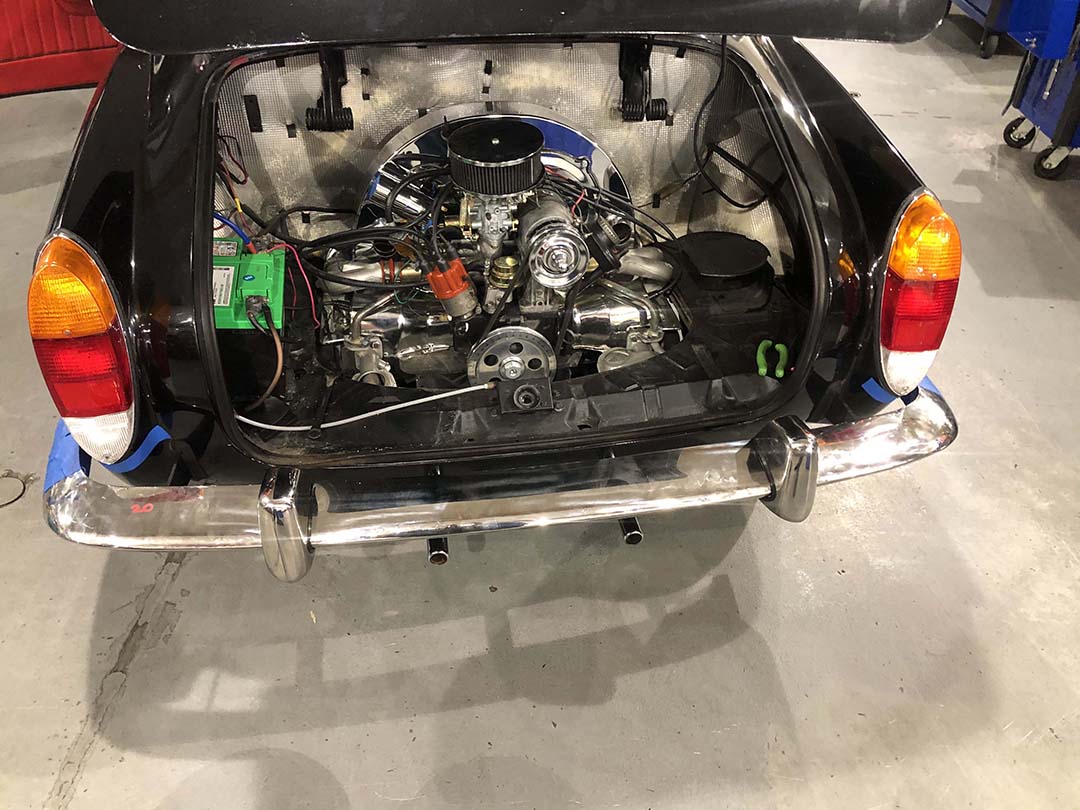
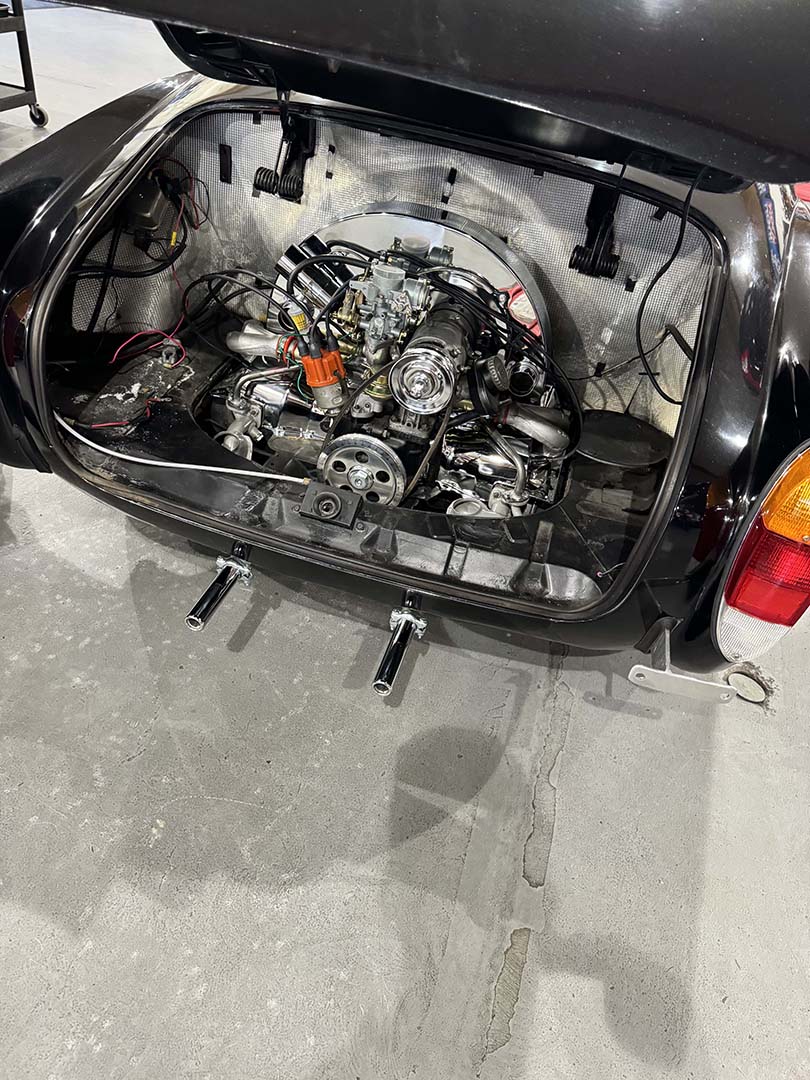
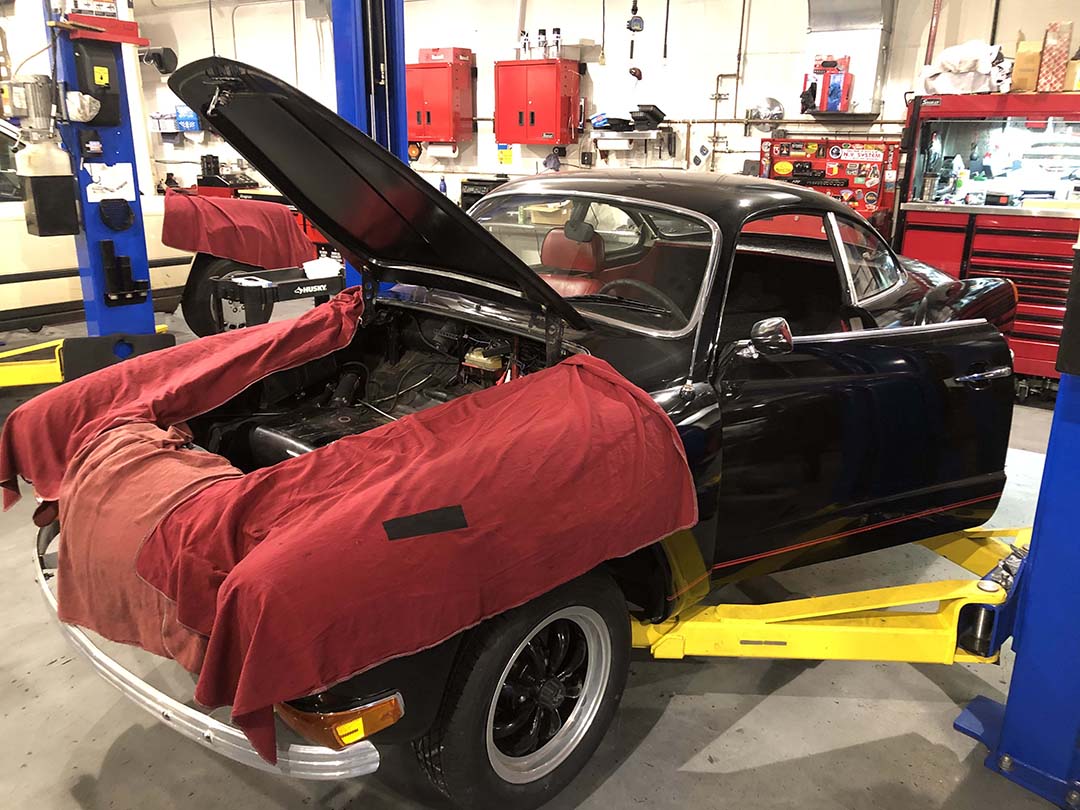
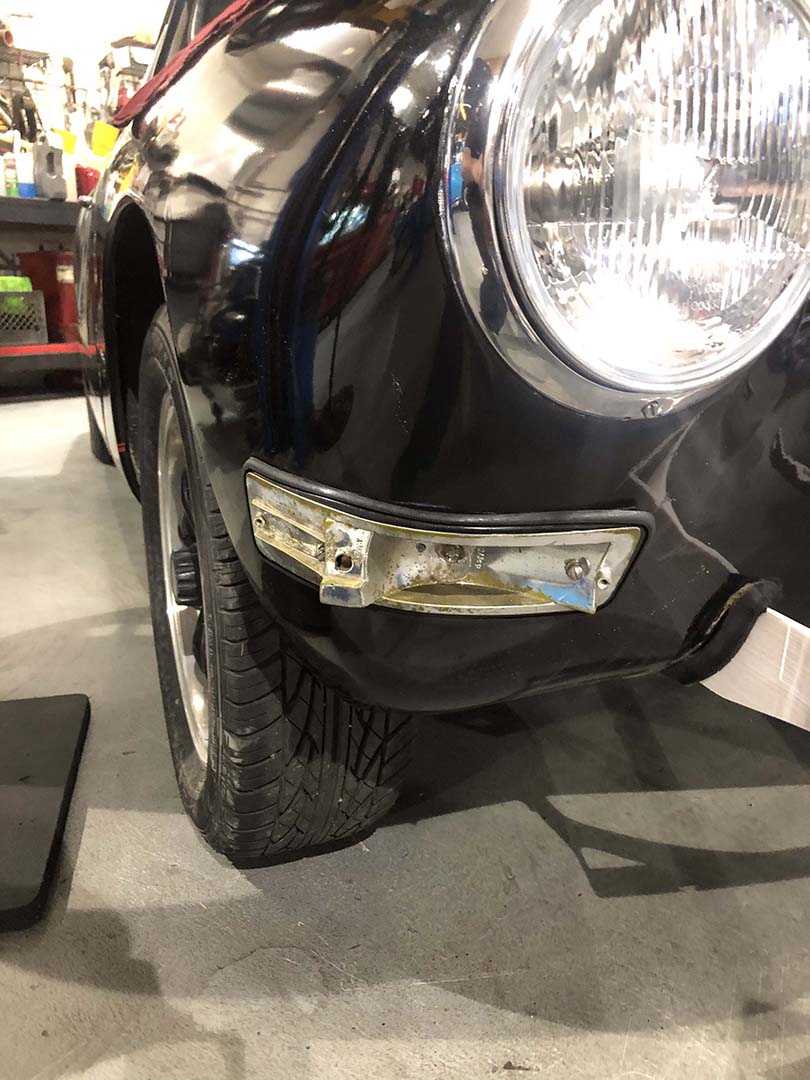
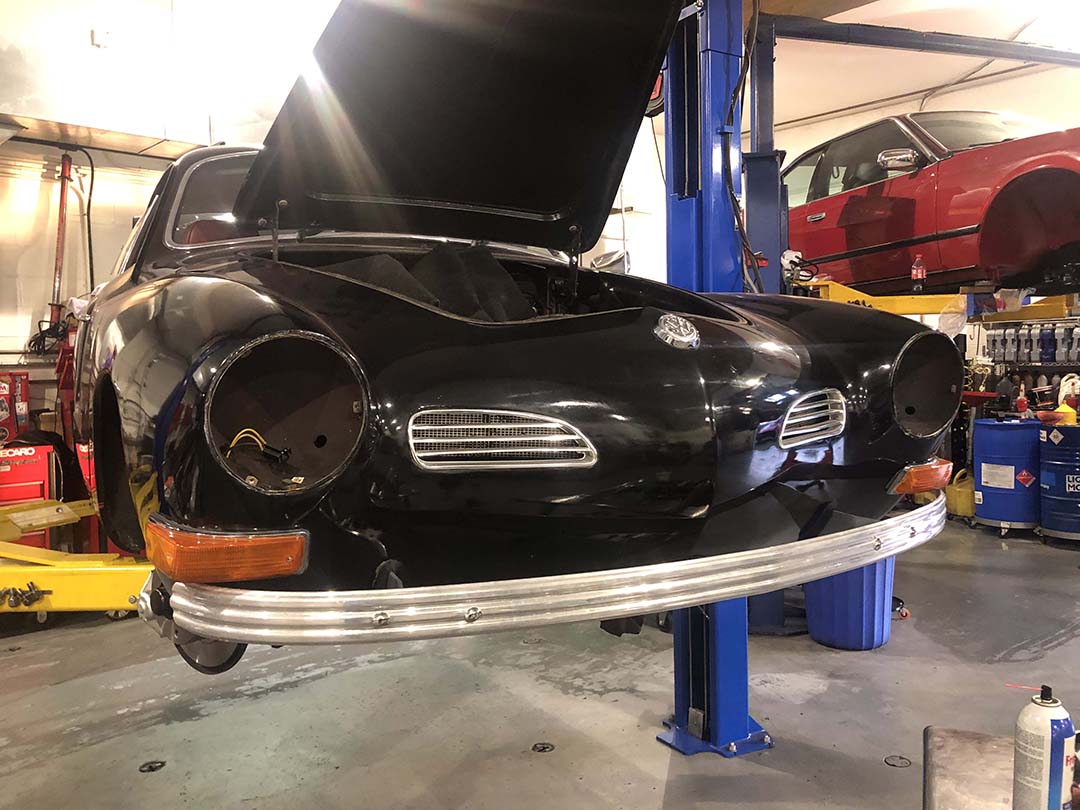
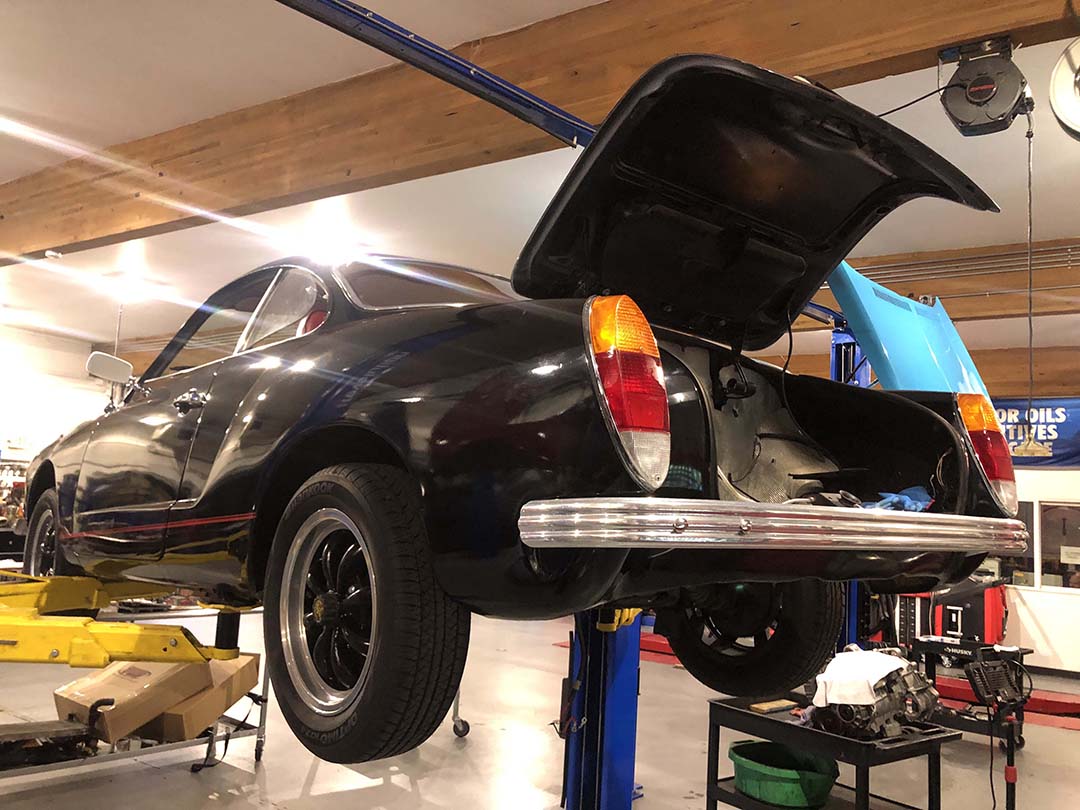
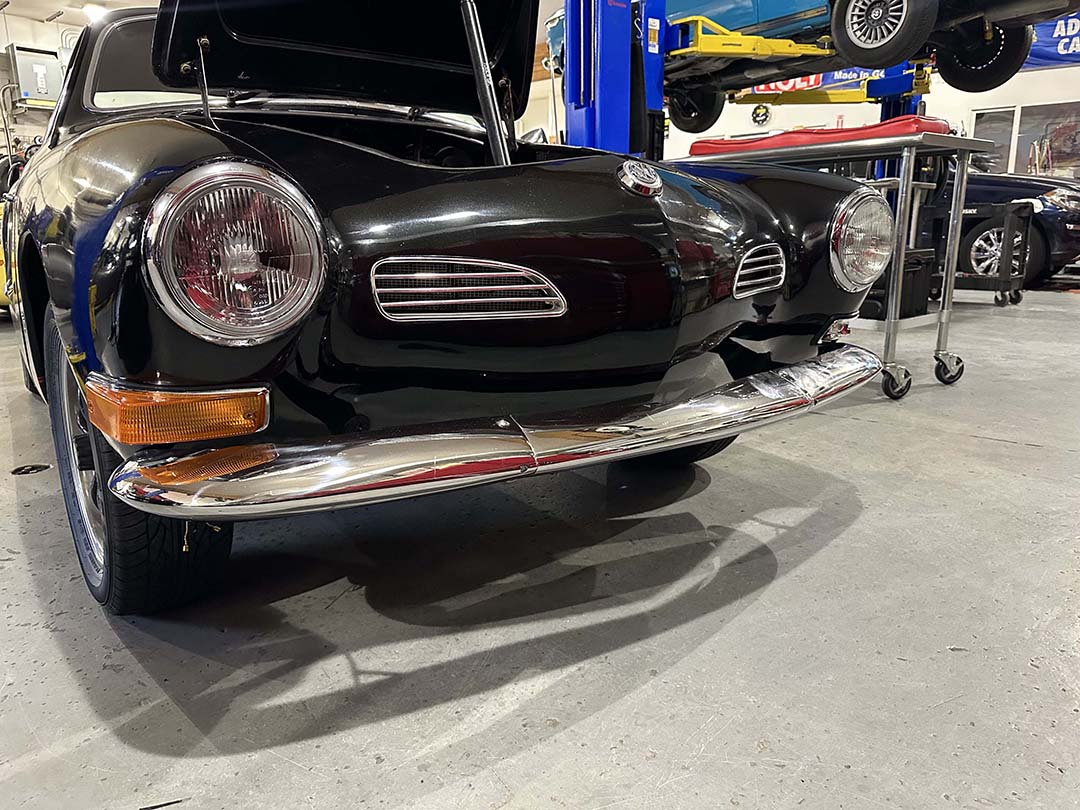
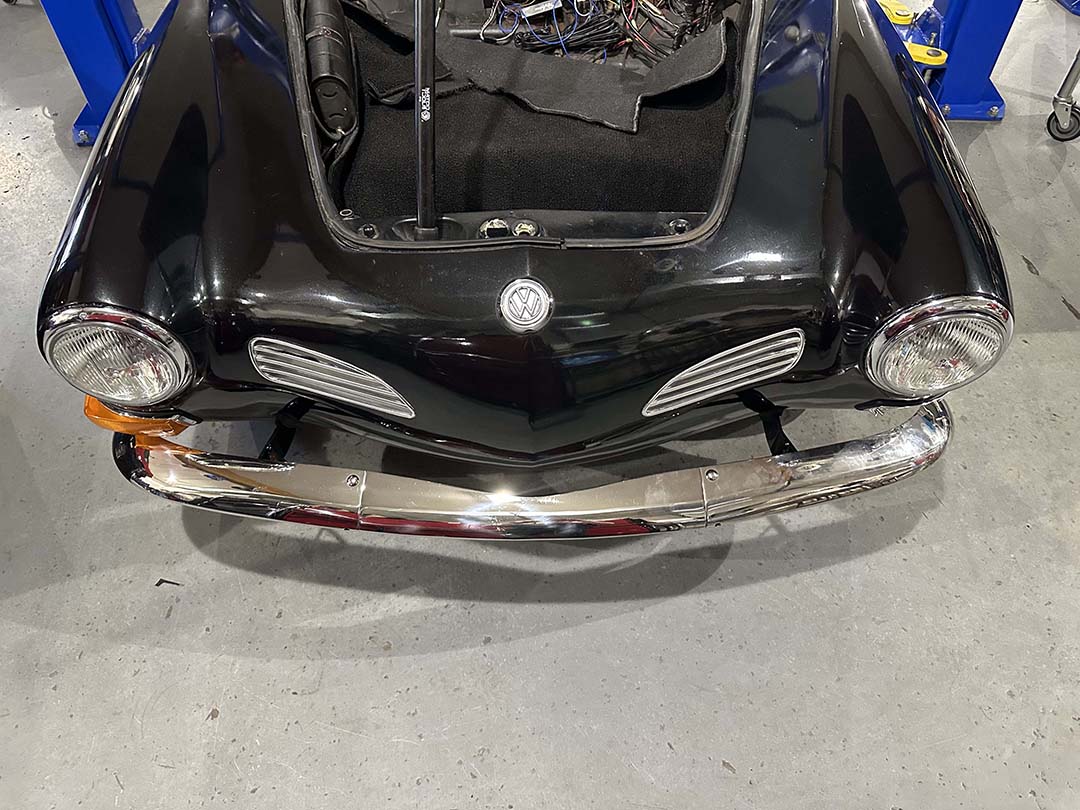
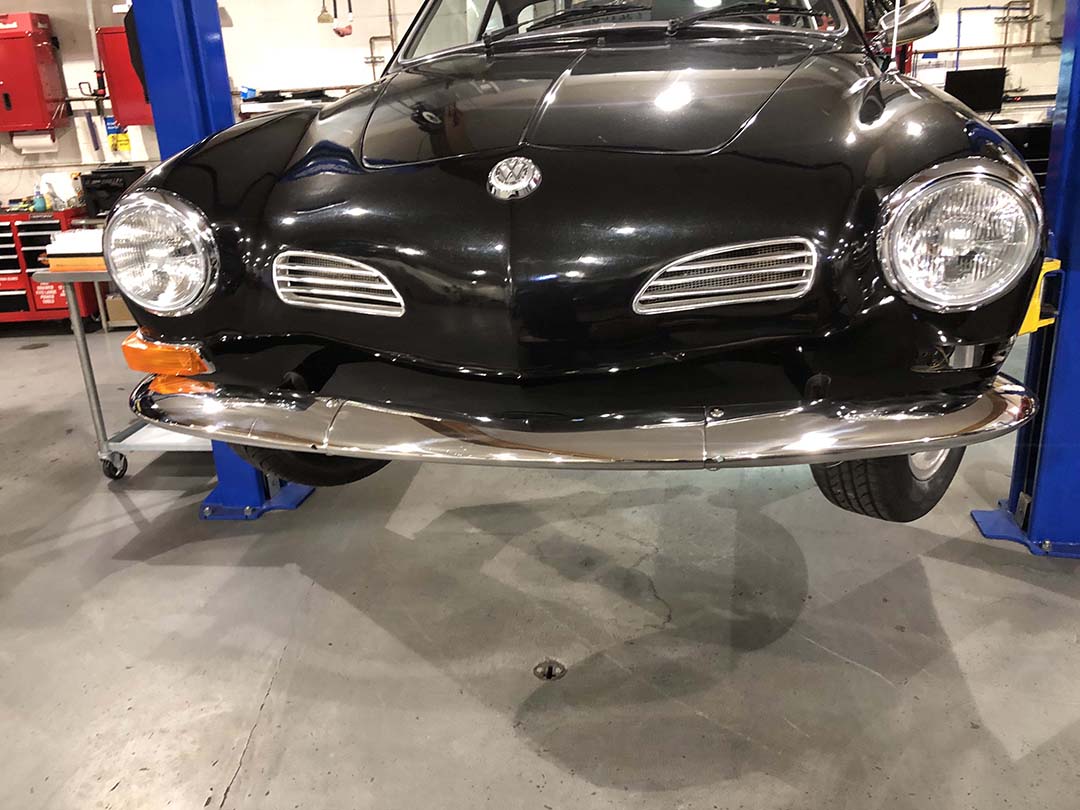
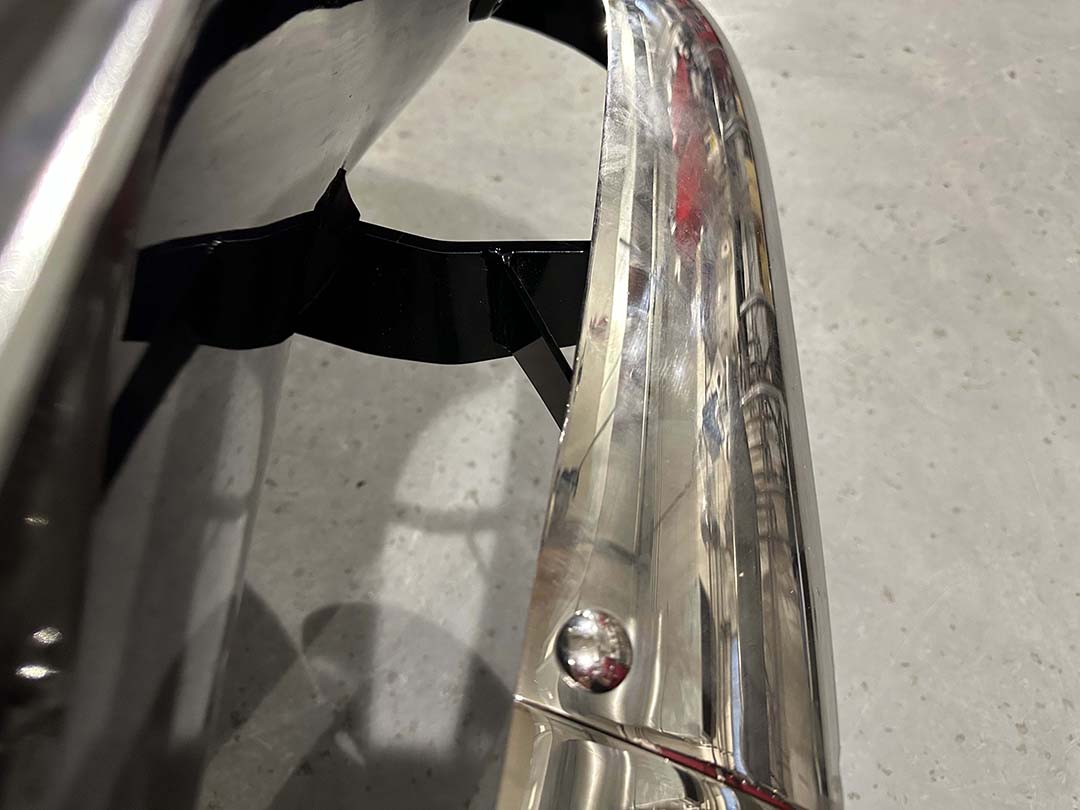
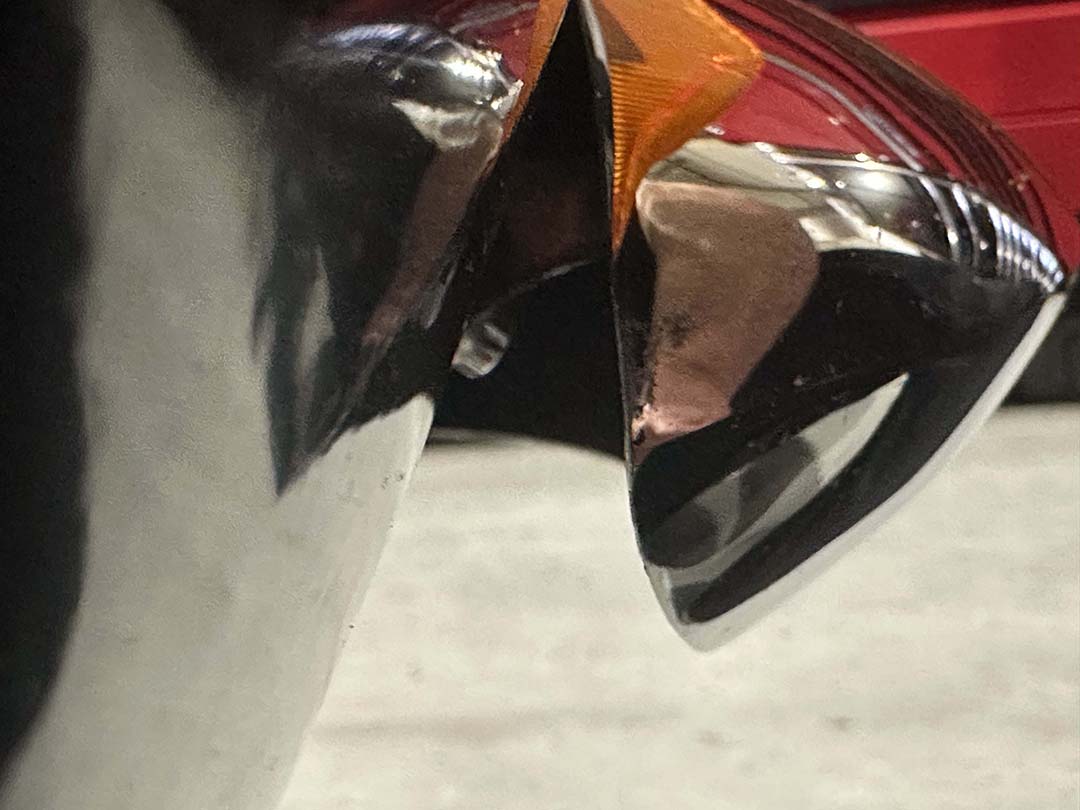
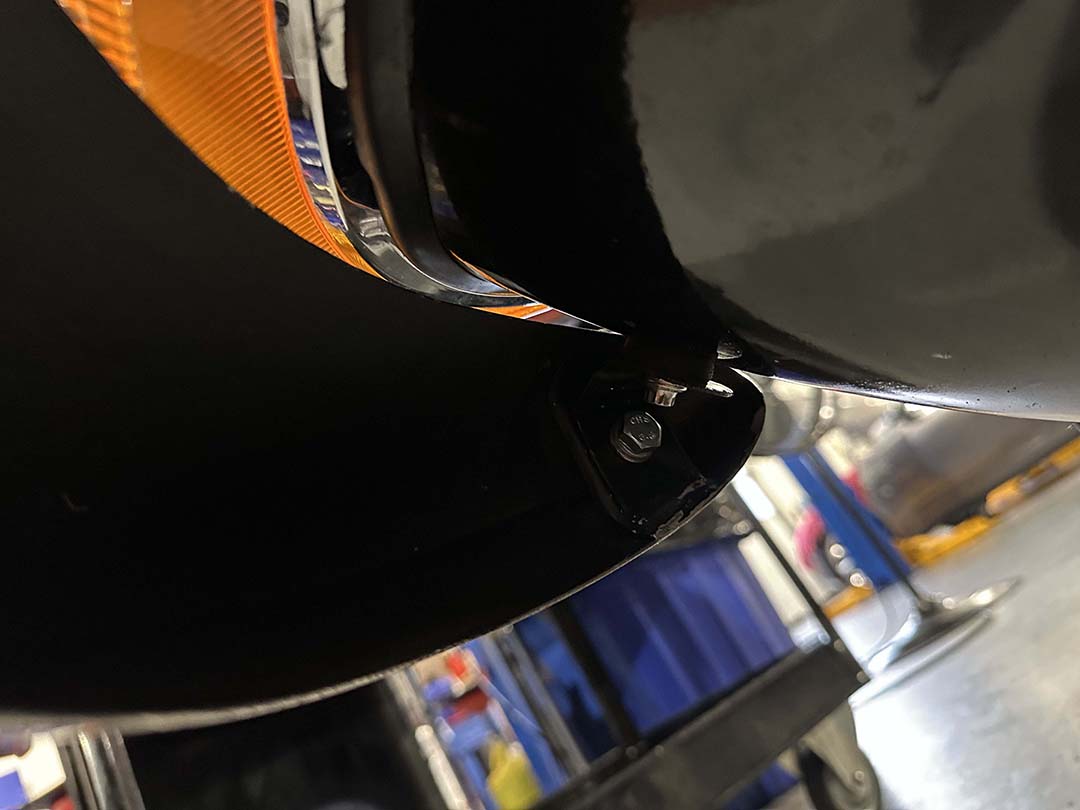
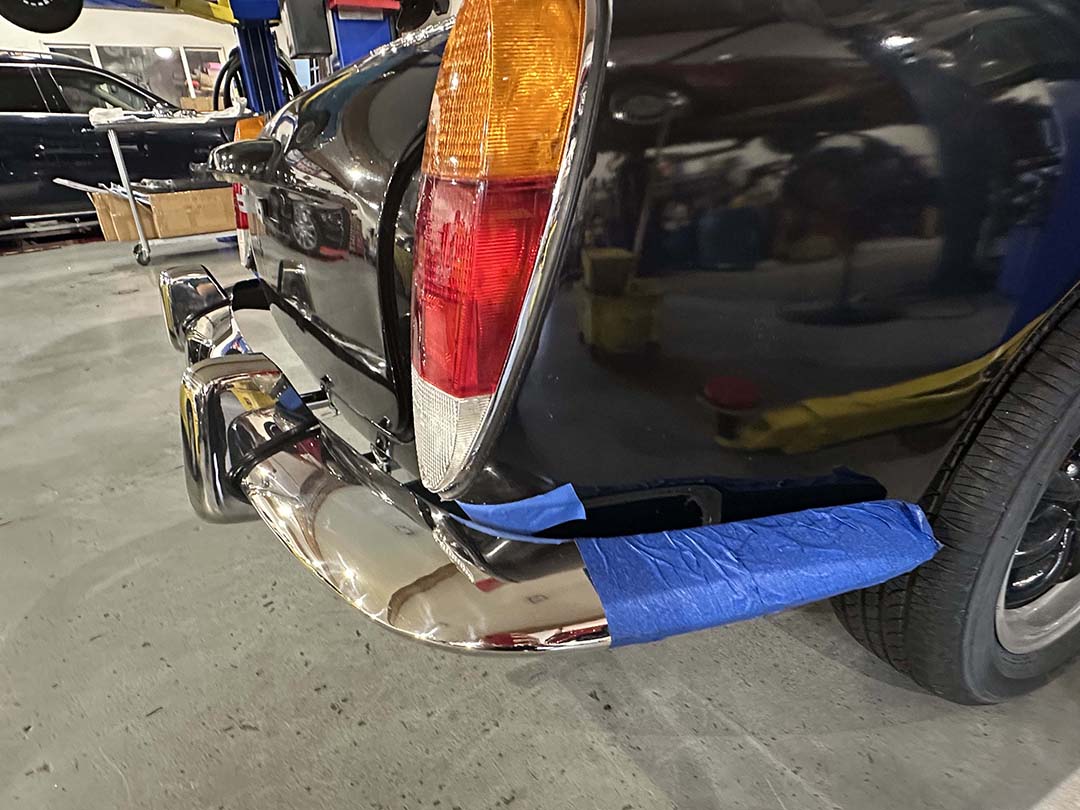
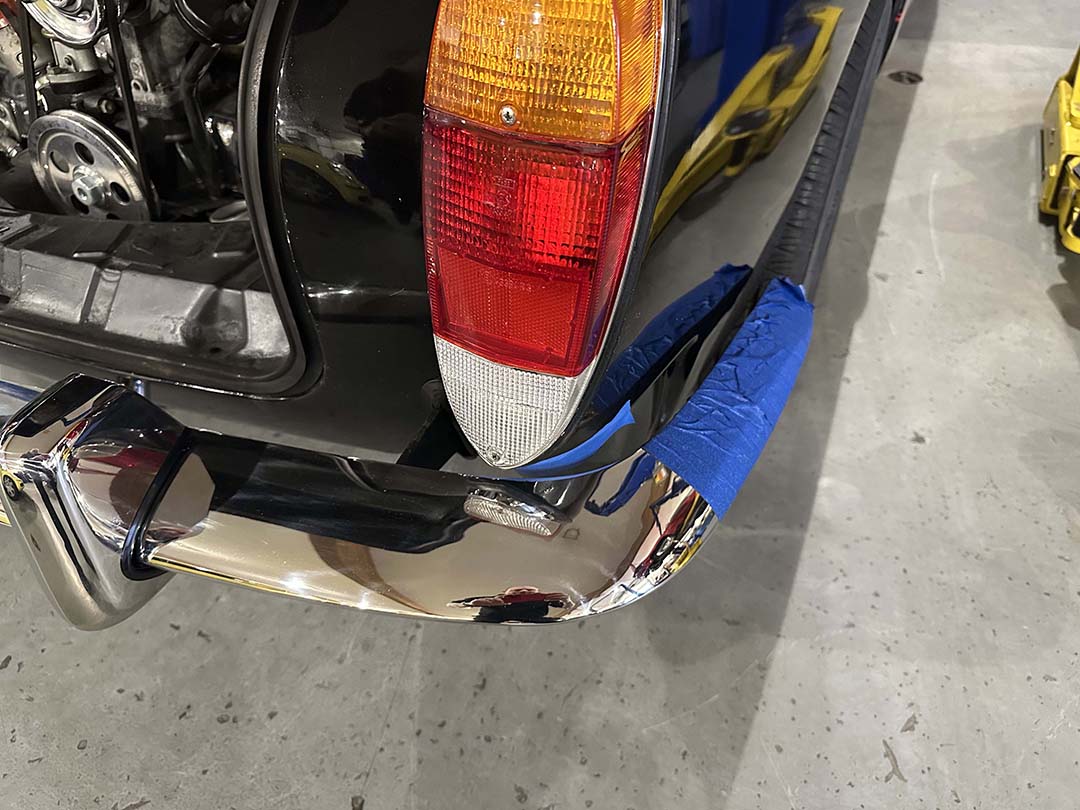
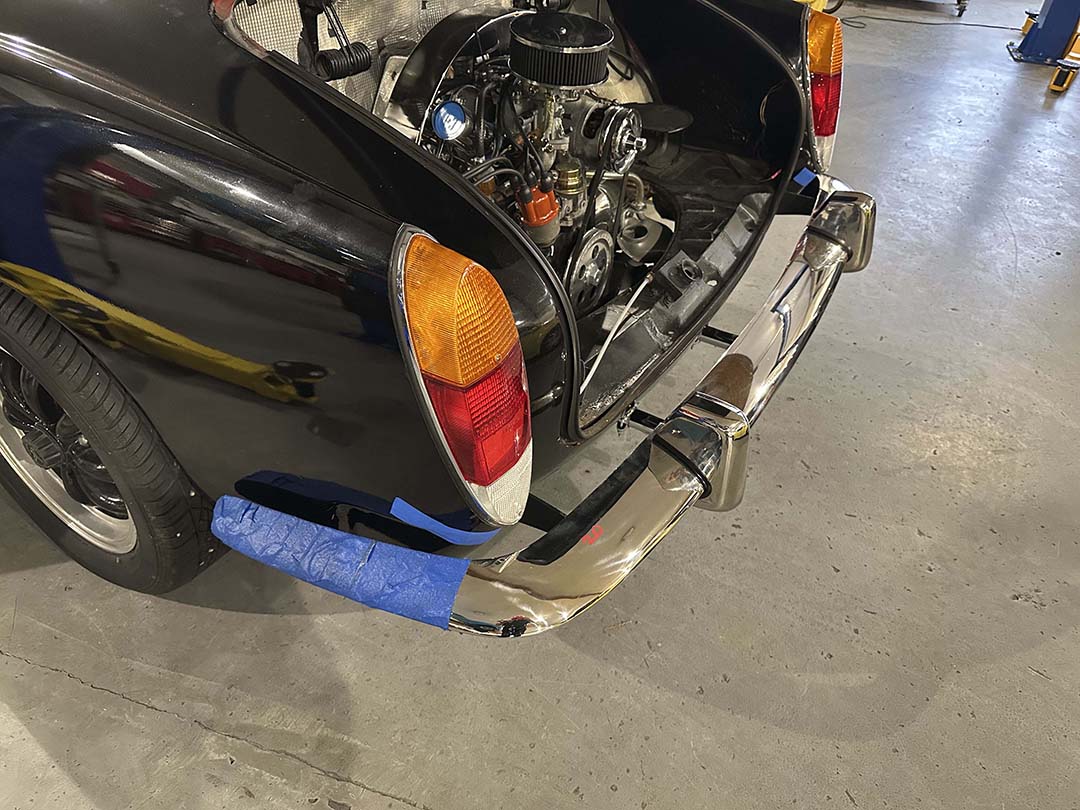
This 1972 Volkswagen Karmann Ghia for sale is a true automotive gem. It offers classic style and modern reliability. Furthermore, this Ghia has mechanical and partial body restoration. The upgrades deliver a top driving experience. This is not just a vintage car; it is a labor of love. This Karmann Ghia offers iconic looks and peace of mind. Meister Werks handles most mechanical work and the European bumper installation.
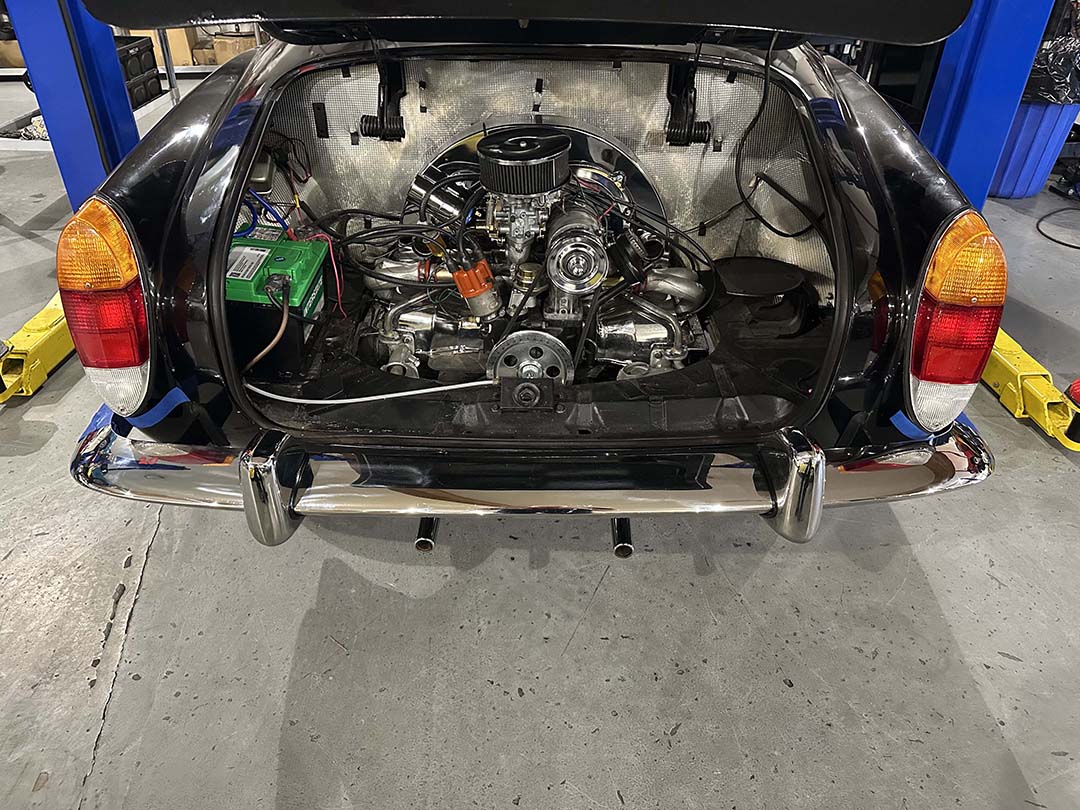
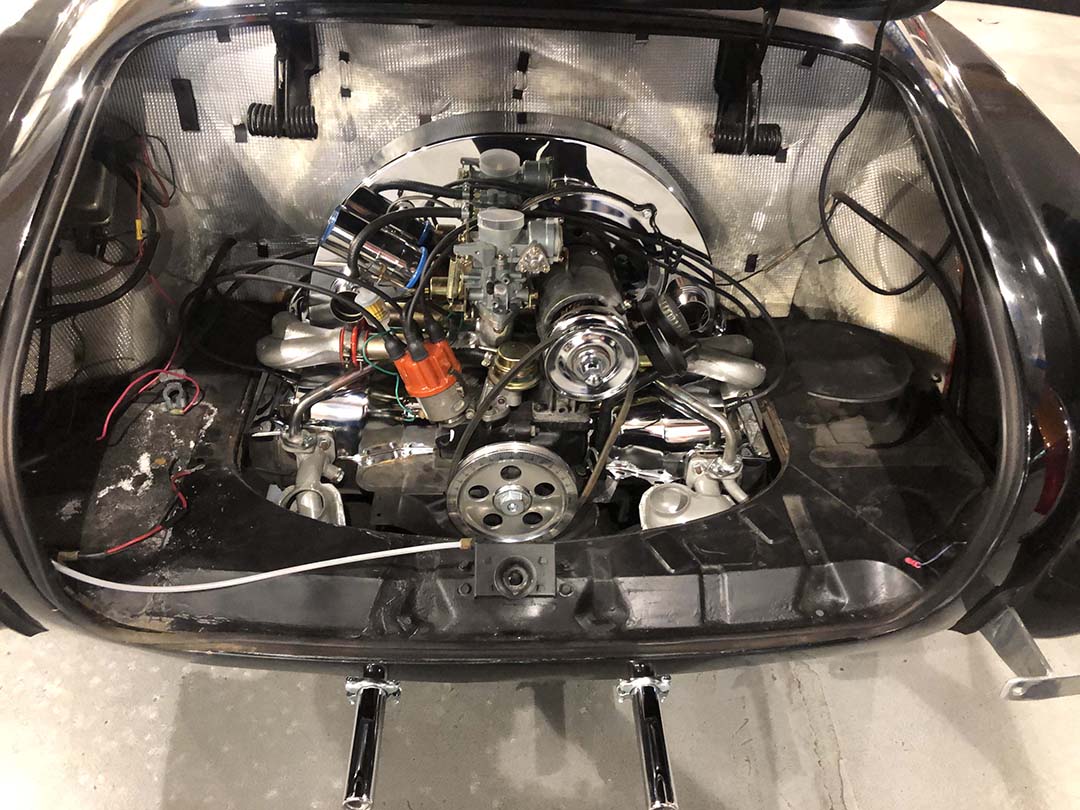
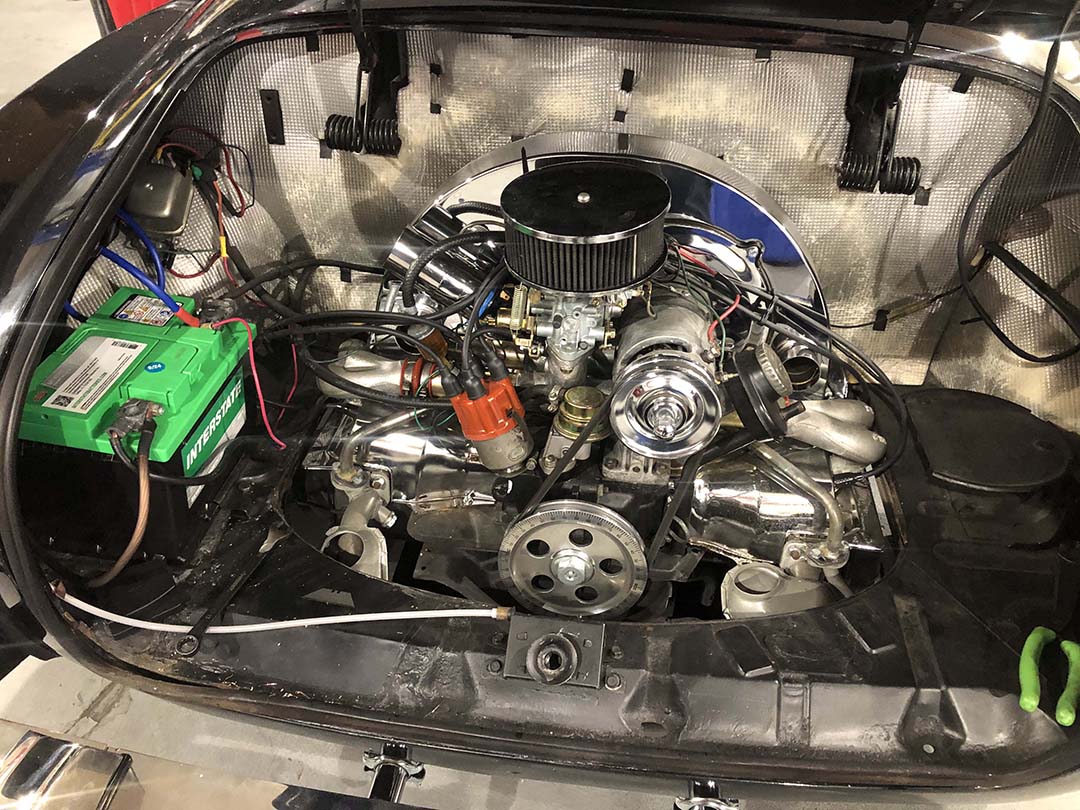
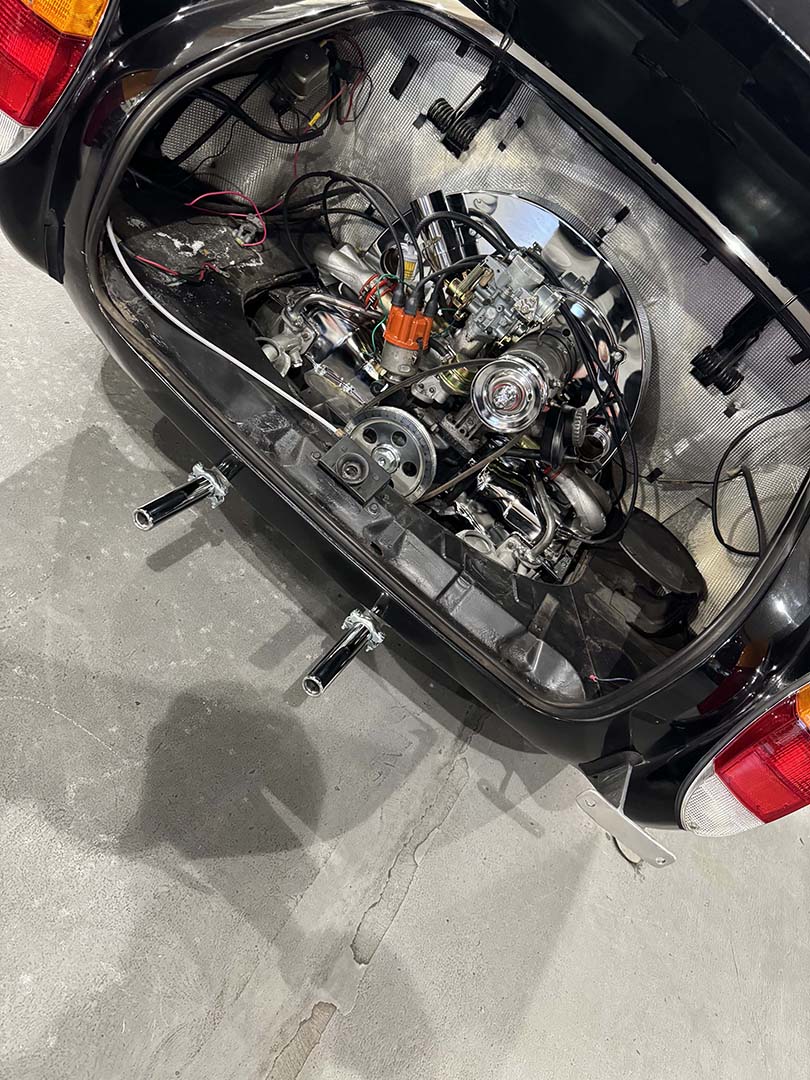
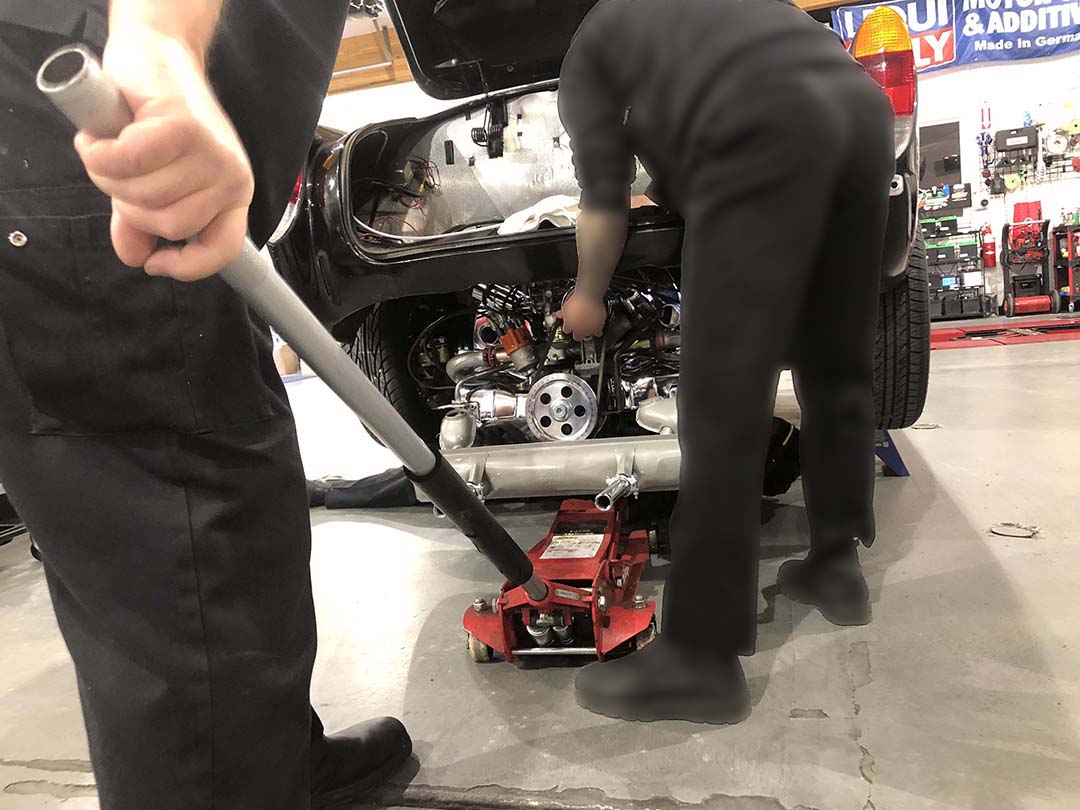
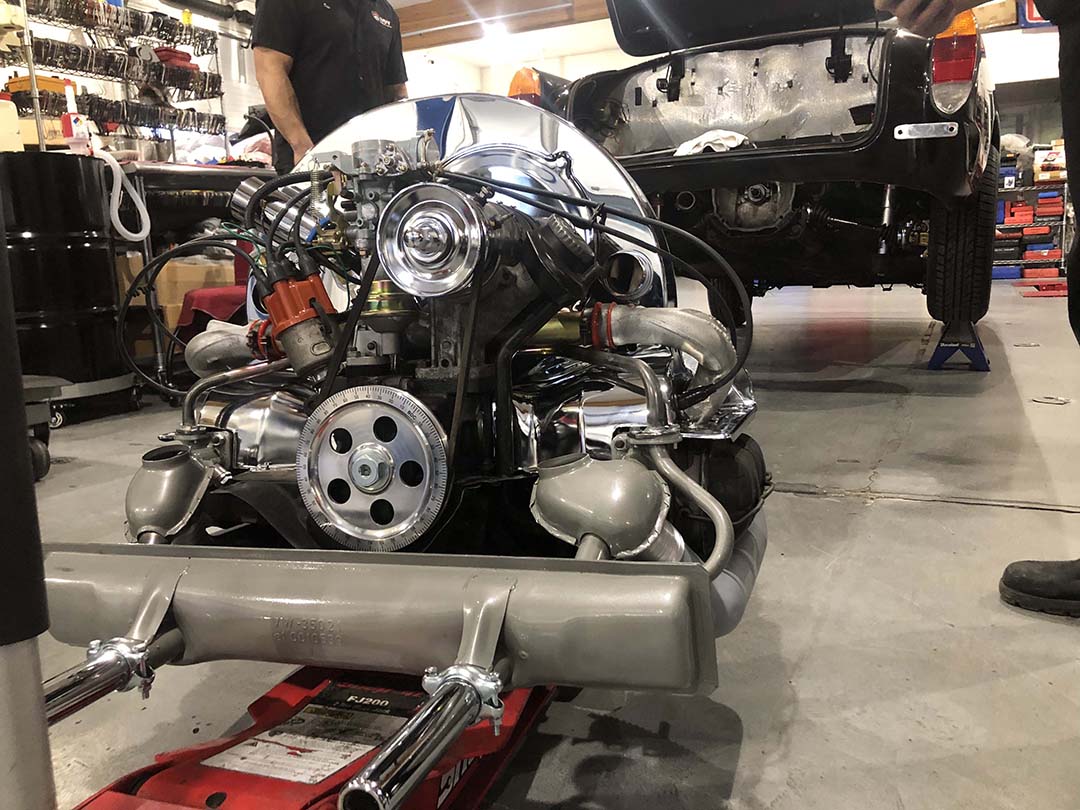
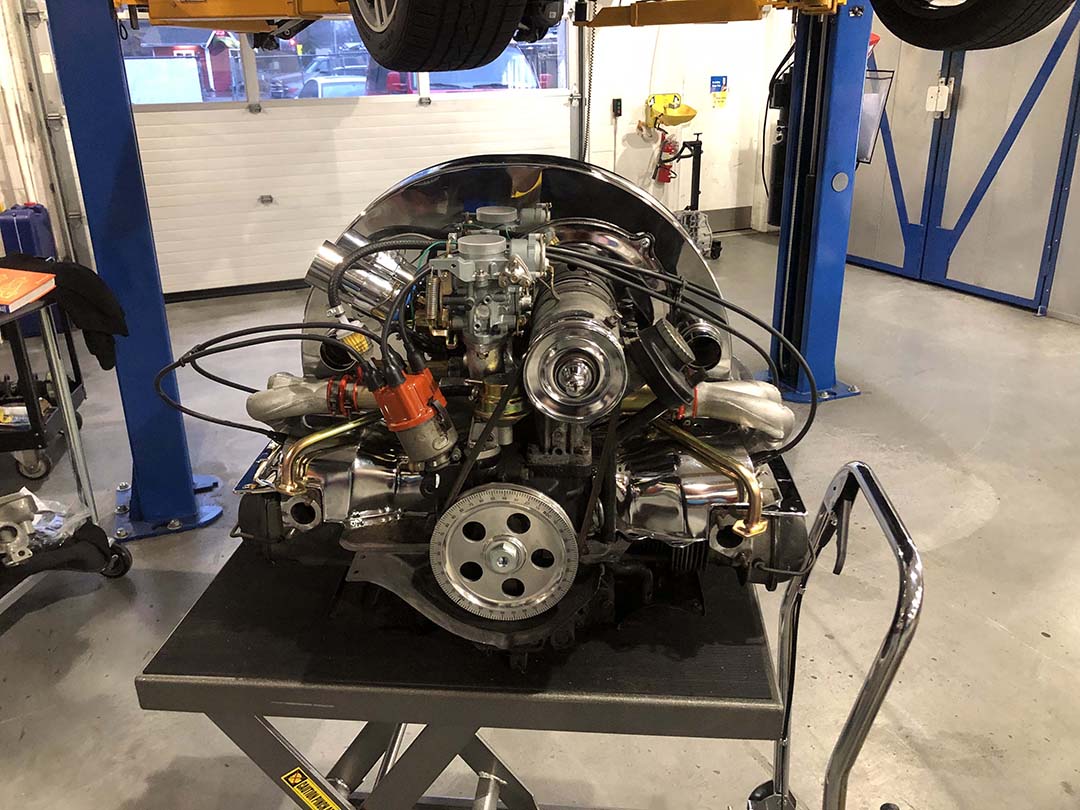
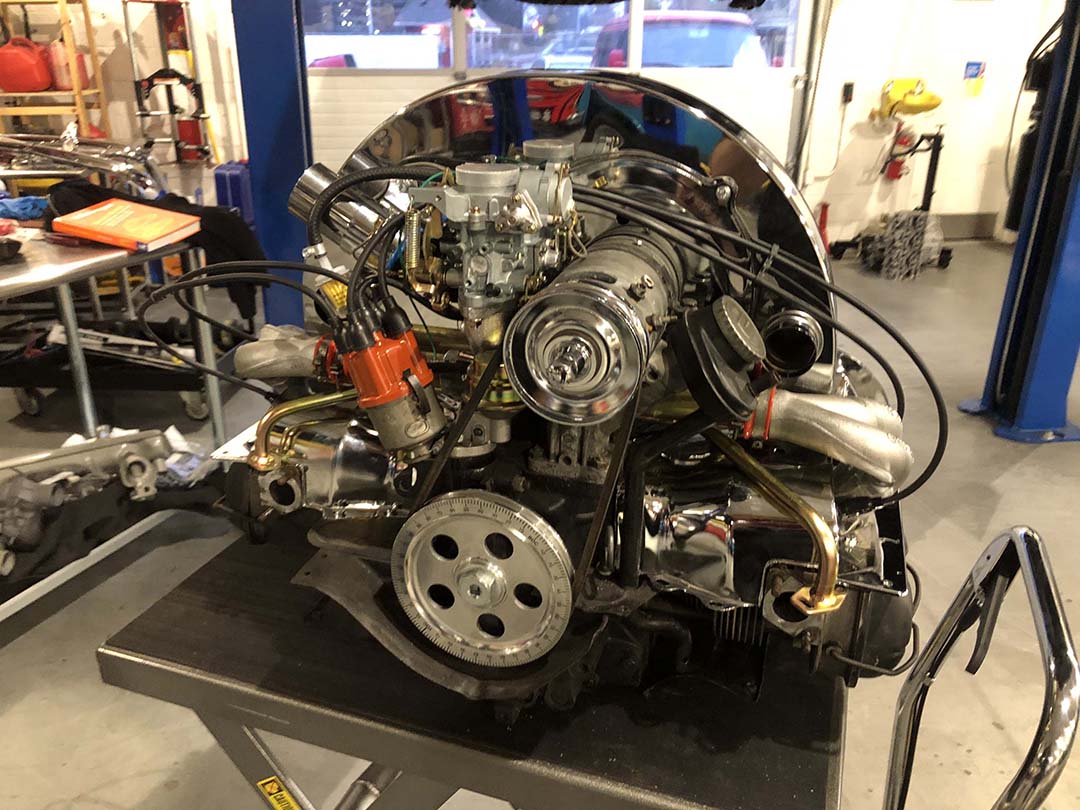
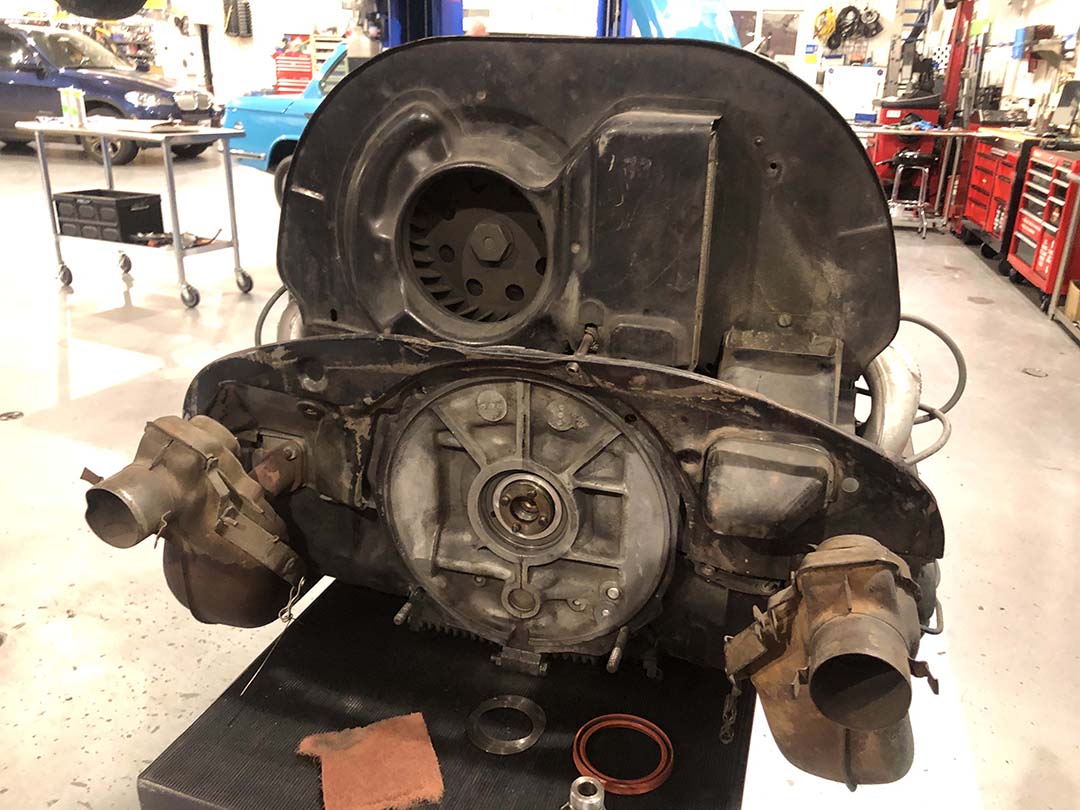
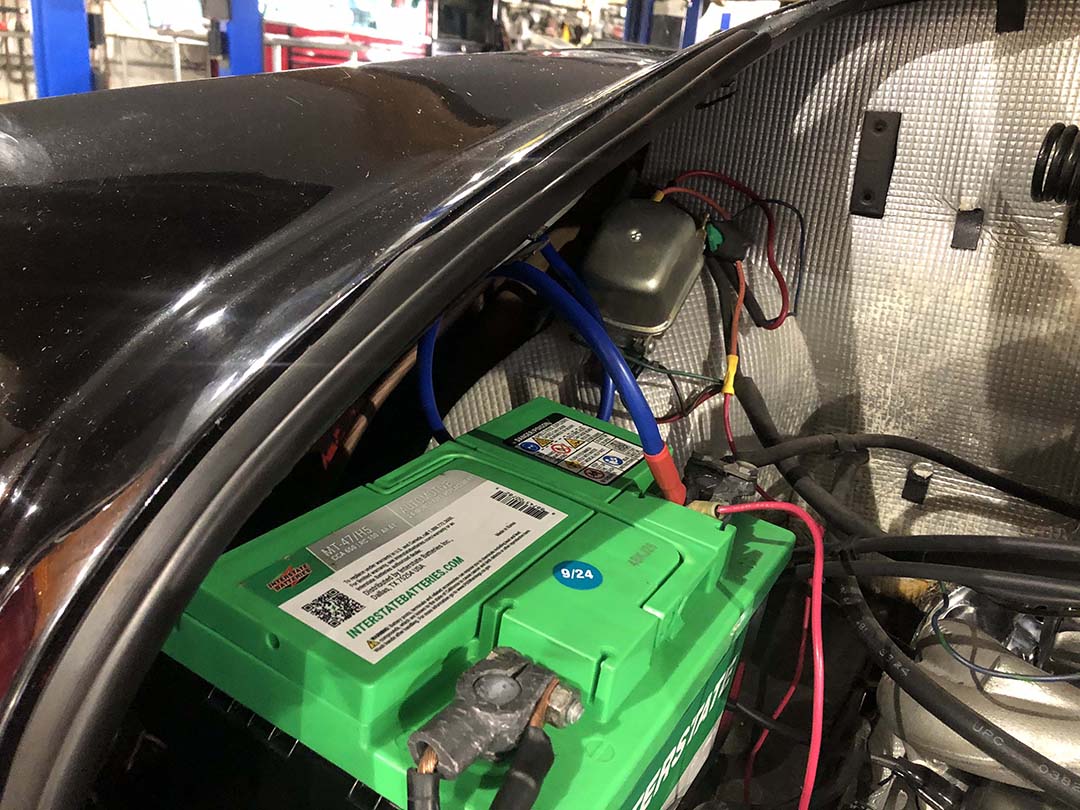
Under the Hood & On the Road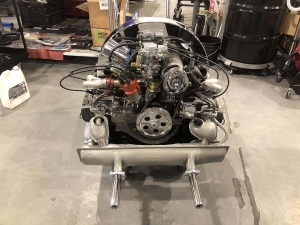

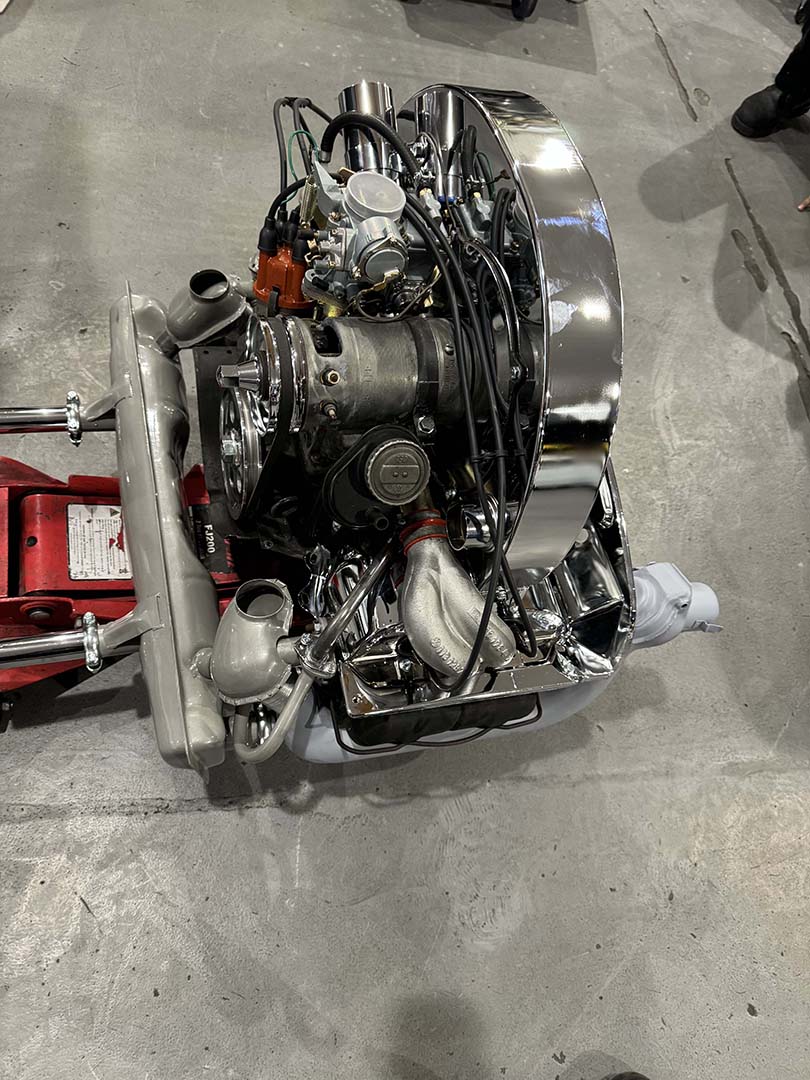
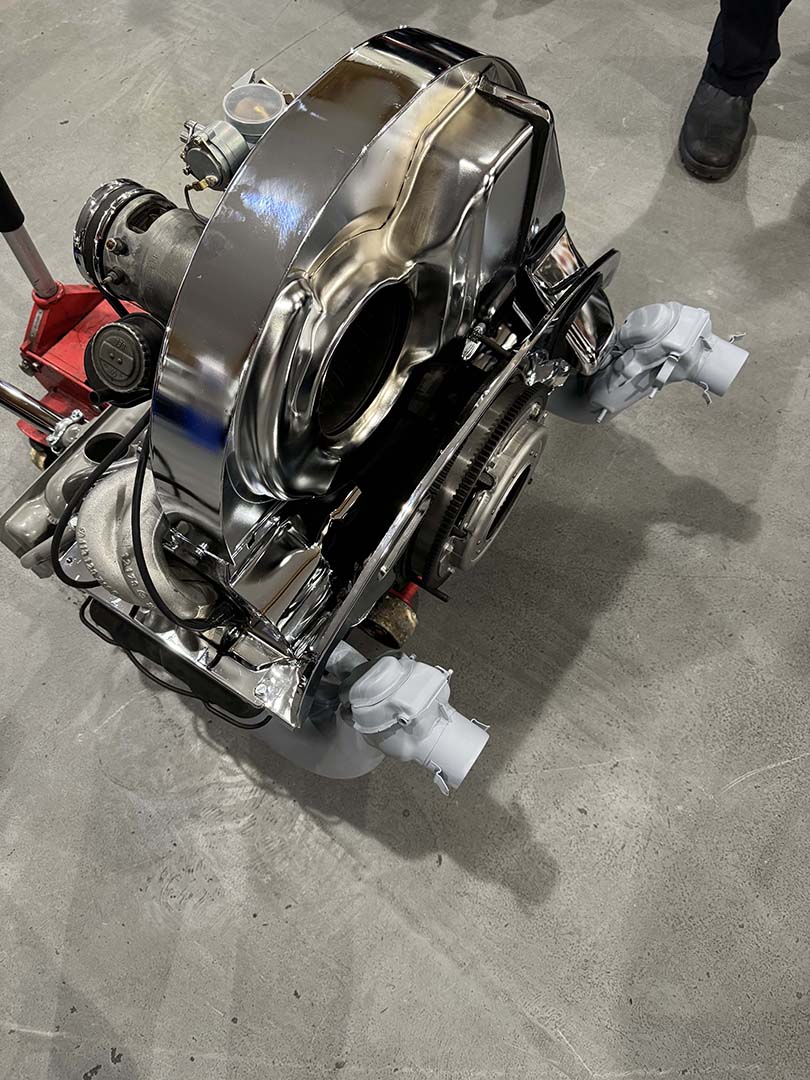
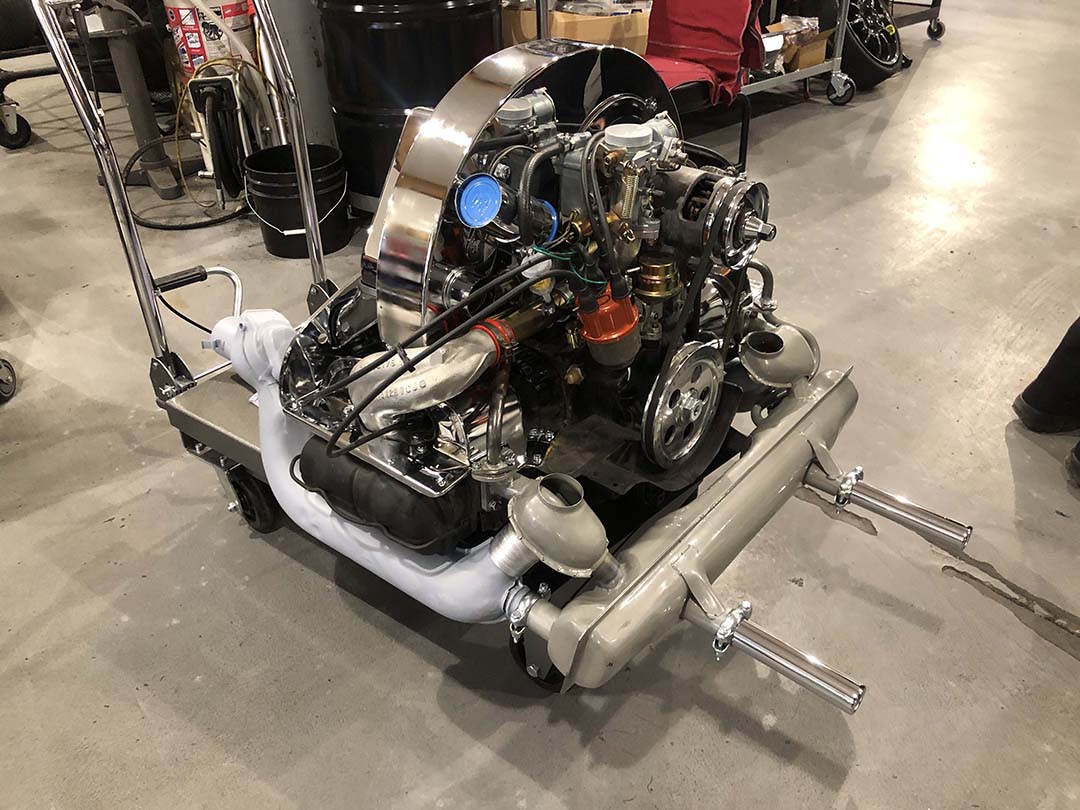
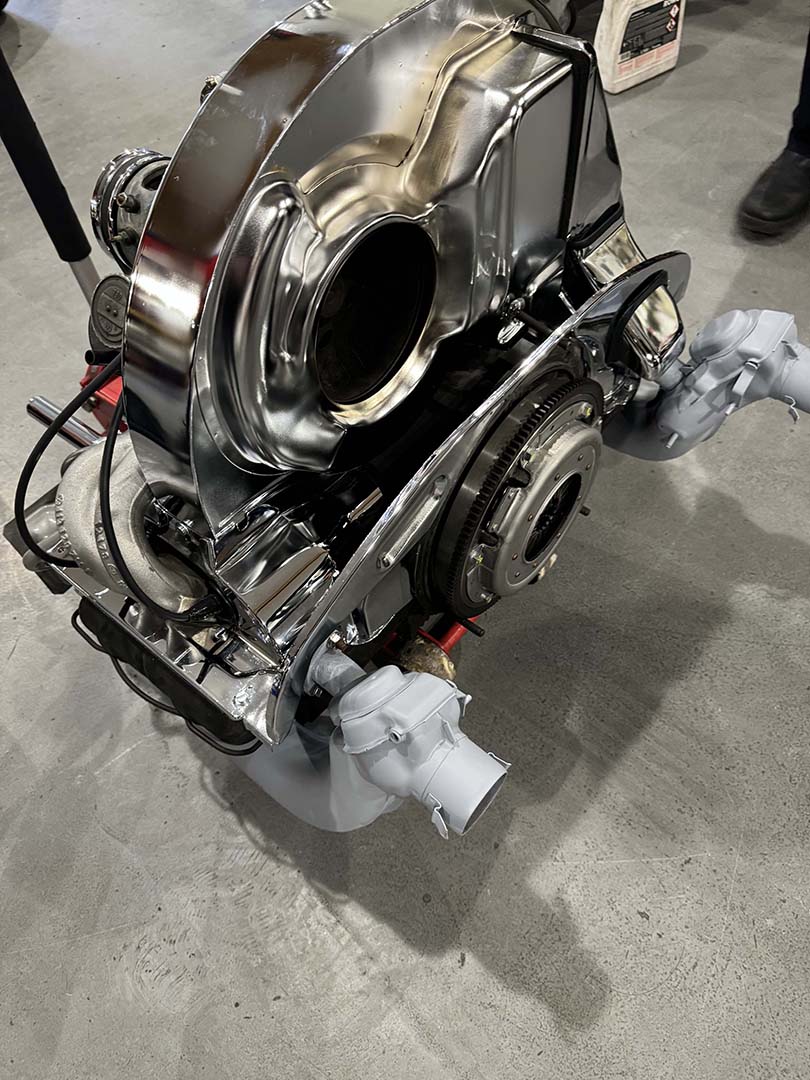
The Ghia’s engine runs strong. It boasts a full tune-up. This includes new plugs, a fresh coil, new cap, and rotor. These ensure crisp ignition and smooth running. Additionally, all engine oil leaks are repaired. This guarantees a clean, reliable power plant. A gleaming engine chrome dress-up kit adds shine. Fuel delivery is precise with a new carburetor. For better charging, a modern alternator conversion is complete. It pairs with a new battery.
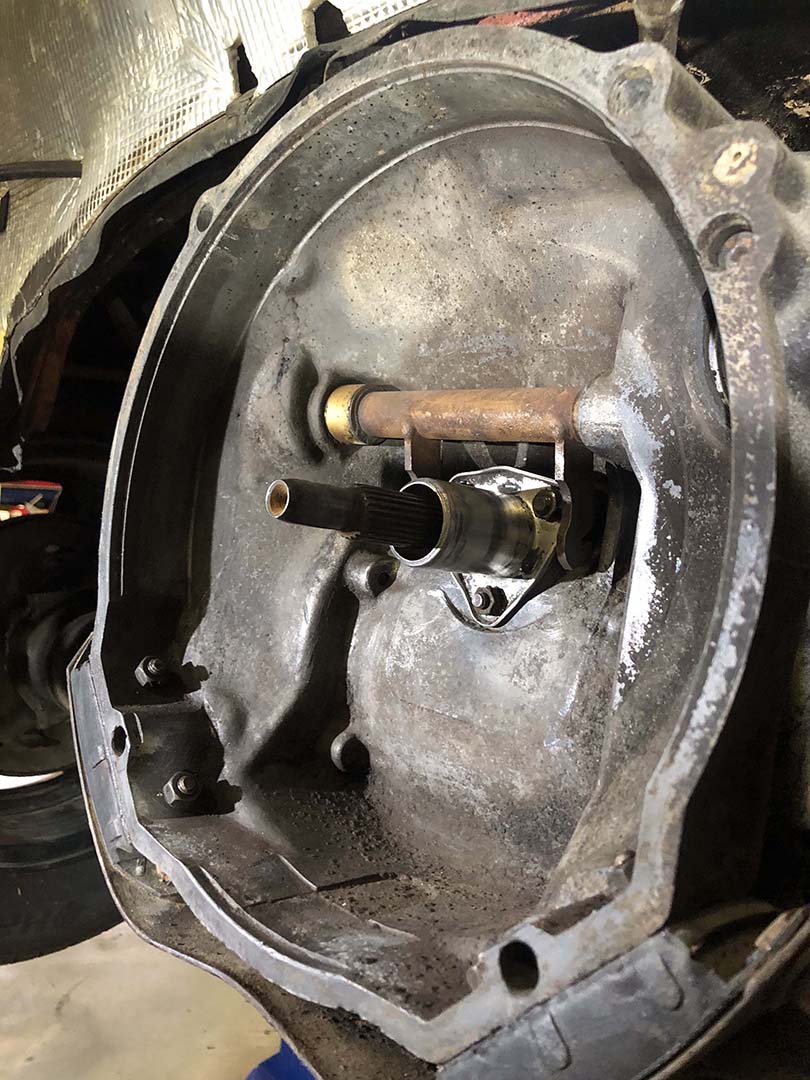
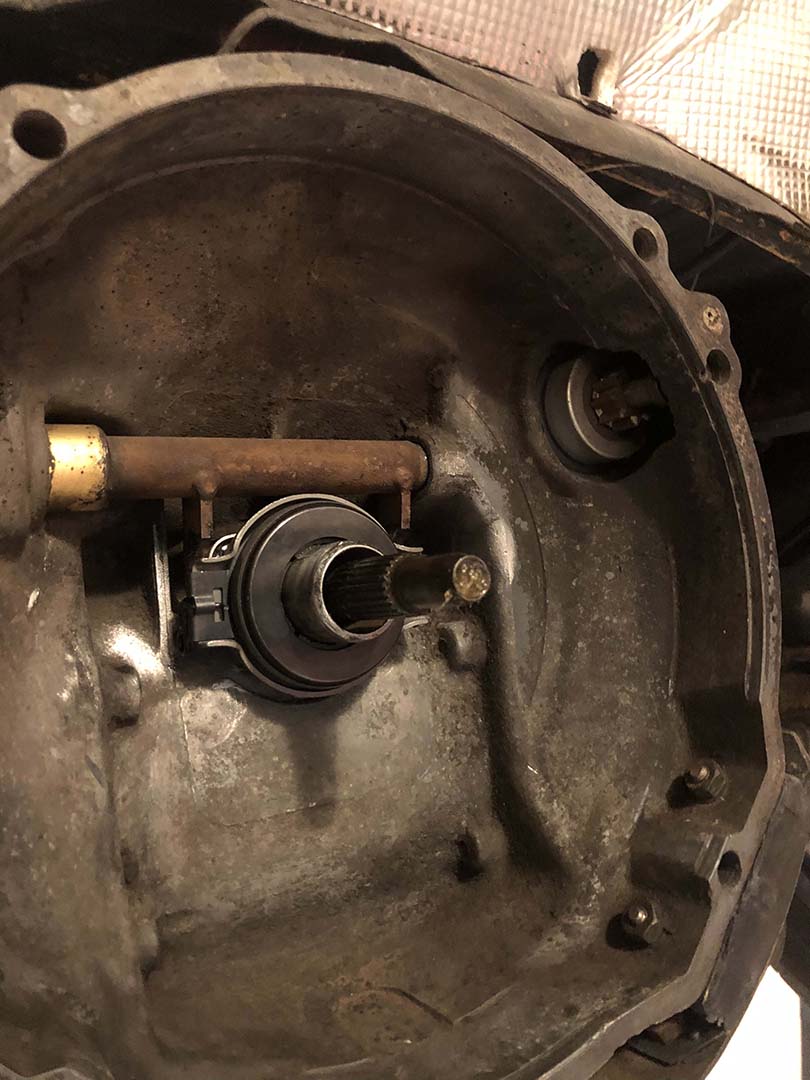
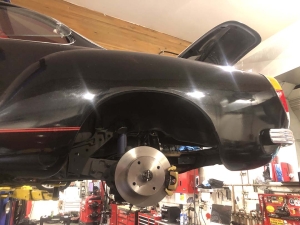 Top Braking & Drivetrain Performance
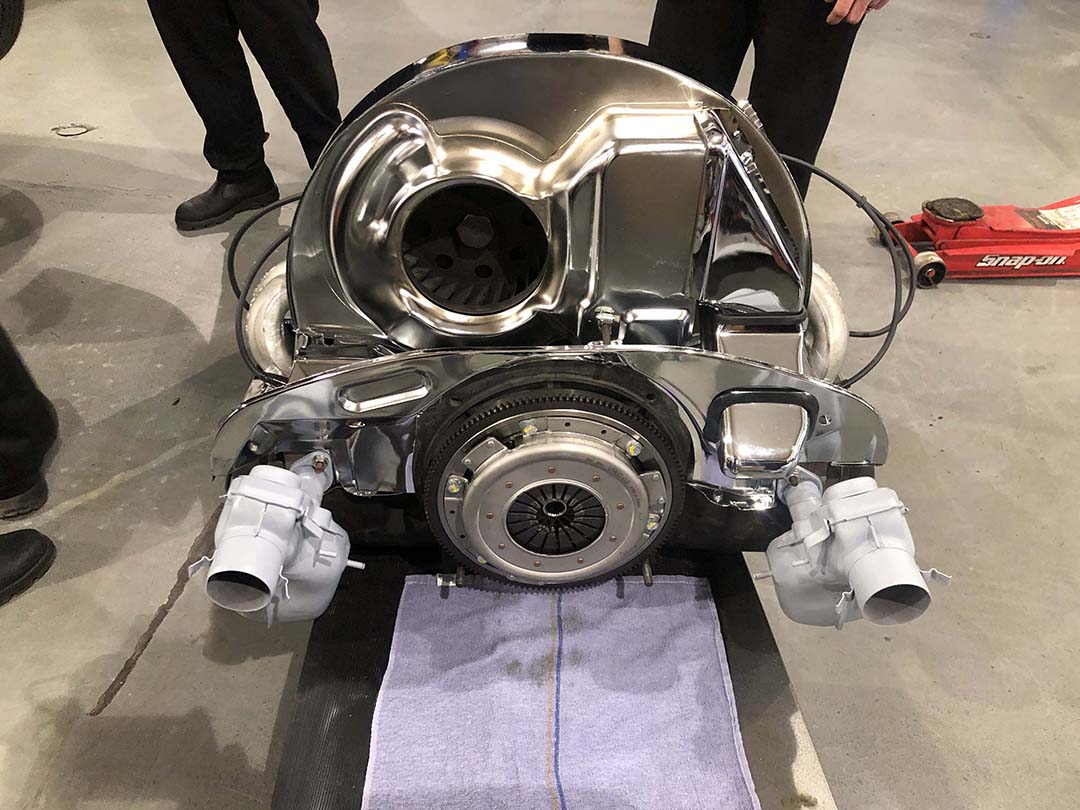
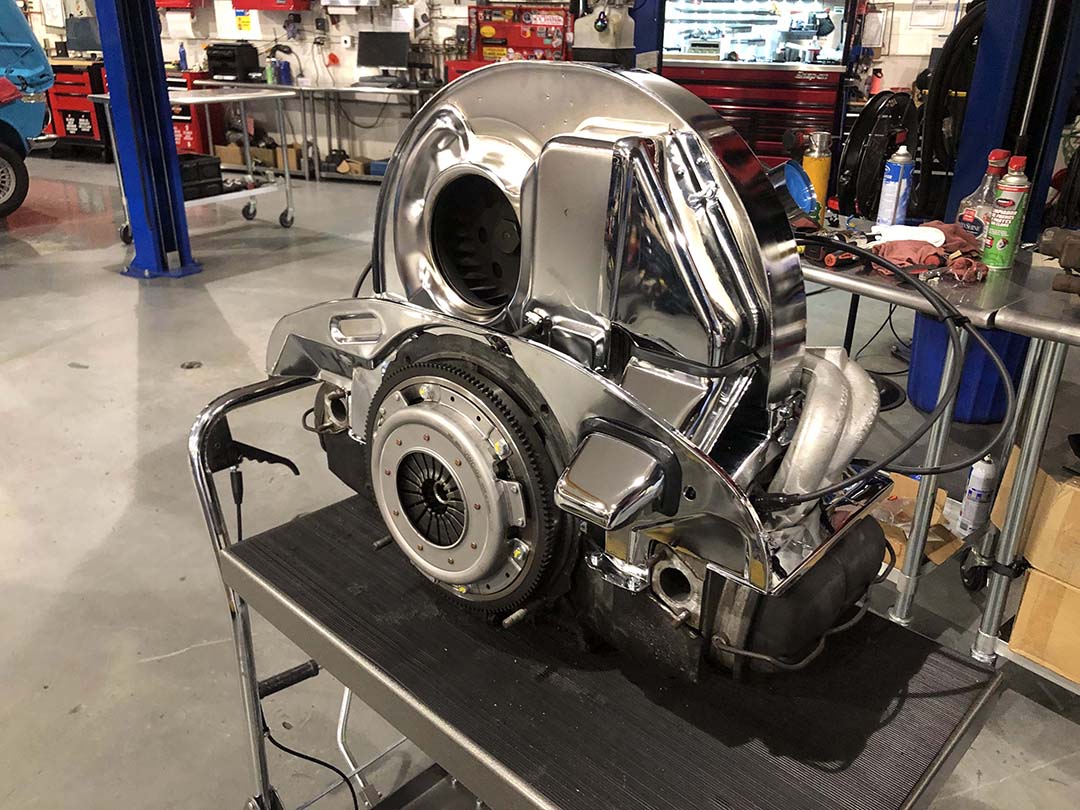

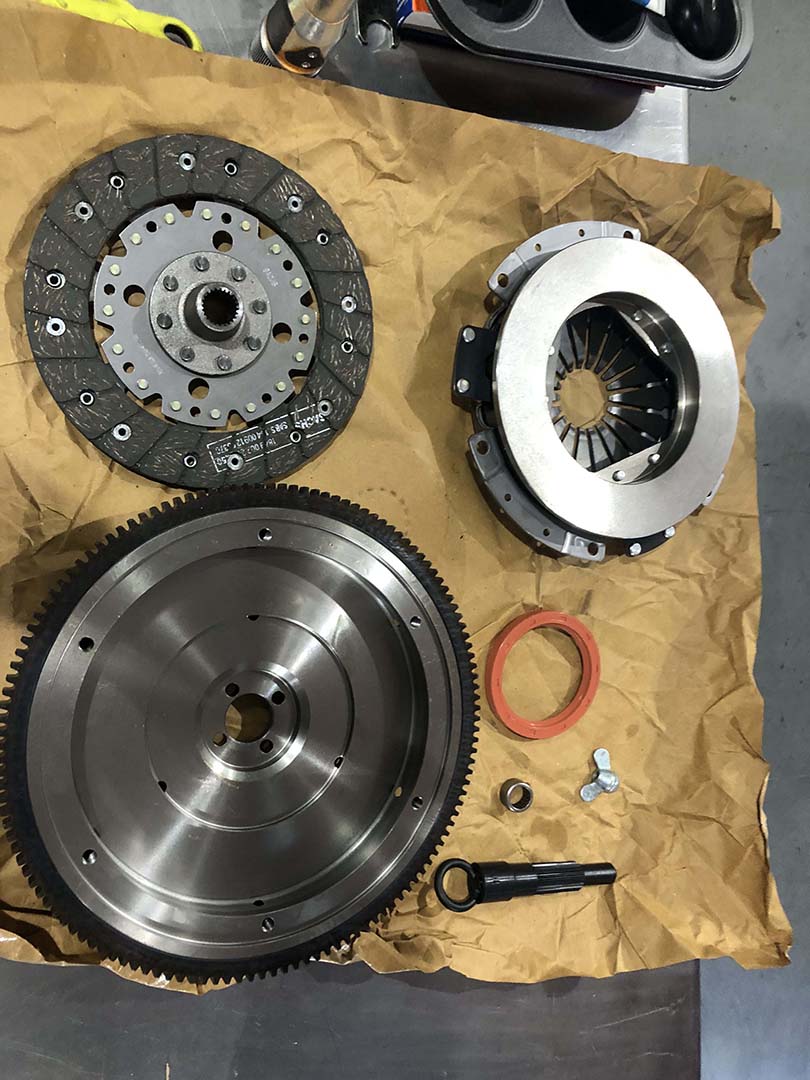
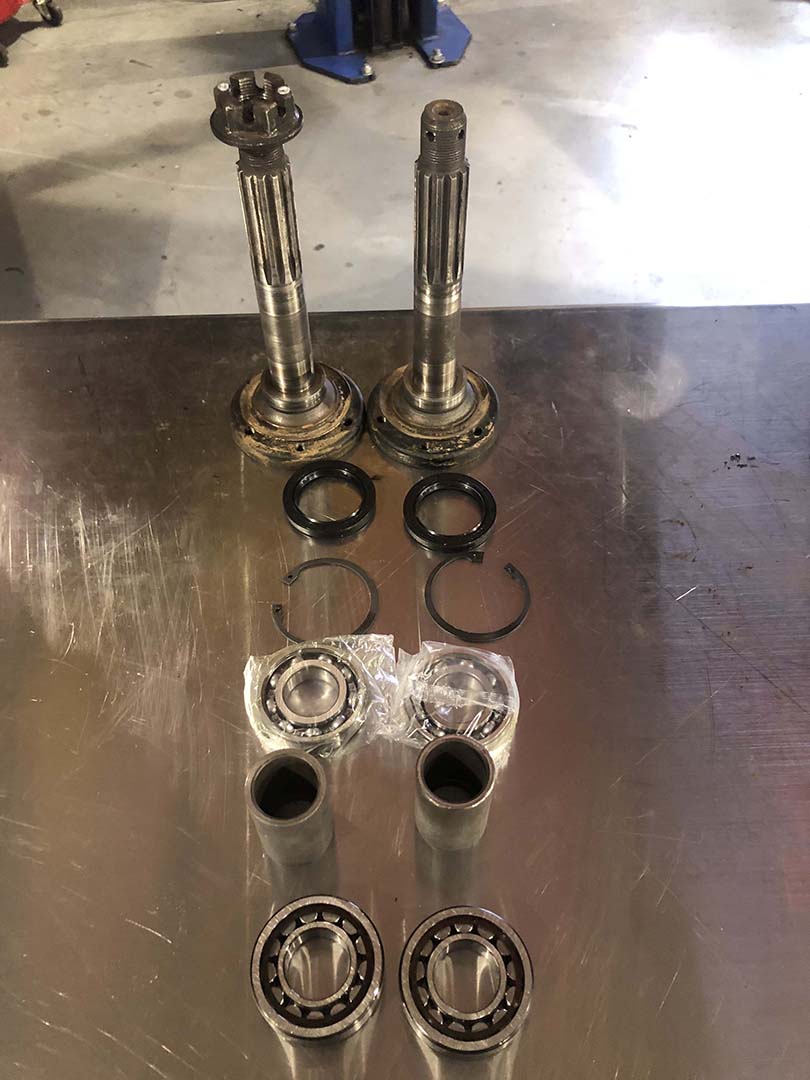
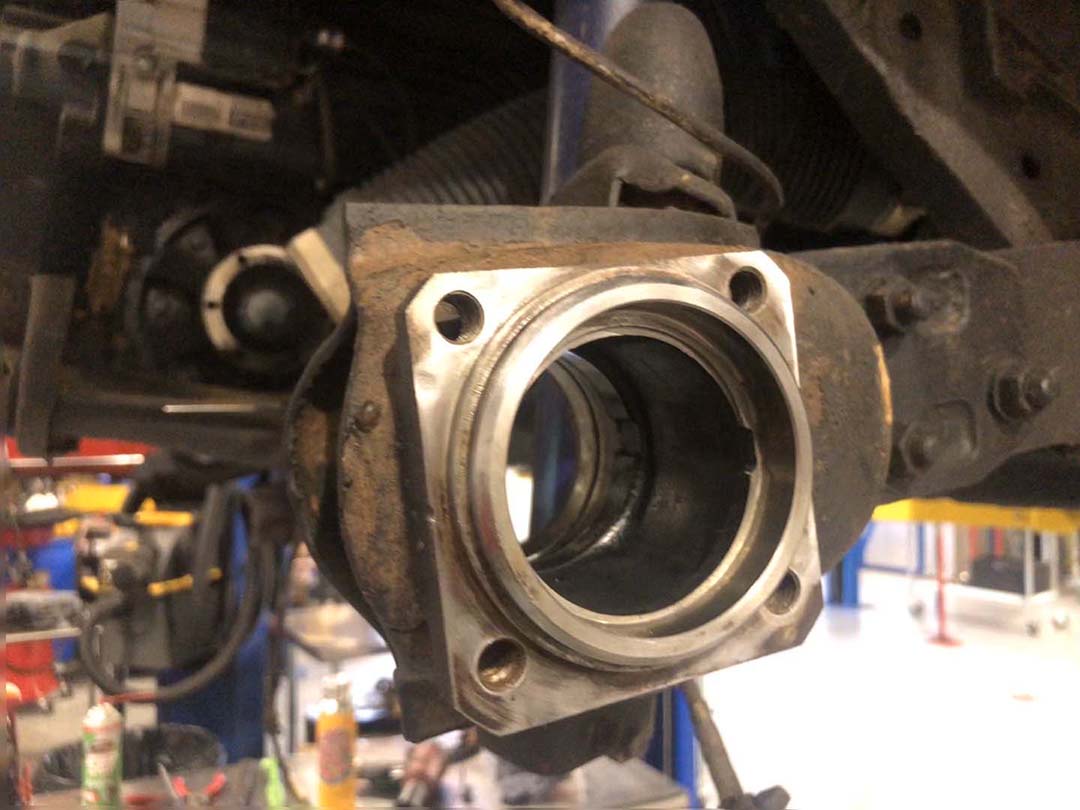
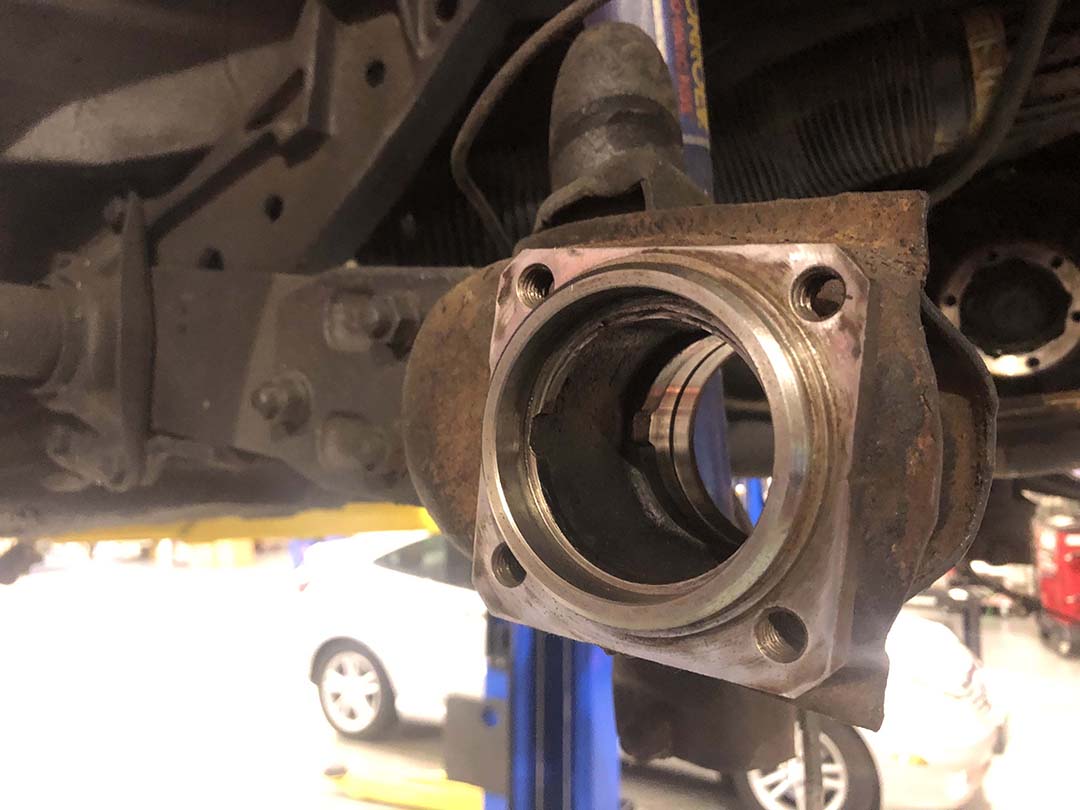
Experience confident stopping power. This 1972 Volkswagen Karmann Ghia features a full disc brake conversion. It now has 4-wheel disc brakes. A new brake master cylinder gives firm pedal feel. The brake fluid system is fully flushed for peak performance. Power transfer is seamless. This comes from a new clutch, pressure plate, and flywheel. A fresh rear main seal and transmission input shaft seal are also in place. The ride is solid with new transmission mounts. Power reaches the wheels efficiently with new CV axles on both sides (inner/outer). Steering precision improves with a new steering coupling disc.
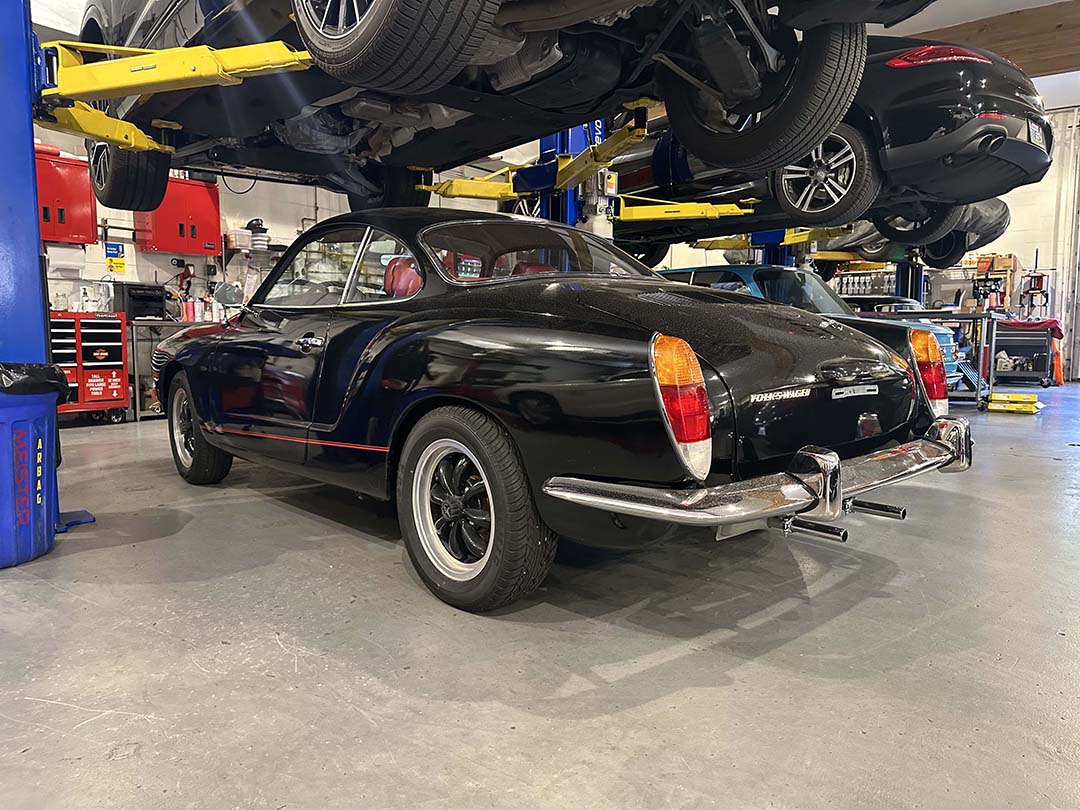
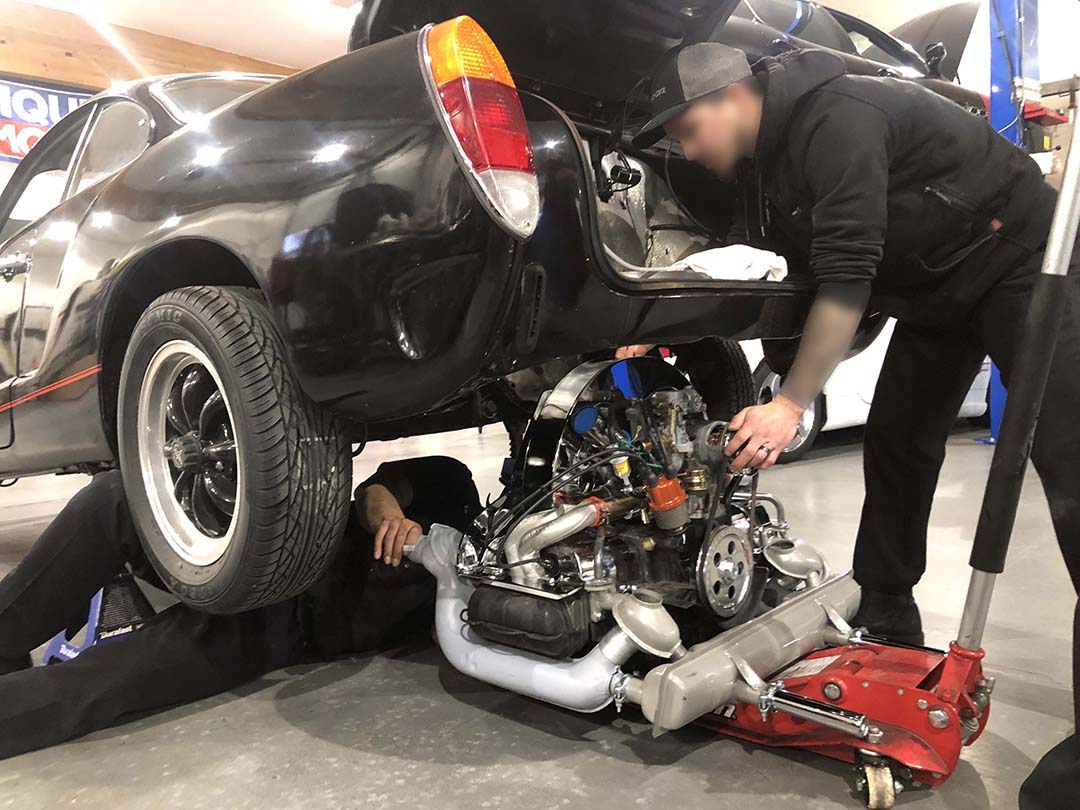
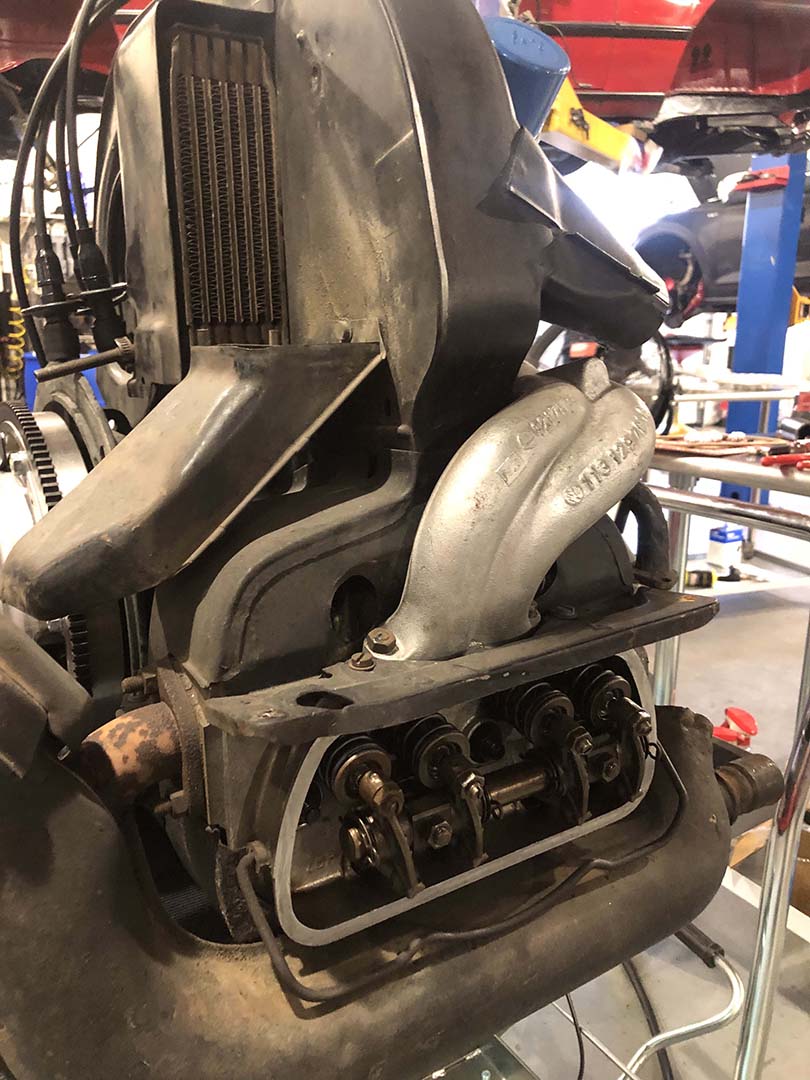
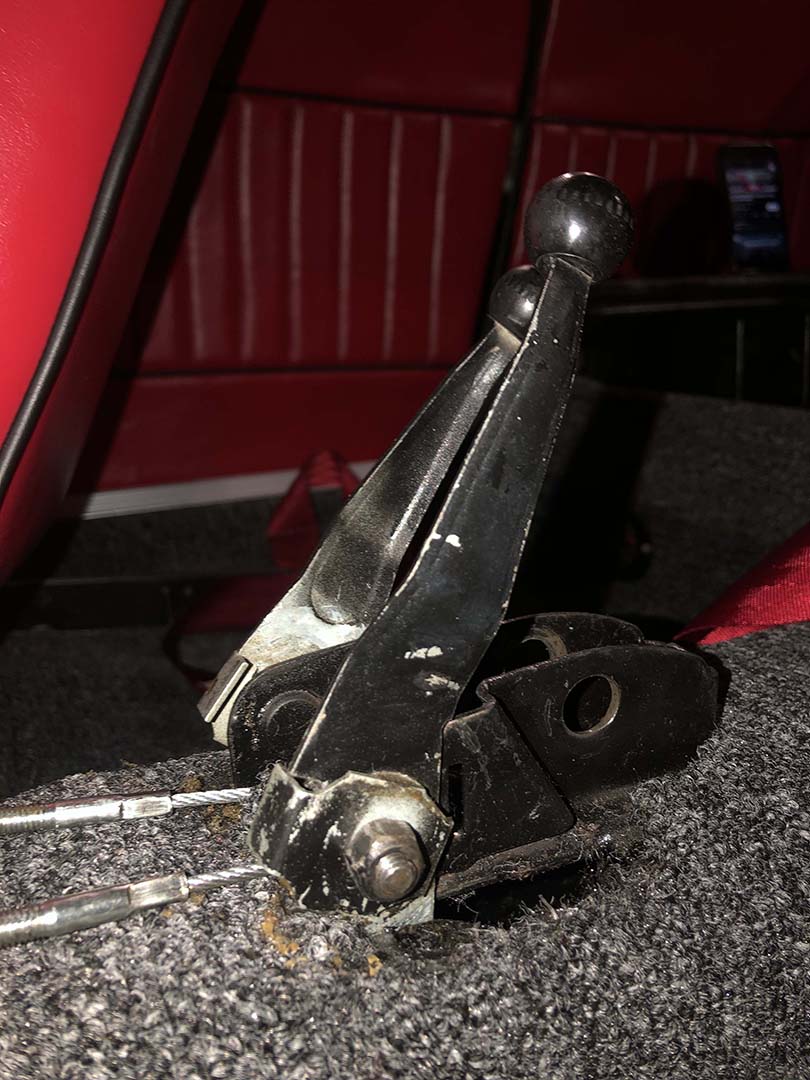
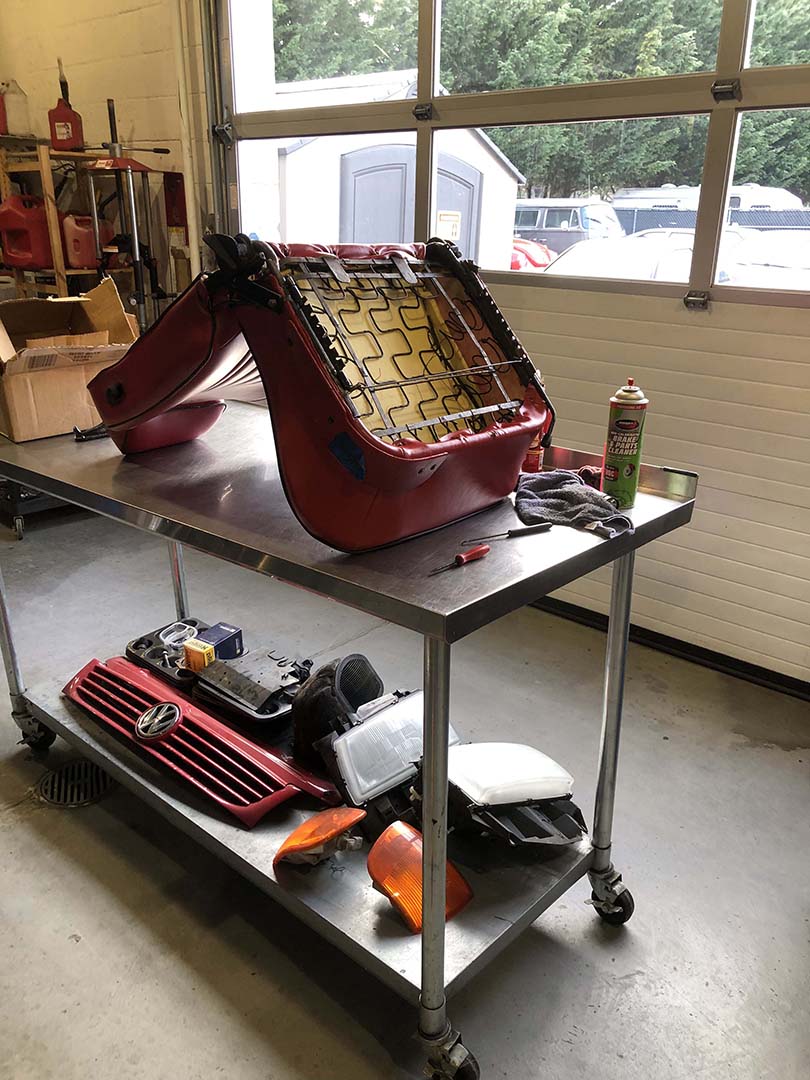
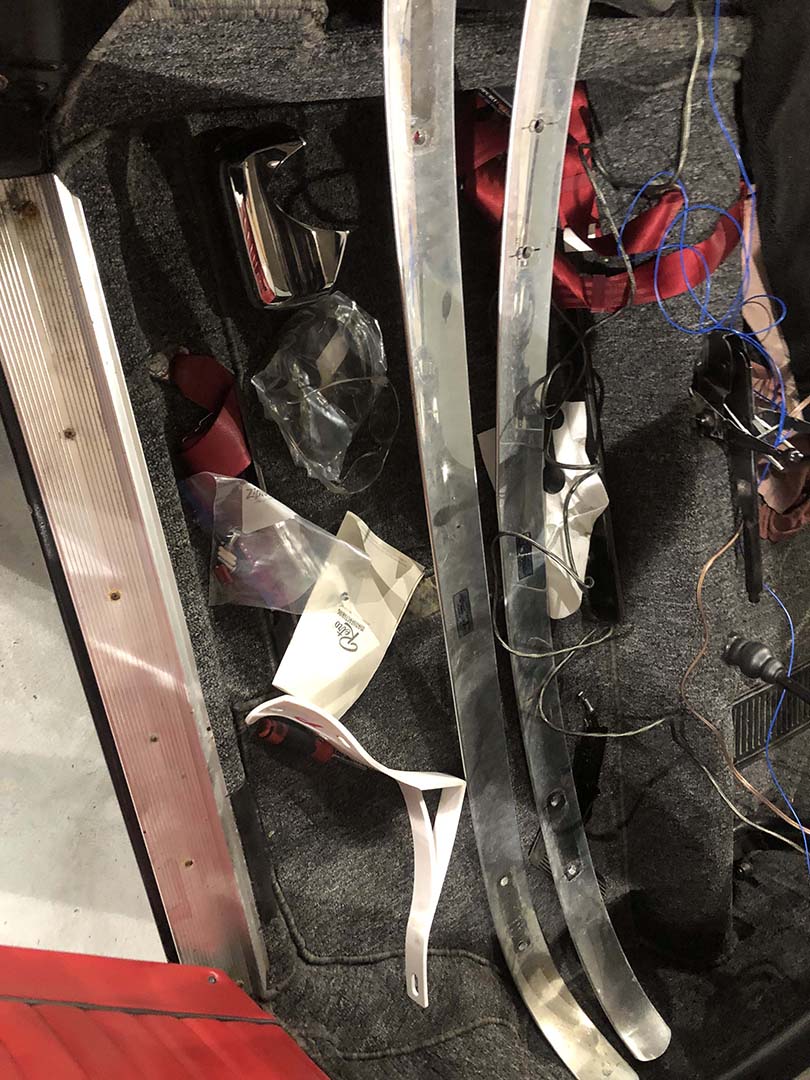
Refined Looks & Comfort

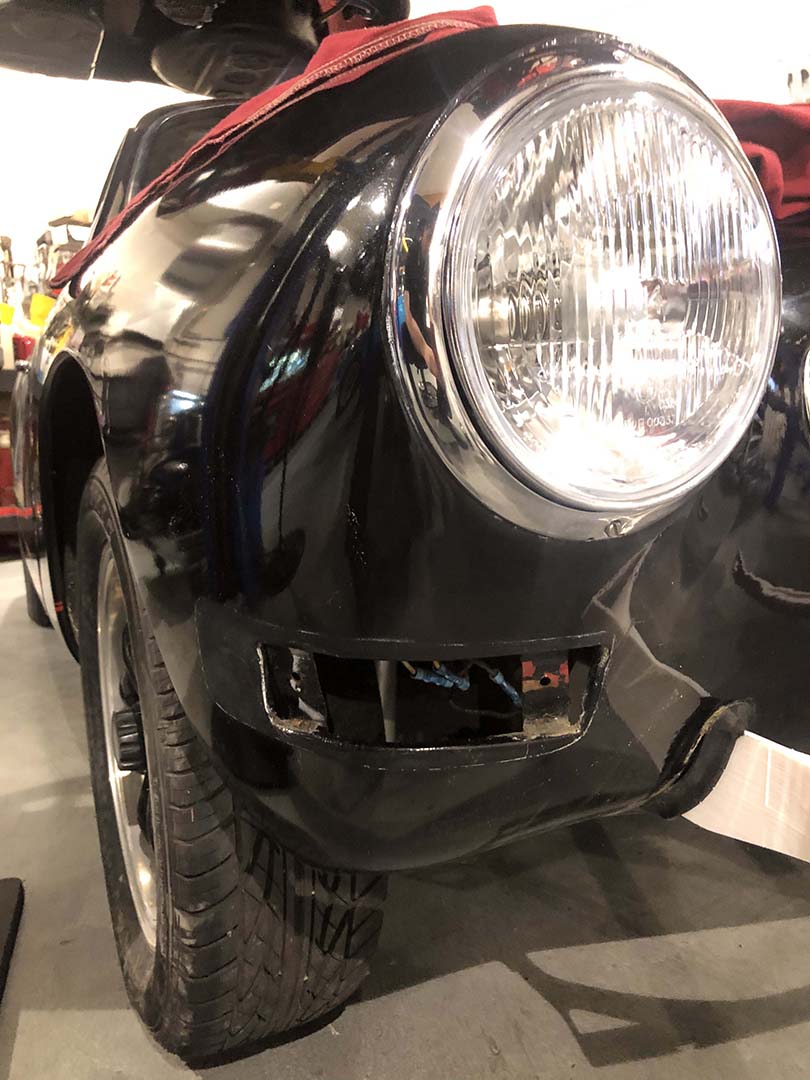
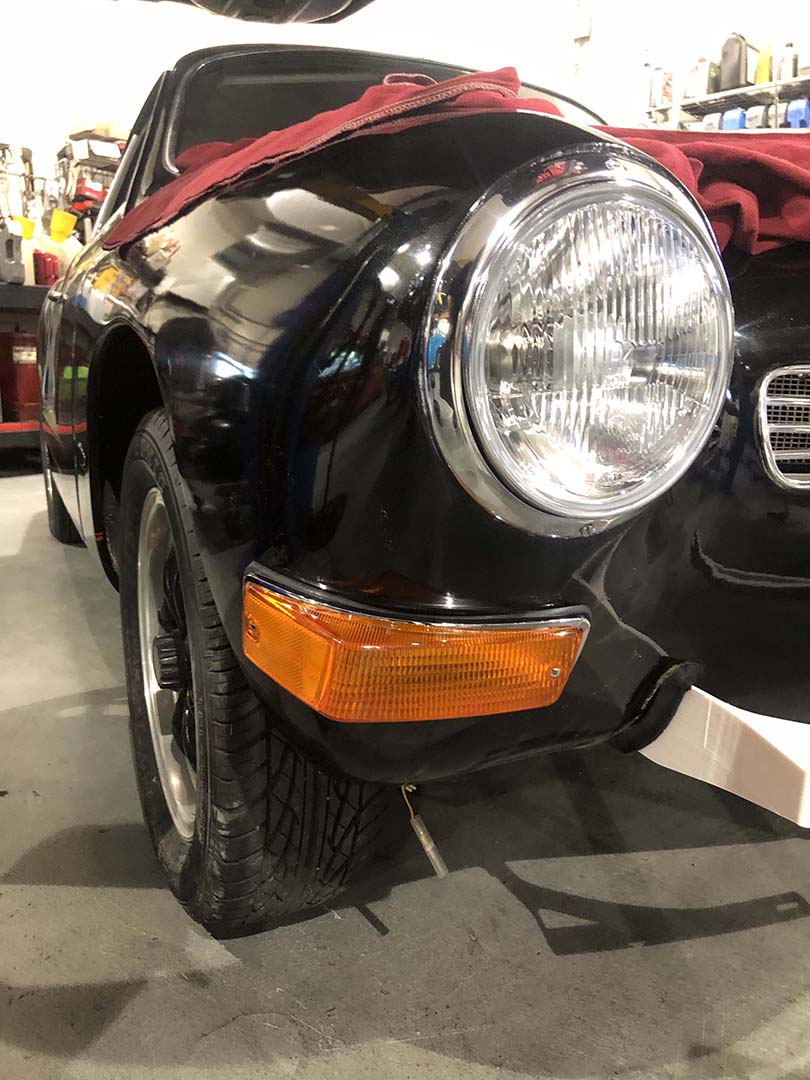
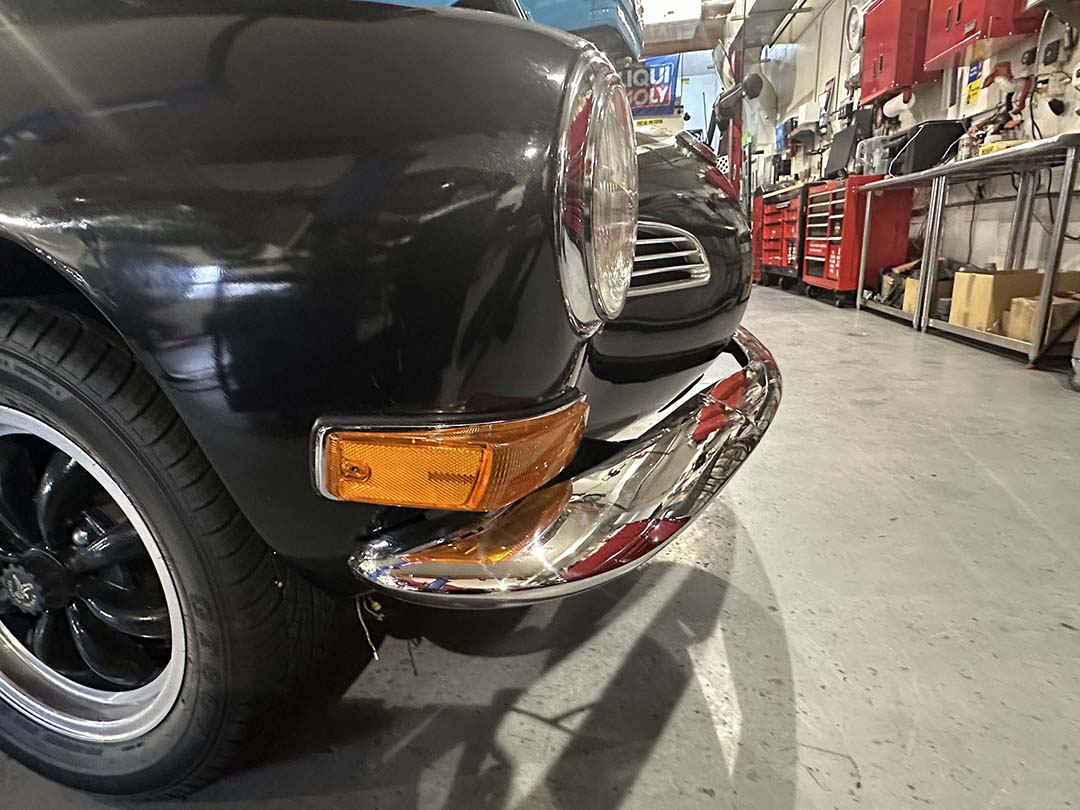
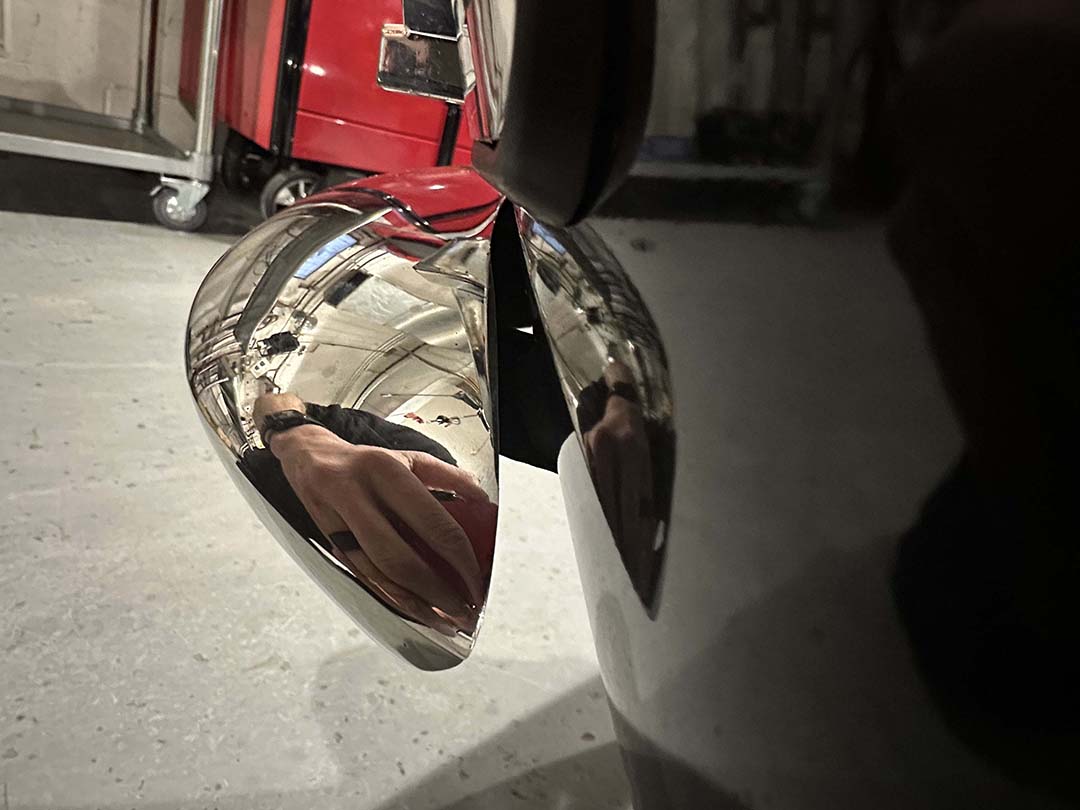
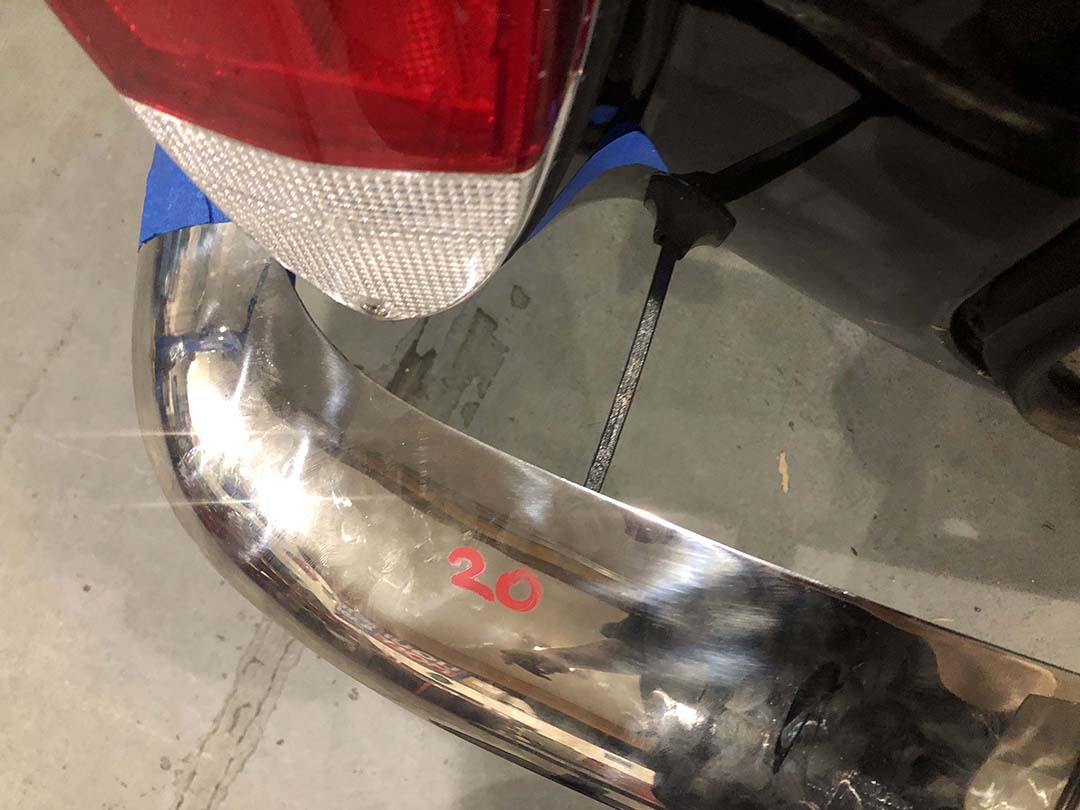
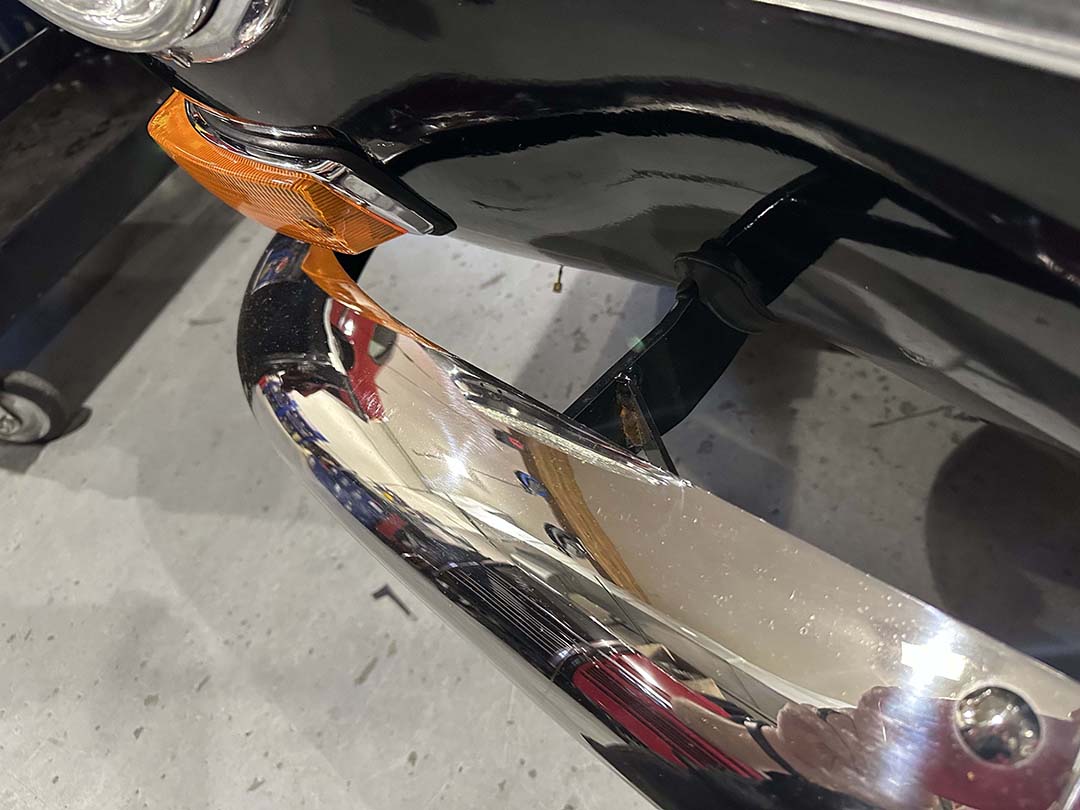
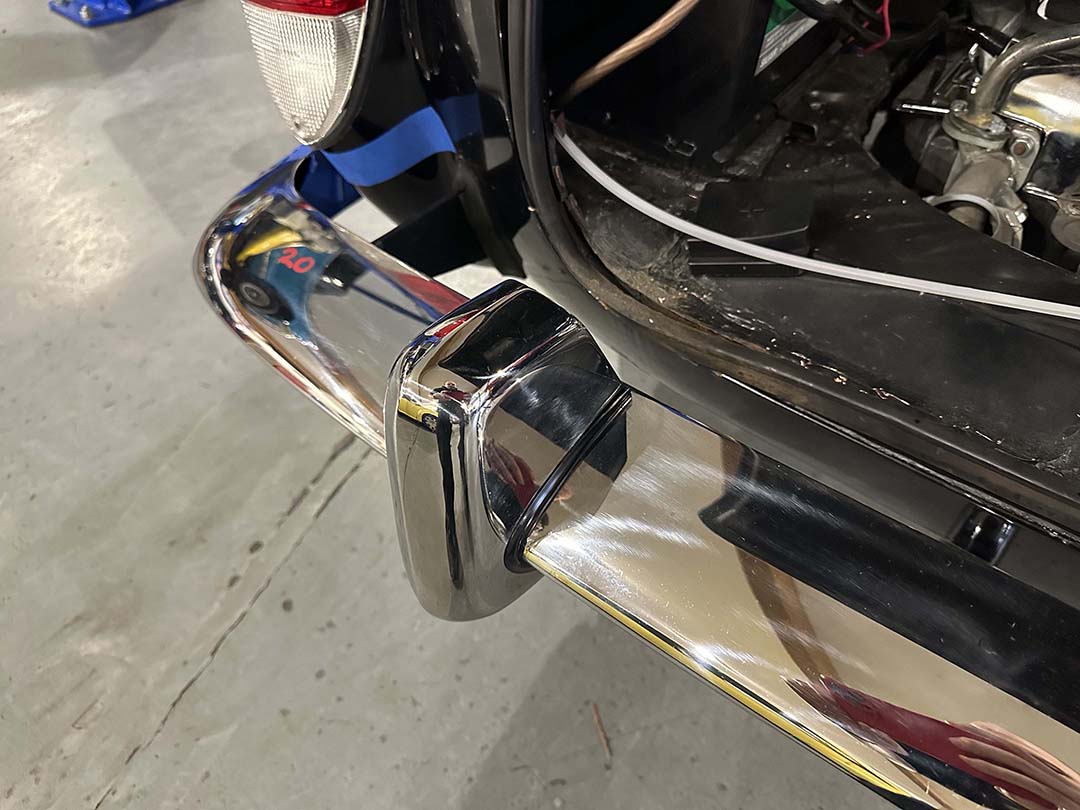
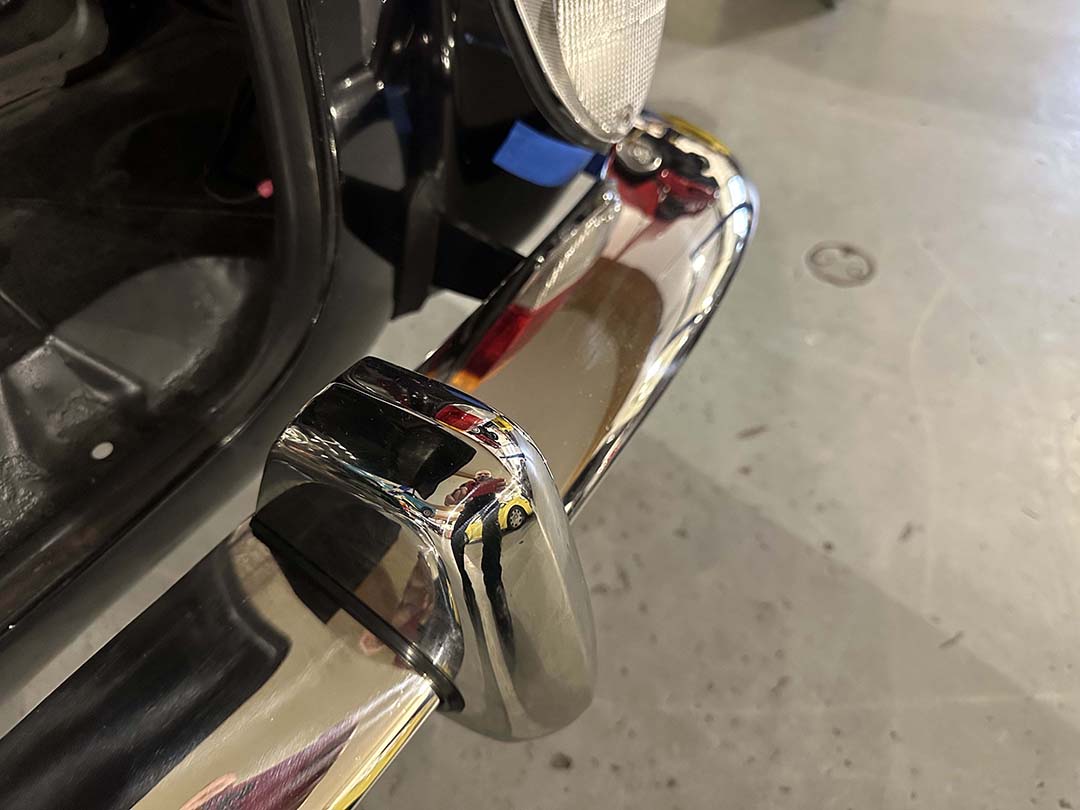
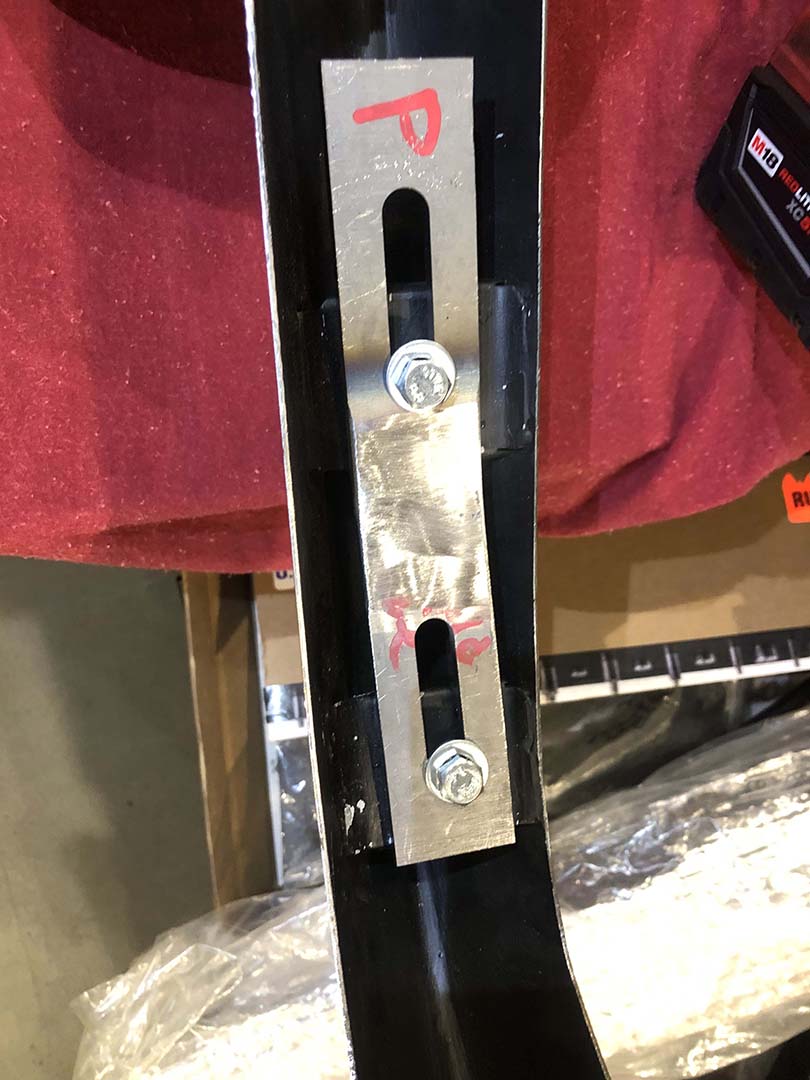
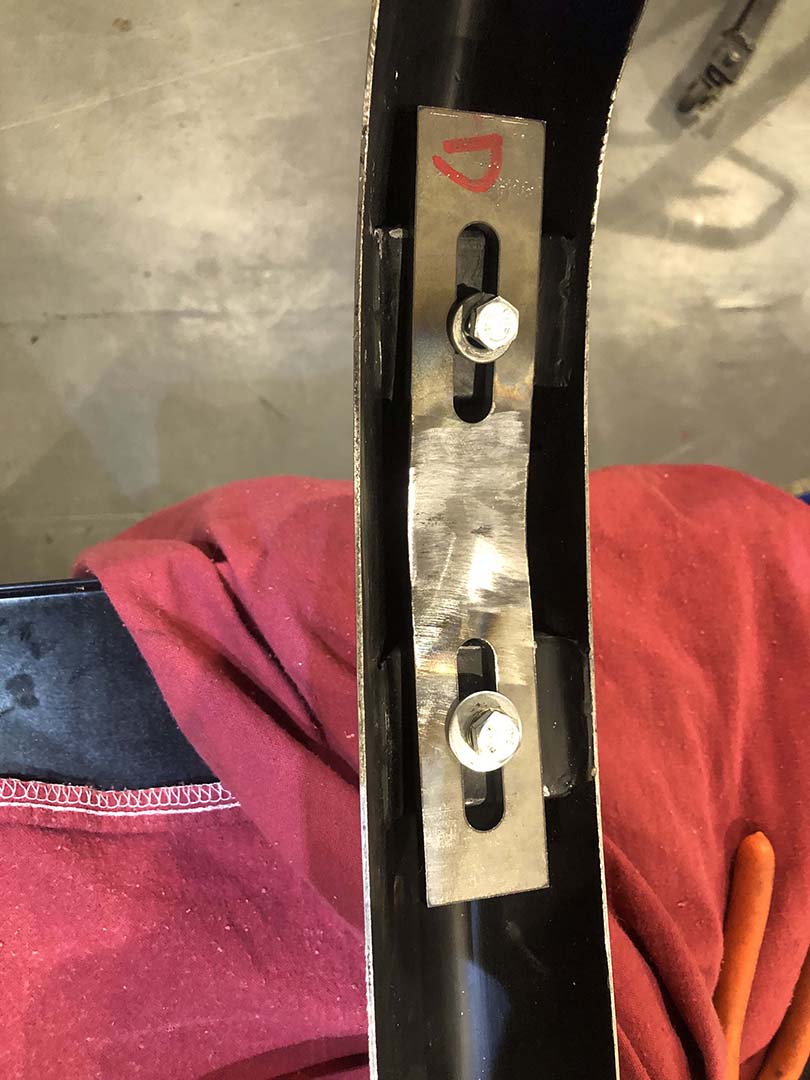
This Karmann Ghia also delights the senses. The exhaust is brand new, providing that classic VW sound. Doors and trunk are precisely re-aligned. This ensures smooth use and perfect panel gaps. New heater boxes offer comfortable climate control. Exterior lighting shines bright. This comes from period-correct European H4 headlights and turn signal lenses. The car’s stance is confident. New shocks and struts ensure a smooth, responsive ride. This Ghia also features early chrome European bumpers. Custom brackets ensure a perfect fit on this late model Ghia. These bumper brackets are powder-coated. This makes them last and look good for a long time.
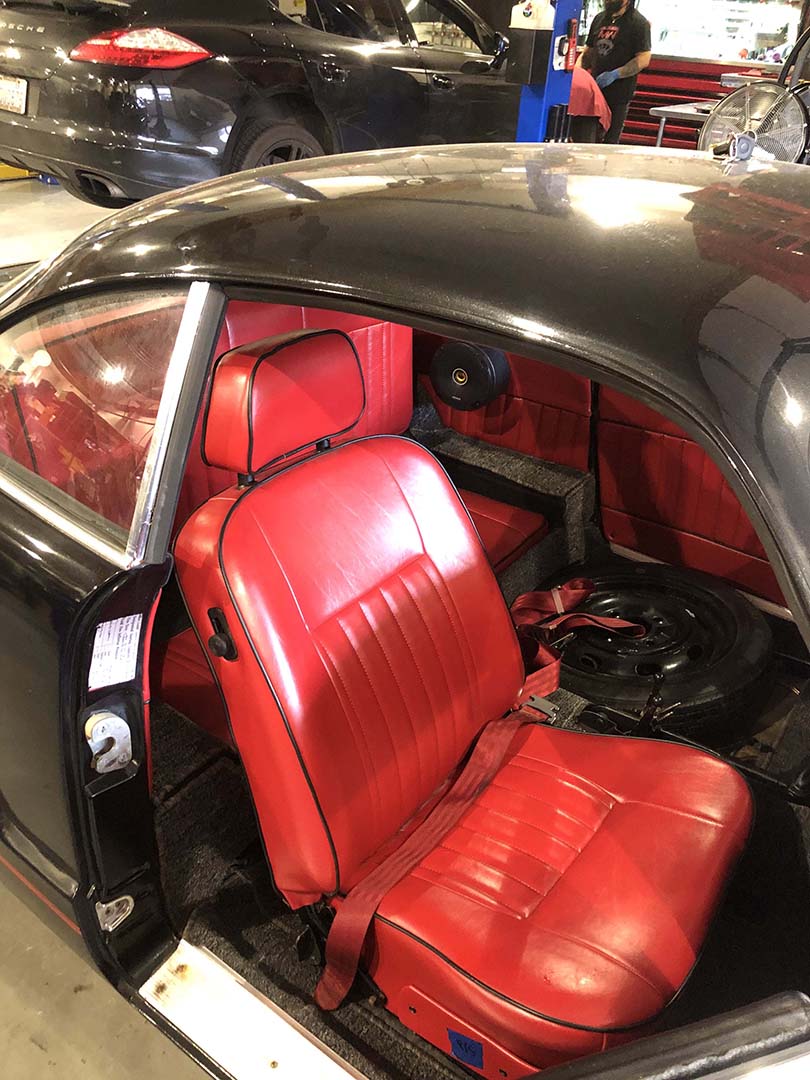
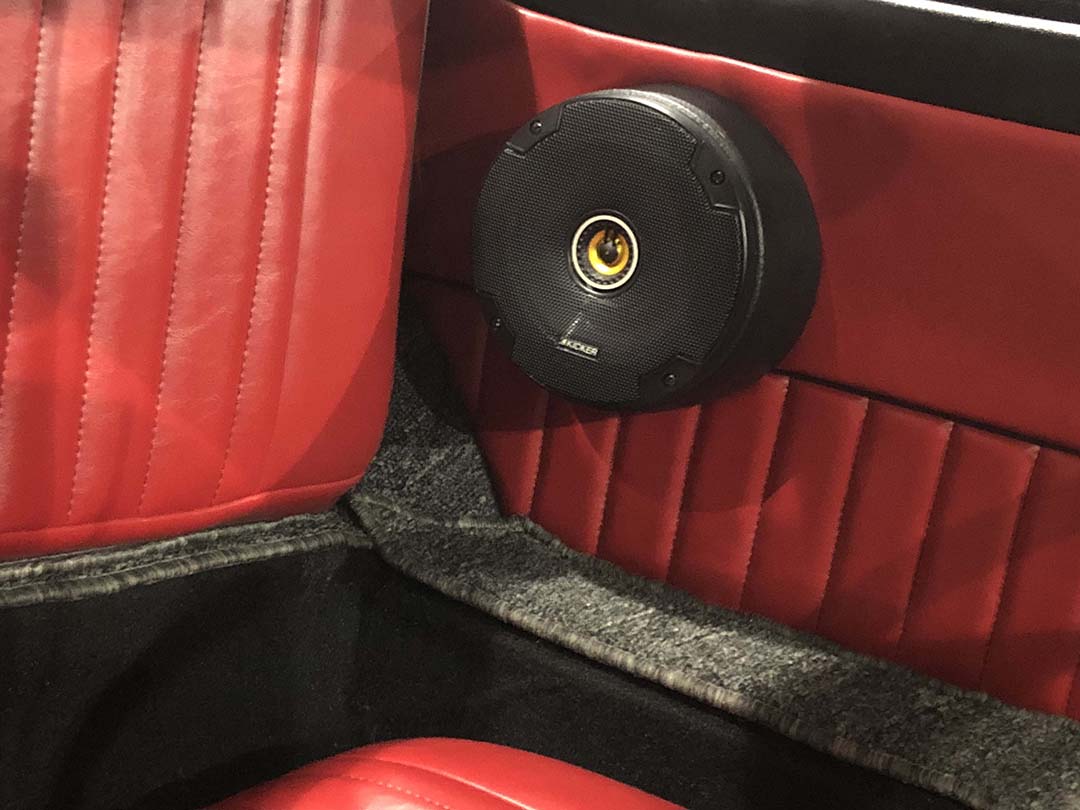
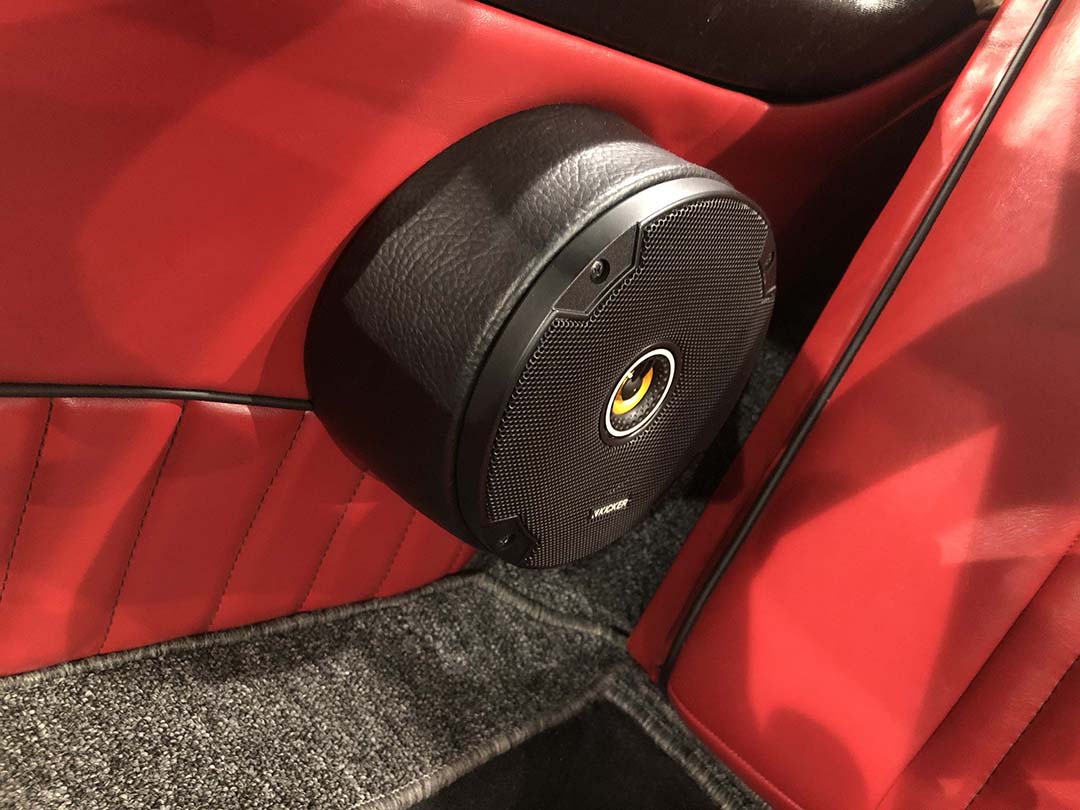
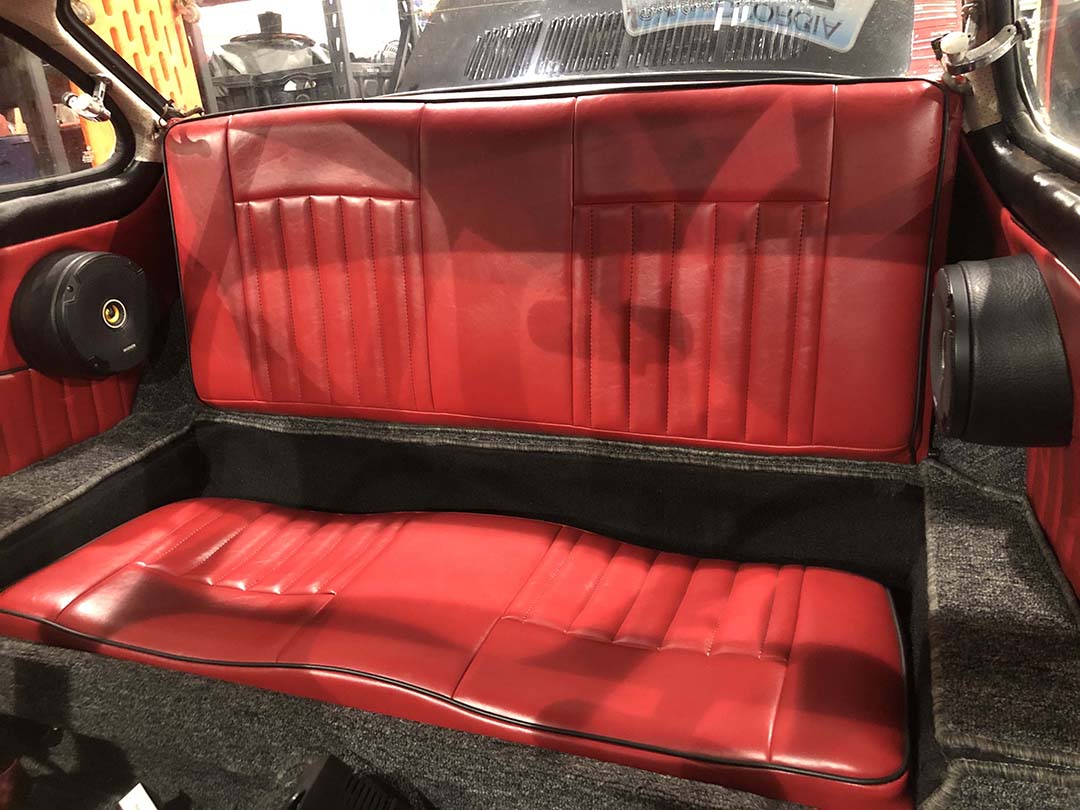
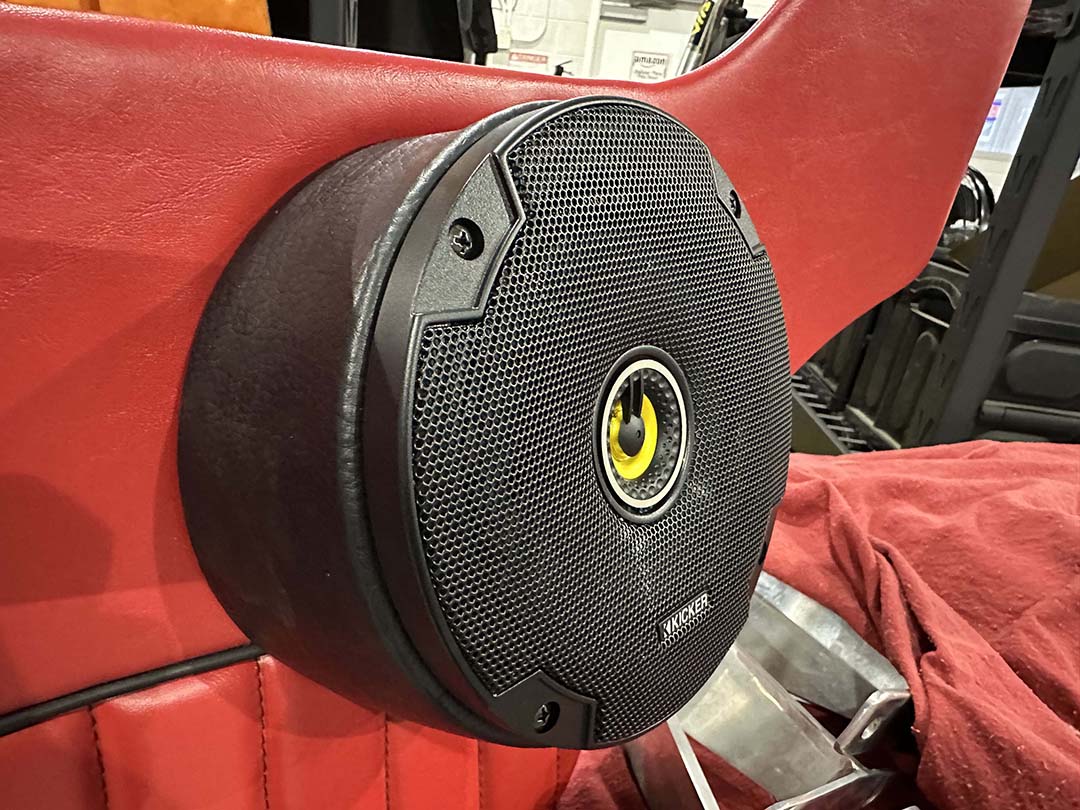
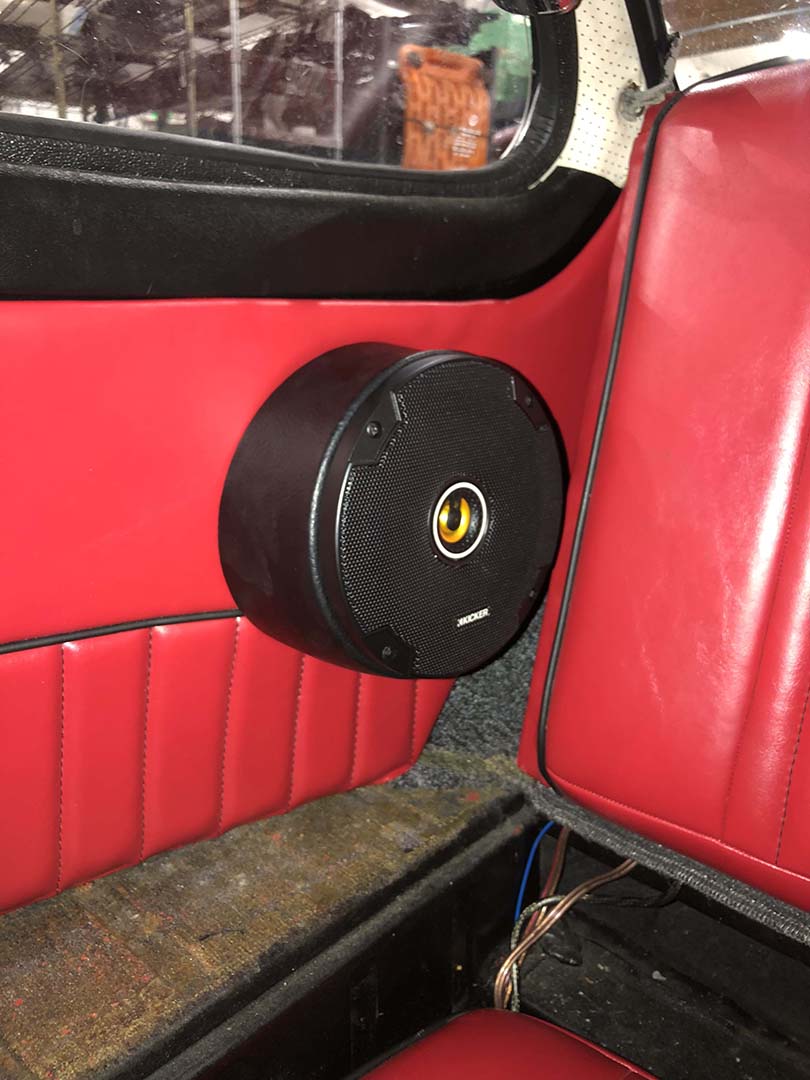
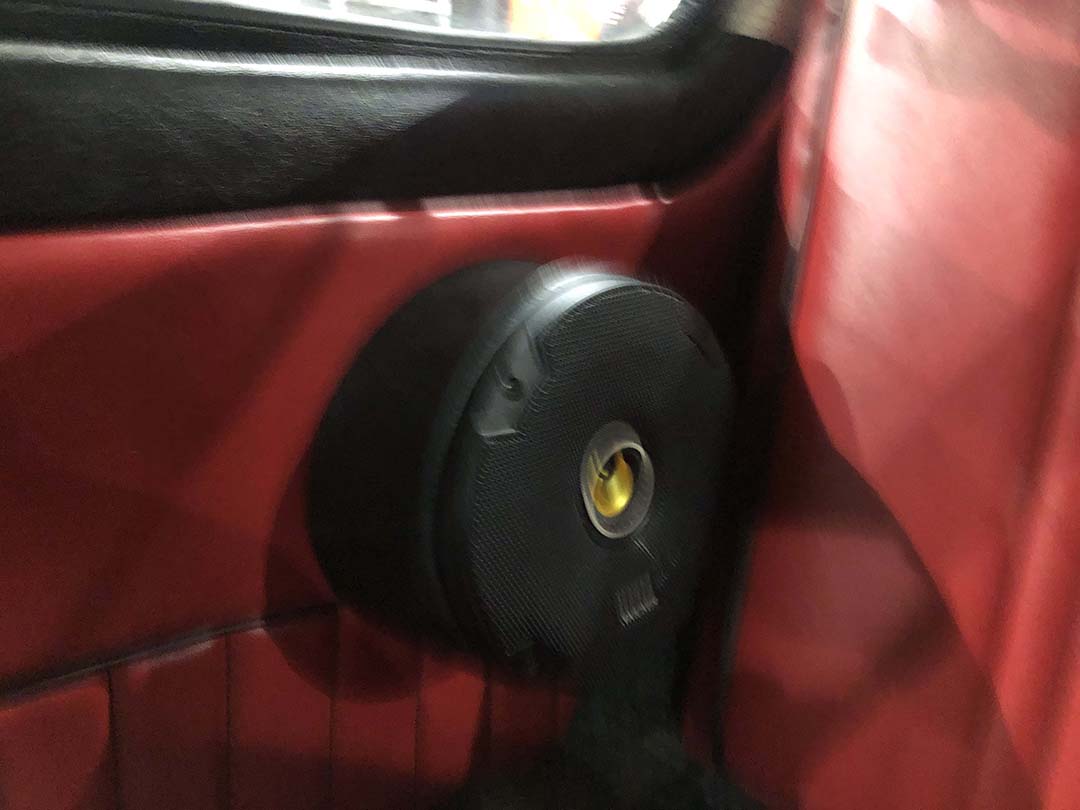
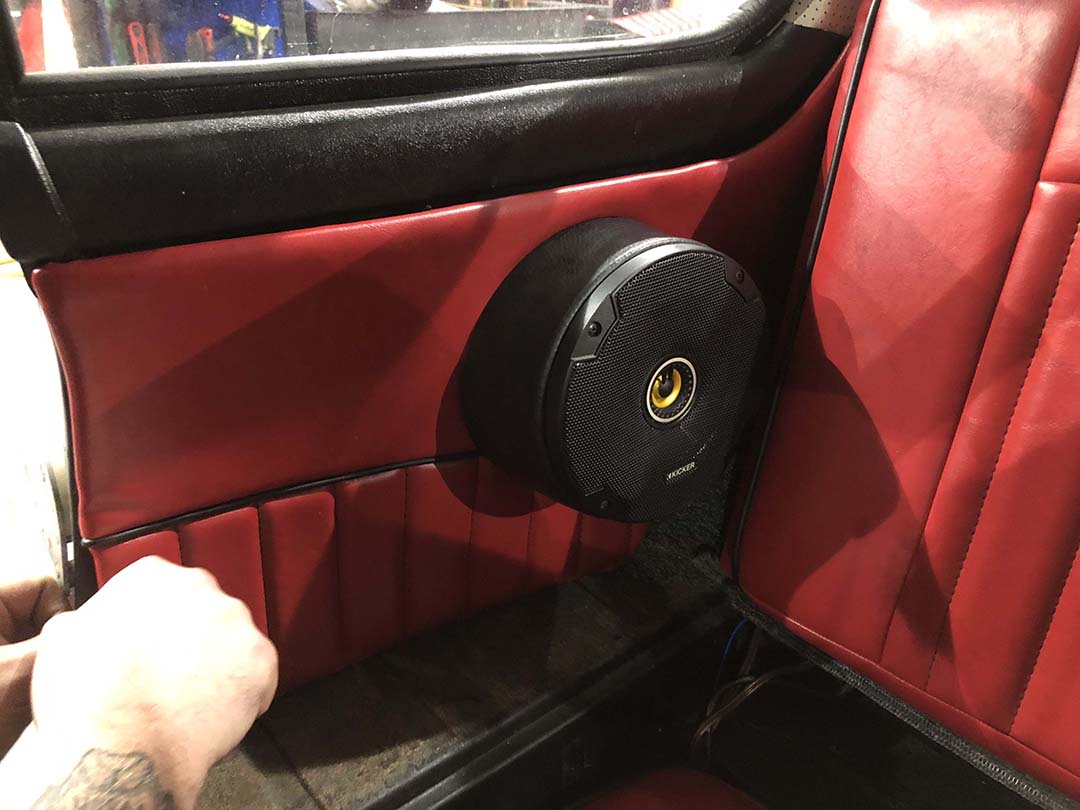
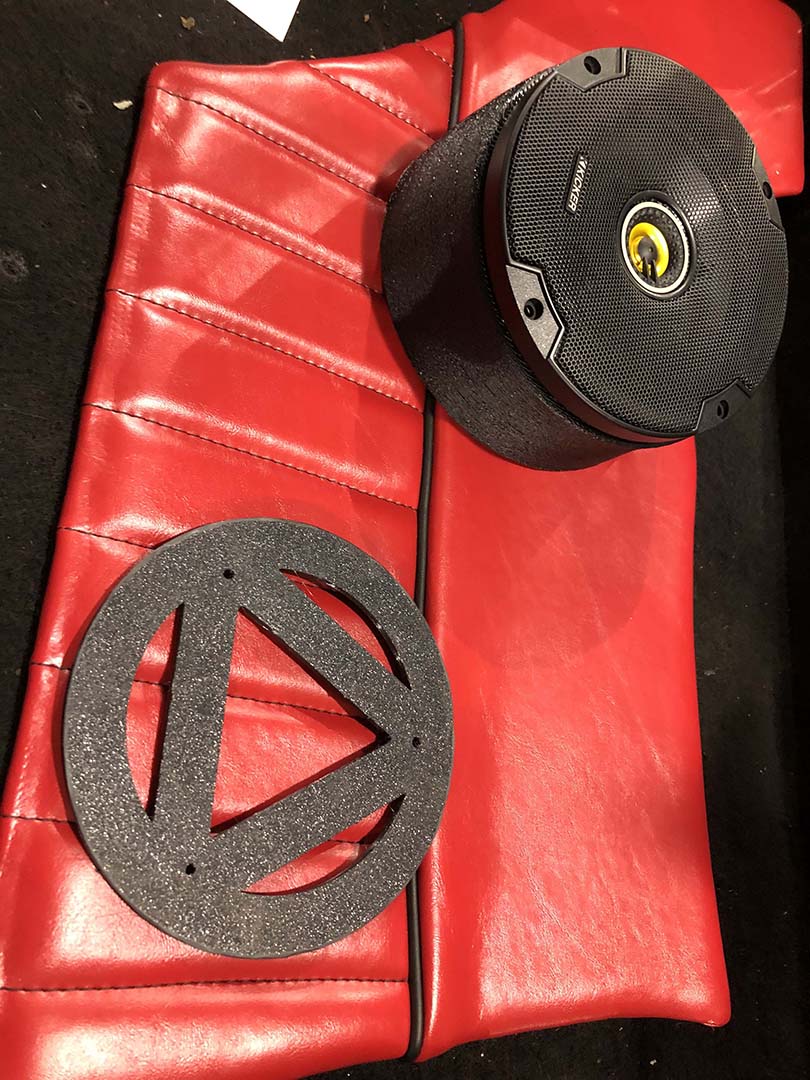
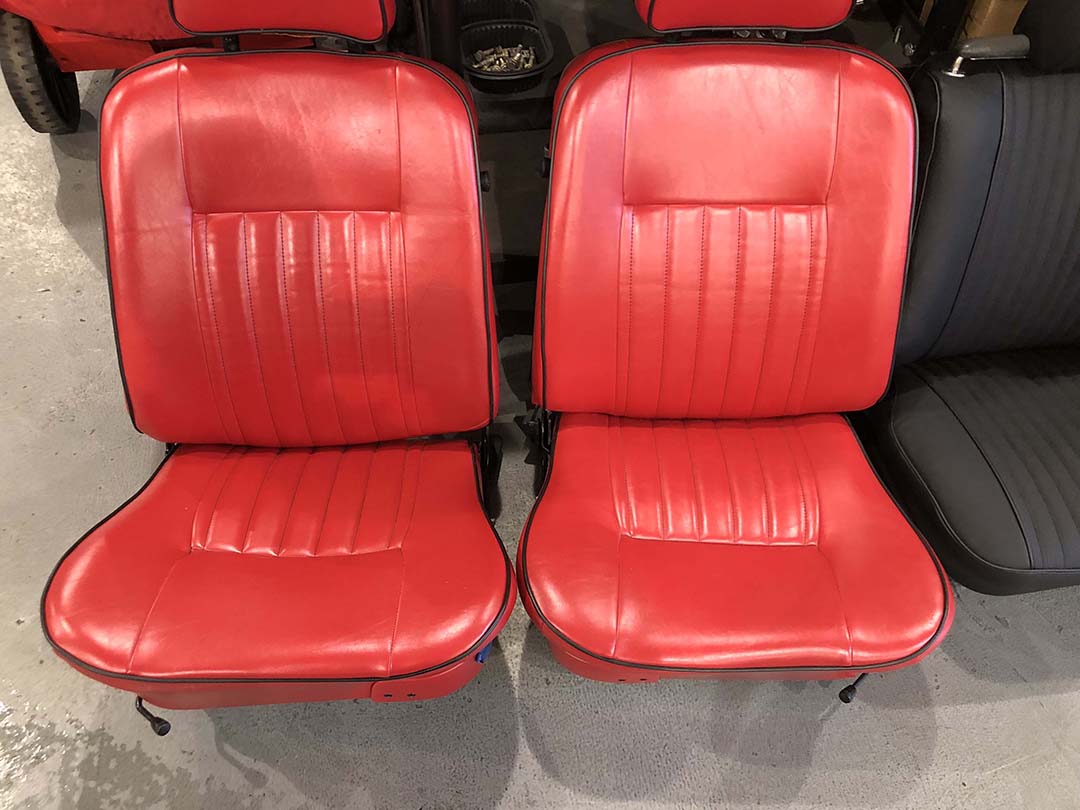
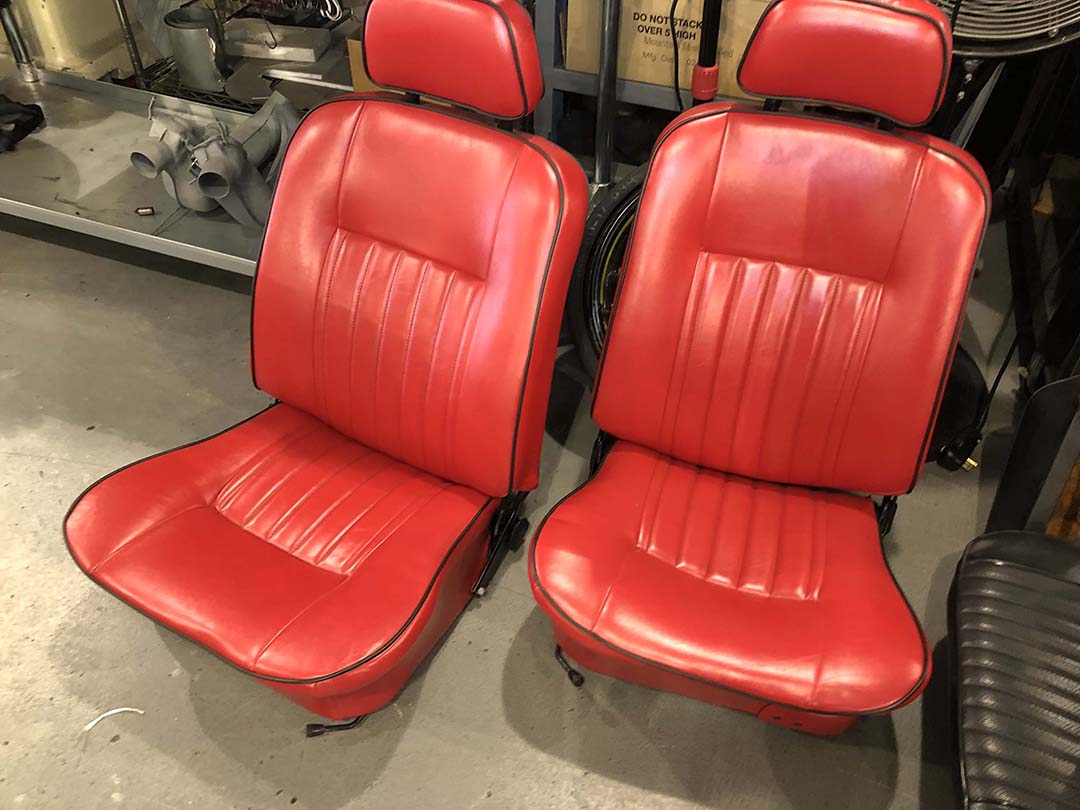
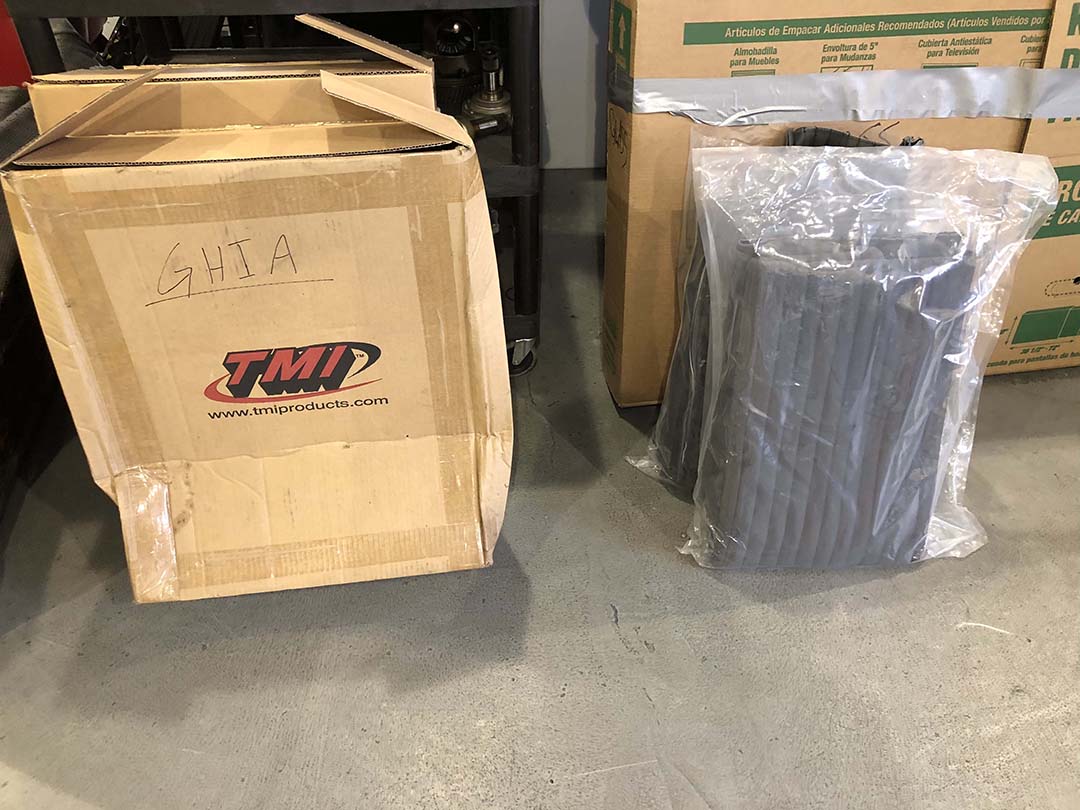
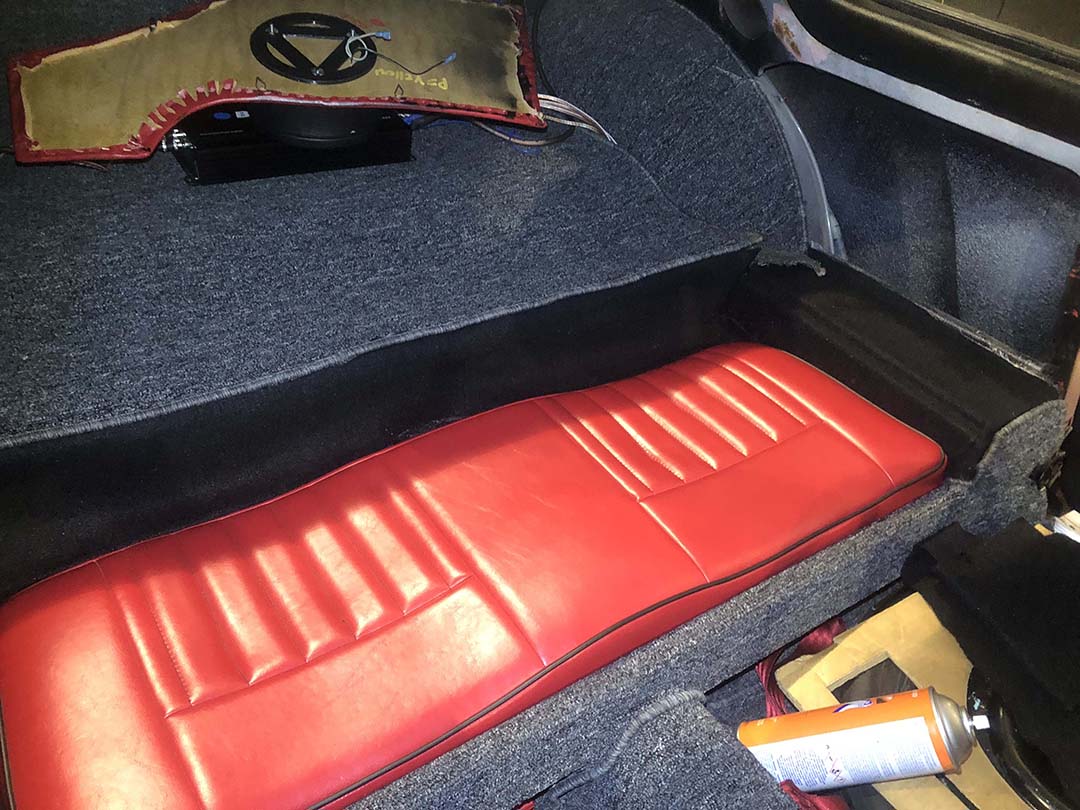
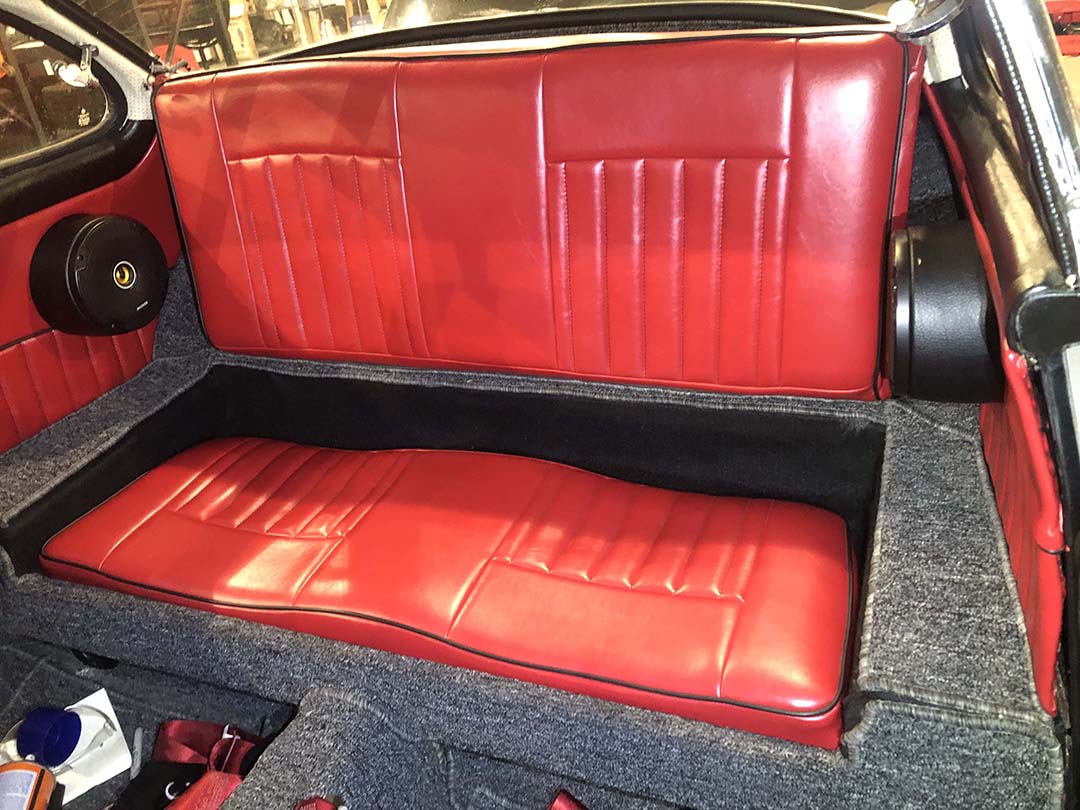
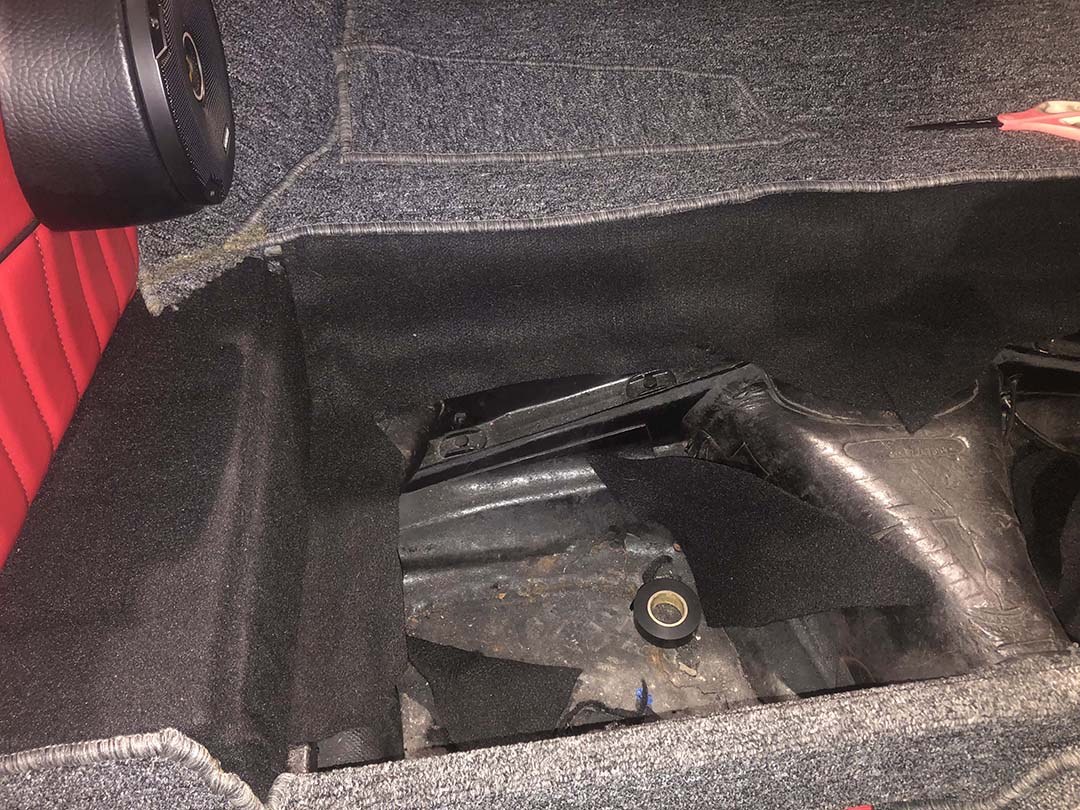
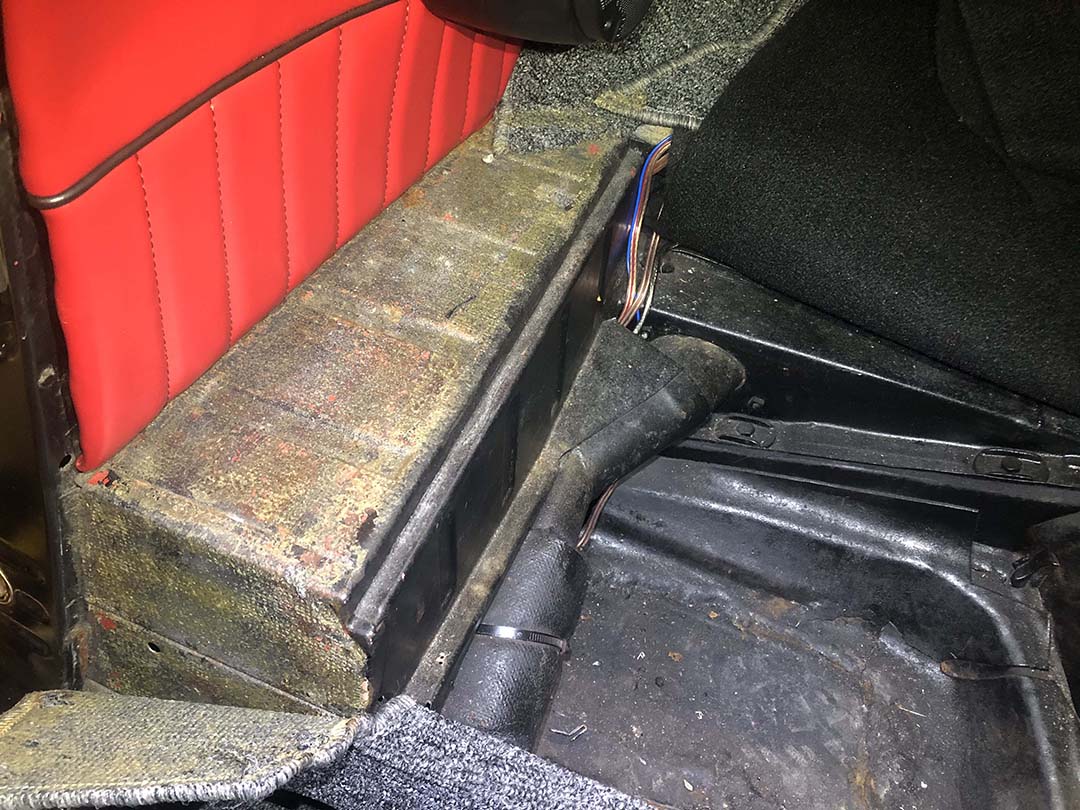
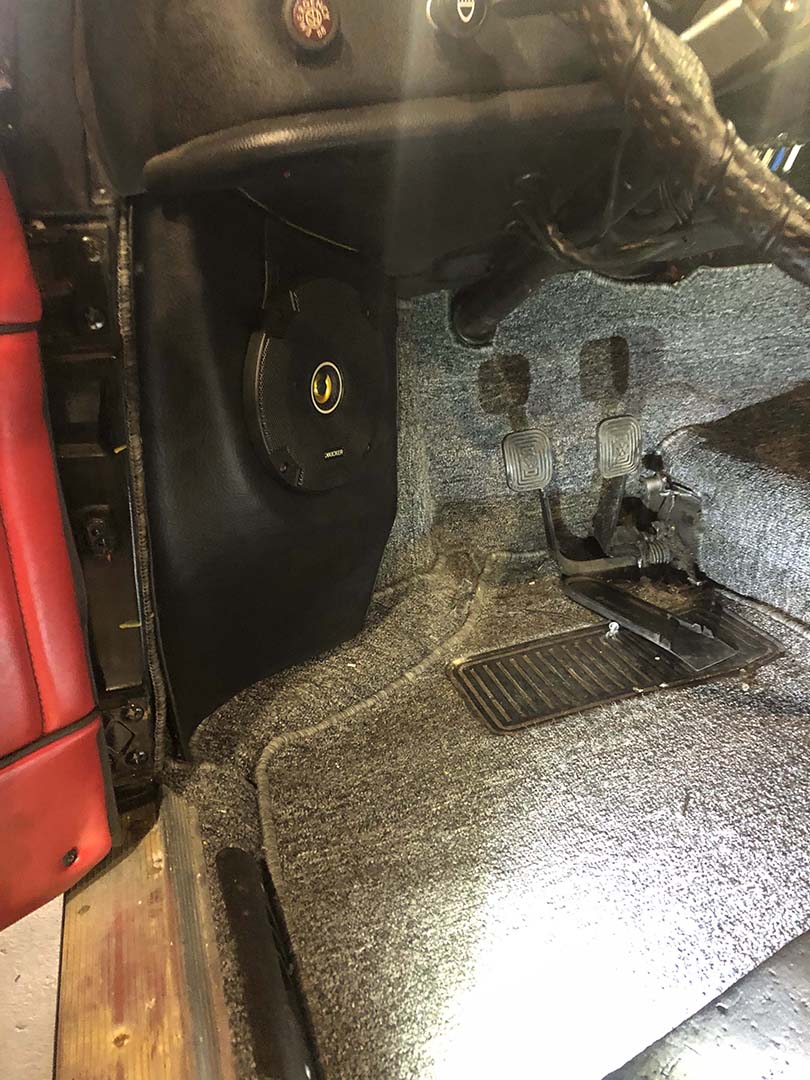
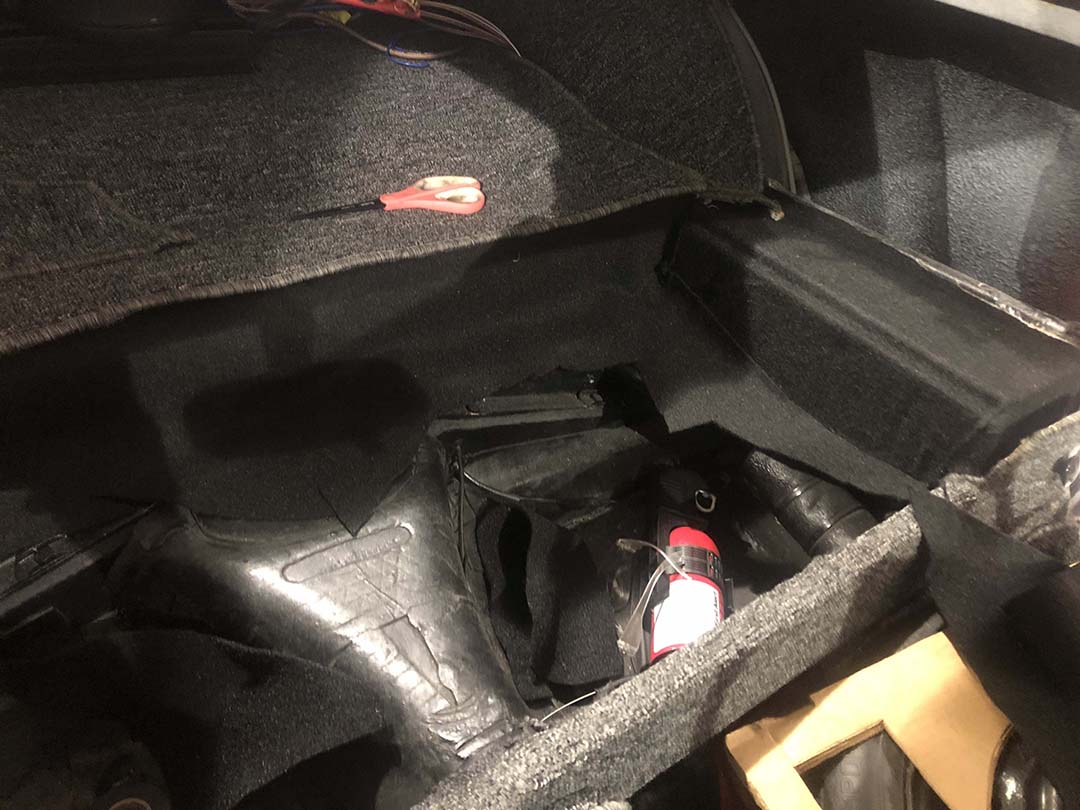
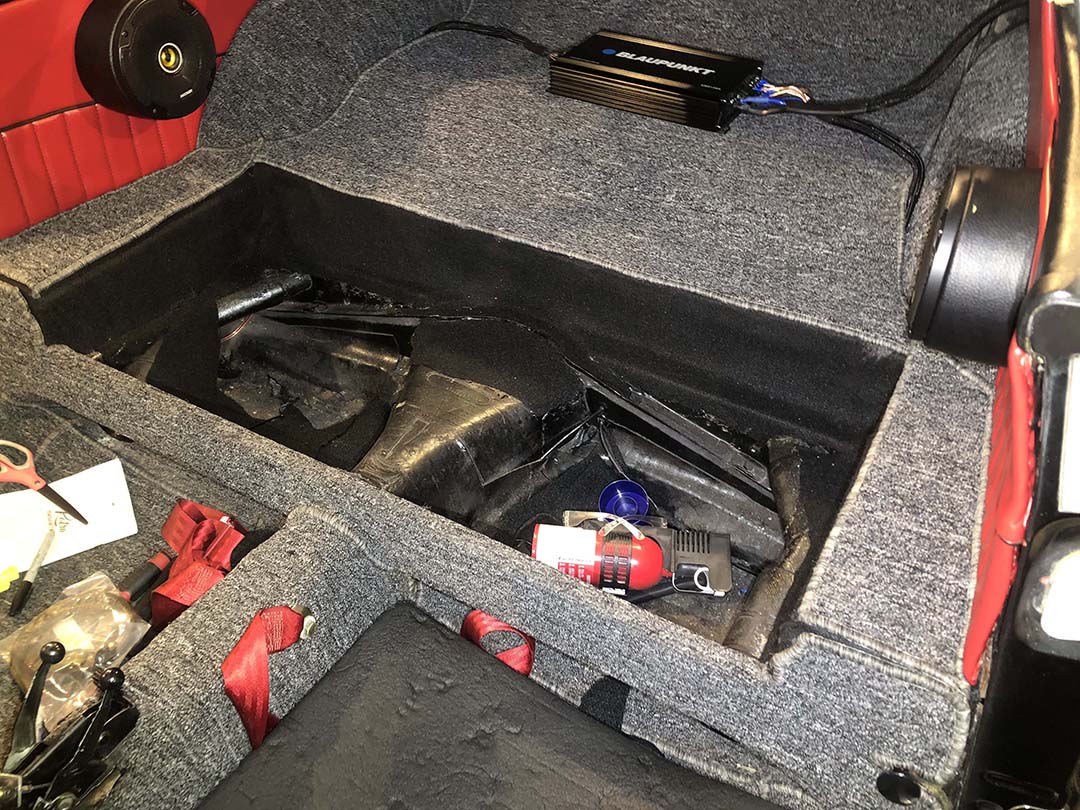
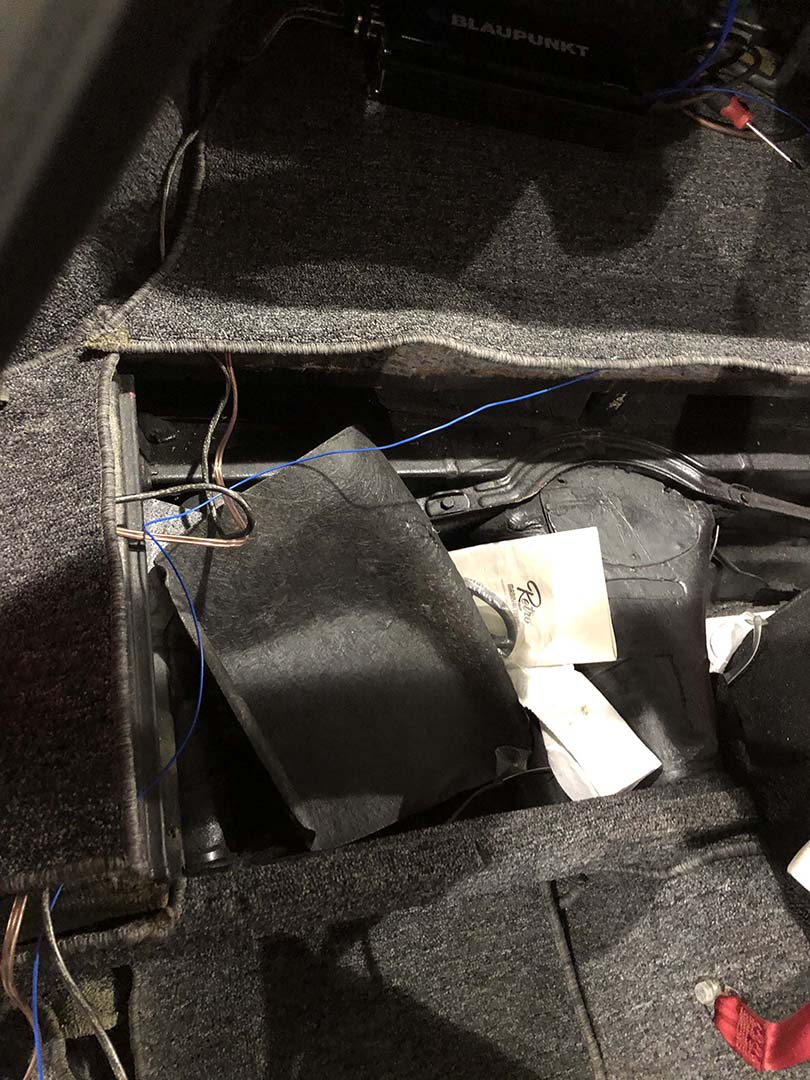
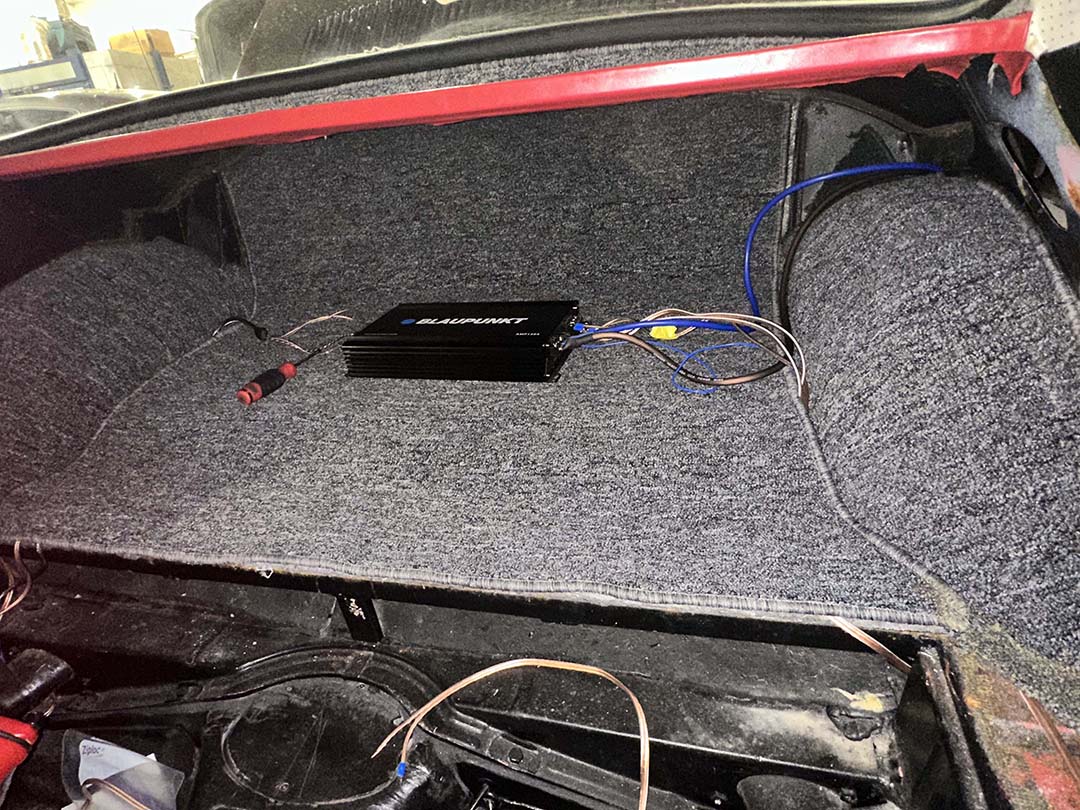
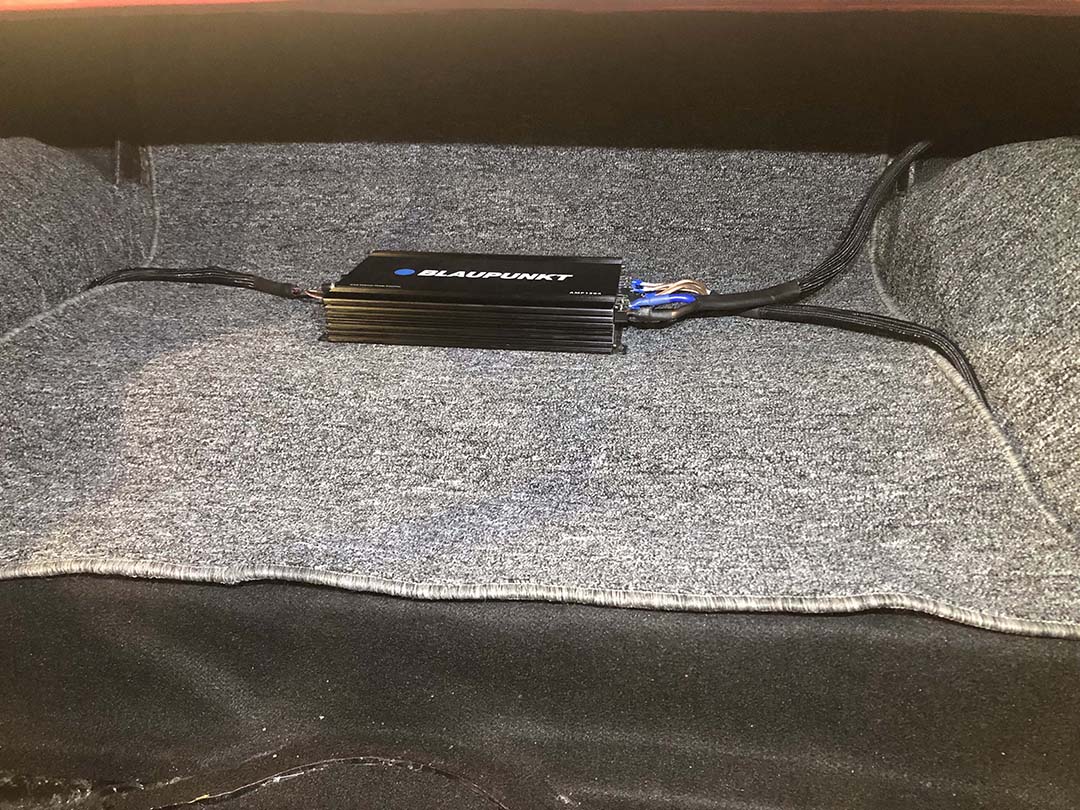
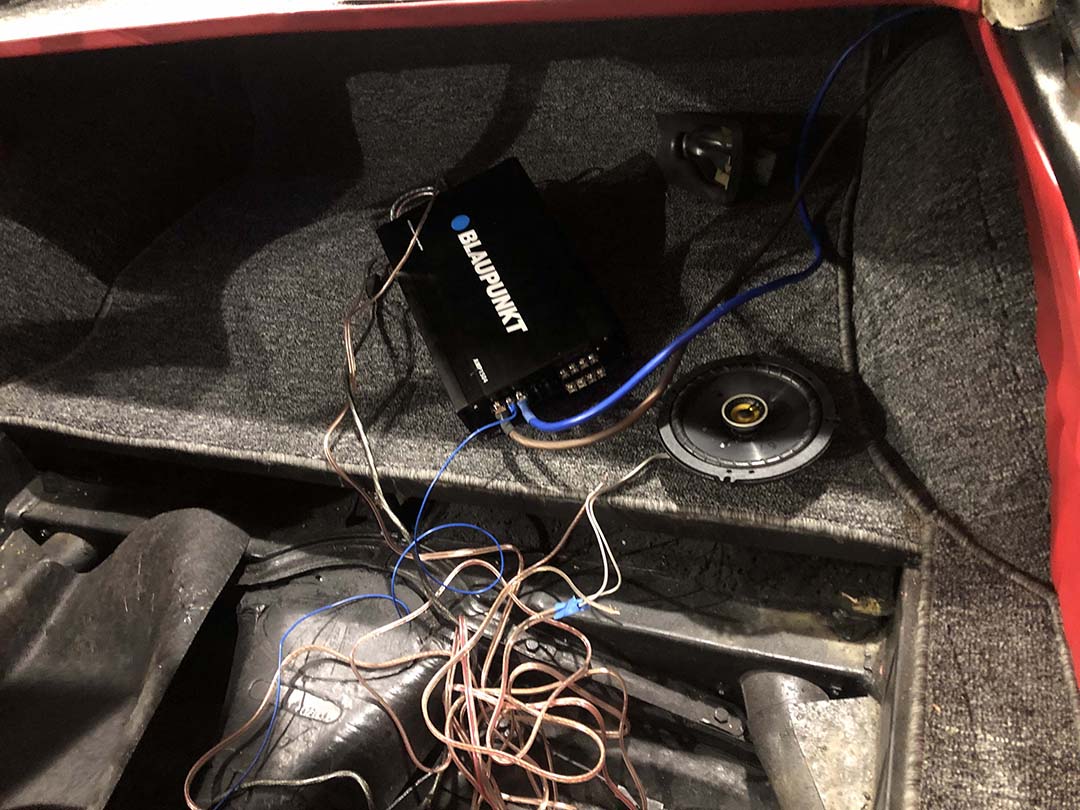
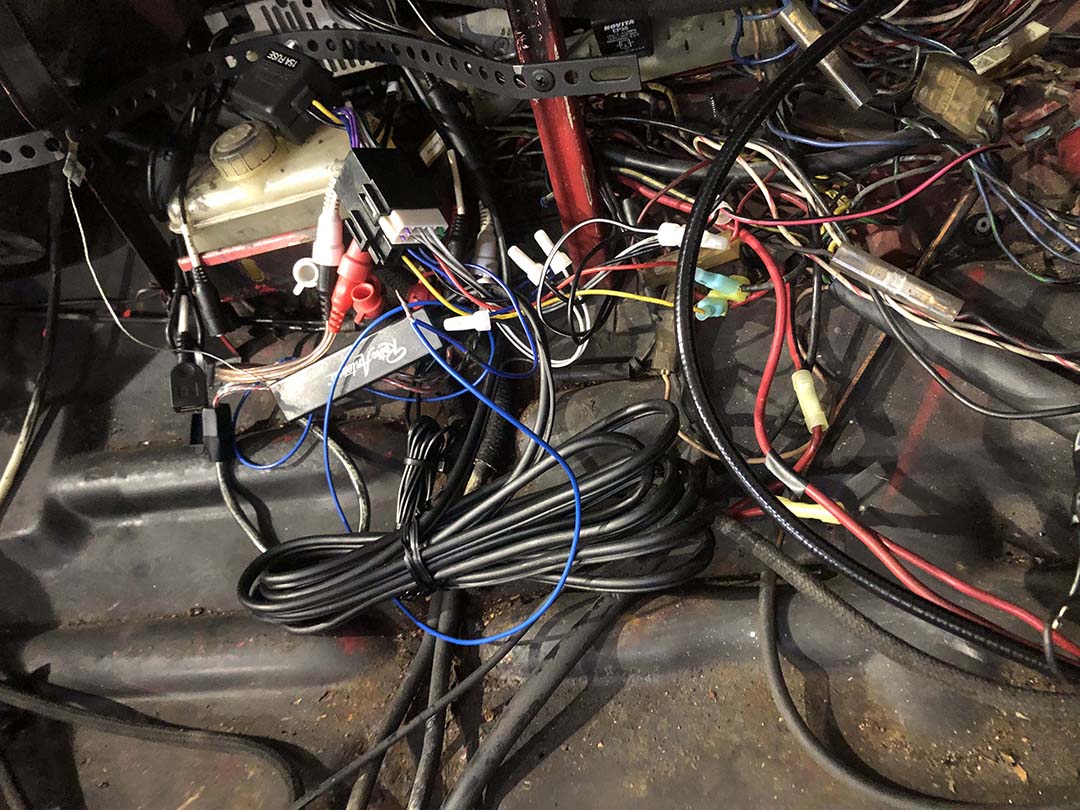
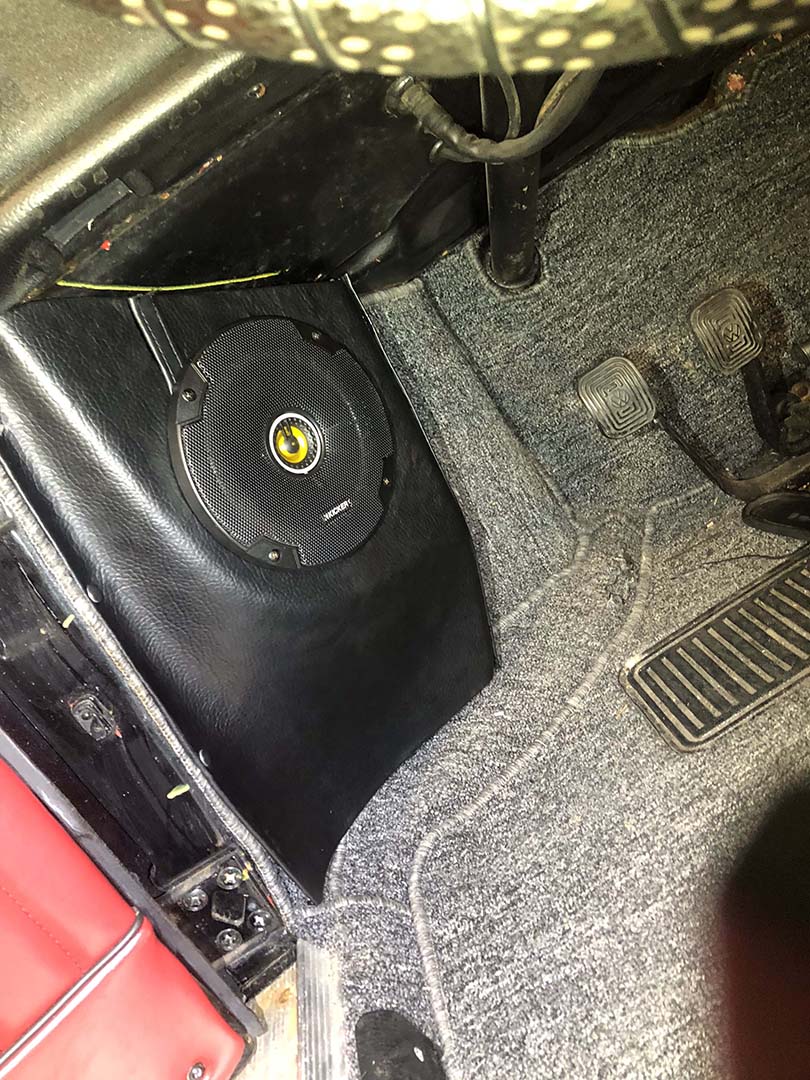
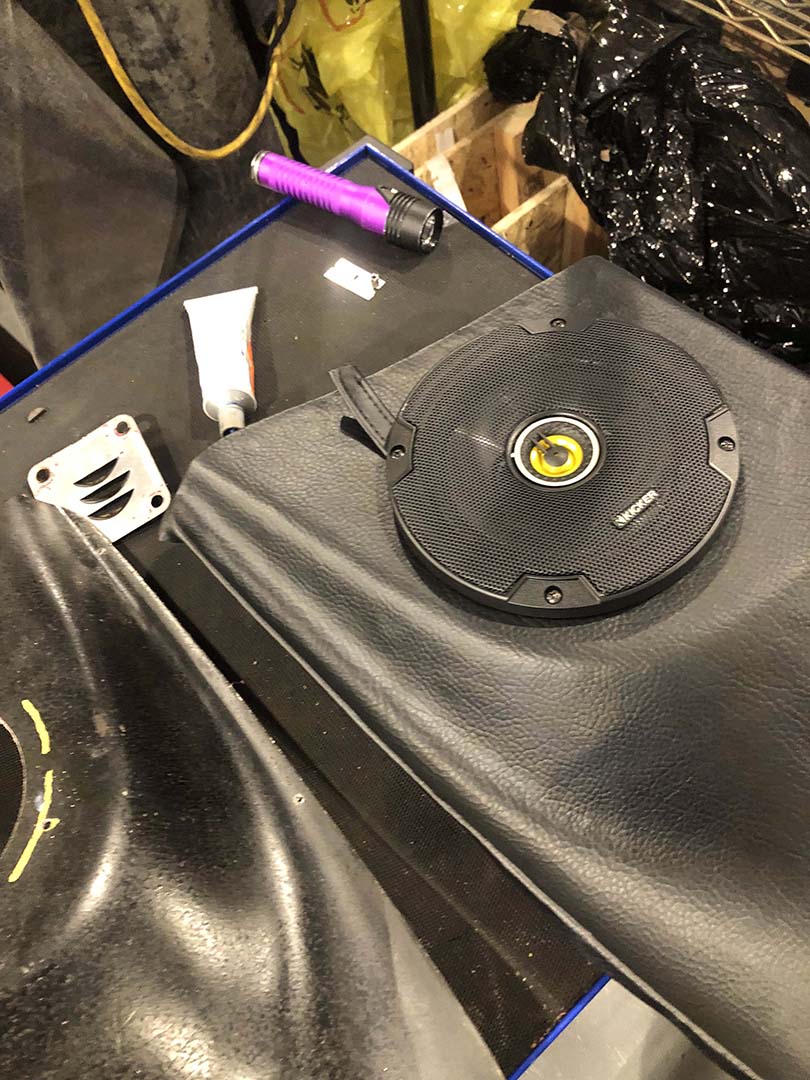
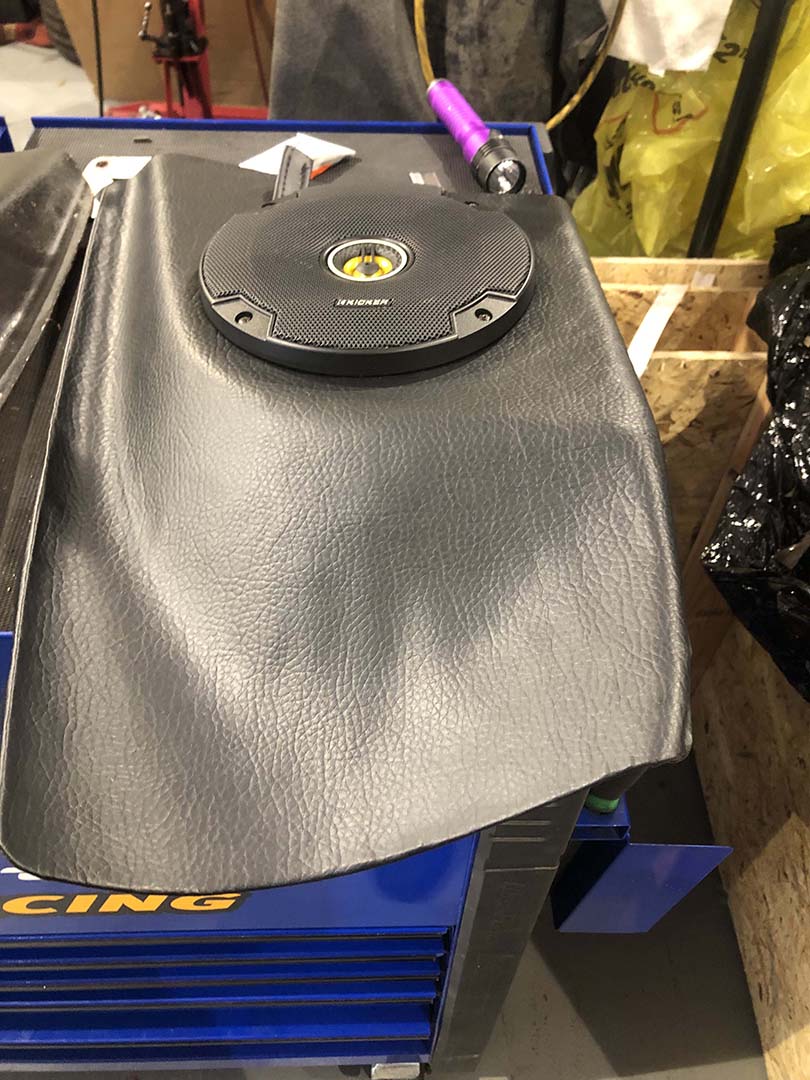
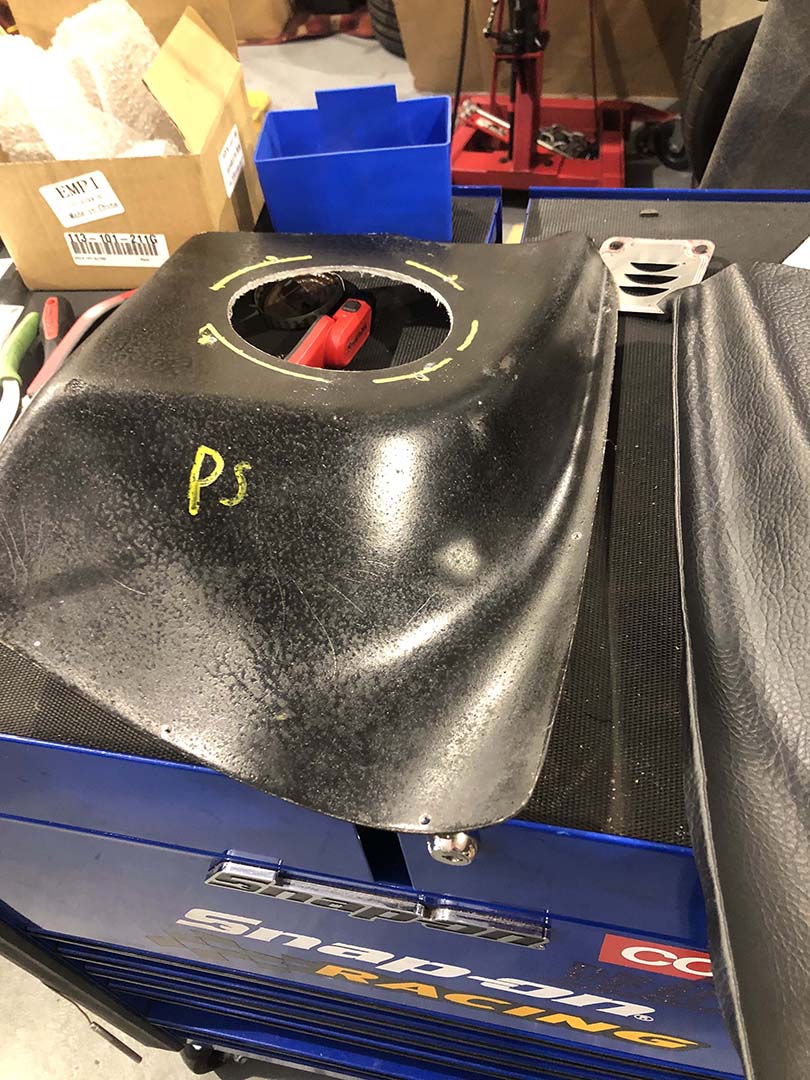
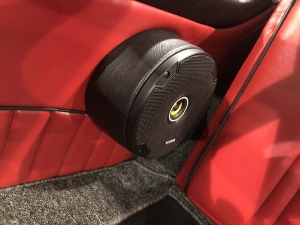 Luxury Inside & Great Sound

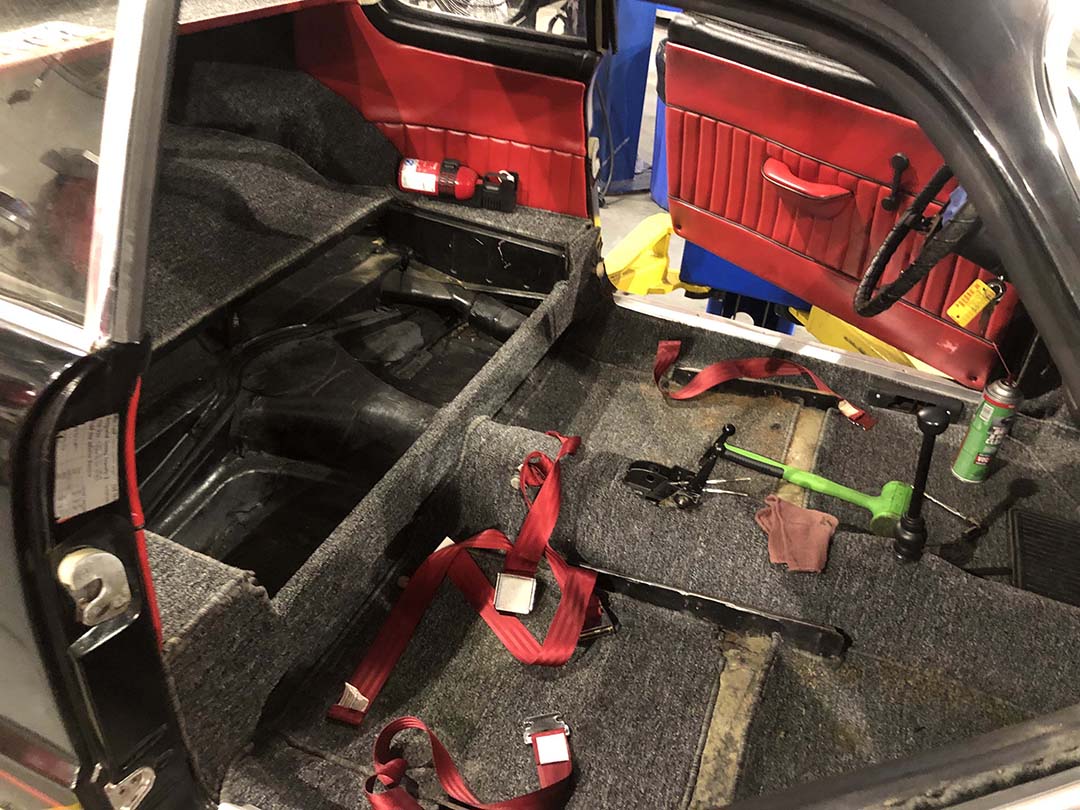
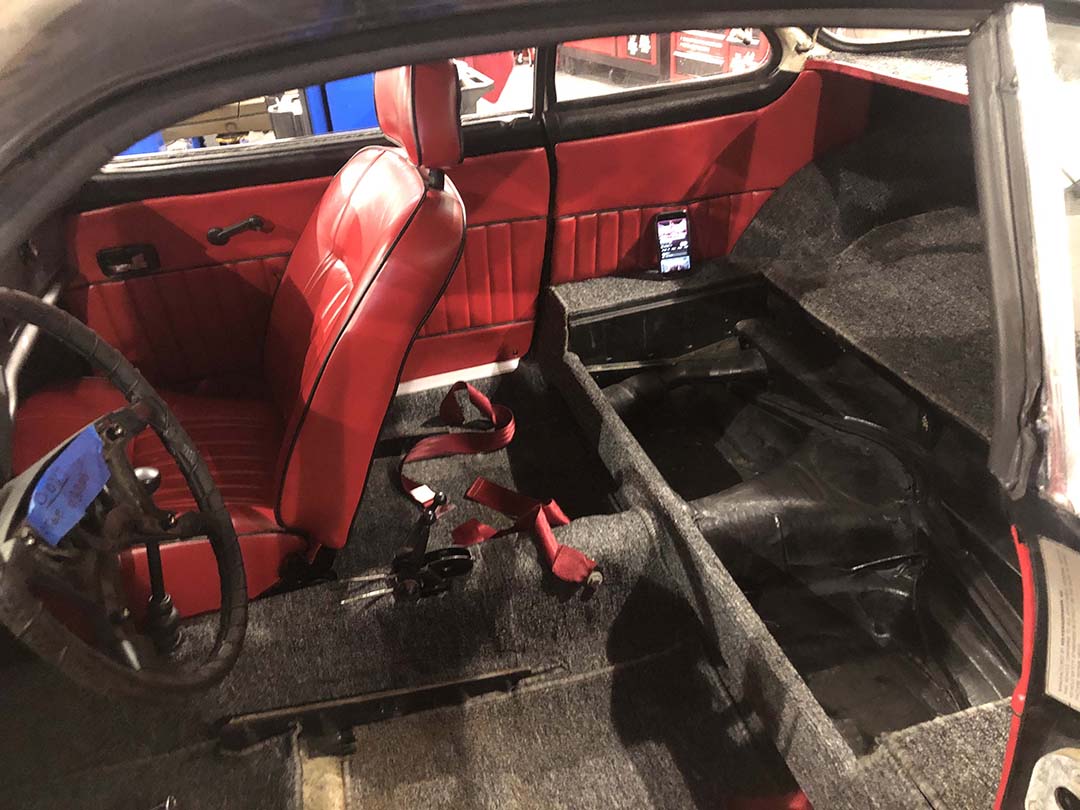
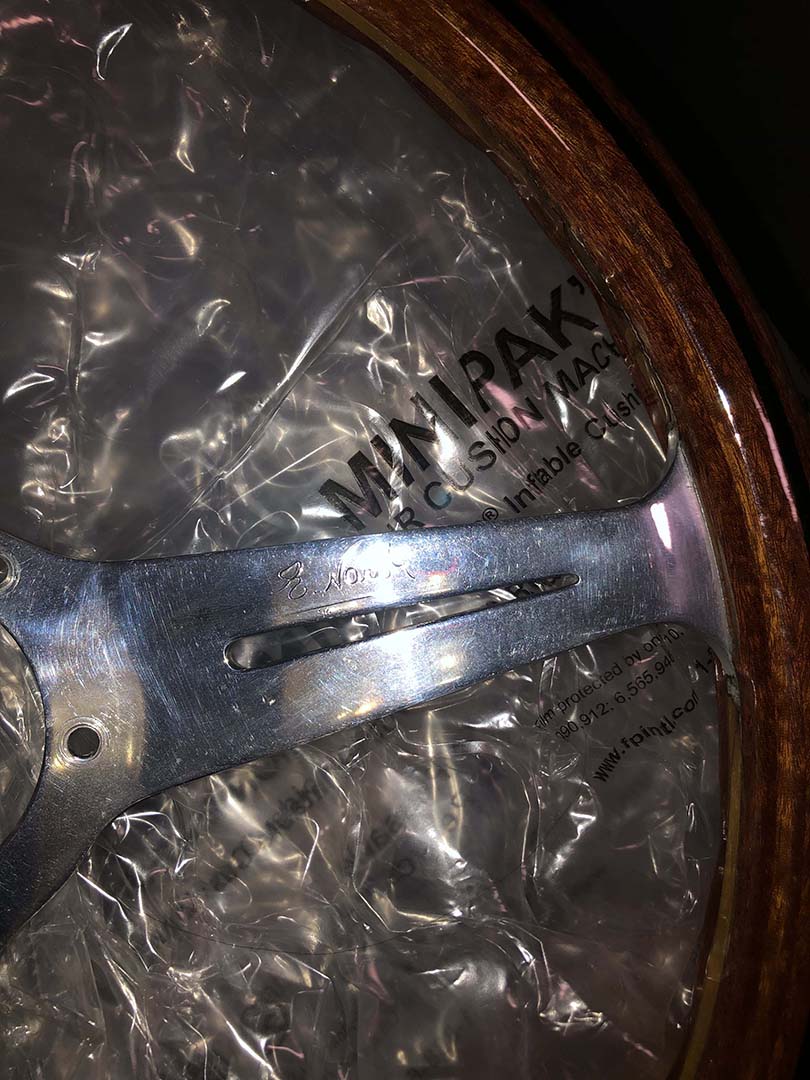
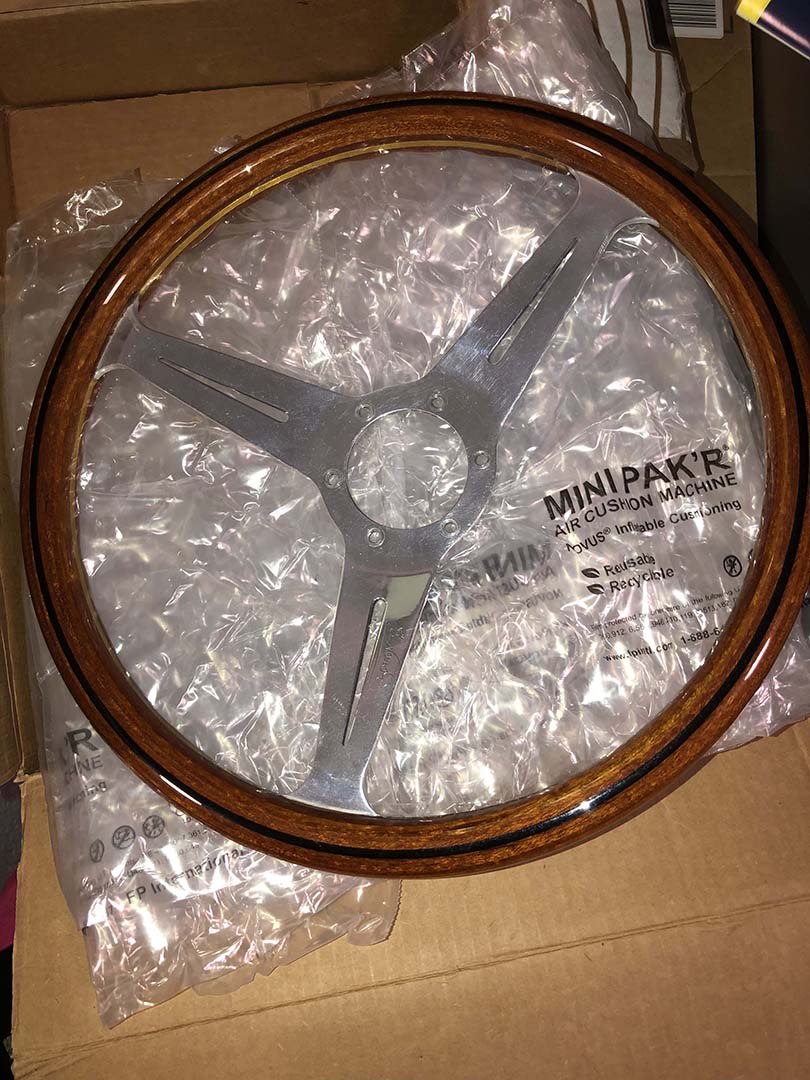
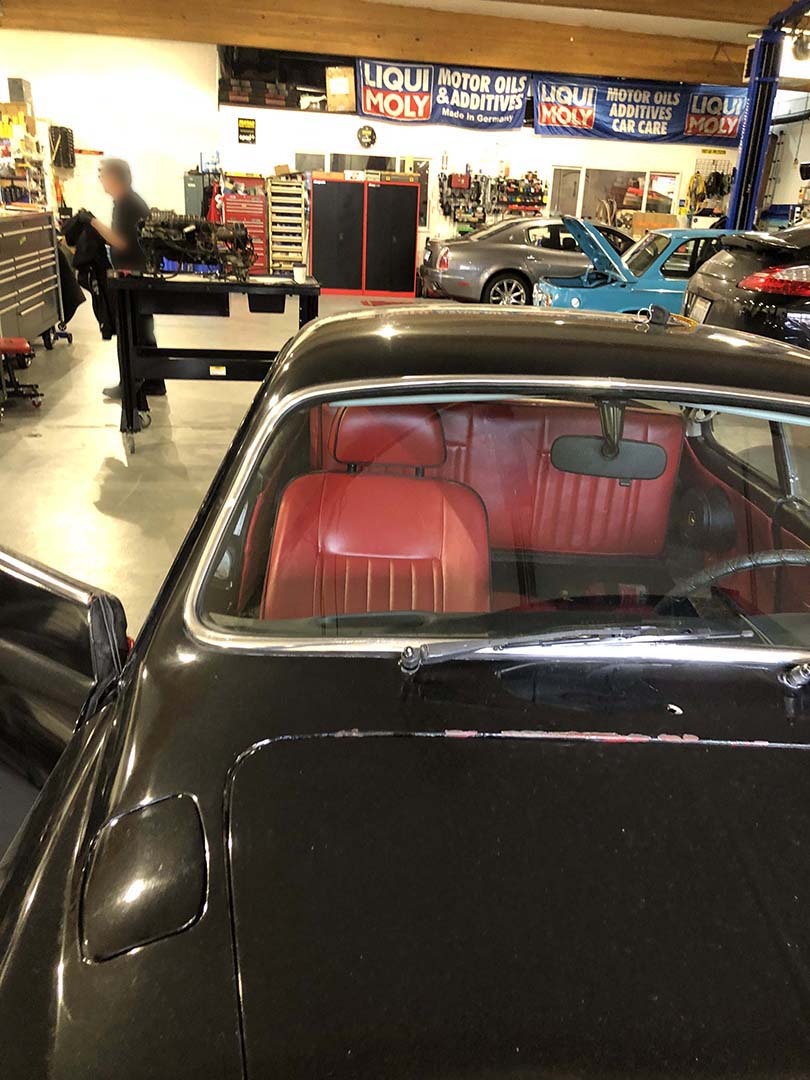
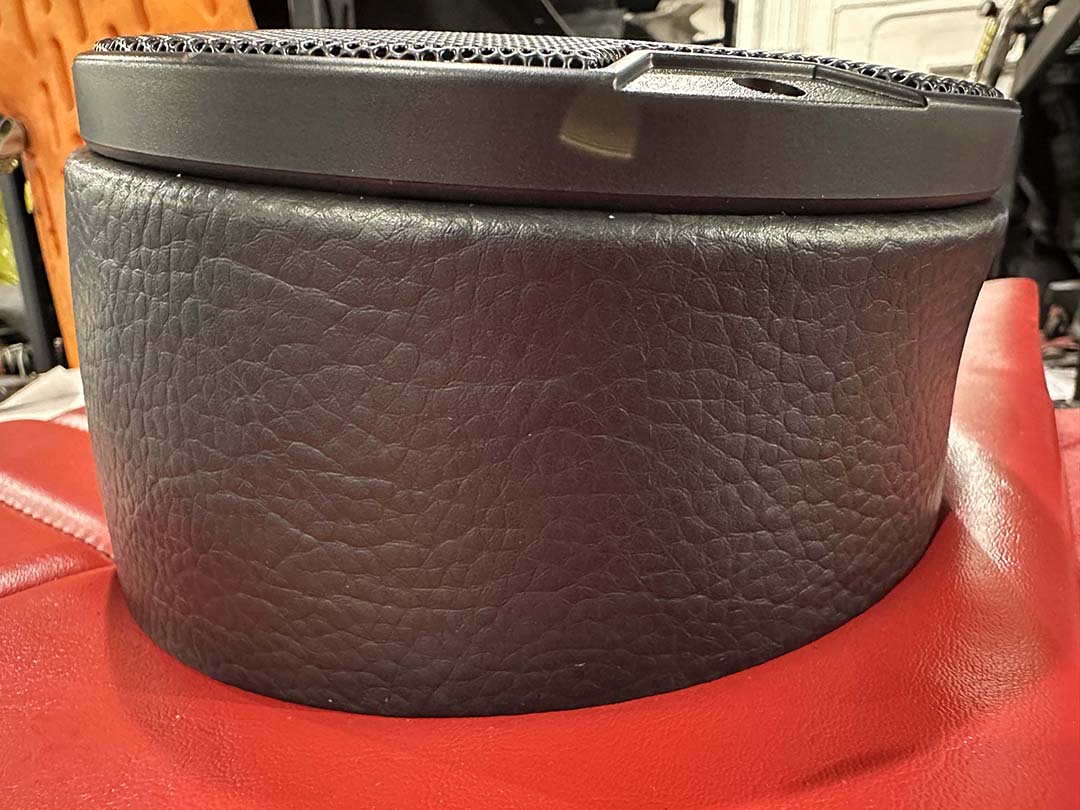
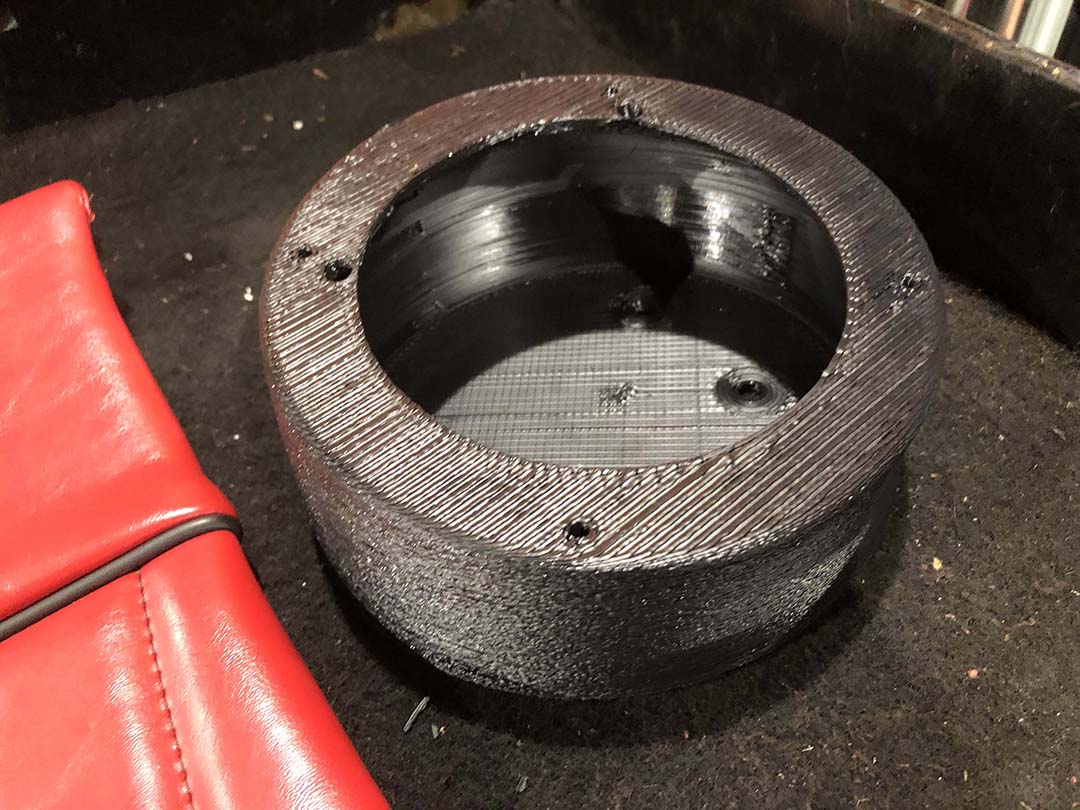
Inside, every detail shows quality. The cabin features all new upholstery on both front and rear seats. New carpet is throughout. A flawlessly restored new dash is also present. Grip a genuine Nardi Steering Wheel. It pairs perfectly with a matching custom Wolfsburg wood shift knob. This elevates the driving experience. The throttle pedal and throttle cluster assembly are replaced for precise control. For your listening pleasure, a Retro Manufacturing Retro Radio includes Bluetooth. A Blaupunkt 4-channel amplifier powers Alpine coaxial midrange speakers. Custom-made midrange speakers, with custom upholstery, deliver rich sound.
This 1972 Volkswagen Karmann Ghia shows thoughtful restoration. It blends classic charm with modern upgrades. It offers reliability and enjoyment. Do not miss owning this special car. Contact us today for further information, contact us at 425-254-0627. Meister Werks European & Import is located one block south from The Renton Landing in Renton, WA, across the street from the former Boeing Store and at the westside of the Paccar / Kenworth plant.