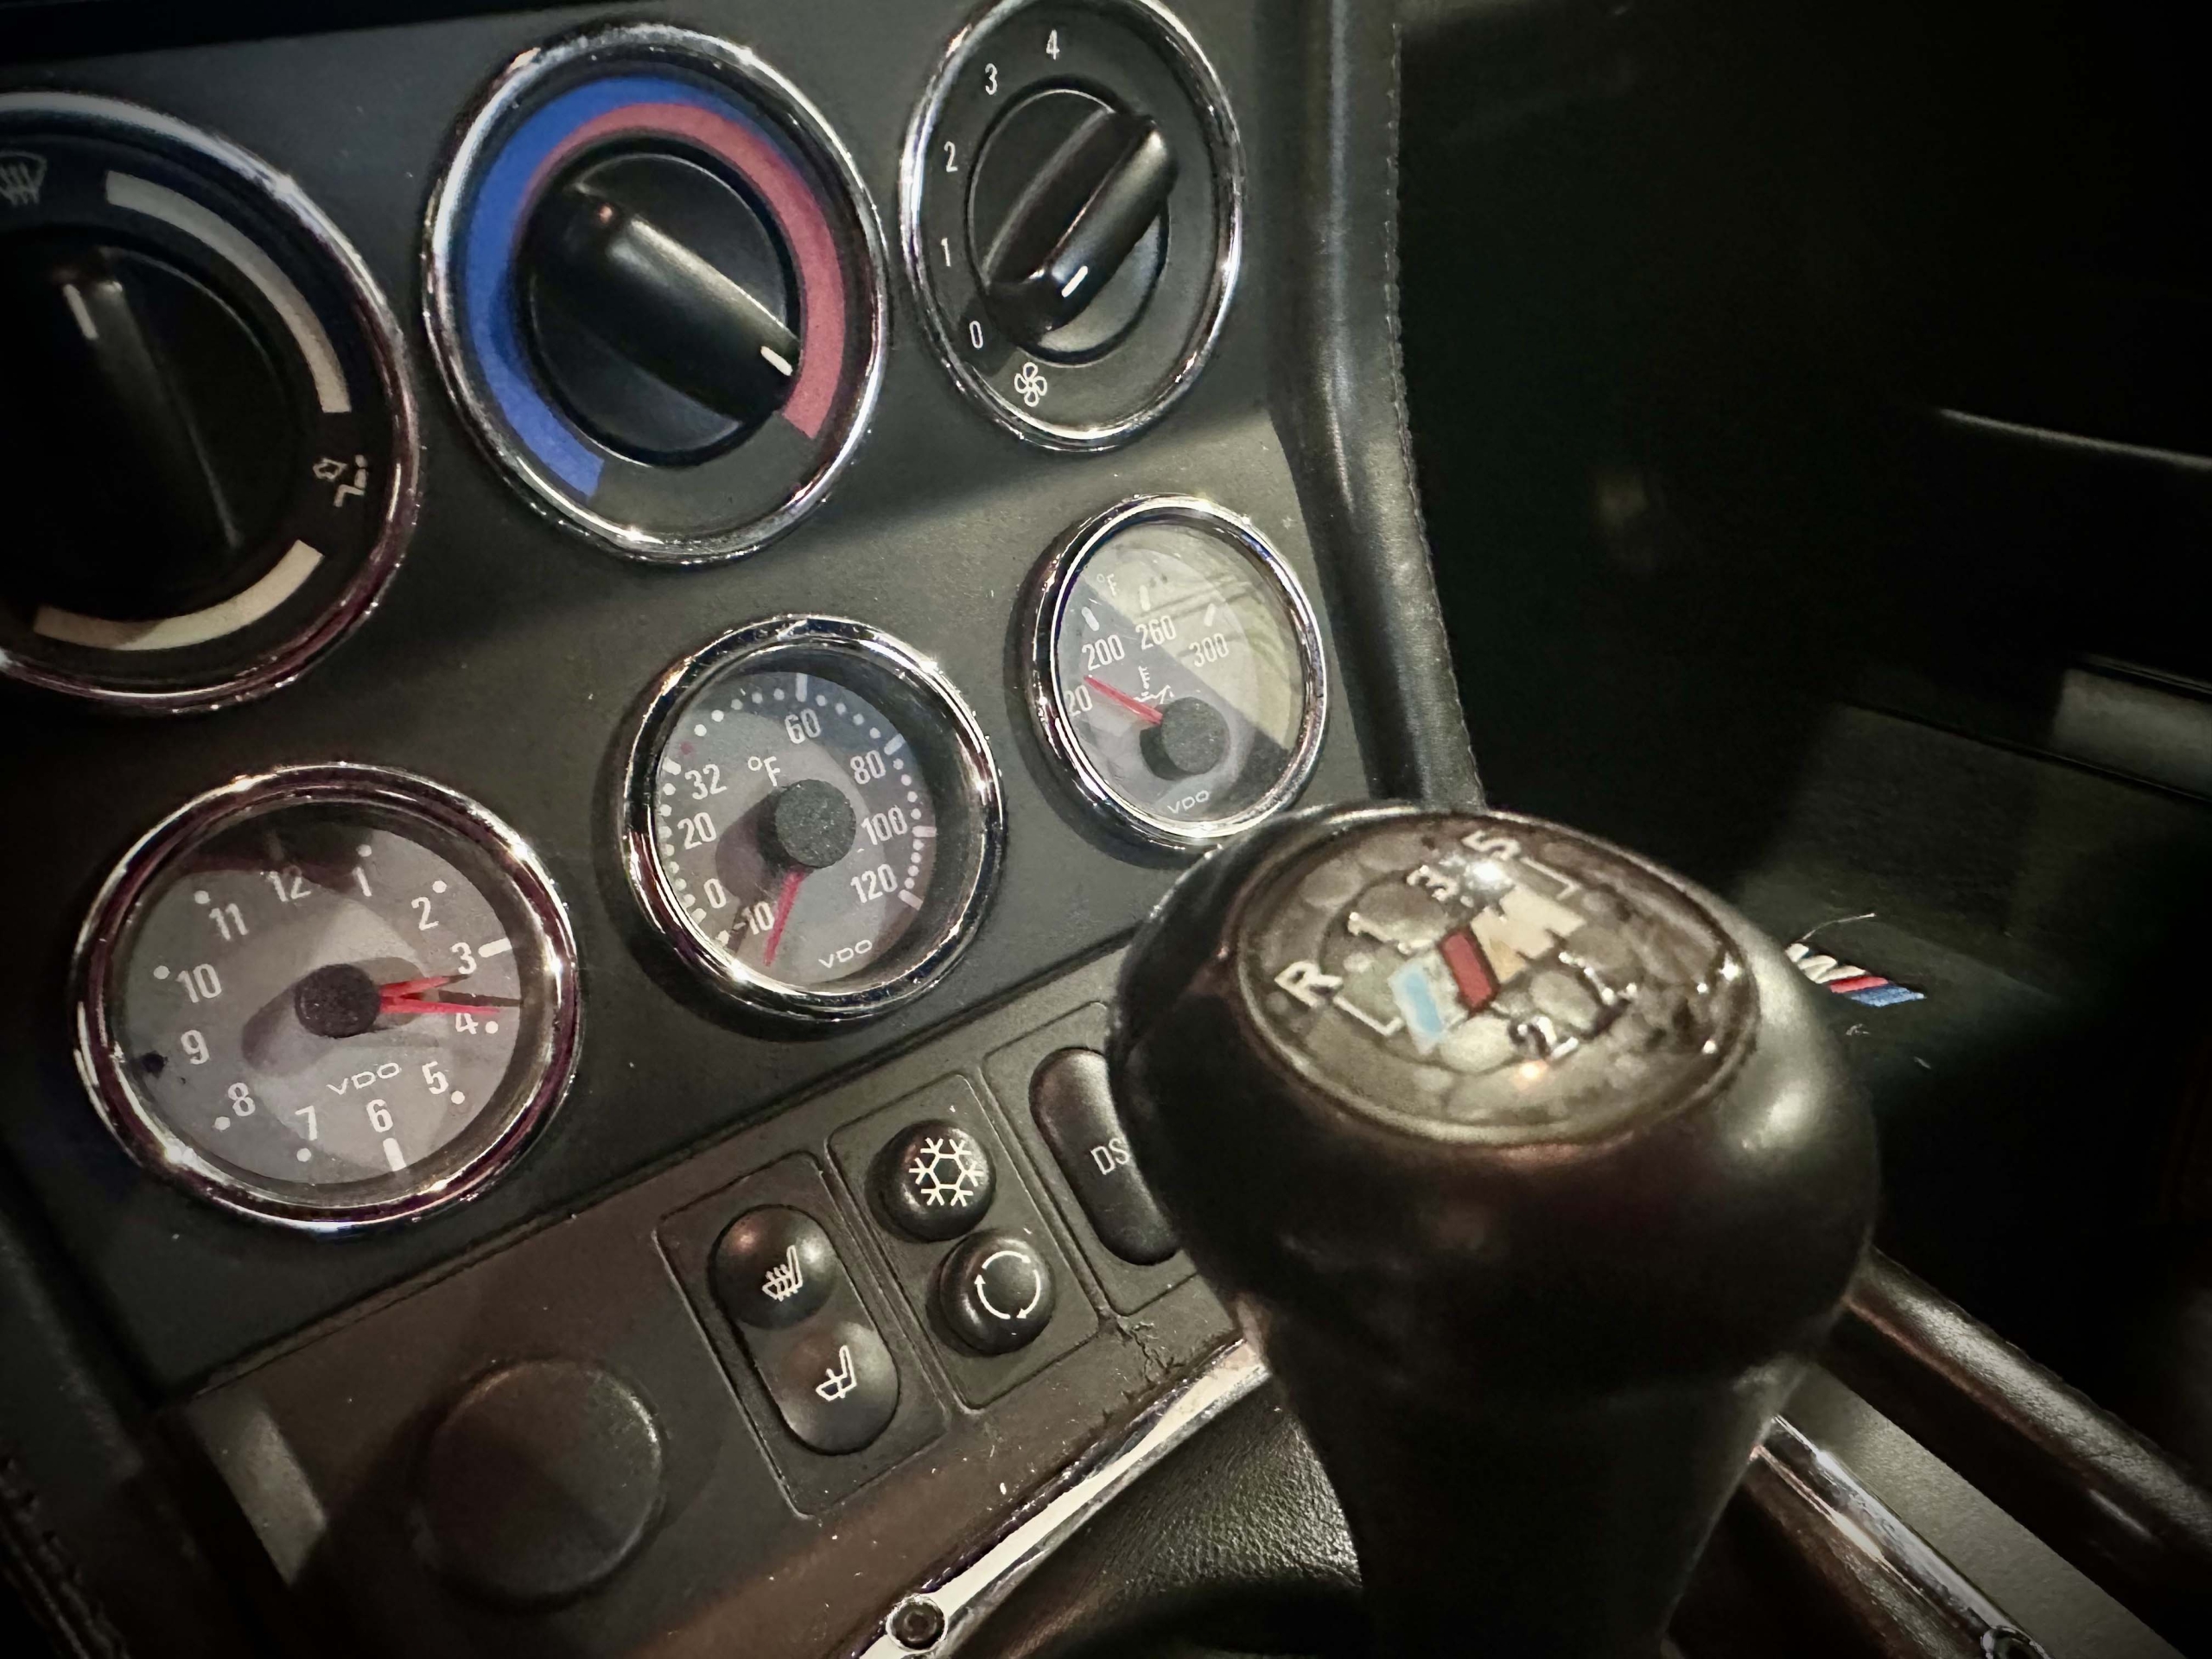
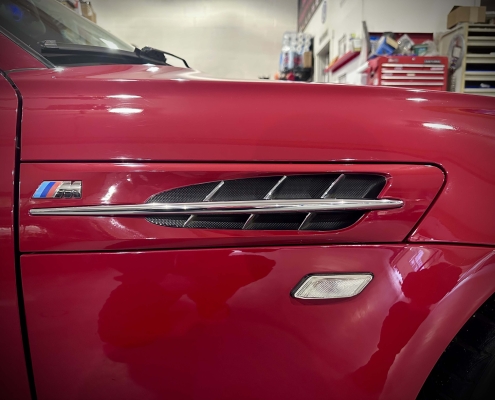
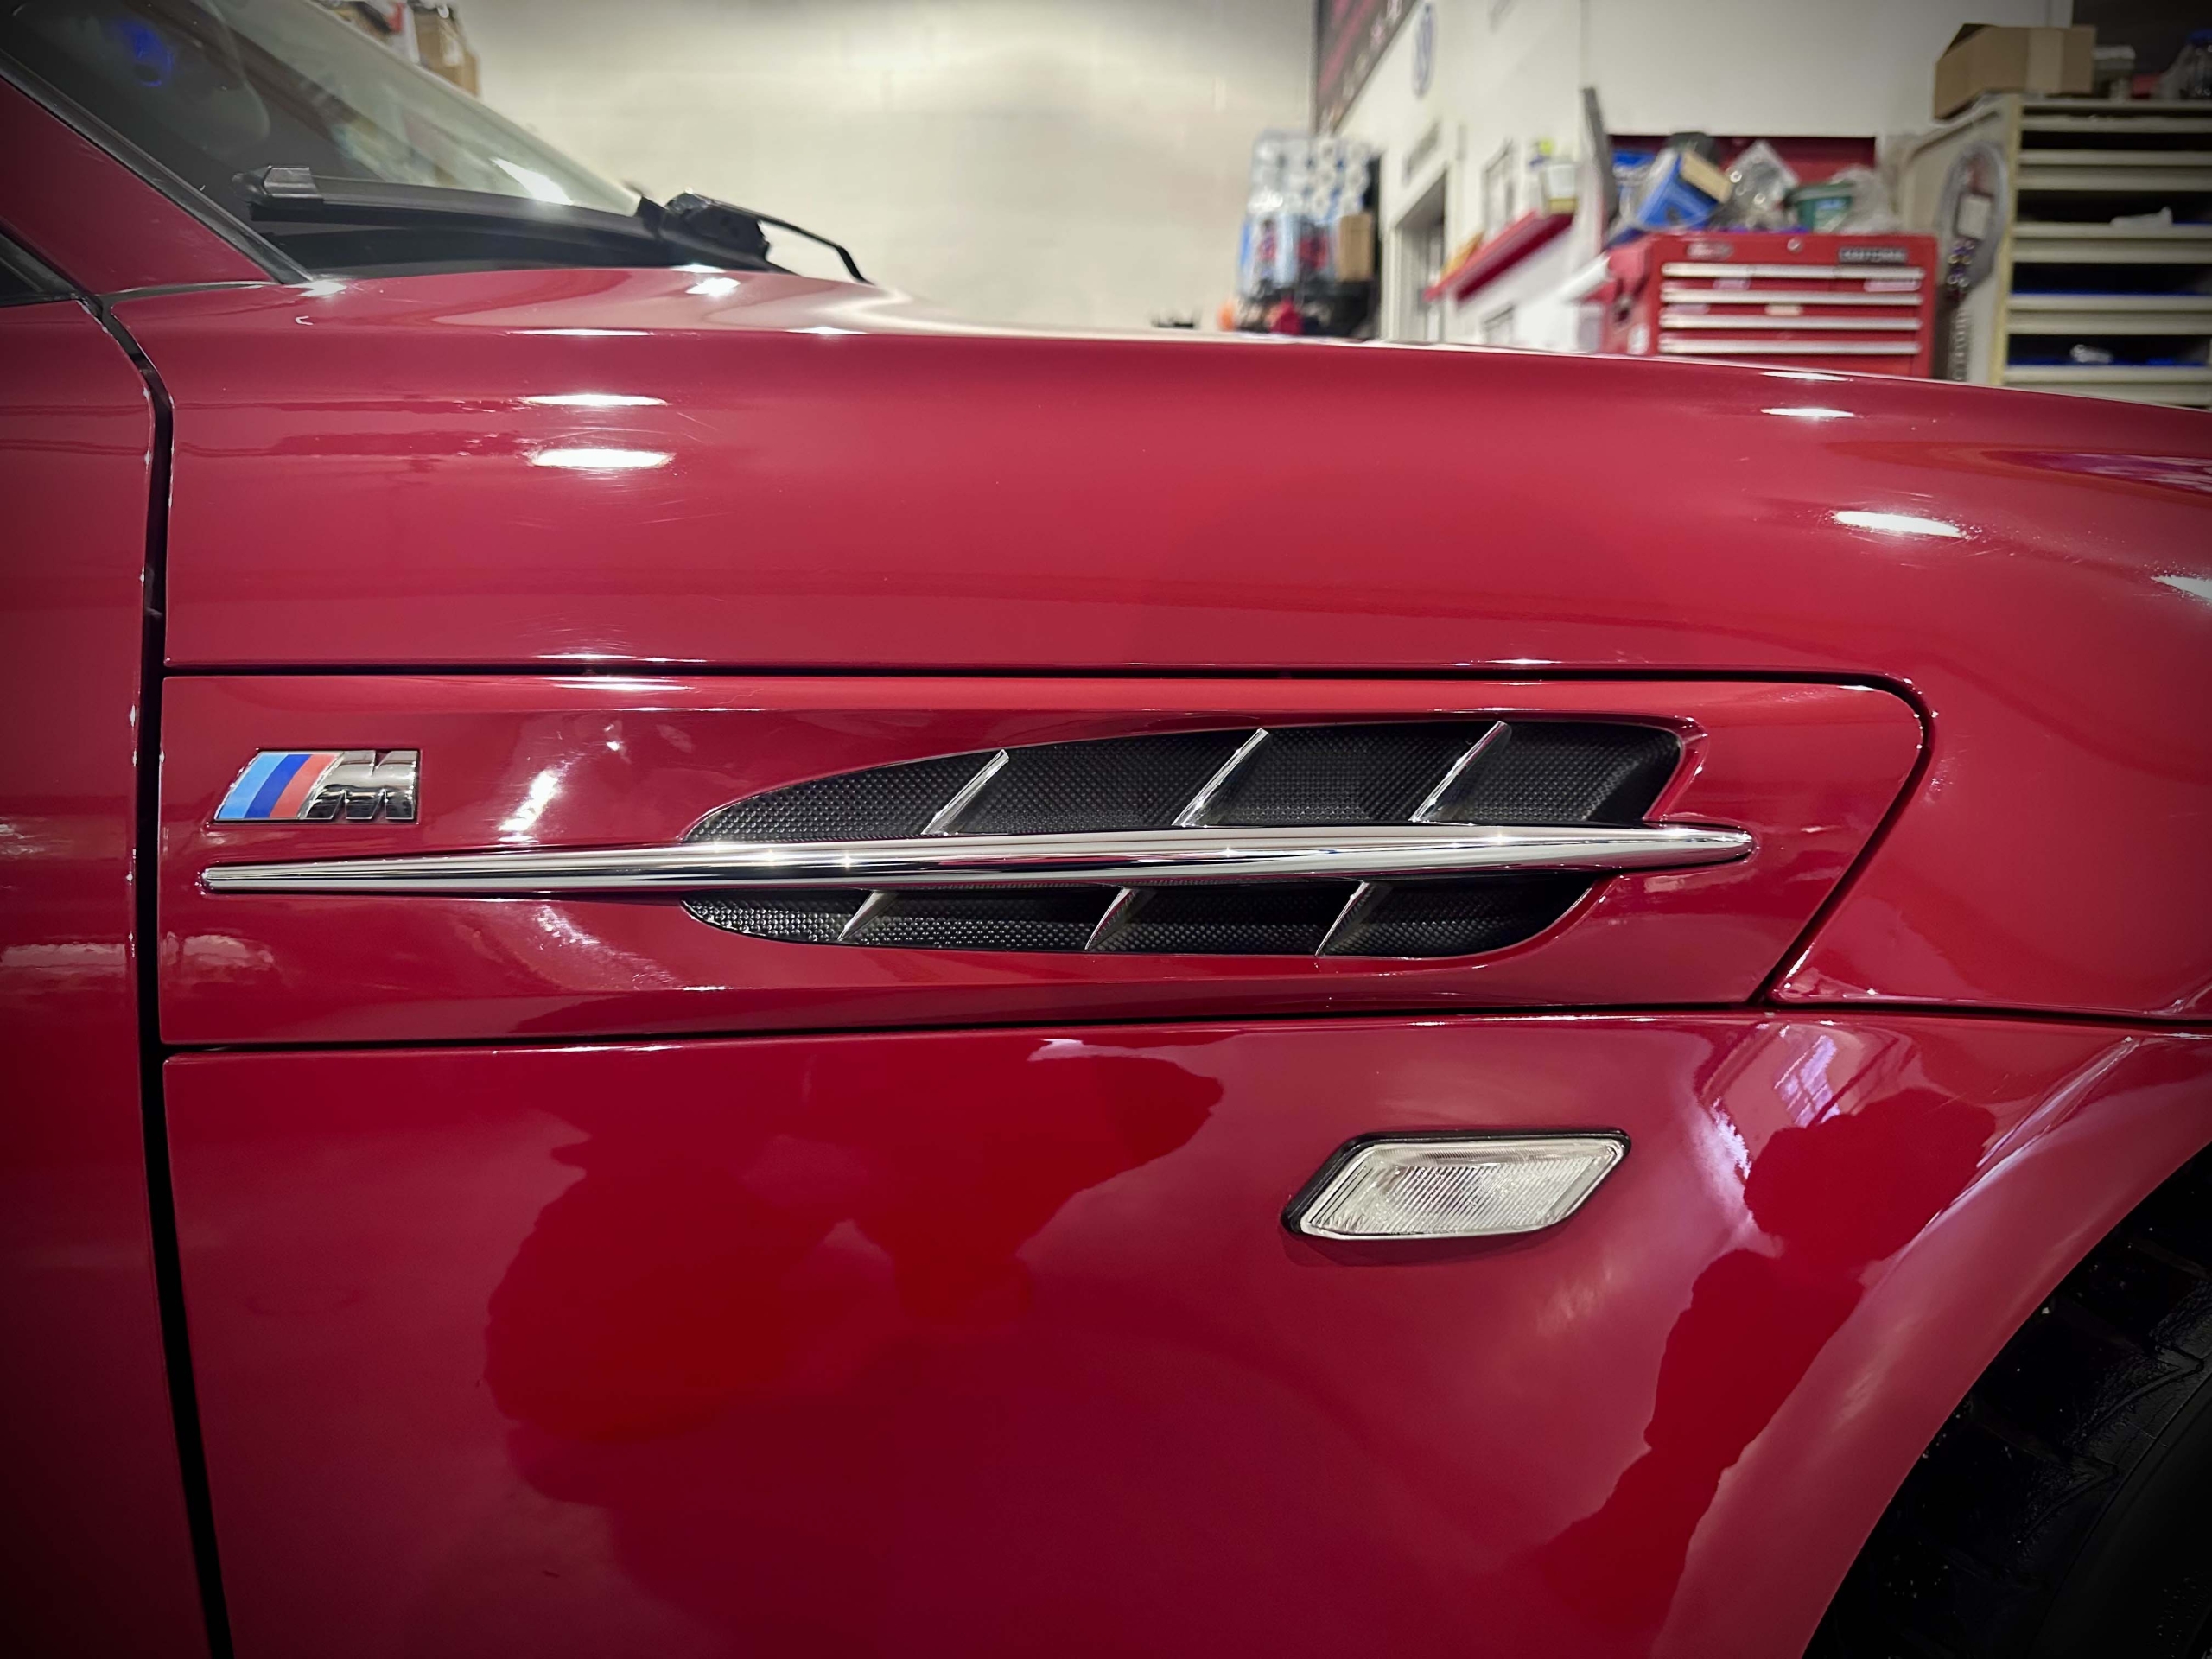
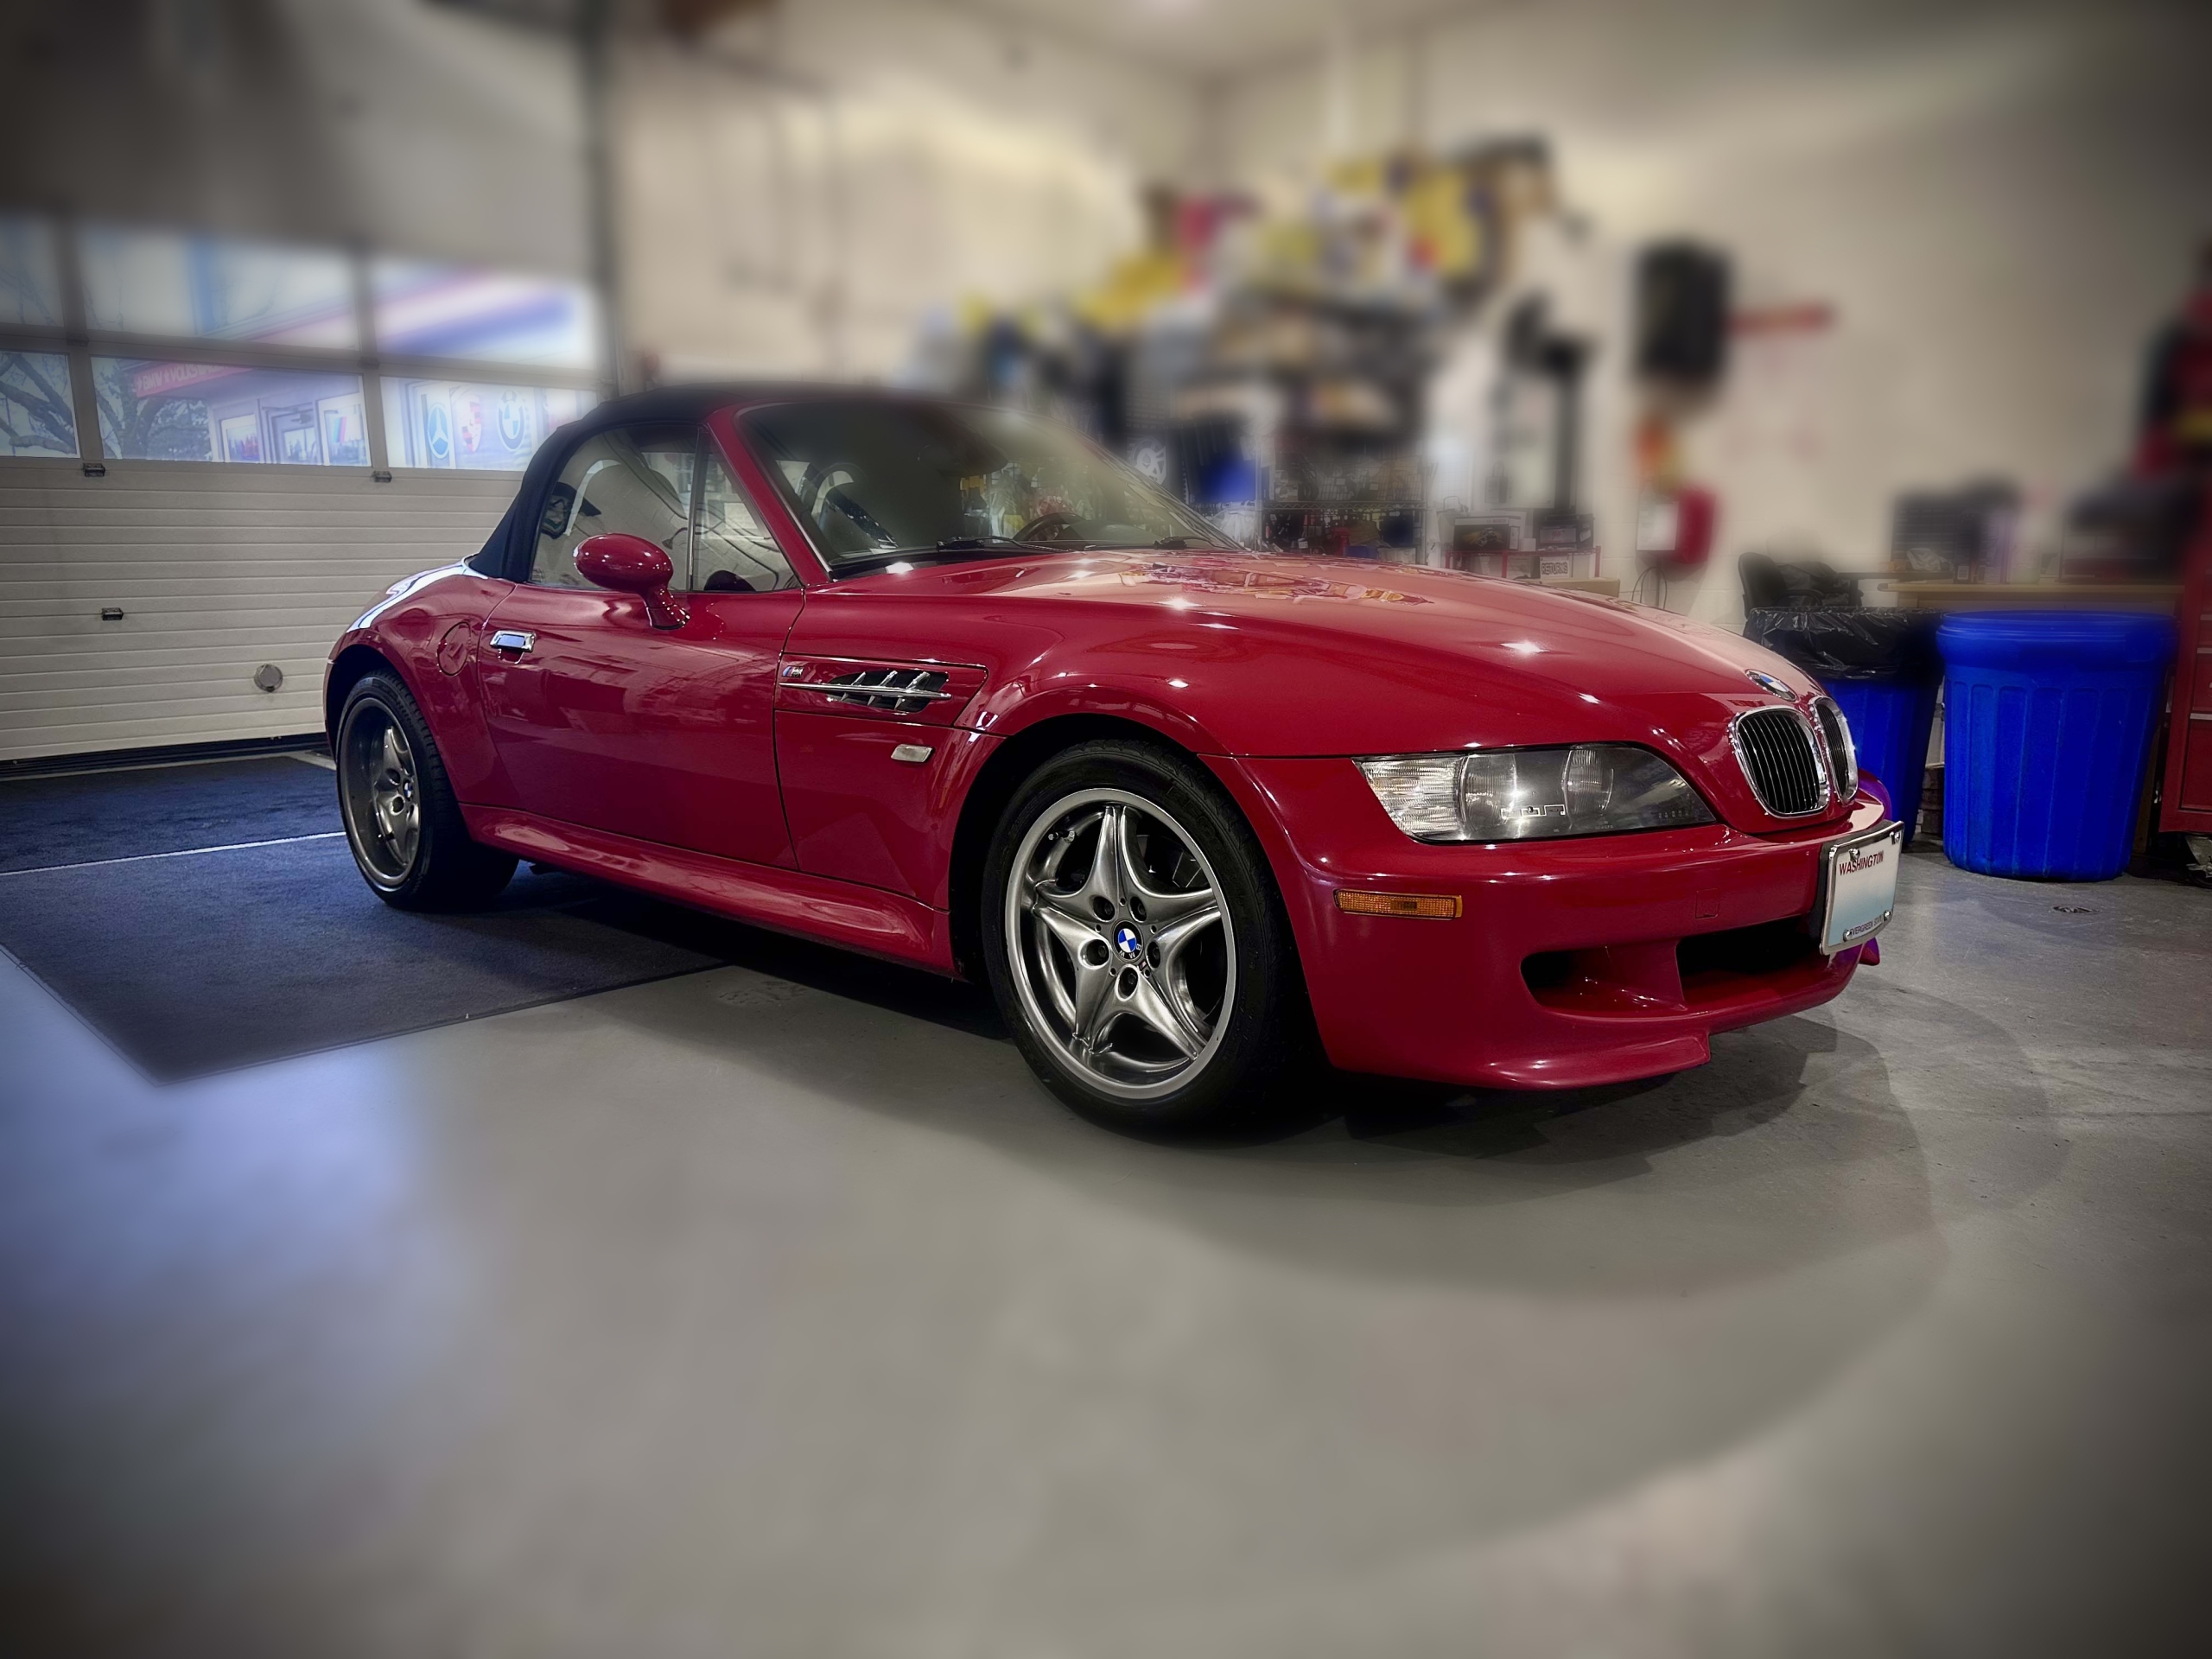
Solving Complex Check Engine Light Issues: 2002 BMW Z3 M Roadster
We recently diagnosed a Check Engine Light (CEL) on this beautiful 2002 BMW Z3 M Roadster. The owner came to us with persistent CEL concerns that ended up being a Catalyst fault codes. Despite having replaced multiple sensors previously, the vehicle still struggled with performance issues. Our team performed a deep dive into the BMW’s electronics to find the root cause.
Uncovering Electronic Overvoltage Faults
We began by scanning the vehicle’s on-board computer for fault codes. Interestingly, we found multiple “overvoltage” faults across several systems. These included the ABS module, instrument cluster, and steering angle sensor.
These codes suggest the vehicle may have been jump-started incorrectly at some point. Voltage spikes like these can damage sensitive European electronics. Consequently, these overvoltage issues can lead to “unplausible” data across the entire vehicle network. Additionally, the o2 sensors that were replaced, may have been the incorrect ones. It’s very easy to put the wrong sensor in the wrong plug and bung. Also, universal o2 sensors are not always the best. You have to wiring the correctly and sometime they have issues if they are not perfect. This is why we always use the OES part that is plug and play.
Detailed Inspection of Oxygen and Air Sensors
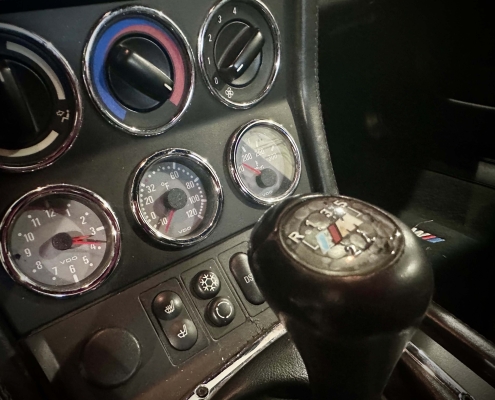
Next, we focused on the customer’s specific complaint regarding the for the oxygen (O2) sensors. Our inspection revealed that the sensors currently installed looked old and poorly mounted. For example, the Bank 2 downstream cable was too long and not clipped into its original BMW location.
We also found several critical fault codes related to the engine’s fuel trim controls:
-
Oxygen Sensor Pre-Cat (Cyl 4-6): Failed period duration.
-
Trim Control Pre-Cat and Post-Cat: Intermittent and history faults.
-
Voltage Monitoring: Inconsistent readings from the sensors causing the check engine light.
The Recommended Path to Engine Performance
To restore the Z3 M Roadster check engine light to its factory performance, we recommended a comprehensive sensor refresh. Therefore, we advised replacing all four oxygen sensors—both upstream and downstream—to ensure the ECU receives accurate exhaust data.
Furthermore, we recommended replacing the Exhaust Gas Temperature (EGT) sensor and the Mass Air Flow (MAF) sensor. These components work together to manage the air-fuel mixture. When they age or fail, the engine runs rich or lean, which eventually destroys the expensive catalytic converters.
Renton European Specialists for a Check Engine Light
Classic BMW M-series vehicles require precision parts and expert knowledge. At Meister Werks European, we use high-quality OES and Genuine BMW parts to guarantee a perfect fit. We also provide a 1-year or 12,000-mile warranty on all parts and labor.
Don’t let a fault code ruin your driving experience. Whether you have a Z3 M Roadster or a modern BMW, our technicians can solve your most frustrating electrical issues. Schedule your diagnostic appointment today at our Renton shop by calling (425) 254-0627 or visiting www.rentoncarrepair.com.
End All Solution to the
Liqui Moly 20L Bottles Leak
We have issues with our Liqui Moly 20L bottles always leaking. We received 2 racks from Liqui Moly that each hold 6 – 20L bottles. 12 total. Our local Liqui Moly rep said this has been a problem over the years. However he did offer some advice…

- If you are using the Liqui Moly white foam seals (29130), these are 1 time use only. They still work, but you MUST replace them every time you reuse a old drain cock. According to our Liqui Moly Rep, these are the old version and have been superseded.

These seals have been superseded to the black PVC Viton seals. They still work but you must replace them every time you remove the drain cock assembly.
- The prefered “New” seal is the PVC Viton black rubber o-ring seal that the new drain cock kits come with. Part No.: 7924
-

This is a photo we found online of another shop with the same problem. Note, they have 6L bottles to catch the oil, just incase.
When installing a new seal, do not over tighten the red cap. If you over tighten the cap it will deform the bottle and leak.
- Screw on the cap on until it stops.
- Give it 1/16 of a turn. Maybe around 5 ftlbs / 7 nm MAX.
- Rack your bottle and check for leaks about 10-15 minutes later.
- If it’s leaking, clean the leak first. Then give it another 1/16 turn and check it again in 10-15 minutes.
-
Furthermore, when installing a new seal, lightly coat the seal with the fluid you are putting the cap on. This will help promote sealing.
-
Remove the security ring before installing. If you do not remove this ring, it will not allow you to tighten it all the way and it will also leak.
- Make sure the air release has a hole in the bottle.
- If your bottle is on a Liqui Moly 20L rack, before draining the fluid for the first time, you must first drain some oil out, then puncture a hole under the cap. If you don’t it will leak from the air release hole.
- If you do not put a hole under the air release cap, full bottles may leak on hot days.
- Always close the red air drain cap when your done filling. This will create a vacuum if any start to come out and keep the fluid loss to a minimum.
The Liqui Moly 20L Bottles Leak Solution:
Liqui Moly does not sell the PVC Viton seals separately right now. Our Liqui Moly rep said there is a link to buy the same size seals that Liqui Moly uses in their drain cock kits. They do not work that well either. That is why we came up with our own solution. Polyurethane seals. We 3d print poly seals and tested them over the last few months. Once we installed these, the bottle never leaked. You can purchase those on our other business e0-commerce site by clicking here
Why replacing rotors is necessary
on European vehicles
Why is Replacing Brake Rotors with new pads on your European vehicle is necessary? This is because old rotors can have uneven wear, grooves, or be too thin after a full brake pad life, which degrades new pad performance. It is standard practice for German cars like Porsche, VW, Audi, Mercedes-Benz, and BMWs to recommend replacing pads and rotors together as a matching set. This is to ensure optimal braking and prevent issues like noise or shuddering.
The Reasons Why
Replacing Brake Rotors
is Necessary
- Uneven surface: After a brake pad’s lifespan, the rotor’s surface is no longer flat. New pads require a smooth surface to “bed in” properly.
- Grooves and scoring: Worn pads can create deep grooves on the rotor surface, which will prematurely wear down new pads, cause noise, and reduce braking performance.
- Minimum thickness: Rotors have a minimum thickness specification. If they’ve been worn down below this point, they are unsafe and must be replaced.
- Warping: A vibrating or pulsing brake pedal often indicates that the rotor is warped, which is a condition that cannot be fixed with new pads alone.
- German car specific recommendations: German manufacturers like Audi often recommend replacing rotors with every pad service to ensure consistent, high-performance braking.
- Corrosion: Over time, rotors can develop rust or corrosion, especially on the edges. While resurfacing can remove some surface rust, it can be cheaper and more effective to replace them, particularly if there is significant corrosion.
What to do?
- Inspect: Meister Werks qualified service technicians will measure your rotors and pads to ensure they are above the minimum thickness. Furthermore, we check for signs of warping, deep grooves, or excessive rust.
- Replace: If the rotors have wear, grooves, warps, or too thin, they need replacement. After 100% worn pads, the rotors typically need replacement. However, we will let you know the pad and rotor thickness. As a result, it’s highly likely that your vehicle will need new pads and rotors. This is so they operate with proper function and safety.
- Resurfacing is Not a Option: Resurfacing is an option for some vehicles. However, replacing is necessary on all modern European vehicles. This is because resurfacing removes too much material, making them thinner than the worn rotor. Resurfacing seams like it could be cheaper. However, the additional labor time it takes to resurface. This additional labor costs the same as New Brake Rotors.
Land Rover Range Rover HSE Headlight Refurb
What Is Vapor Liquid Headlight Refurb?
The vapor liquid headlight restoration technique, also known as vapor polishing Headlight Refurb, is a modern and highly effective method for restoring hazy, yellowed, and oxidized plastic headlight lenses. Unlike traditional sanding and polishing methods that remove a layer of plastic and then apply a clear coat, this technique uses a chemical solvent to essentially melt and reform the surface of the lens, resulting in a perfectly clear, like-new finish.
Why Choose Vapor Liquid Restoration?
The Headlight Refurbishing method offers several advantages over conventional restoration kits. While traditional kits are often messy and require significant effort, vapor restoration is a quicker process that delivers superior, longer-lasting results. . Additionally, it eliminates the need for repeated polishing. This will fully restore even severely damaged lenses, giving them a durable, high-gloss finish that stands up to UV exposure.
The Process: A Step-by-Step Guide
-
Preparation. First, you must properly clean the headlights with a degreaser and microfiber cloth. The area around the headlight should be masked with painter’s tape. This protects the surrounding paint from the vapor.
-
Sanding. We sand the headlight with progressively finer grits of sandpaper. First we start with a coarse grit (around 400) and moving up to a very fine grit (around 2000 or 3000). This removes the heavily oxidized top layer. Furthermore, it creates a smooth surface for the vapor to work on.
-
Vapor Application. A special heater kettle is used to heat a liquid polymer solution, causing it to vaporize. . The user then directs this vapor stream onto the sanded headlight lens. The vapor’s chemical reaction with the polycarbonate plastic of the lens causes the surface to become clear and smooth again.
-
Curing: The headlights are left to cure and harden, a process that usually takes a few minutes. The result is a crystal-clear lens that looks brand new.
Pro Tips for Range Rover Headlight Refurb
Range Rover headlights, like those on other premium vehicles, are expensive to replace. Therefore, using a high-quality Headlight Refurbishing method is a smart choice. Due to the shape and complexity of some Range Rover headlight designs, it is important to take extra care during the sanding and taping phases to ensure an even finish. Also, be sure to use a high-quality, professional-grade vapor restoration kit for the best results.
For more information on how to get your Range Rover’s Headlight Refurbishing, service, maintenance or custom work, contact us at 425-254-0627. You can also schedule an appointment or receive a quote by clicking here. Meister Werks European & Import is located one block south from The Renton Landing in Renton, WA, across the street from the former Boeing Store and at the westside of the Paccar / Kenworth plant.
We always tell customers that we replace parts, we always use Genuine Parts in critical areas of your vehicle. For example, a customer was in town with his 2009 S63 AMG a while back. They called in desperation that they had major coolant leak and were traveling though town on their way back home to Utah. They towed their car in and we did our standard coolant leak diagnostic.
Inspection
While inspecting the AMG we found some damage on the front left bumper. Directly above that was the plastic end cap of the radiator, which was leaking coolant. The customer needed a new radiator, which we were able to procure fairly quickly. We also noticed that the drive belt, idler & tensioner pulleys were in very bad shape. Not good for a drive from the Pacific NW to Utah. Lastly, we suggested replacing the thermostat, since the car had overheated and it may have been comprimized when loosing all the coolant. The customer approved all the repairs except the thermostat, since they said that it was just replaced. Then asked us to order the parts and get started ASAP so they could drive home.
Start The Work
We order the parts and got to the repairs. Once we had all the repairs complete, filled with anti-freesze, and bleed the cooling system – we noticed another leak. It was the plastic return hose fitting on the thermostat. We removed the thermostat and found that the customers mechanic back home had replaced the thermostat with a cheap aftermarket part. Also, they did not replace the return hose, which looked decent with no signs of swelling or damage. Upon further investigation, we found that the hose had broken off inside the thermostat hose adapter. Probably due to slight differences in tolerances between OEM and aftermarket parts.
Critical for Genuine Parts
On critical parts such as this, we always recommend replacing with the Genuine Mercedes-Benz part and with the Genuine hose as well. Even if the hose looks ok, it’s not worth the risk and could have resulted with the car breaking down in this middle of no where between Seattle and Utah. This could have been much more serious situation.
In conclusion, at Meister Werks always suggest repairing your vehicle the right way and use quality made Genuine OES or OEM parts for your European car.
More Info
For more information on how to get your Mercedes-Benz AMG in the shop for some service, maintenance or custom work, contact us at 425-254-0627. You can also schedule an appointment or receive a quote by clicking here. Meister Werks European & Import is located one block south from The Renton Landing in Renton, WA, across the street from the former Boeing Store and at the westside of the Paccar / Kenworth plant.
Some info about AMG
AMG is short for Aufecht, Melcher, and Großaspach, the name of the high-performance division of Mercedes-Benz. This division is responsible for developing and producing high-performance Mercedes-Benz vehicles. AMG models are known for their aggressive styling, powerful engines, and enhanced handling characteristics.
Here’s a more detailed look at AMG:
- History:
AMG was founded by Hans Werner Aufrecht and Erhard Melcher in the 1960s, initially as an independent engineering firm specializing in performance upgrades for Mercedes-Benz cars.
-
Ownership:
AMG is now a wholly owned subsidiary of Mercedes-Benz AG, which in turn is part of the Mercedes-Benz Group.
-
Performance:
AMG models are known for their powerful engines, enhanced suspensions, and optimized chassis for improved handling and dynamics.
-
Styling:
AMG cars often feature aggressive bodywork, including sporty bumpers, side skirts, and rear spoilers, along with larger wheels and tires.
-
Exclusivity:
AMG models are generally the most expensive and highest-performing variants of their respective Mercedes-Benz class.
-
Motorsports:
AMG has a long history of motorsport involvement, including the popular DTM series, the FIA GT World Championship, and Formula 1.
-
Mercedes-AMG GT:The AMG GT is a sports car that exemplifies AMG’s commitment to performance and driving dynamics, with a range of models offering diverse engine and performance options.


