1998 Jaguar XJR Cooling Fan Conversion
The other day we started on a 3d printing project for a customer’s 1998 Jaguar XJR Cooling Fan Conversion. One of the customer’s radiator cooling fans stopped working and the engine started to overheat. The fan assembly from Jaguar were quoted between $1100 and $1400 (for 2 fans and the shroud) We told the customer that there was a second option. The other option was to convert the fans over to brushless slimline style cooling fans.
The Process
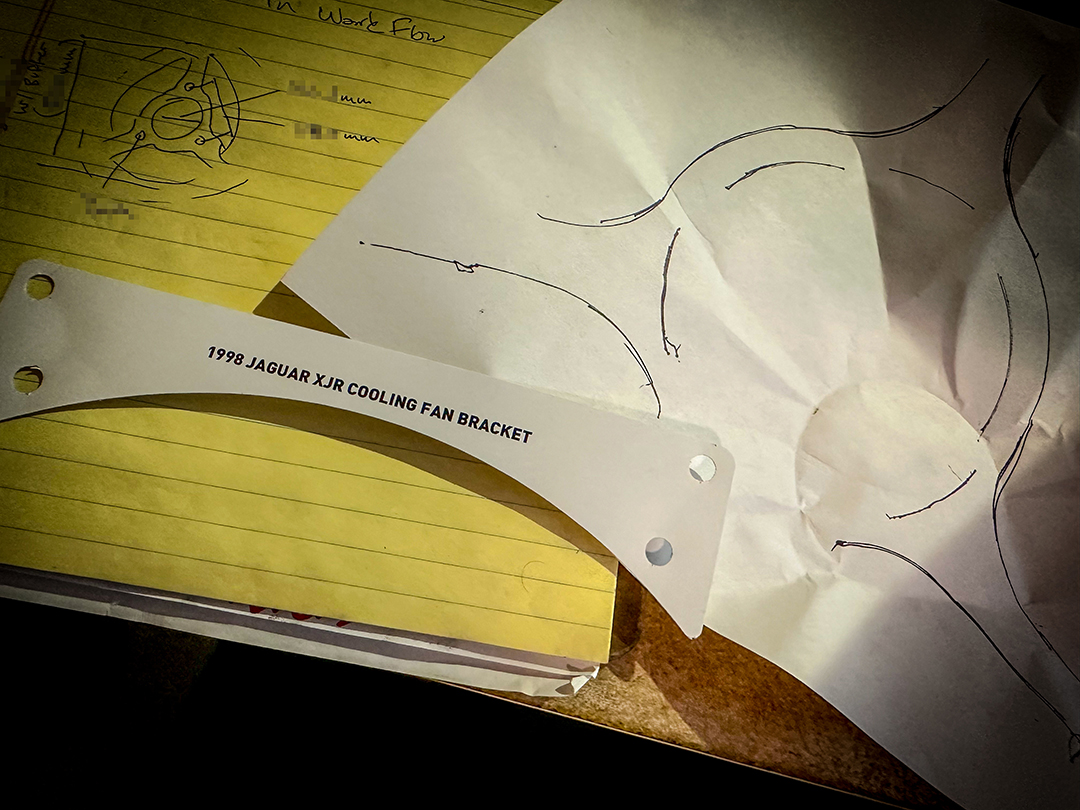
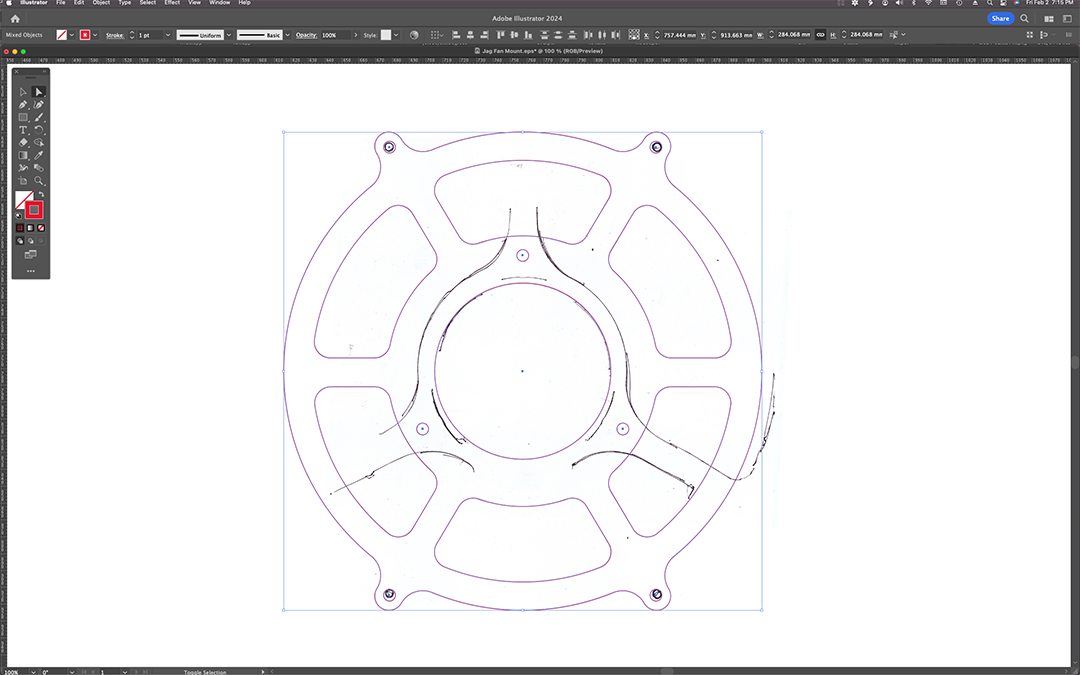
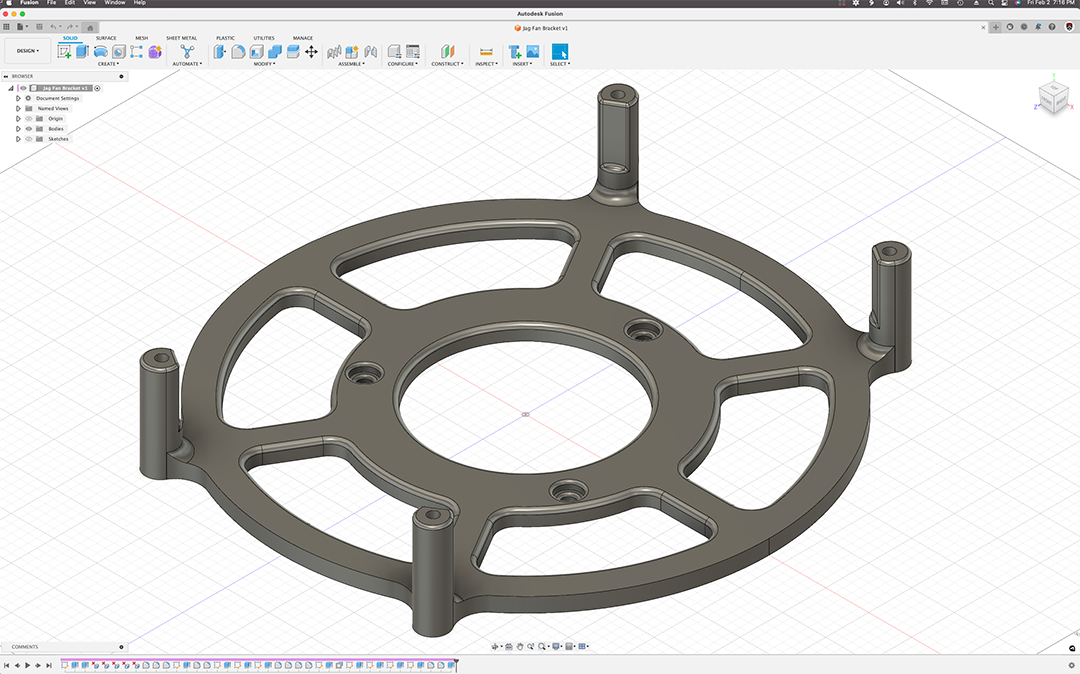
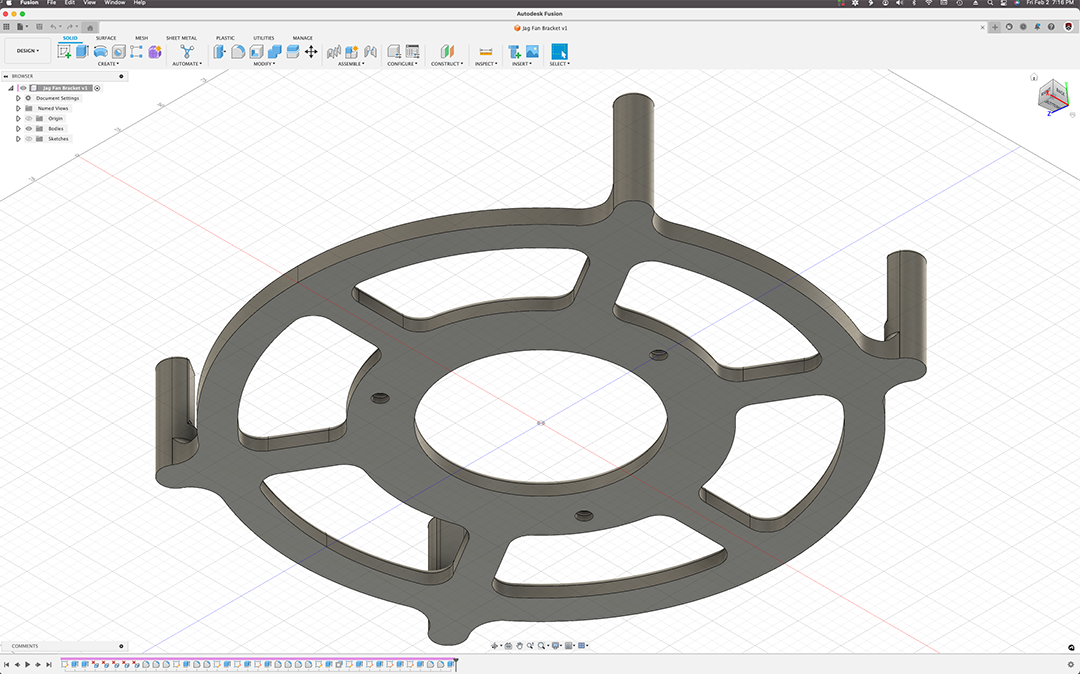
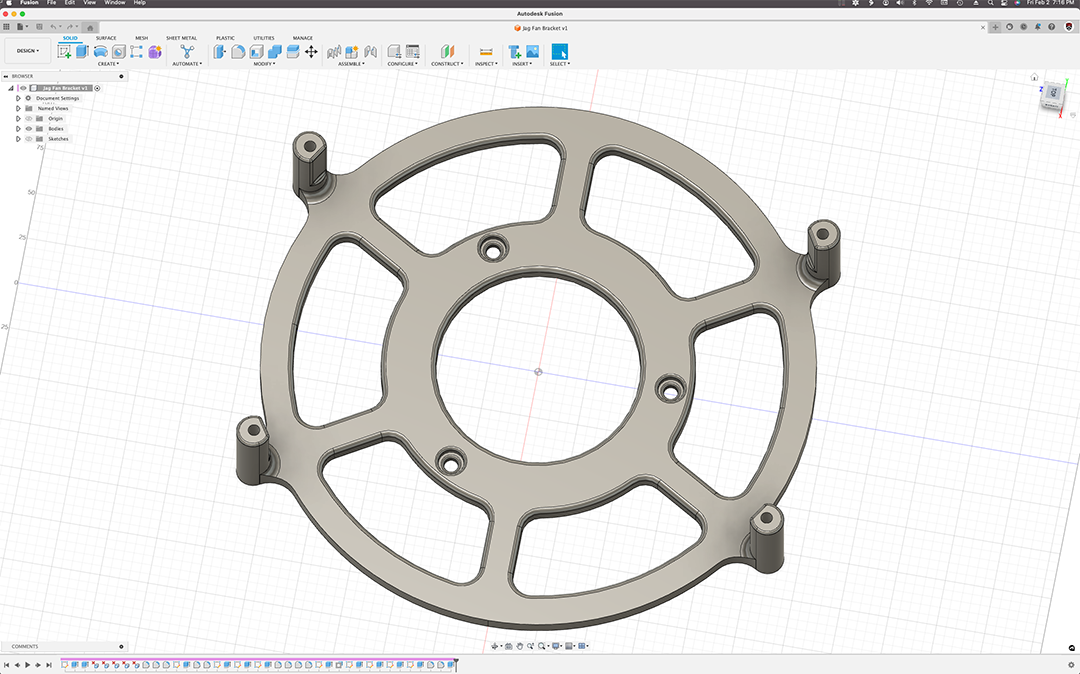
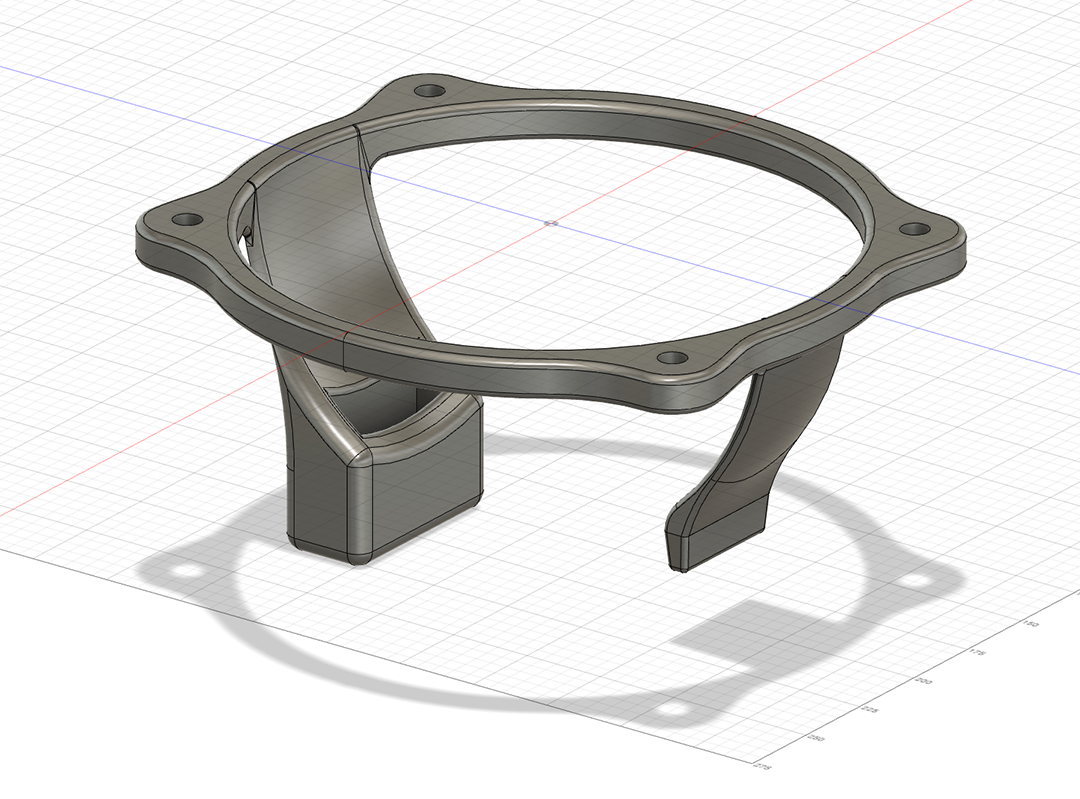
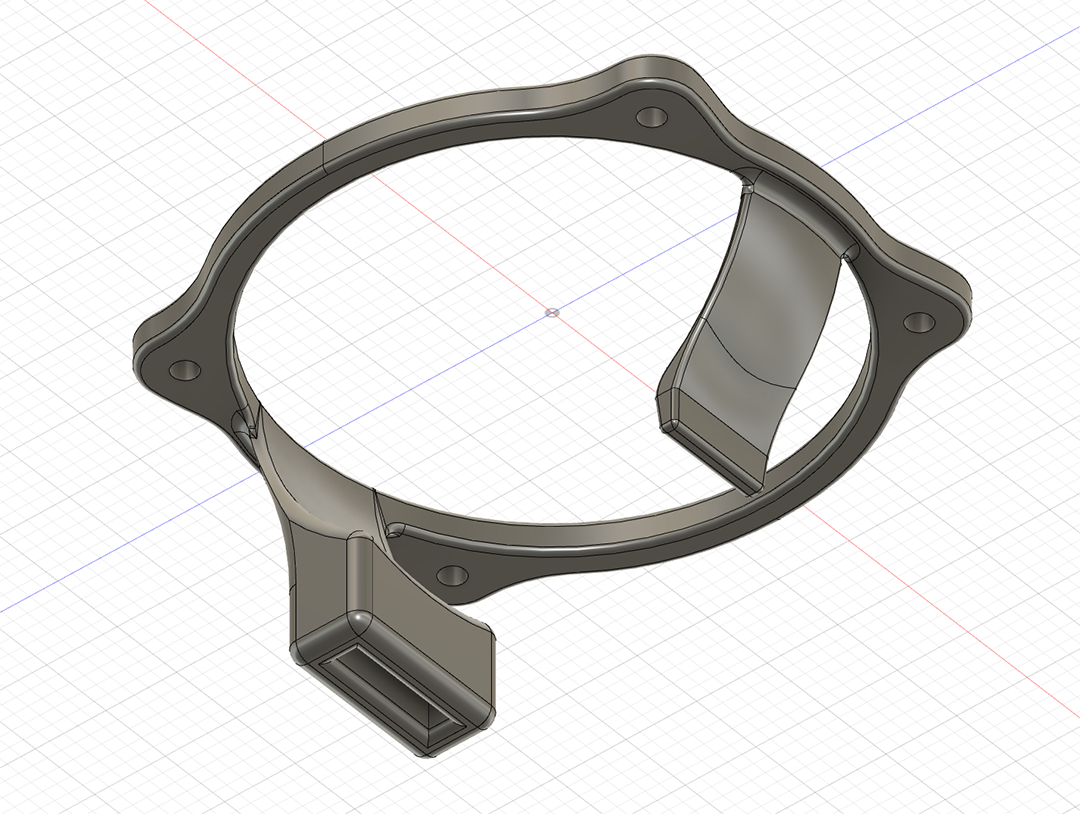
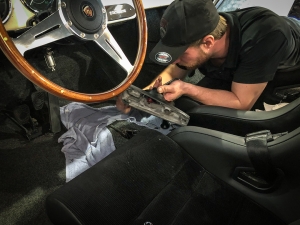
I took about 20 measurements and traced the mounting holes. Then I scanned the tracings on my flatbed scanner. After that, I digitized the files and imported them into Fusion 360. After a few hours, the CAD files were done and it was ready to print. I stayed up until about 3am, making sure the first bracket was printing ok. It wasn’t. Some of the settings needed tweaked. I changed the settings and hit print again, praying that when I woke up the print would be good.
When I woke up 3 hours later the print was almost done and looked really nice. When that was done I removed it from the build plate. Then, I hit print again. I went into the shop to start modifying the shroud.
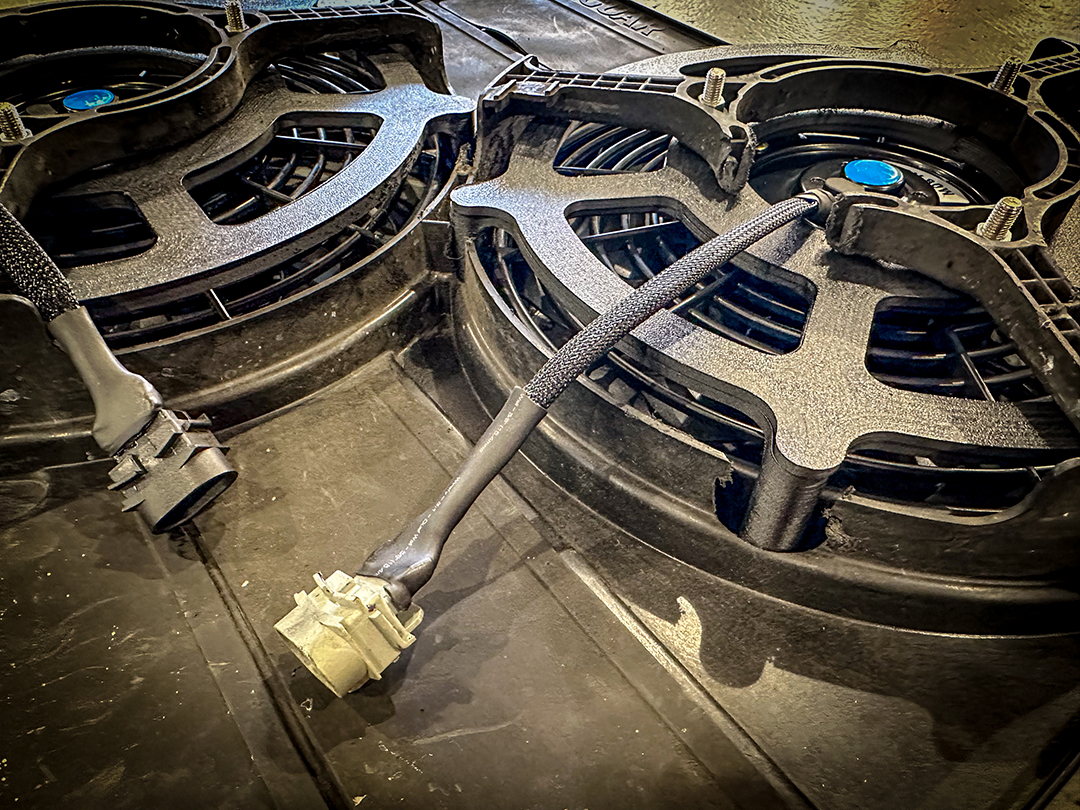
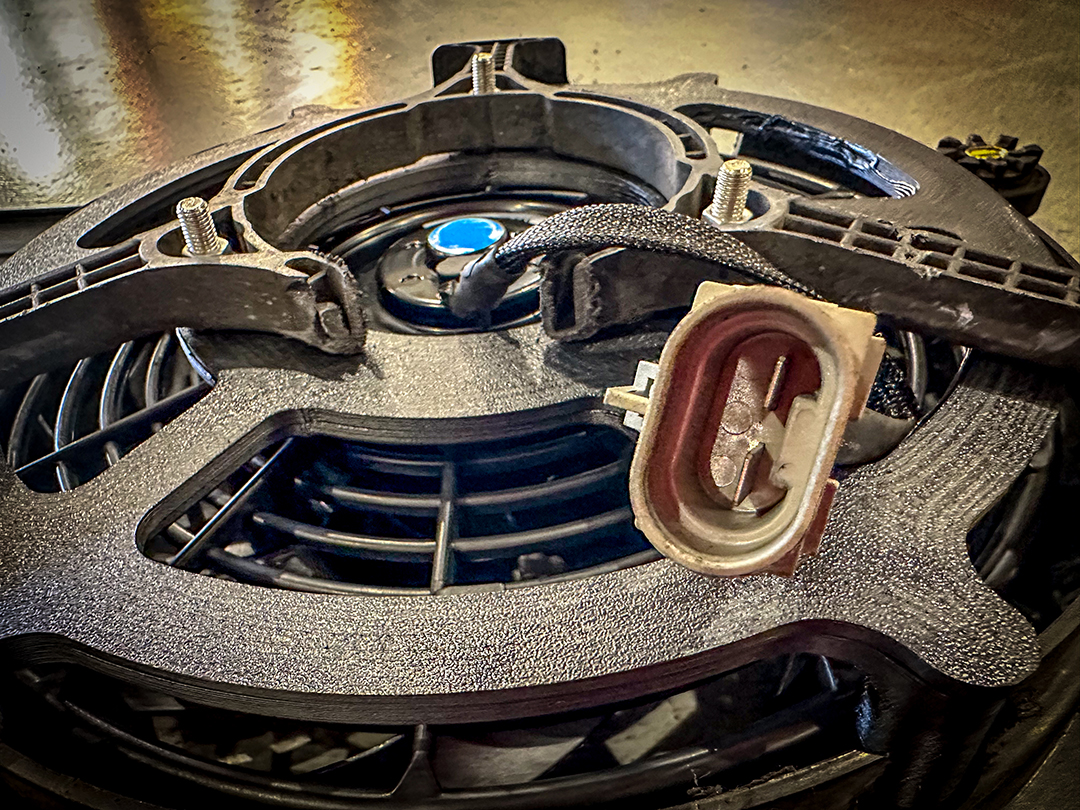
One of my techs ended up taking the motor apart and we extracted the OEM harness connectors. I wired and loomed that electrical connector to the fan harness. Furthermore, this made for a really nice, cohesive OEM looking connection.
Fitment
This bracket will fit the following Jaguars:
- Vanden Plas – 1993, 1994, 1995, 1996, 1997, 1998, 1999, 2000, 2001, 2002, & 2003
- XJ6 – 1993, 1994, 1995, 1996, & 1997
- XJ8 – 1993, 1994, 1995, 1996, 1997, 1998, 1999, 2000, 2001, 2002, & 2003
- XJR – 1993, 1994, 1995, 1996, 1997, 1998, 1999, 2000, 2001, 2002, & 2003
How was it made?
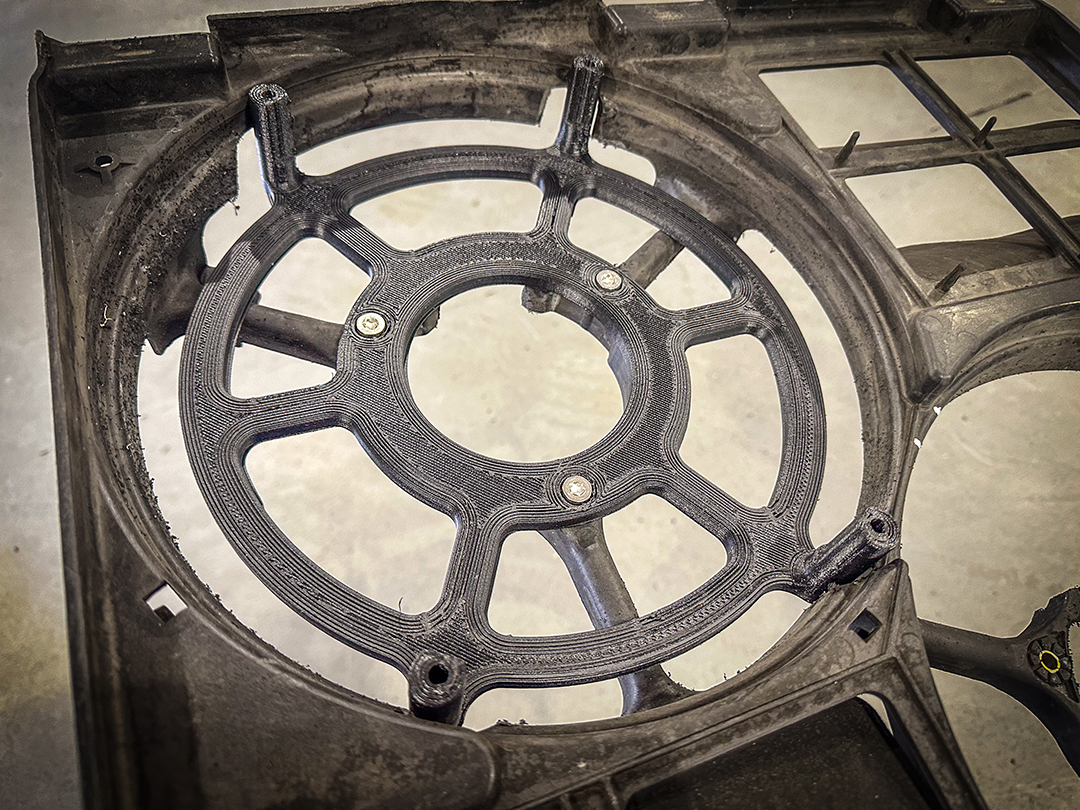
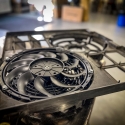
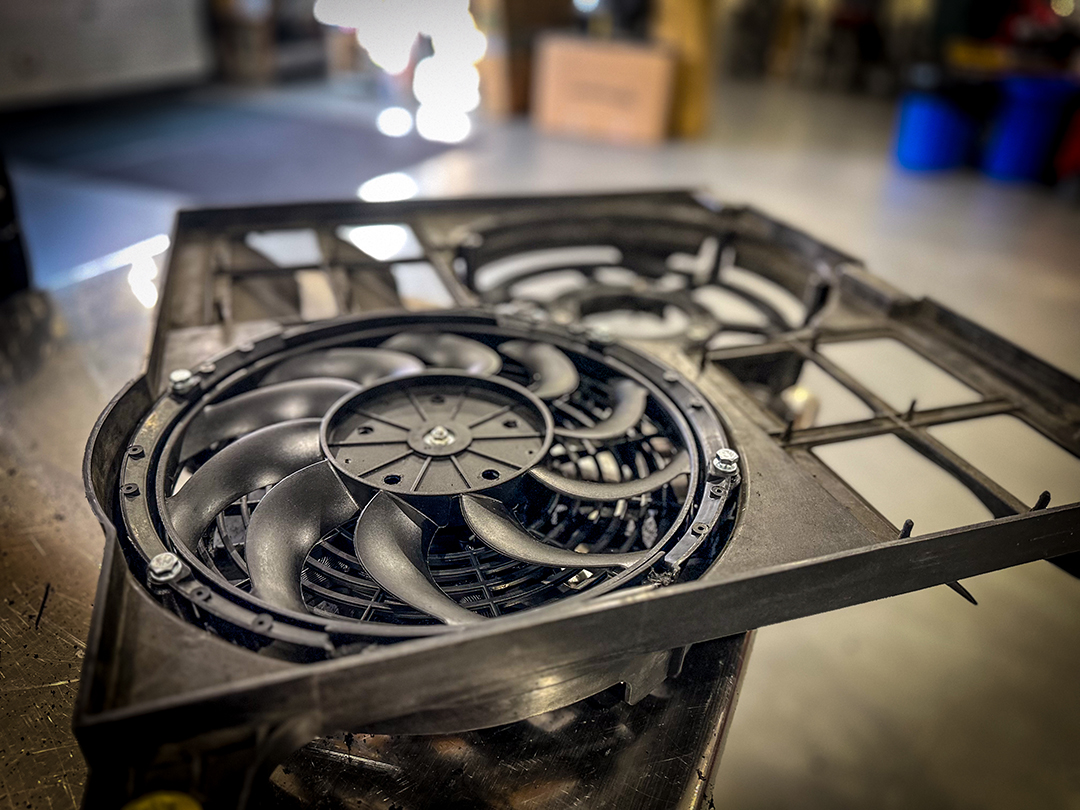
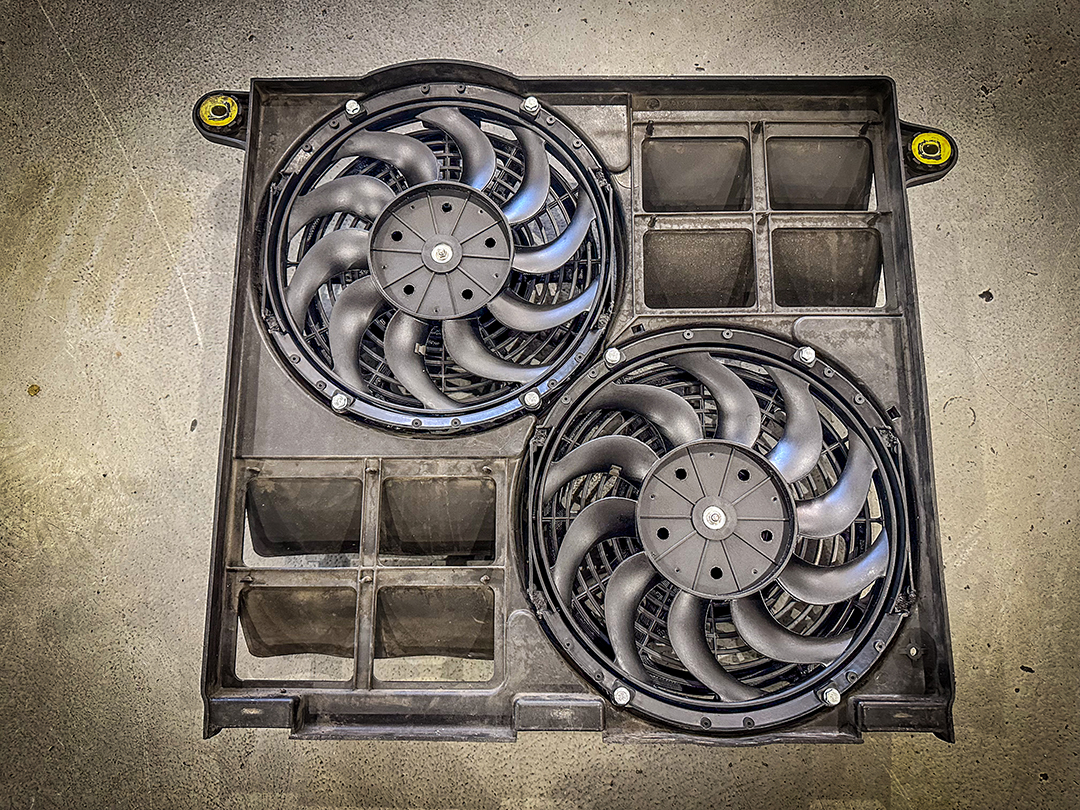
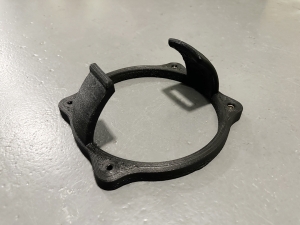
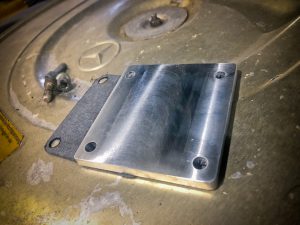
The XJR Cooling Fan Conversion is printed on a highly modified AnyCubic Kobra Max 3d printer with Priline Polycarbonate CF. For example, here are the A-Z photos of how it was done, and how it all turned out.
Gallery
-
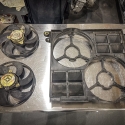
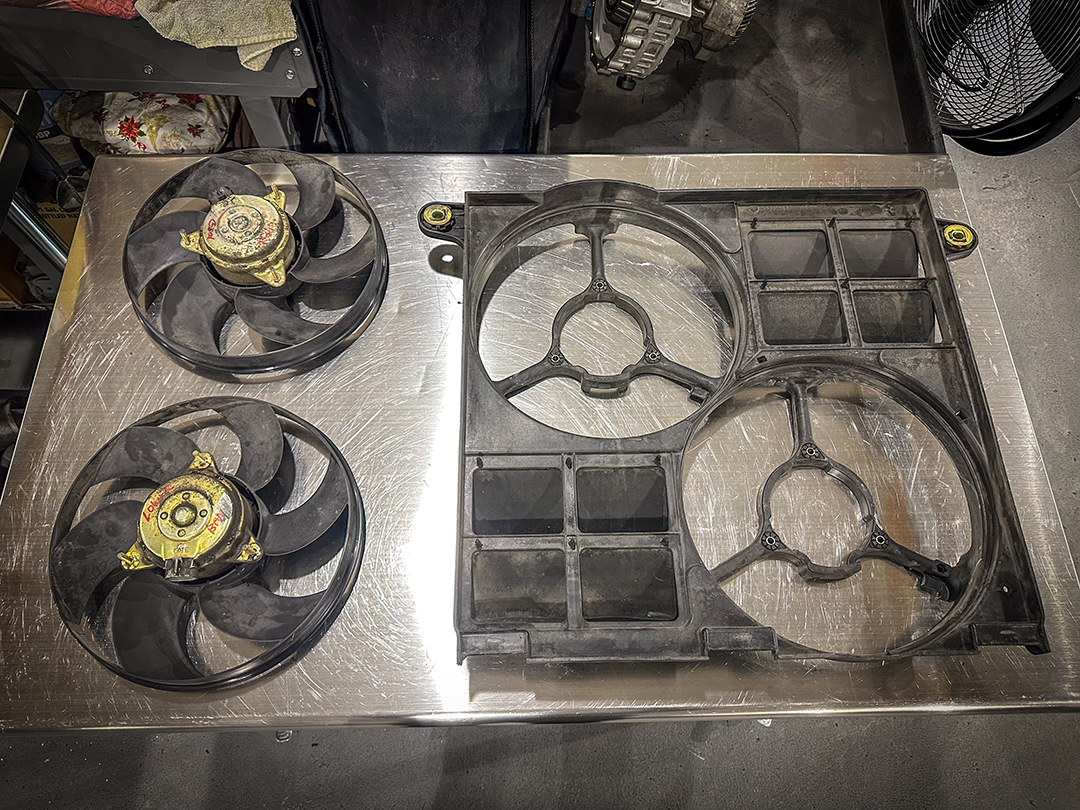
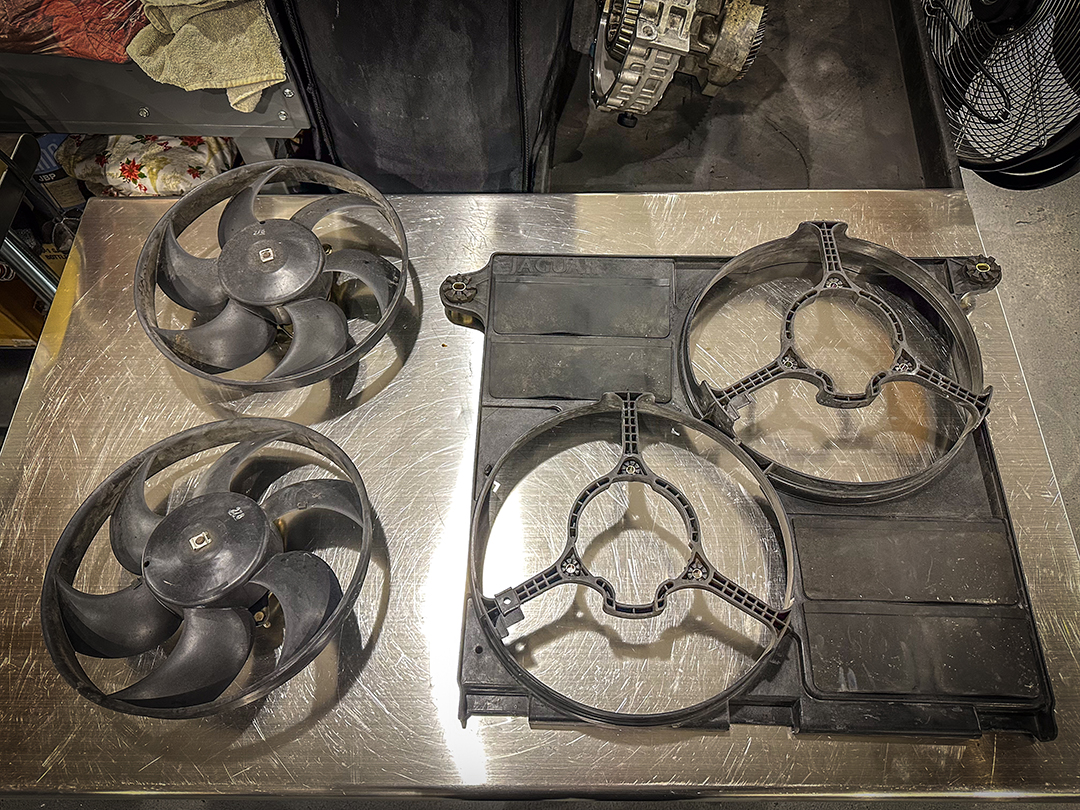
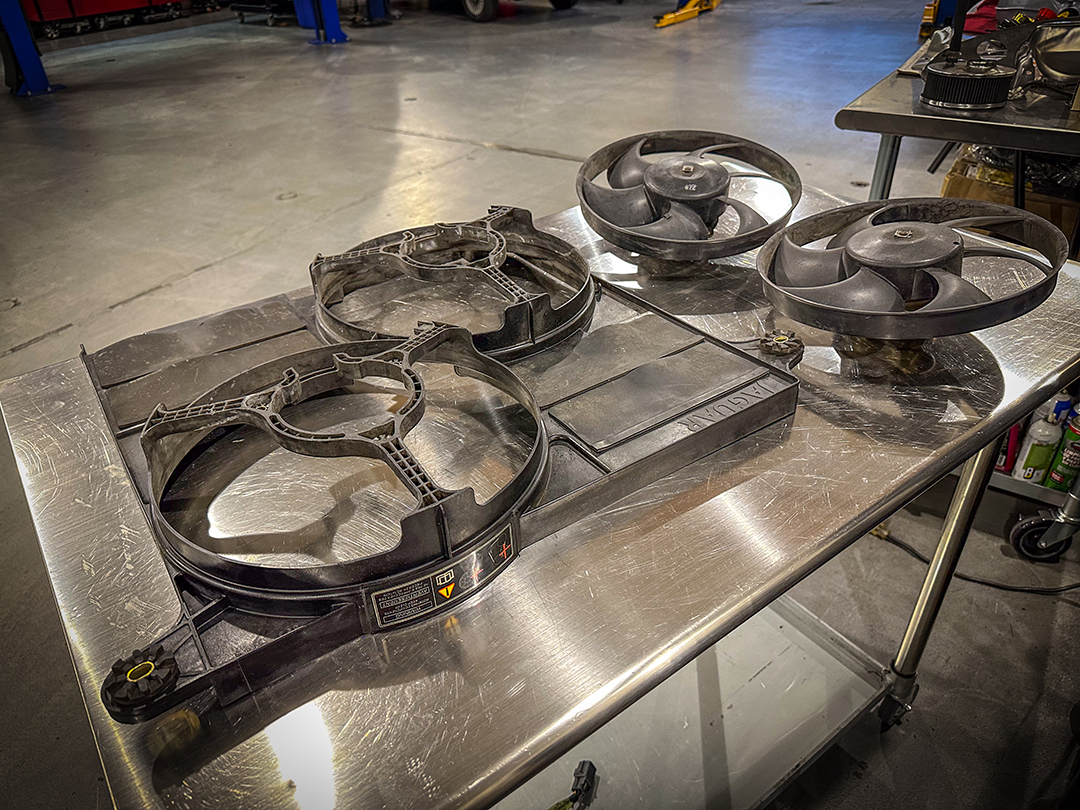
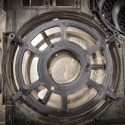
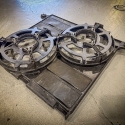
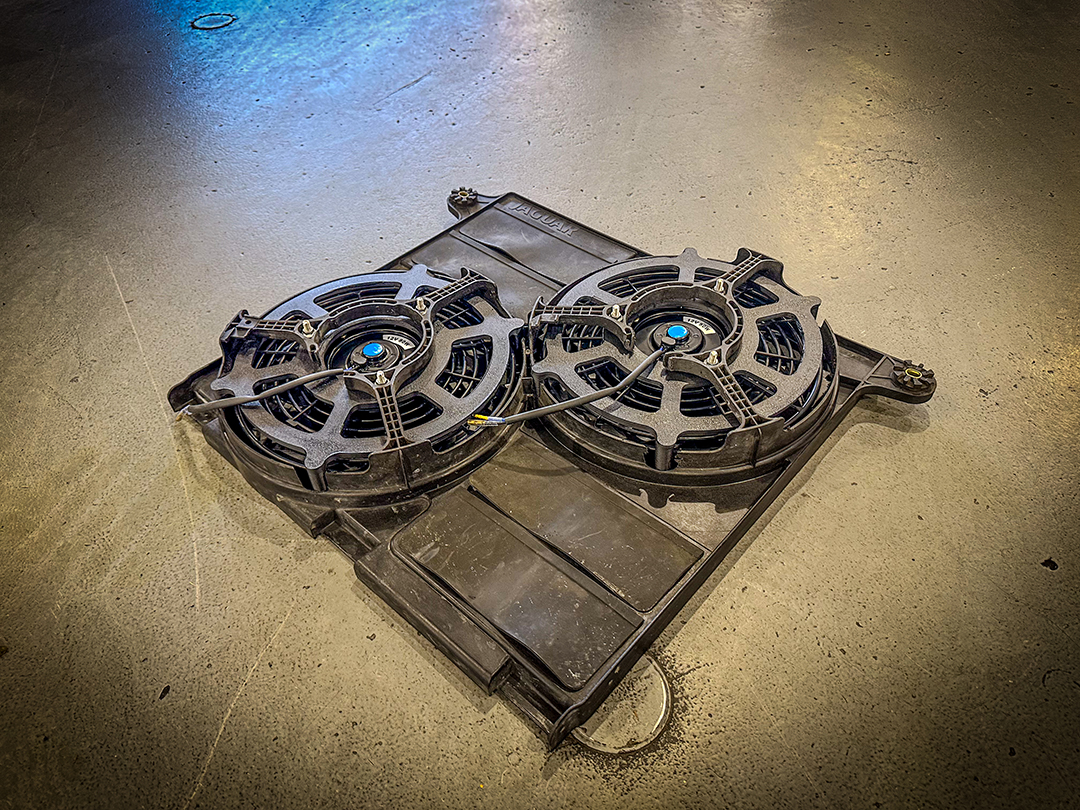
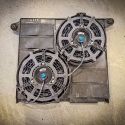
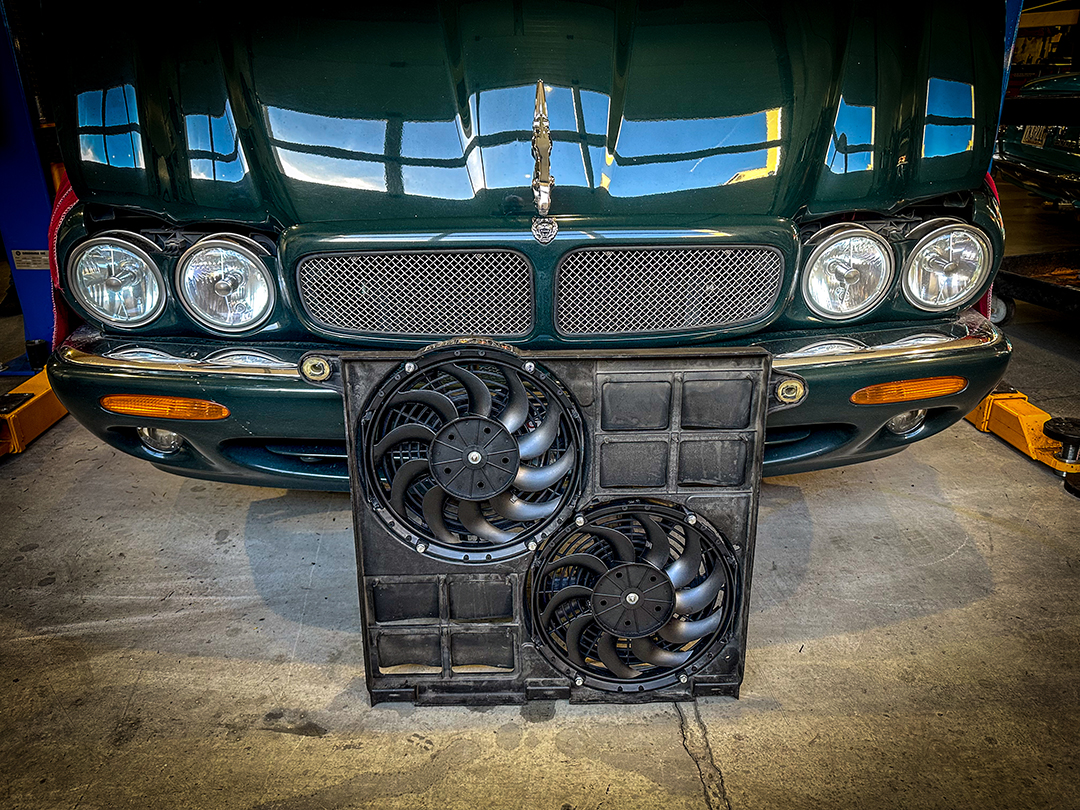
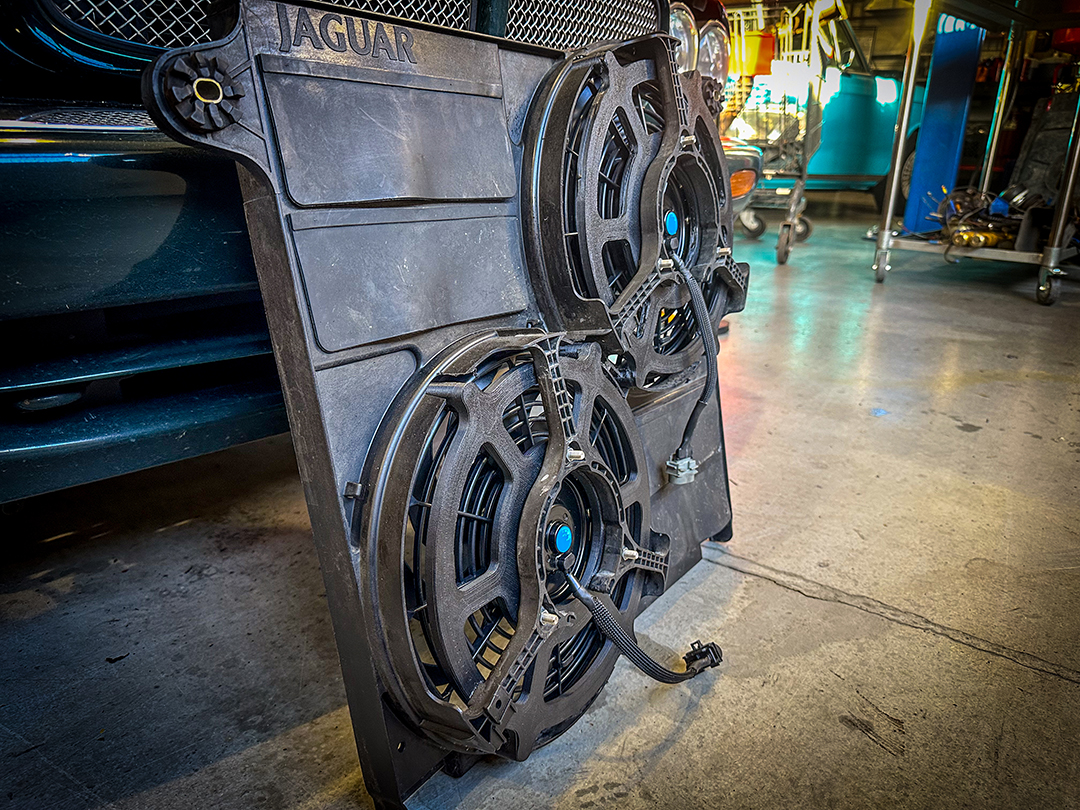
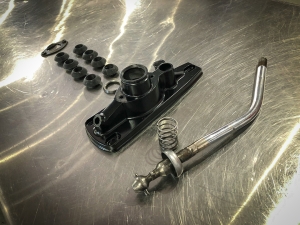
- Front – Fans and shroud disassembled
-
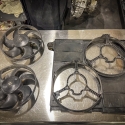
- Rear – Fans and shroud disassembled
-
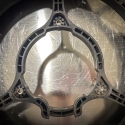
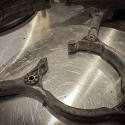
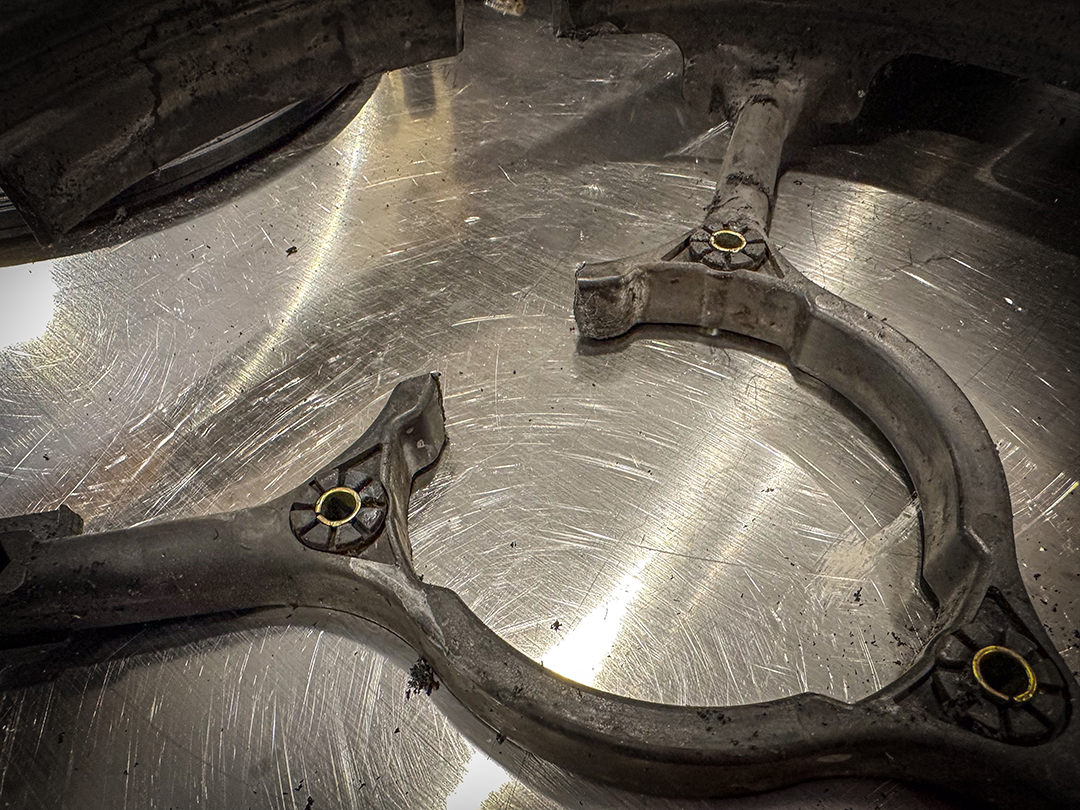
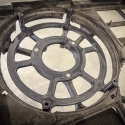
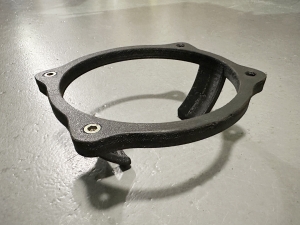
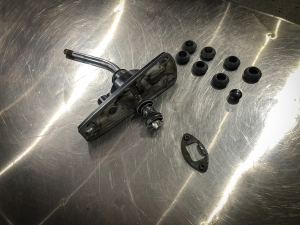
- Bolt pattern on the back of the fan shroud.
-
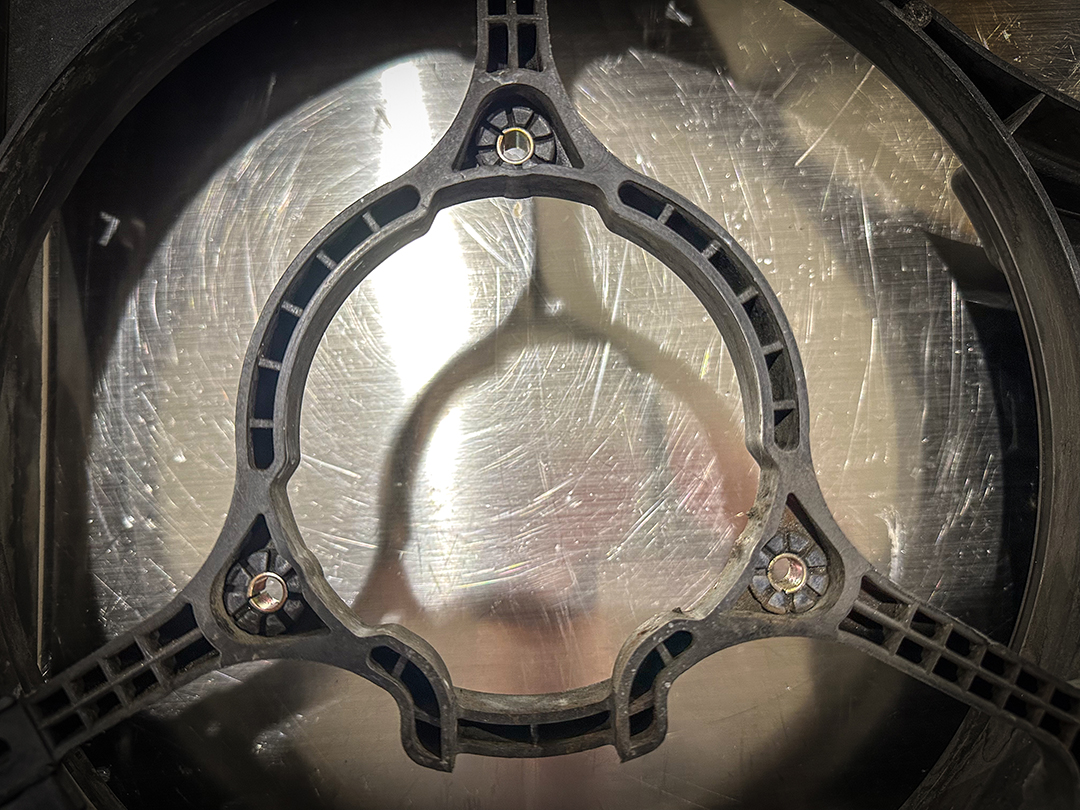
- Measurements, tracings and templates we made of the shroud and fan motor mounts.
-
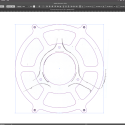
- 2d Digitizing the measurements, tracings and templates.
-
- Drafting the digitized measurements, tracings and templates.
-
- Bottom Angle
-
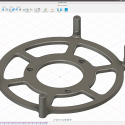
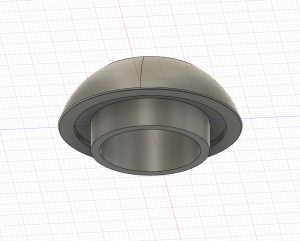
- Final CAD Drawings Rendered
-
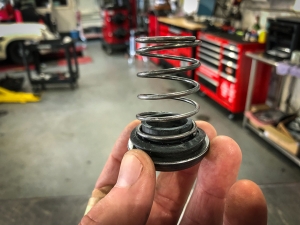
- Minor modification of the slimline fans. Left side is modified.
-
- Another shot of the minor modification of the slimline fans.. Left side is modified.

-
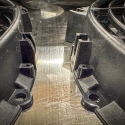
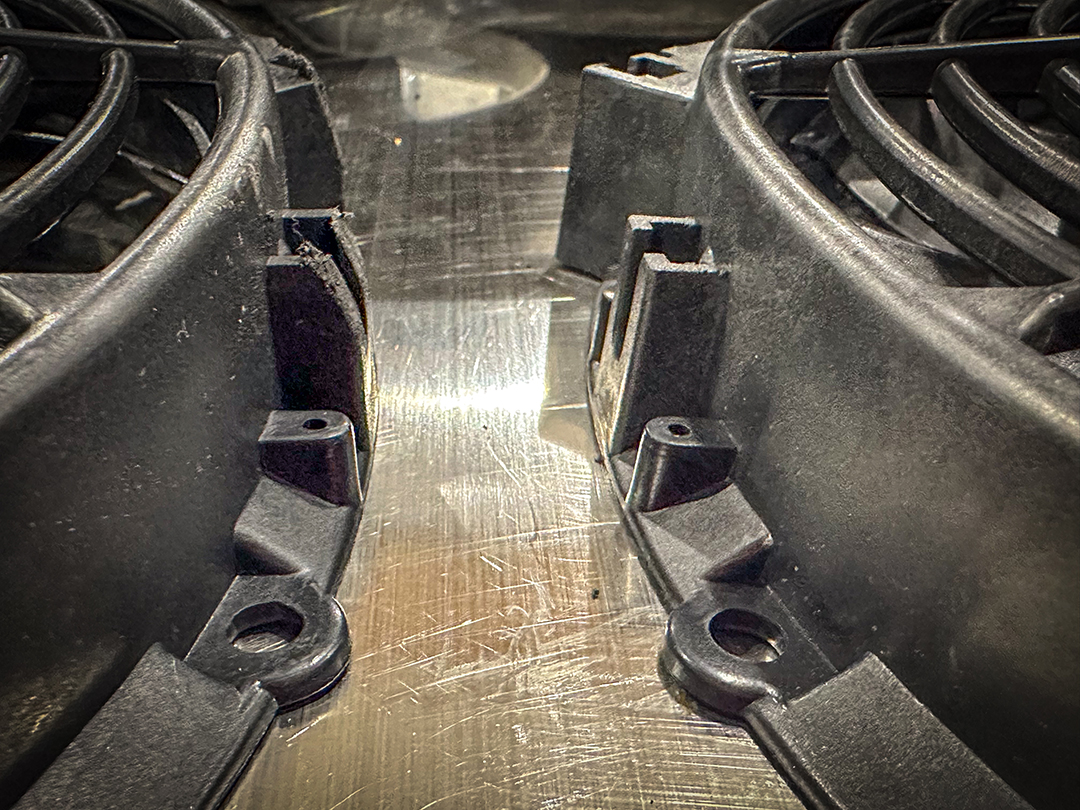
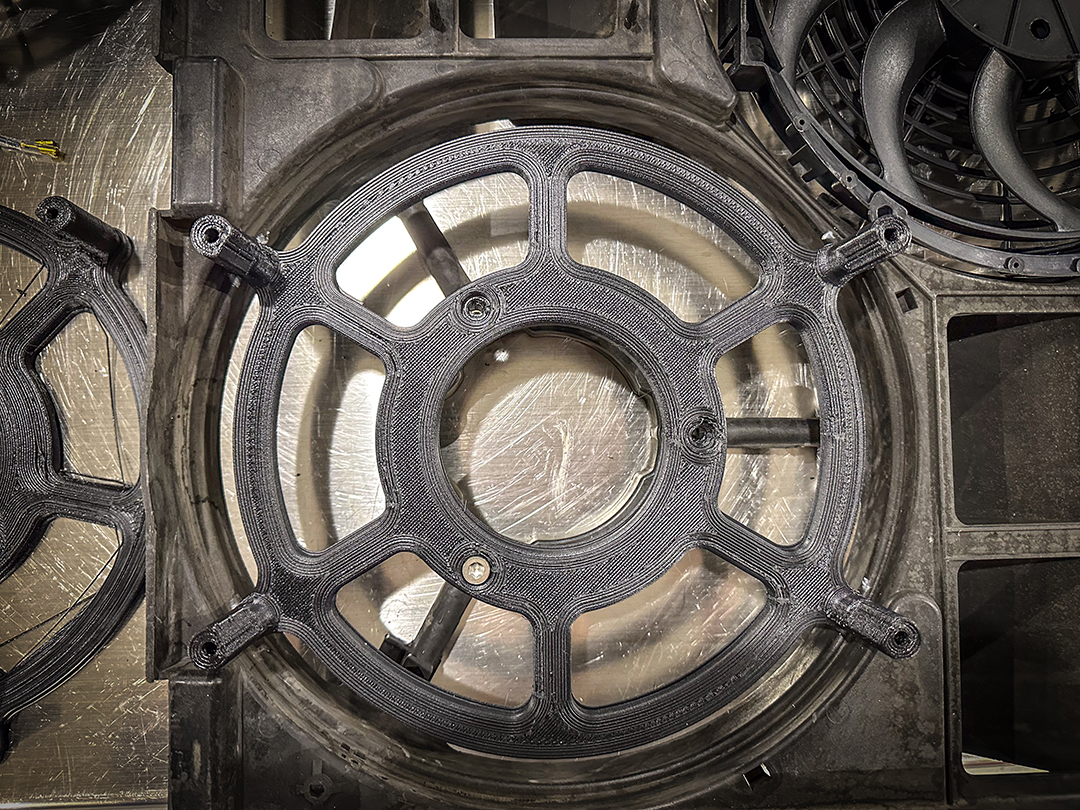
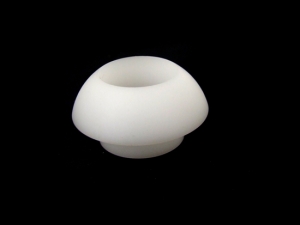
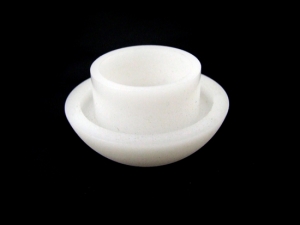
- Printed bracket mocked up for some minor trimming.
-
- Marks for trimming shroud for fitting the bracket.
-
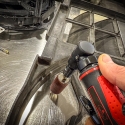
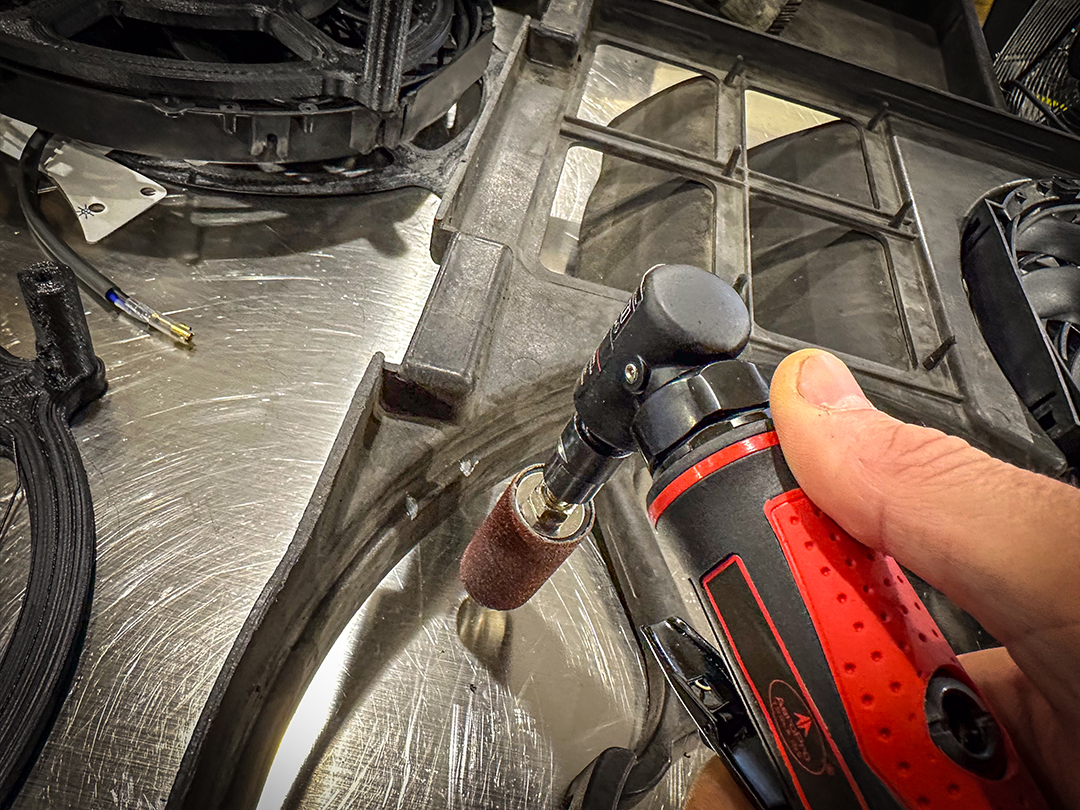
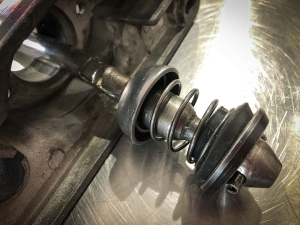
- How we clearanced the shroud for the bracket.
-
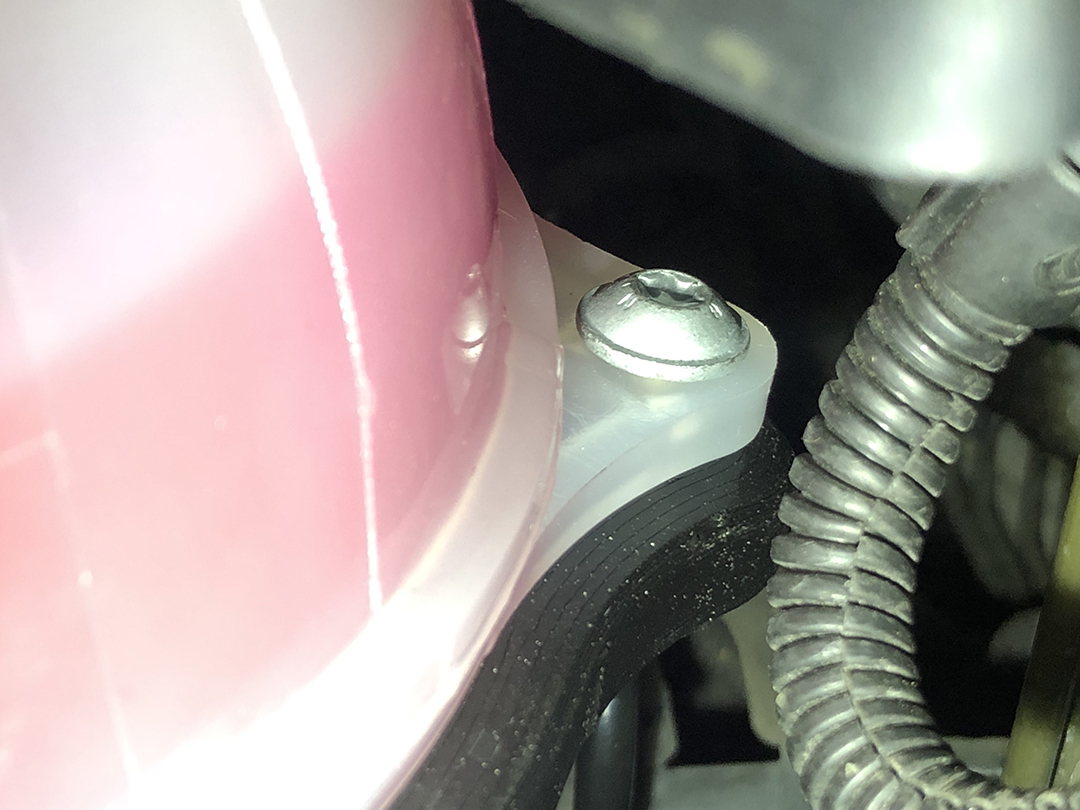
- One last modification. This had a piece sticking up about 3/4″ / 20mm that has to be removed.
-
- XJR Polycarbonate Carbon Fiber
-
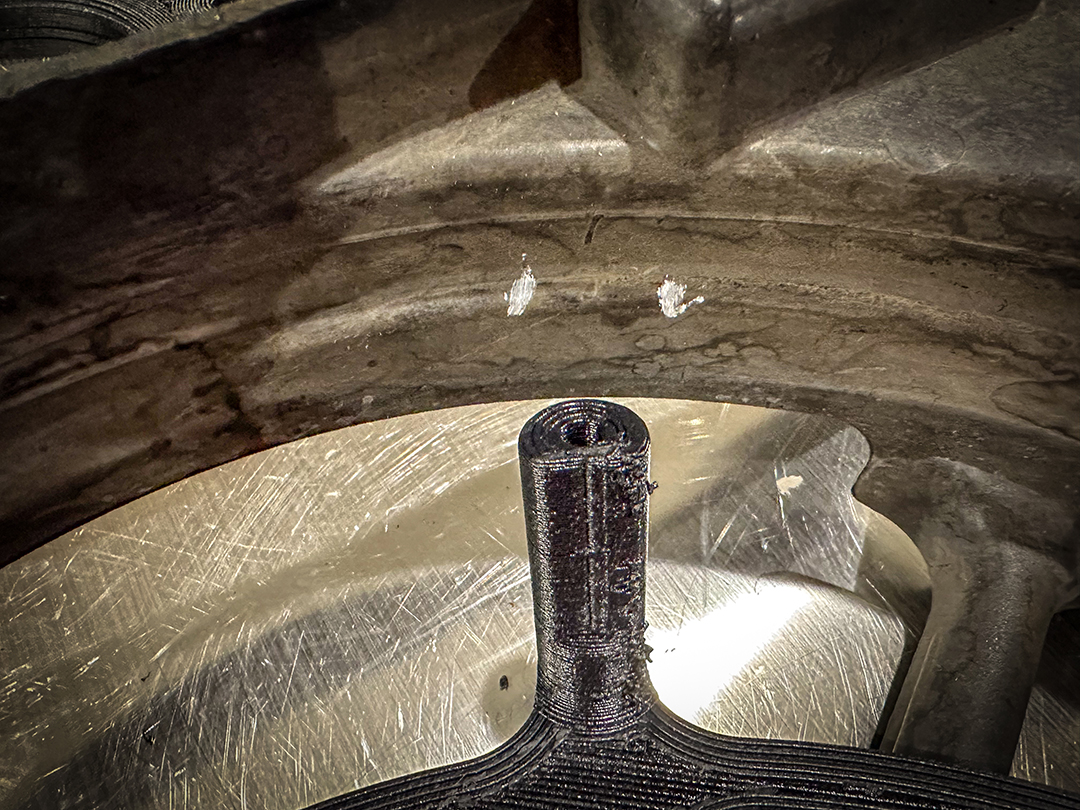
- Fitting the brackets, both sides
-
- Mounting the fans.
-

- Fans installed. Hindsight, I should have wired the plugs first.
-
- Install – Back side
-
- Quarter shot of the fans installed
-
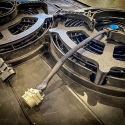
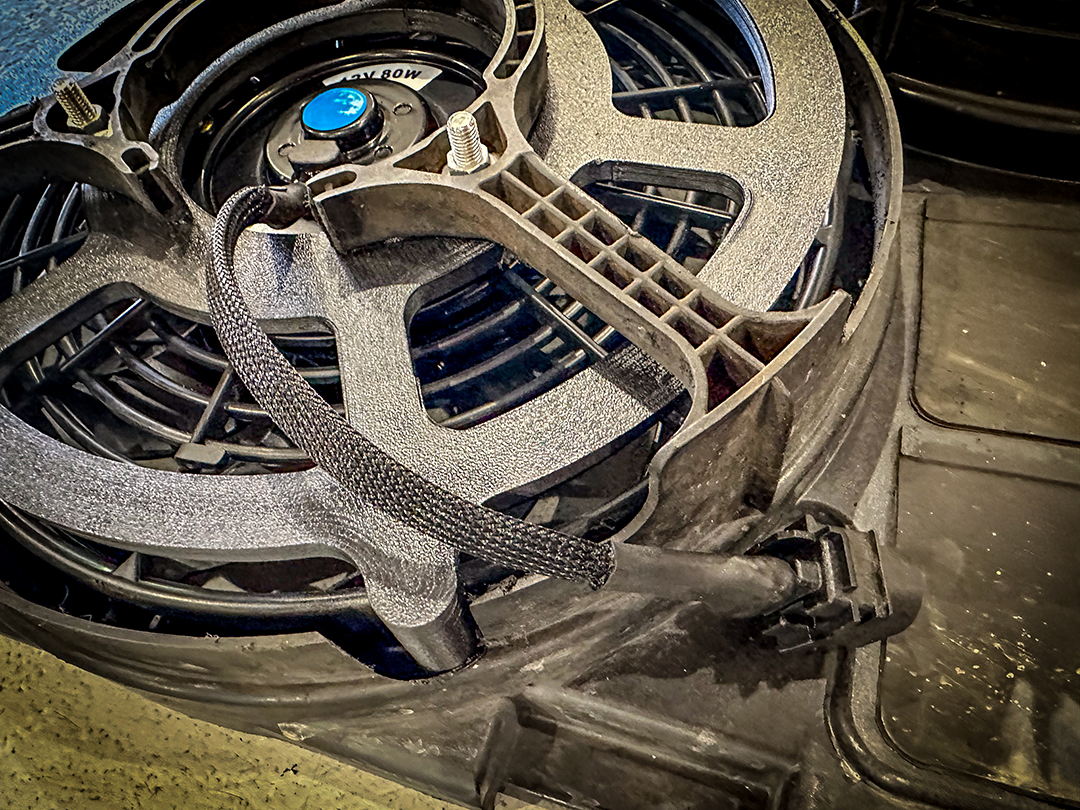
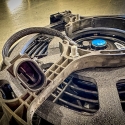
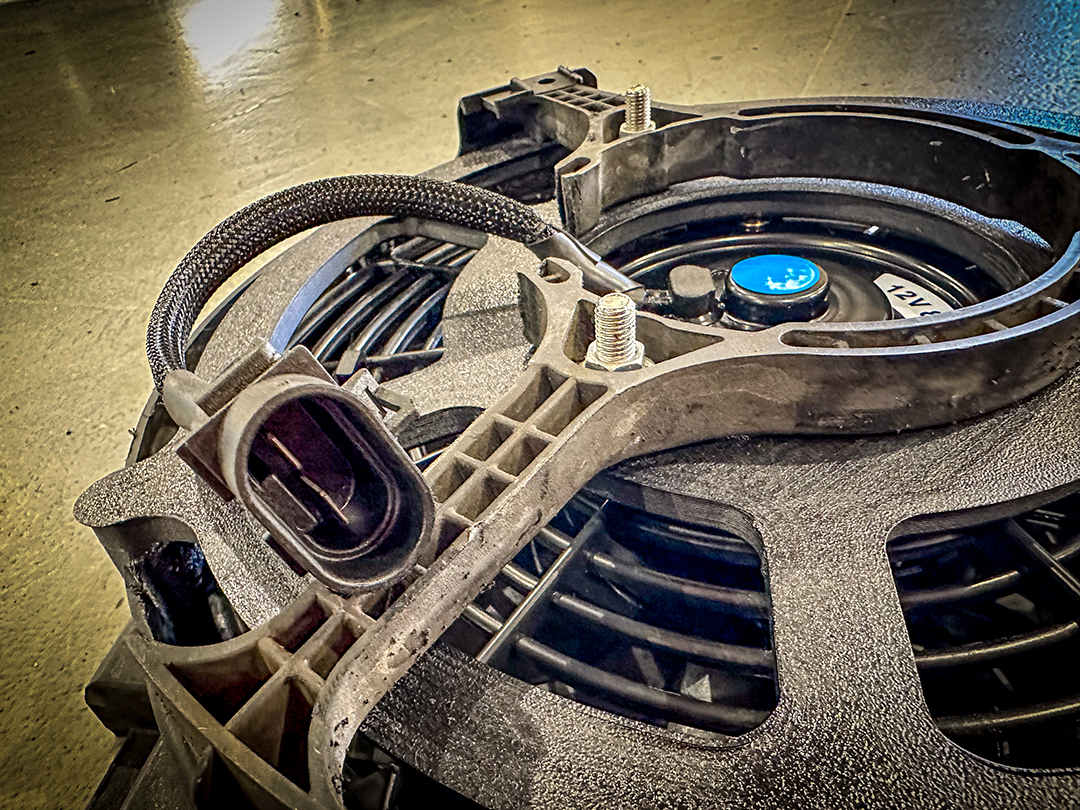
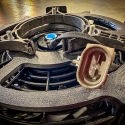
- OEM fan connectors wired and loomed
-
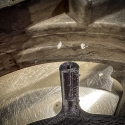
- Upper fan close up of the OEM fan connector.
-
- Lower fan close up of the OEM fan connector.
-
- Another lower fan shot.
-
- One last upper fan connector close up.
-
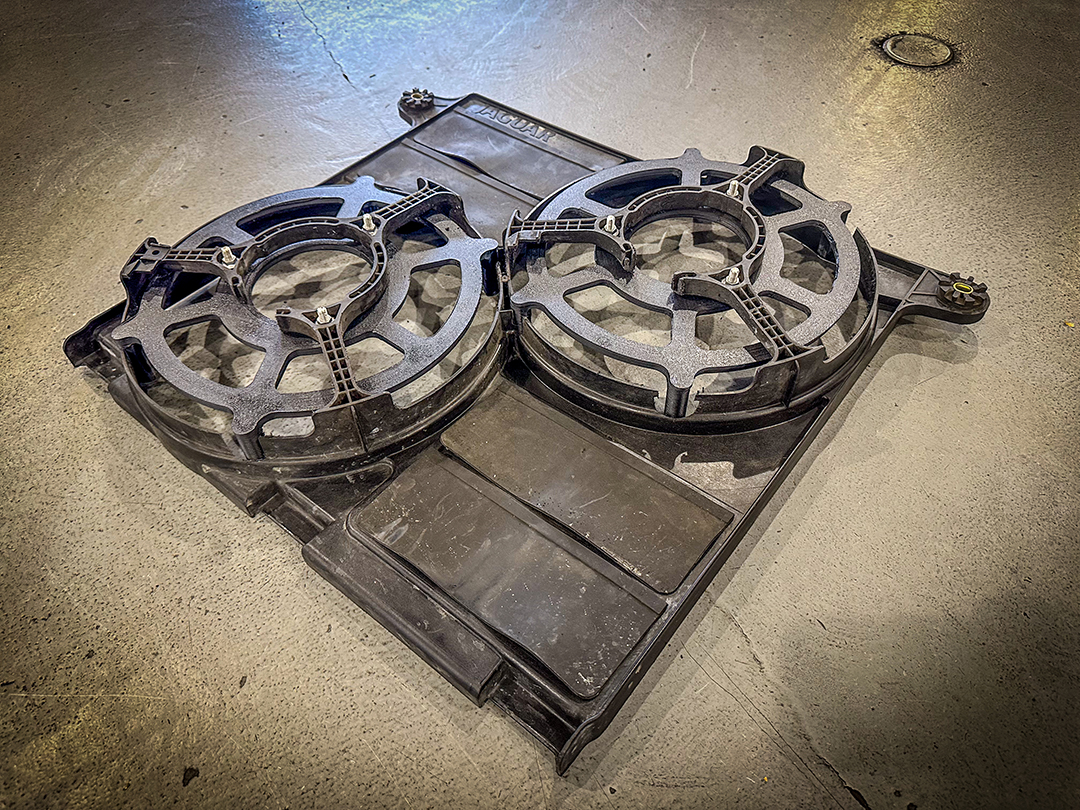
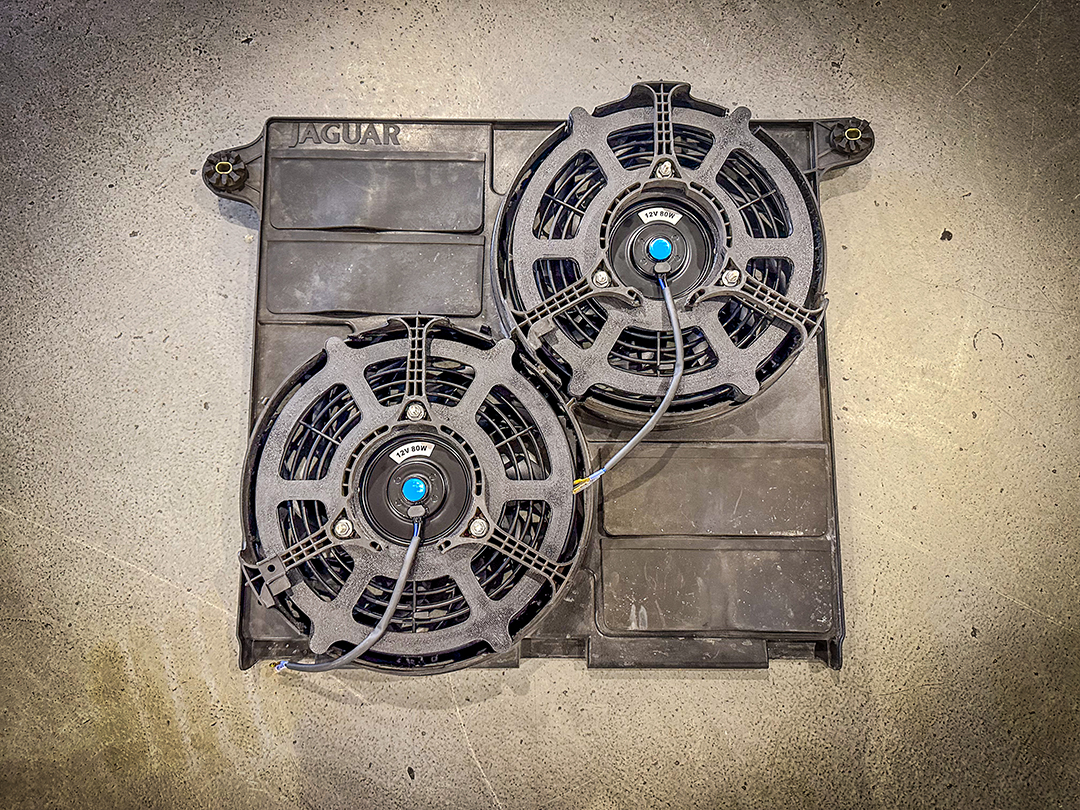
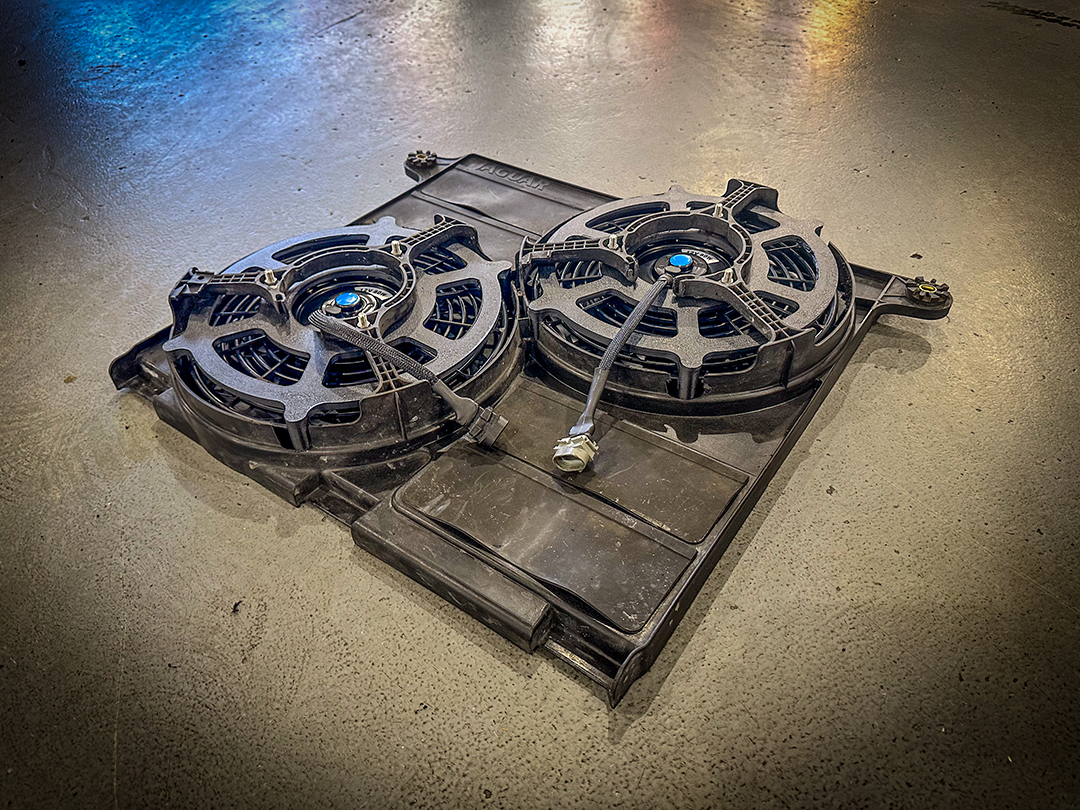
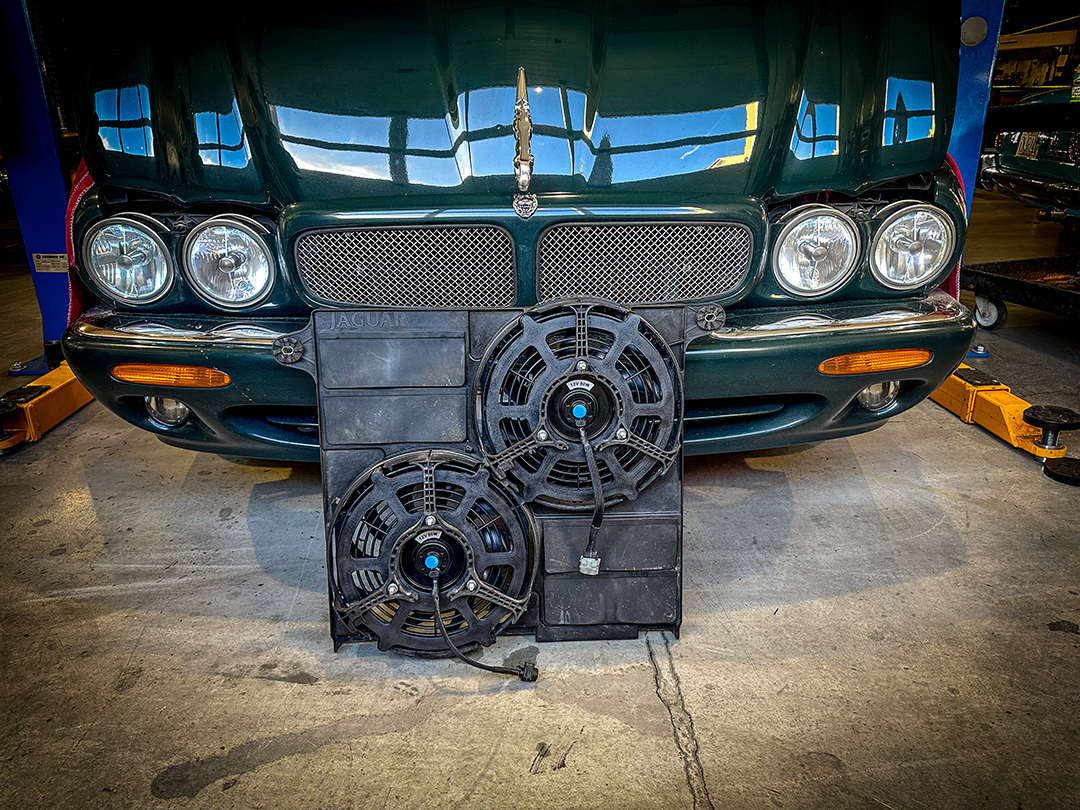
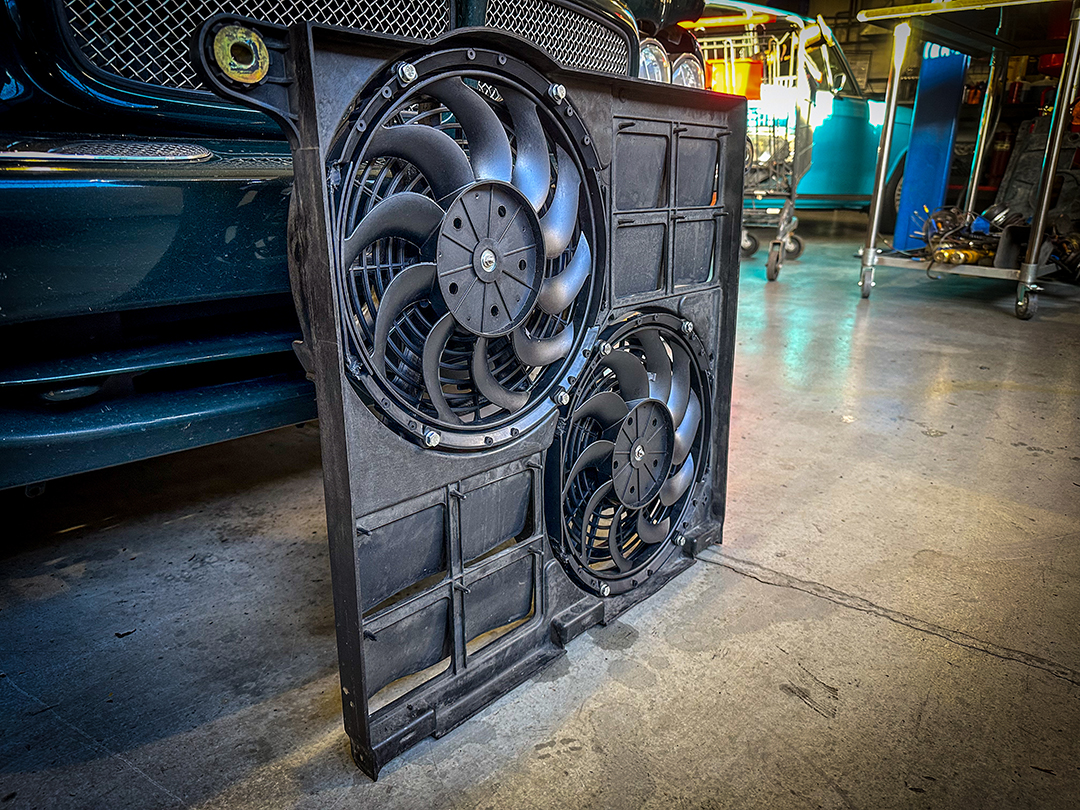
- Front side – Complete
-
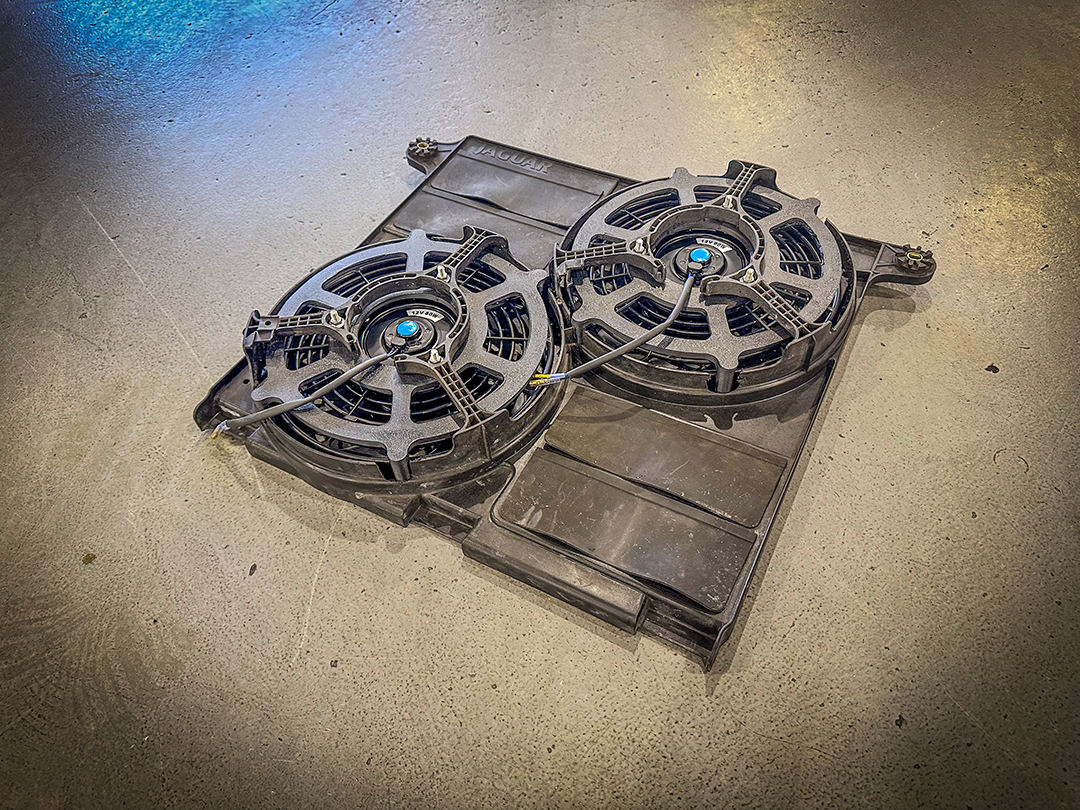
- Ready for install
-
- Rear – Ready for install
-
- Polycarbonate Carbon Fiber – Jaguar XJR Radiator Fans
-
- Front side shot – ready for install
-
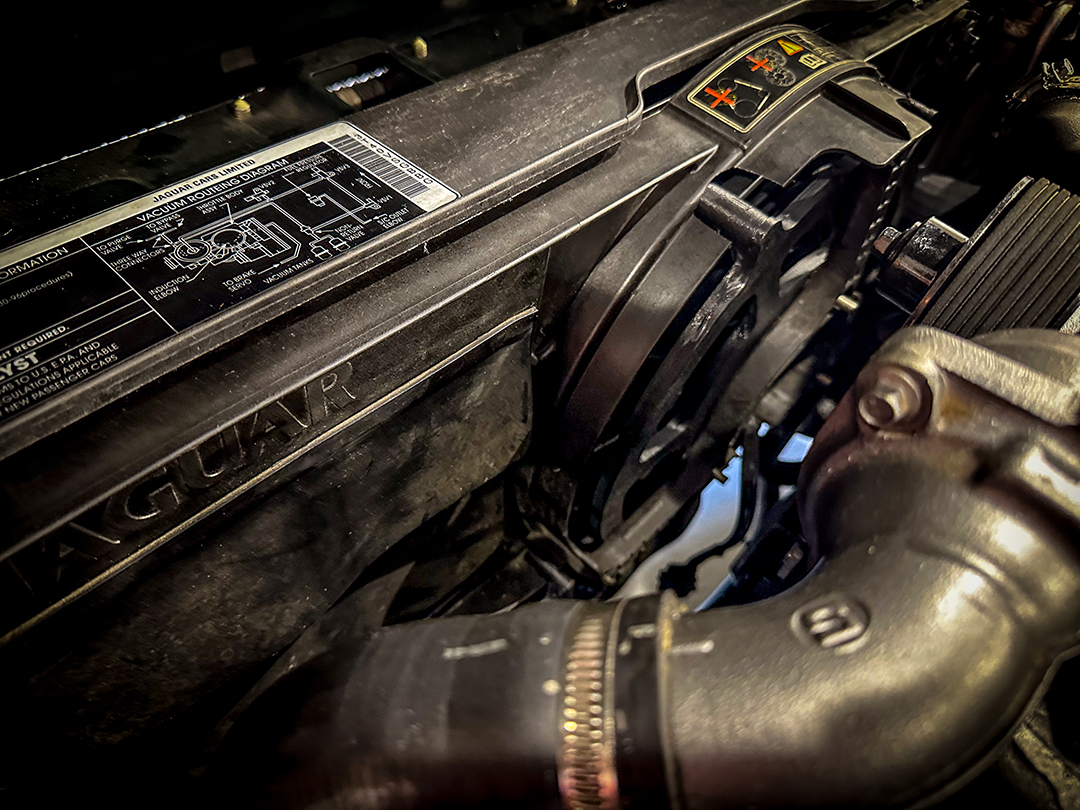
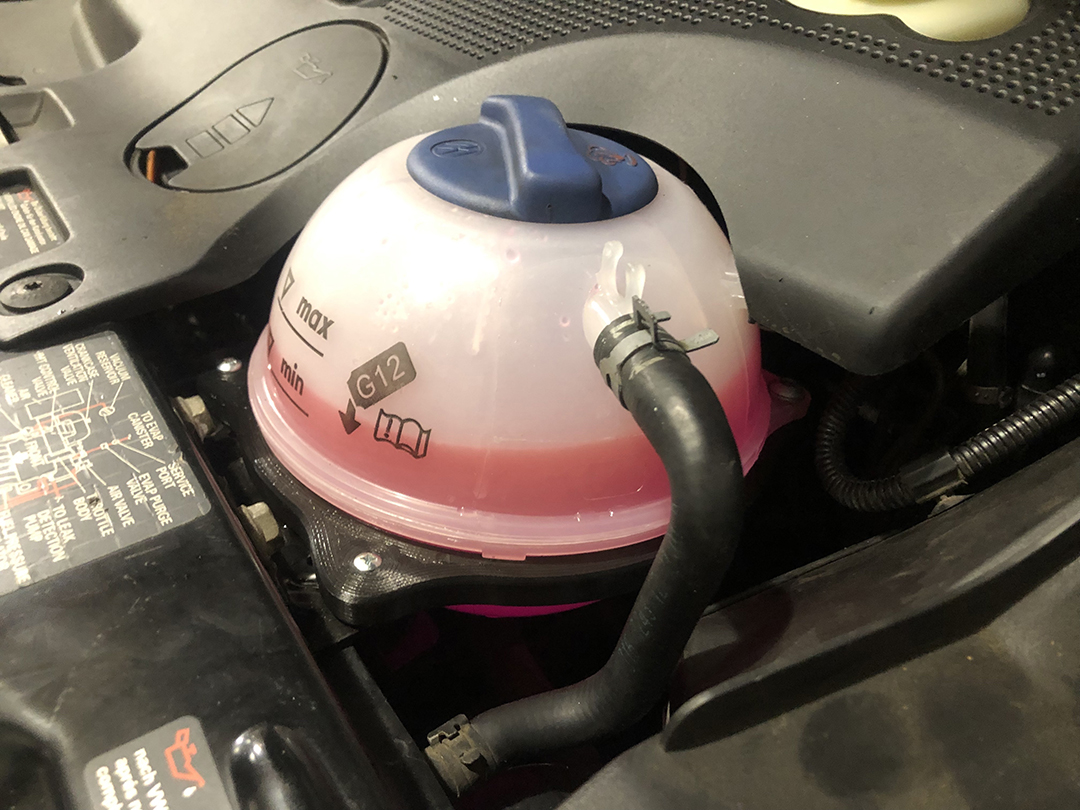
- JAguar XJR Functional Application
-
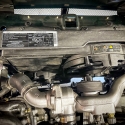
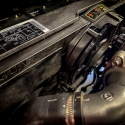
- Upper shot installed with much more room to service belts, etc.
Question / Contact Meister Werks
For more information on how to get your XJR Cooling Fan Conversion installed, please call 425-254-0627. You can also contact us by clicking here. Meister Werks European & Import is located one block south from The Renton Landing in Renton, WA, across the street from the former Boeing Store and on the westside of the Paccar / Kenworth plant.


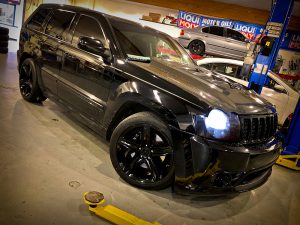 A customer of our came in for wheel refinishing with his Jeep SRT. He wanted to change the color from the polished aluminum to gloss black. We removed the wheels from his Jeep and put it on jack stands during the wheel refinishing process. Then we removed the tires. We noticed all the the wheels had some curb rash damage. The customer opted to repair all the rash which was a little extra in labor cost. We began the wheel refinishing by stripped this wheels in a chemical bath. This removes all the paint, clearcoat and any dirt or debris. It also etches the surface slightly. After stripping we repaired the wheel damage and media blasted the surface to insure powder coat adhesion to outlast the warranty we provide.


