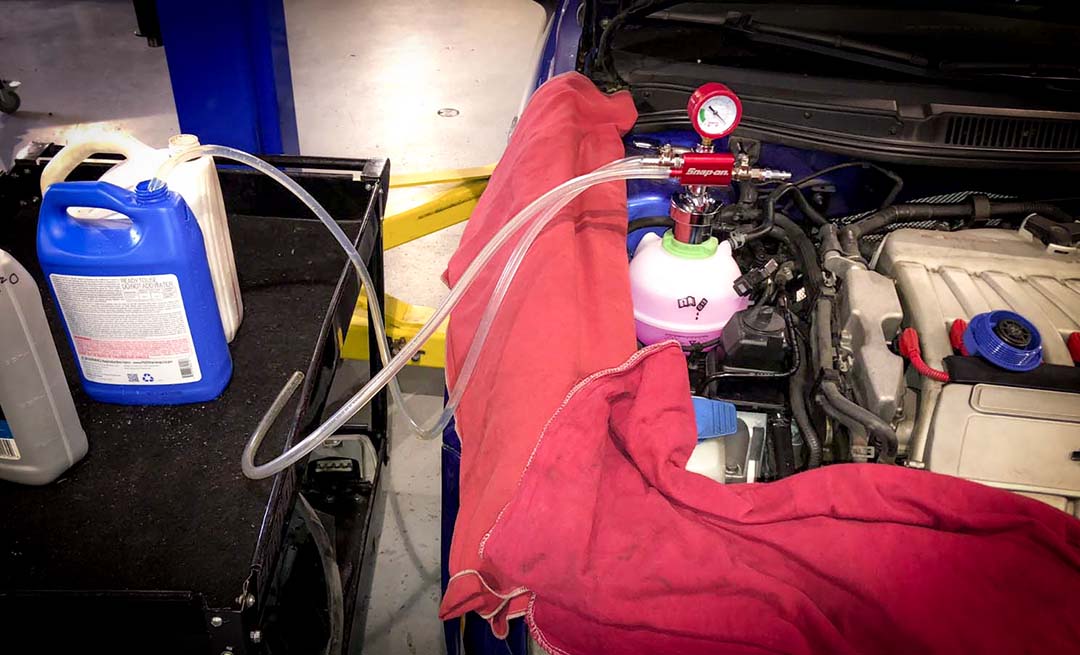
We always tell customers that we replace parts, we always use Genuine Parts in critical areas of your vehicle. For example, a customer was in town with his 2009 S63 AMG a while back. They called in desperation that they had major coolant leak and were traveling though town on their way back home to Utah. They towed their car in and we did our standard coolant leak diagnostic.
Inspection
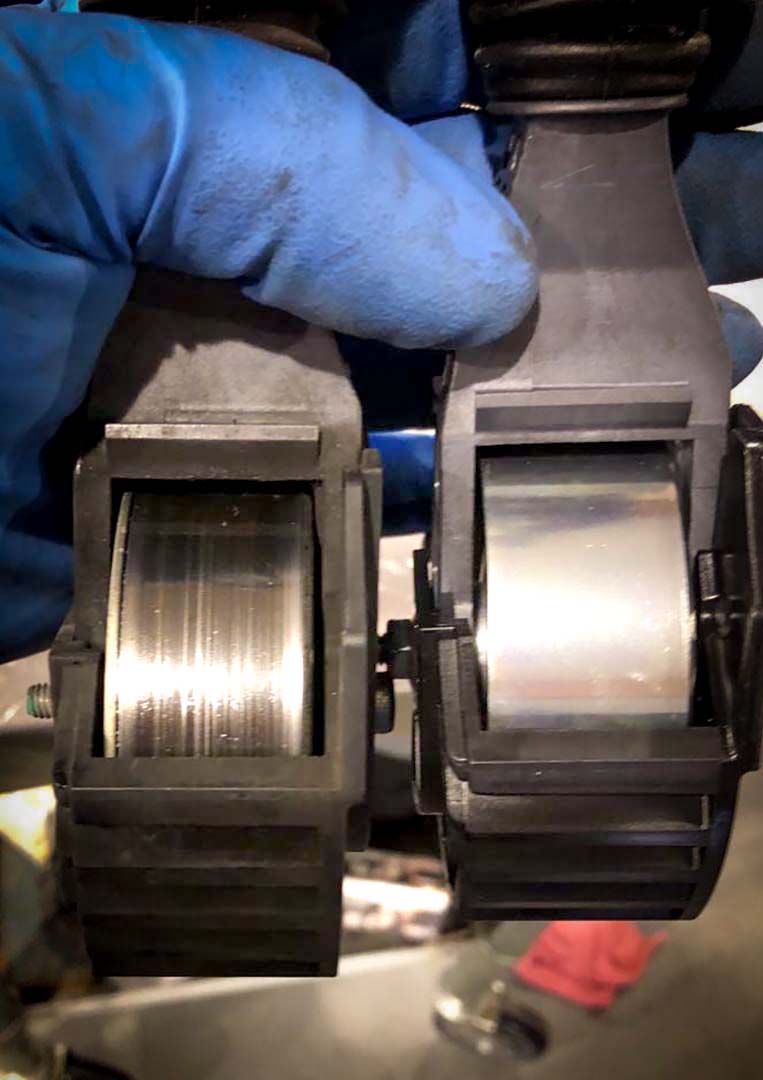
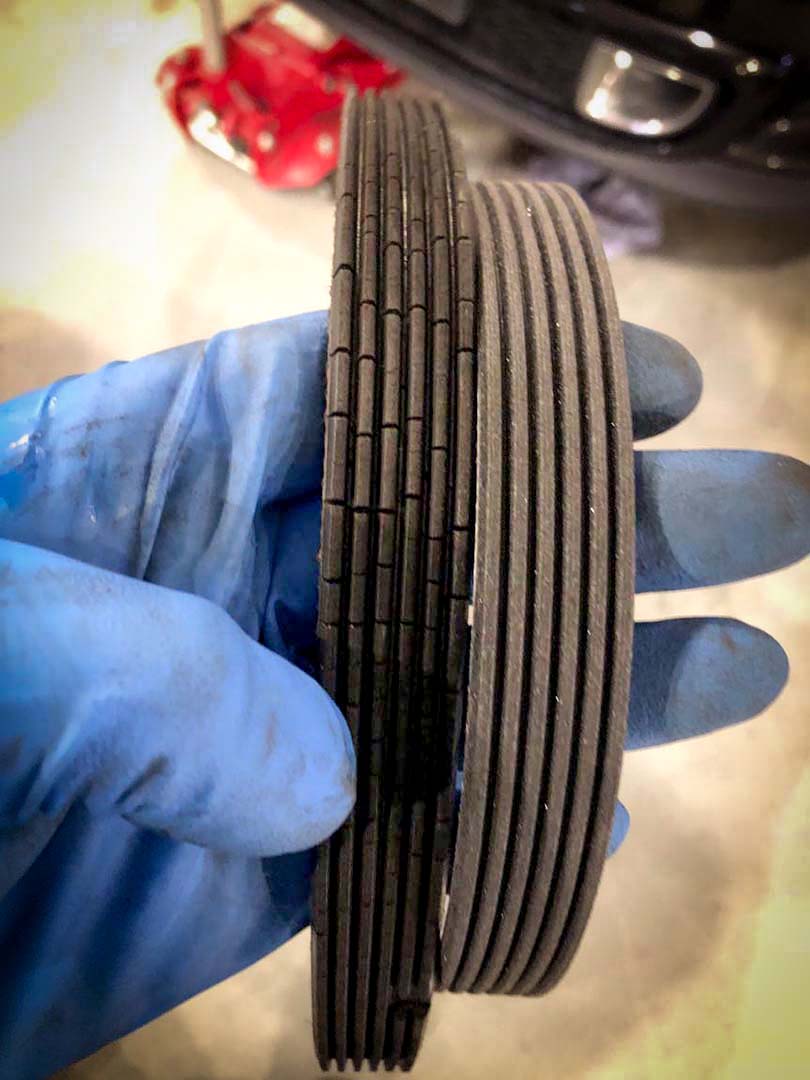
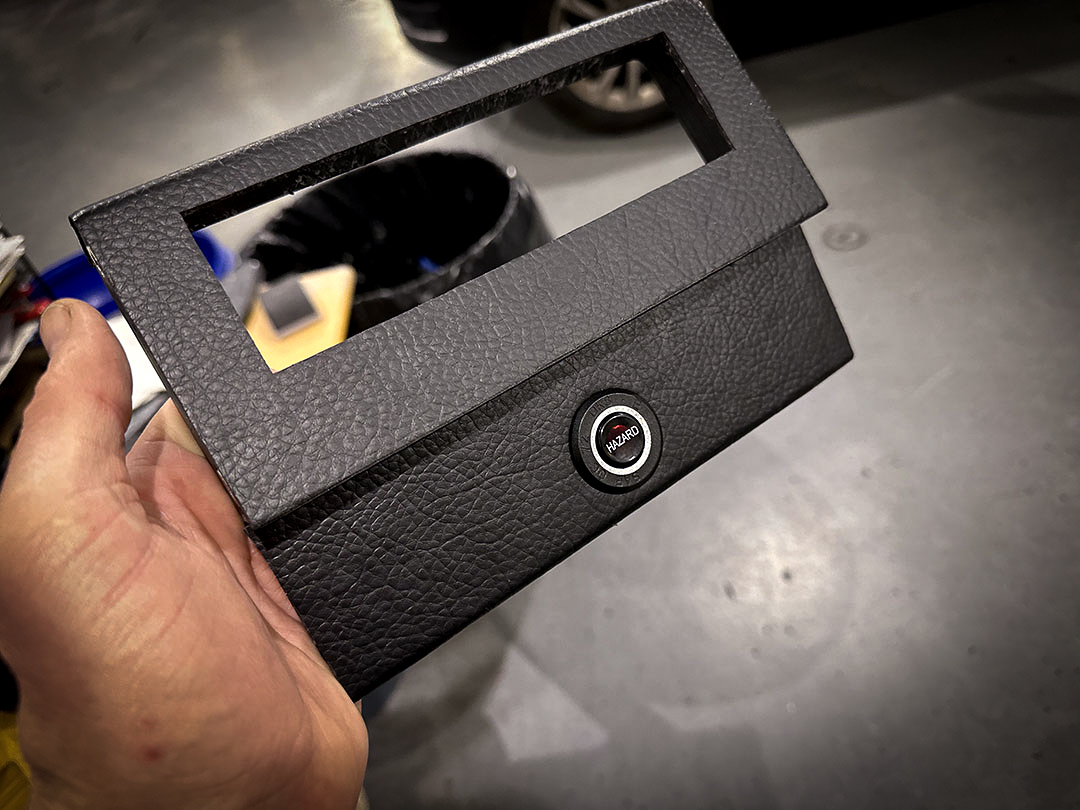
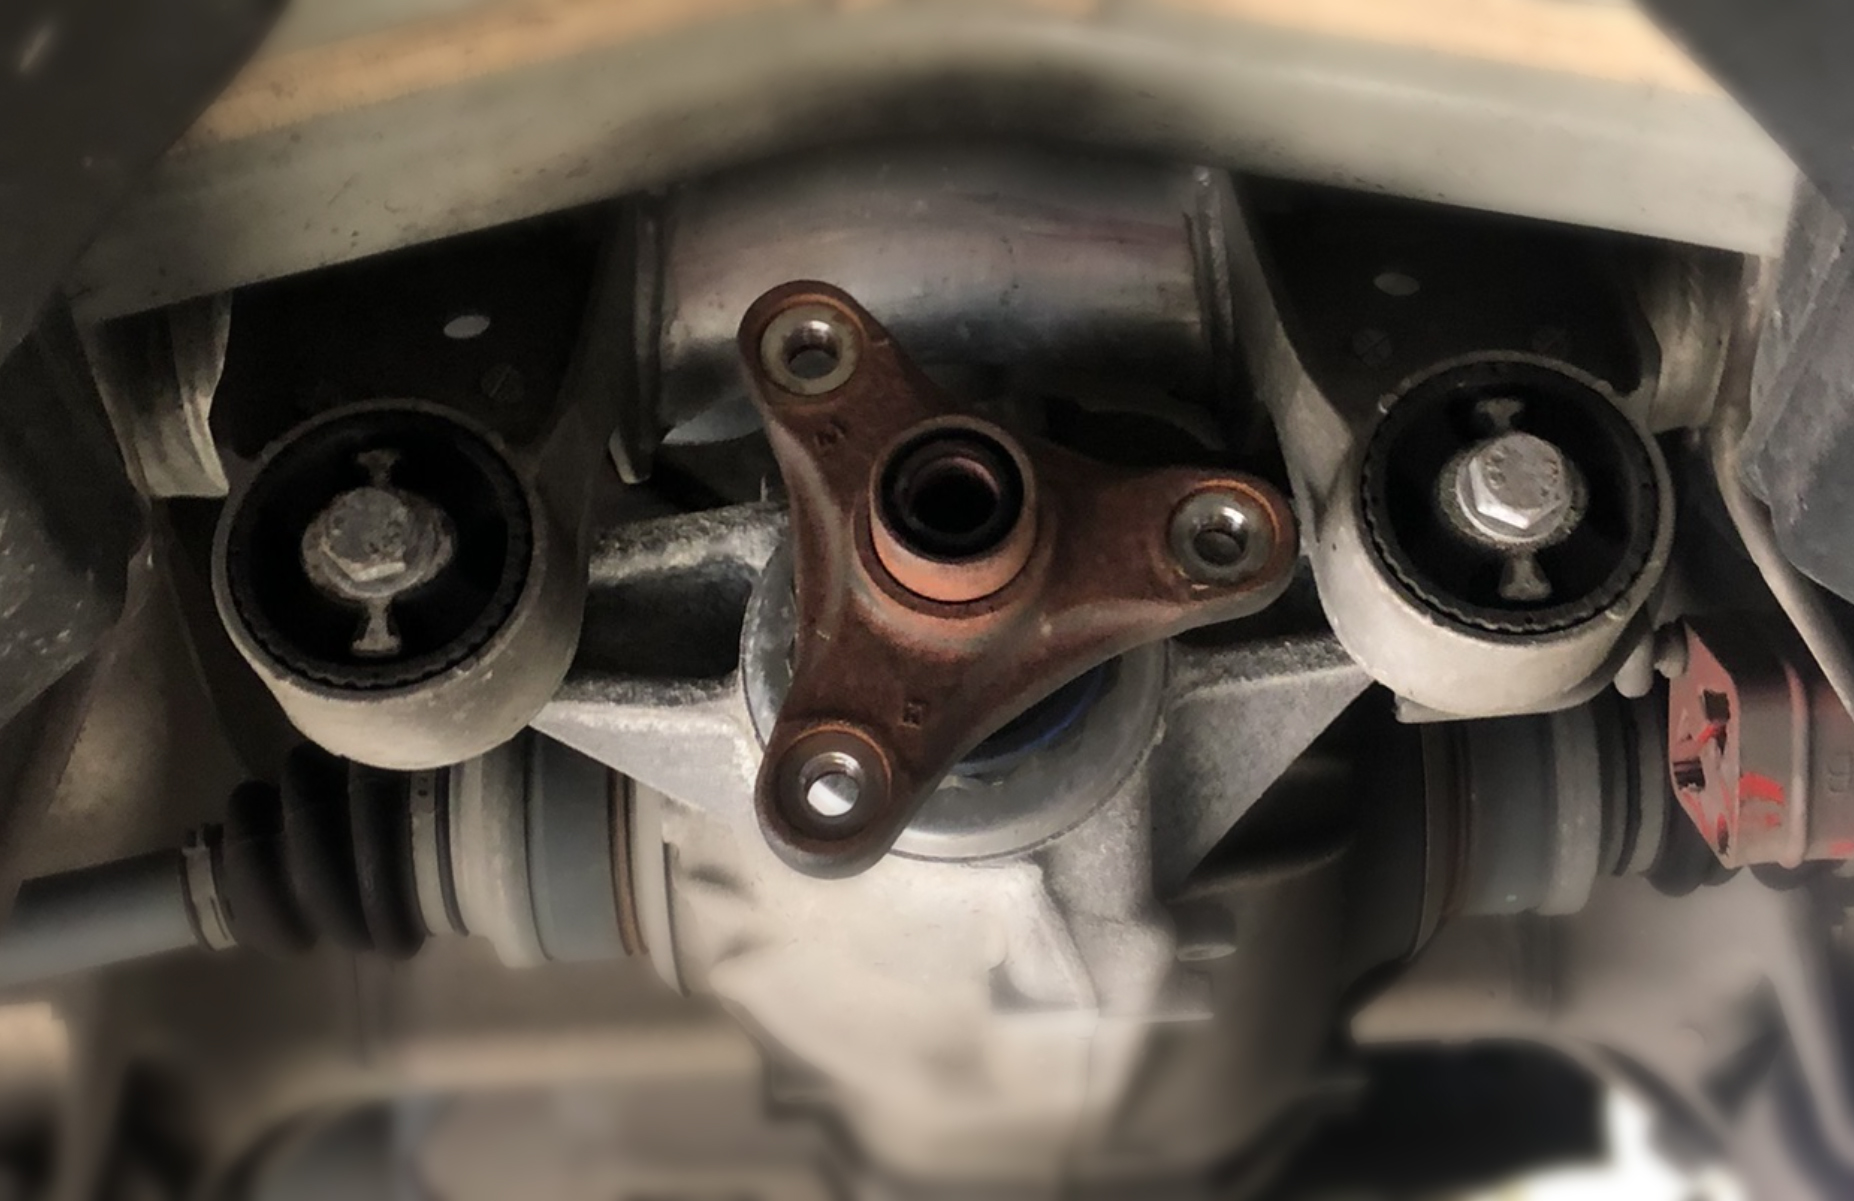
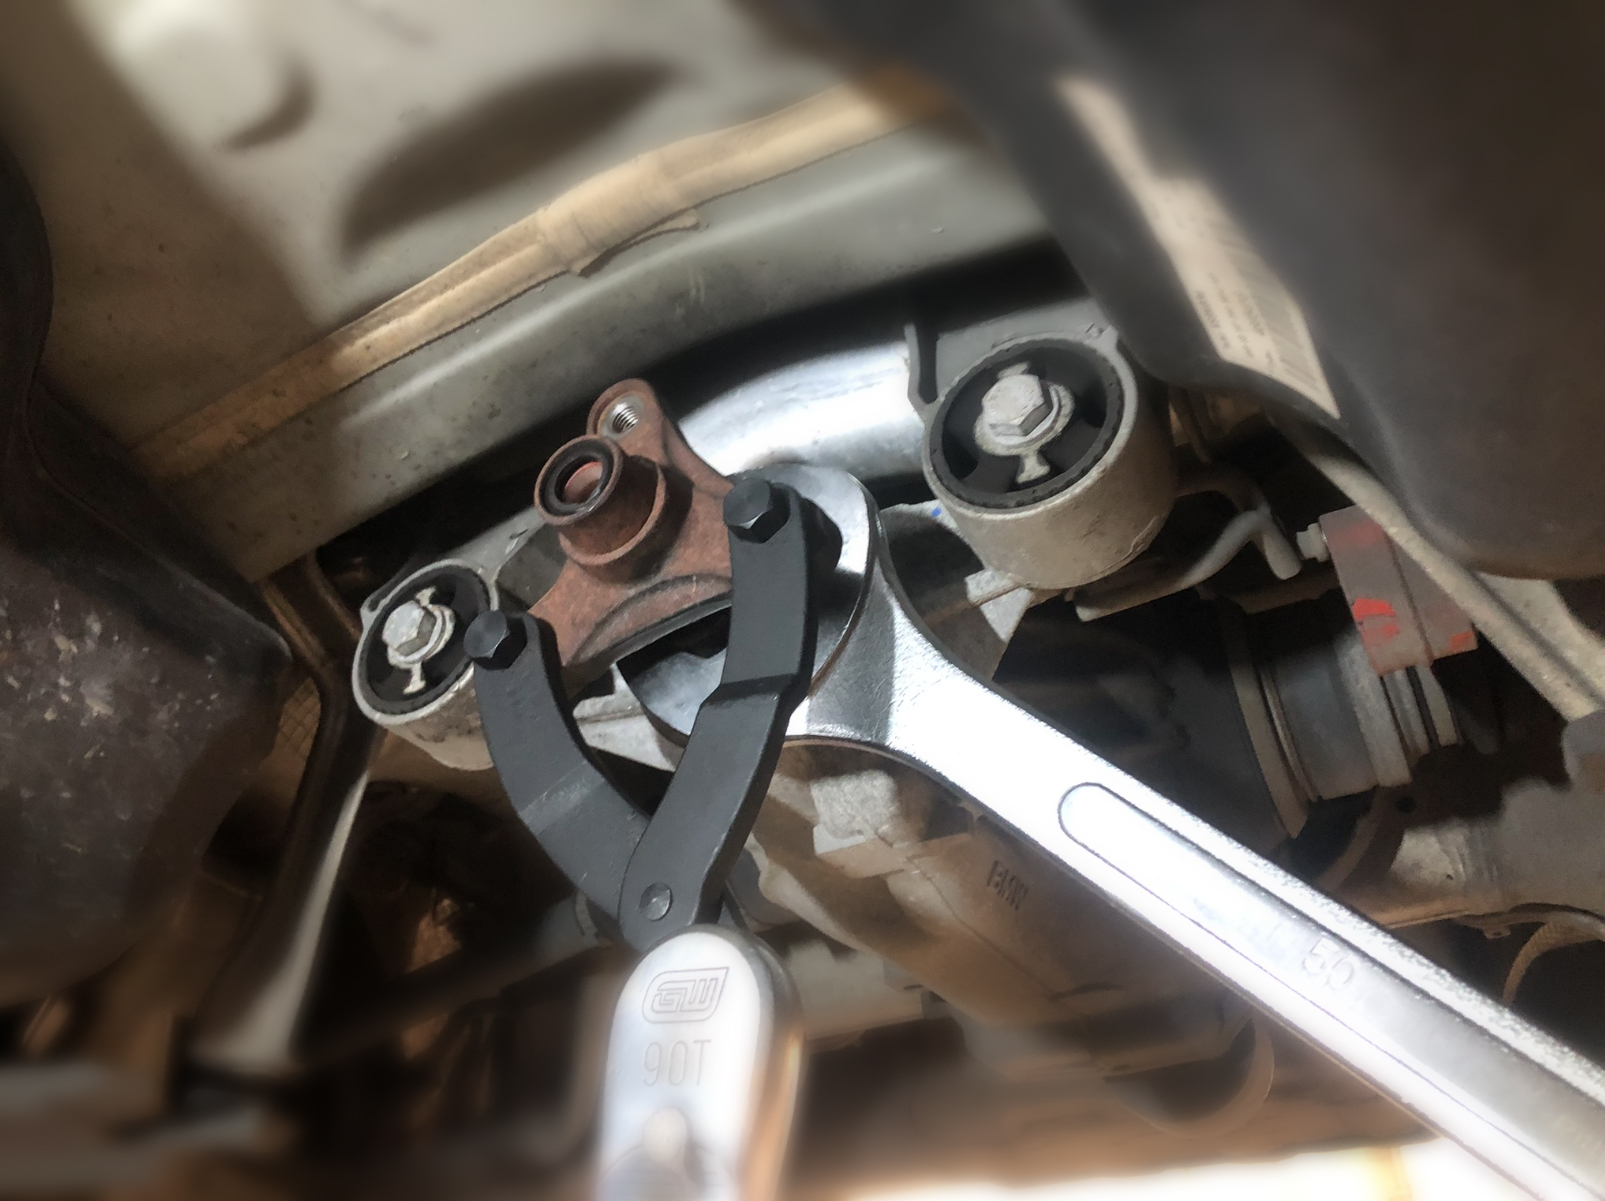
While inspecting the AMG we found some damage on the front left bumper. Directly above that was the plastic end cap of the radiator, which was leaking coolant. The customer needed a new radiator, which we were able to procure fairly quickly. We also noticed that the drive belt, idler & tensioner pulleys were in very bad shape. Not good for a drive from the Pacific NW to Utah. Lastly, we suggested replacing the thermostat, since the car had overheated and it may have been comprimized when loosing all the coolant. The customer approved all the repairs except the thermostat, since they said that it was just replaced. Then asked us to order the parts and get started ASAP so they could drive home.
-
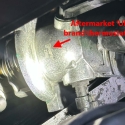
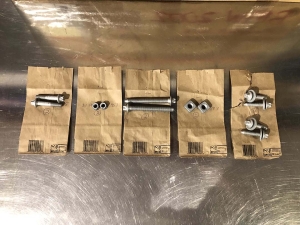
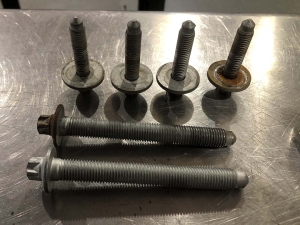
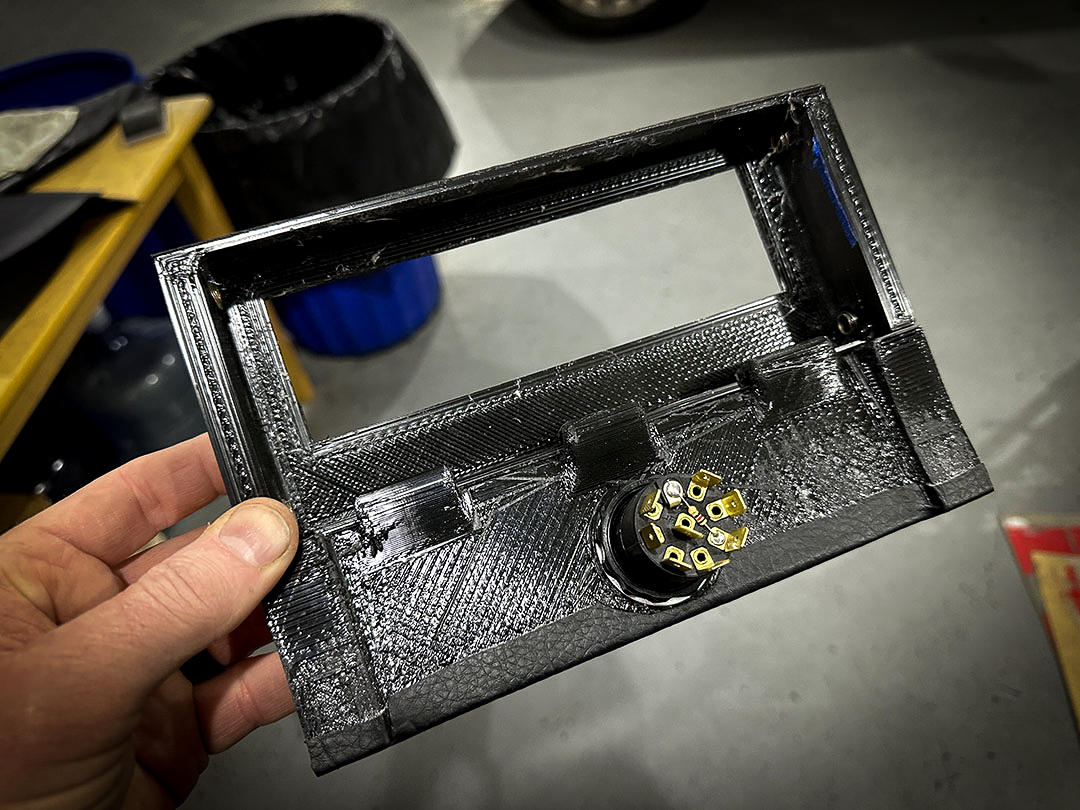
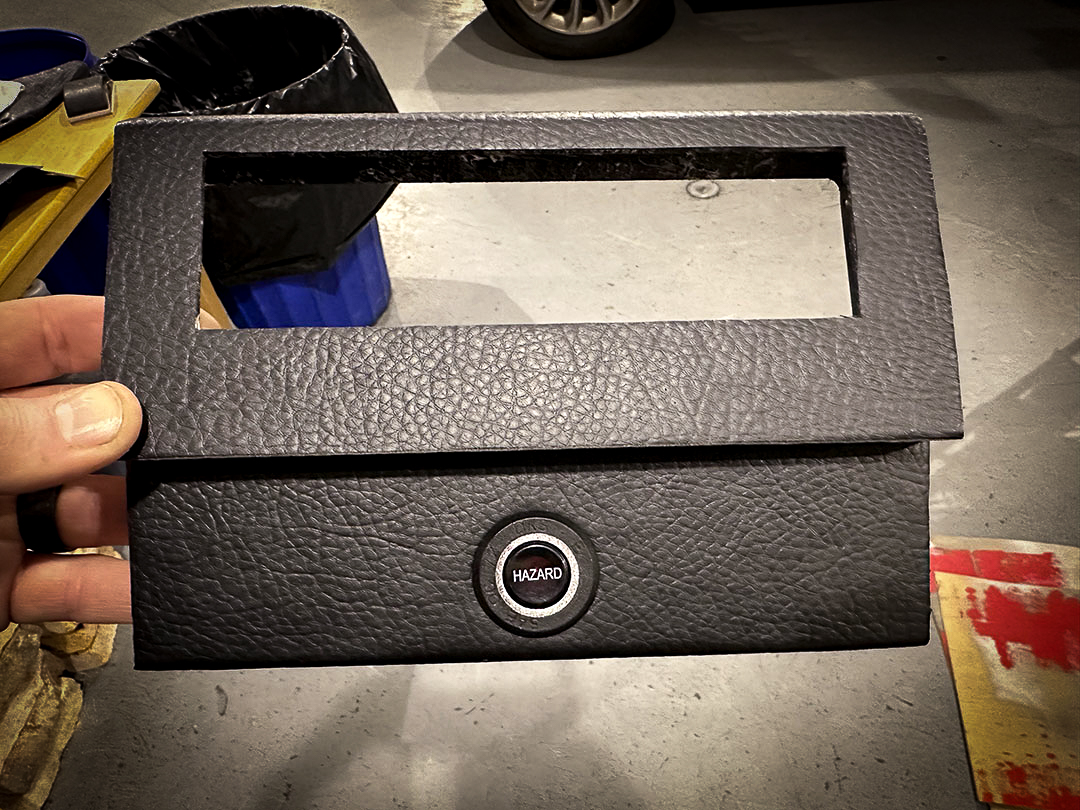
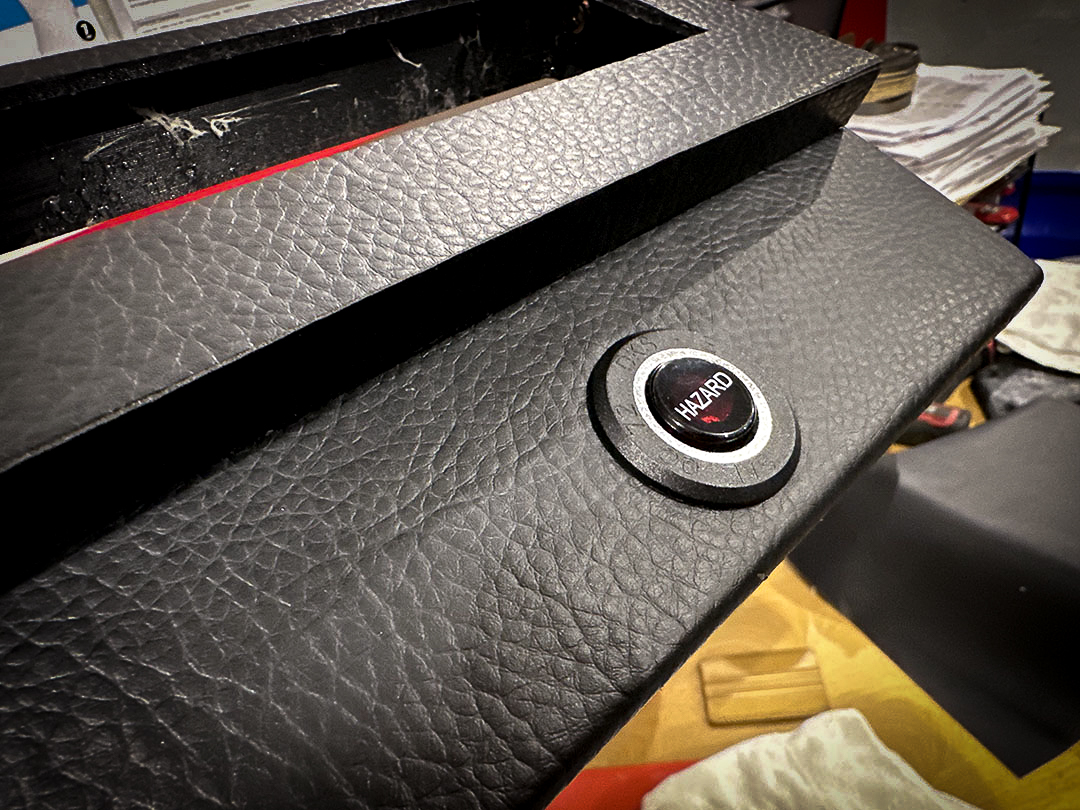
- Aftermarket Part
-
- Genuine AMG
-

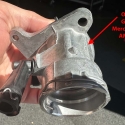
- Damaged Aftermarket Part
Start The Work
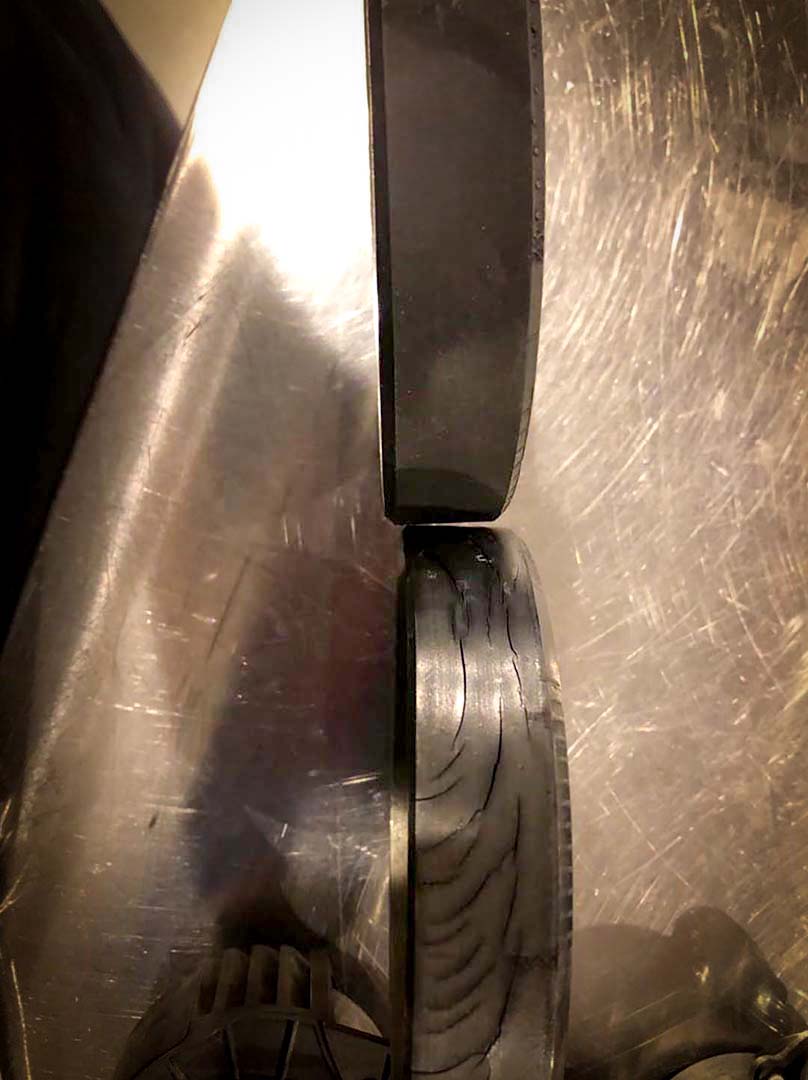
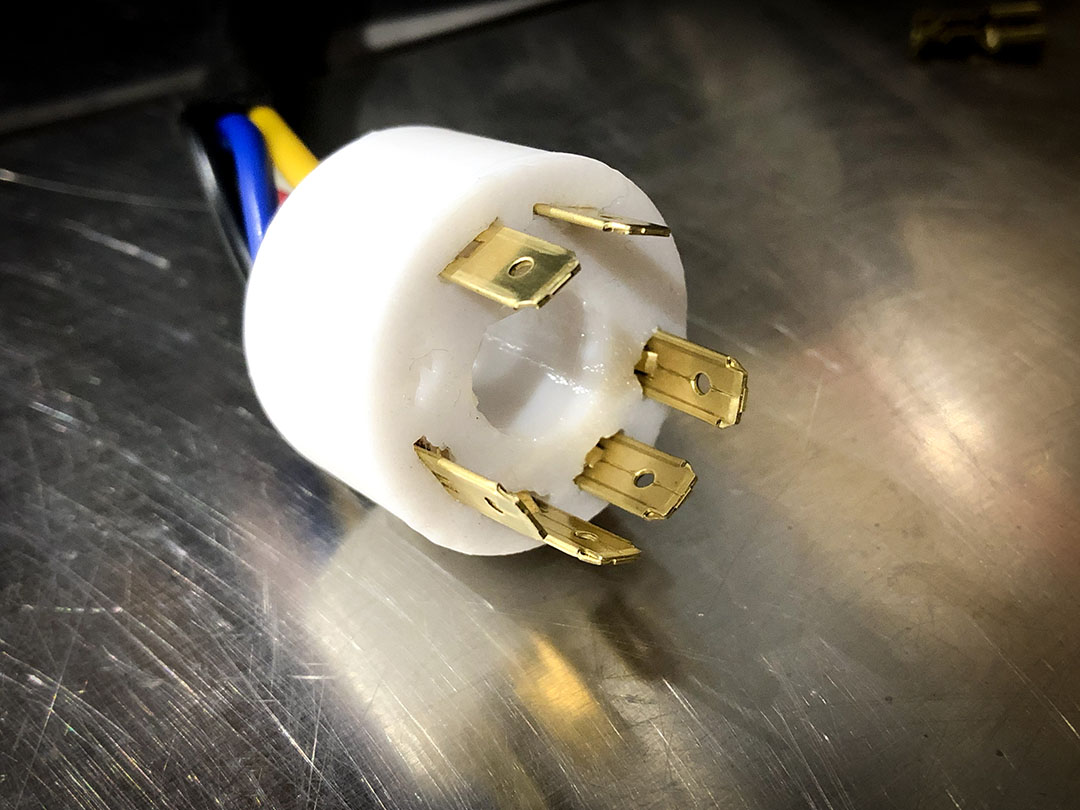
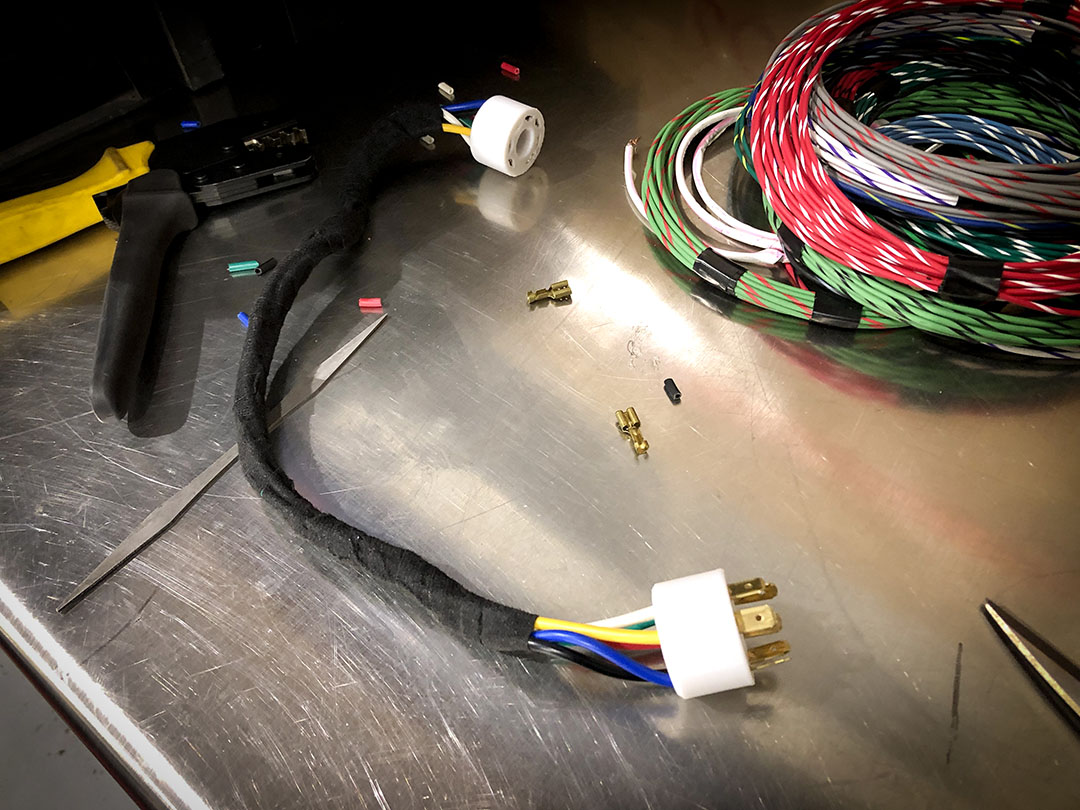
We order the parts and got to the repairs. Once we had all the repairs complete, filled with anti-freesze, and bleed the cooling system – we noticed another leak. It was the plastic return hose fitting on the thermostat. We removed the thermostat and found that the customers mechanic back home had replaced the thermostat with a cheap aftermarket part. Also, they did not replace the return hose, which looked decent with no signs of swelling or damage. Upon further investigation, we found that the hose had broken off inside the thermostat hose adapter. Probably due to slight differences in tolerances between OEM and aftermarket parts.
Critical for Genuine Parts
On critical parts such as this, we always recommend replacing with the Genuine Mercedes-Benz part and with the Genuine hose as well. Even if the hose looks ok, it’s not worth the risk and could have resulted with the car breaking down in this middle of no where between Seattle and Utah. This could have been much more serious situation.
In conclusion, at Meister Werks always suggest repairing your vehicle the right way and use quality made Genuine OES or OEM parts for your European car.
More Info
For more information on how to get your Mercedes-Benz AMG in the shop for some service, maintenance or custom work, contact us at 425-254-0627. You can also schedule an appointment or receive a quote by clicking here. Meister Werks European & Import is located one block south from The Renton Landing in Renton, WA, across the street from the former Boeing Store and at the westside of the Paccar / Kenworth plant.
Some info about AMG
AMG is short for Aufecht, Melcher, and Großaspach, the name of the high-performance division of Mercedes-Benz. This division is responsible for developing and producing high-performance Mercedes-Benz vehicles. AMG models are known for their aggressive styling, powerful engines, and enhanced handling characteristics.
Here’s a more detailed look at AMG:
- History:
AMG was founded by Hans Werner Aufrecht and Erhard Melcher in the 1960s, initially as an independent engineering firm specializing in performance upgrades for Mercedes-Benz cars.
-
Ownership:
AMG is now a wholly owned subsidiary of Mercedes-Benz AG, which in turn is part of the Mercedes-Benz Group.
-
Performance:
AMG models are known for their powerful engines, enhanced suspensions, and optimized chassis for improved handling and dynamics.
-
Styling:
AMG cars often feature aggressive bodywork, including sporty bumpers, side skirts, and rear spoilers, along with larger wheels and tires.
-
Exclusivity:
AMG models are generally the most expensive and highest-performing variants of their respective Mercedes-Benz class.
-
Motorsports:
AMG has a long history of motorsport involvement, including the popular DTM series, the FIA GT World Championship, and Formula 1.
-
Mercedes-AMG GT:The AMG GT is a sports car that exemplifies AMG’s commitment to performance and driving dynamics, with a range of models offering diverse engine and performance options.