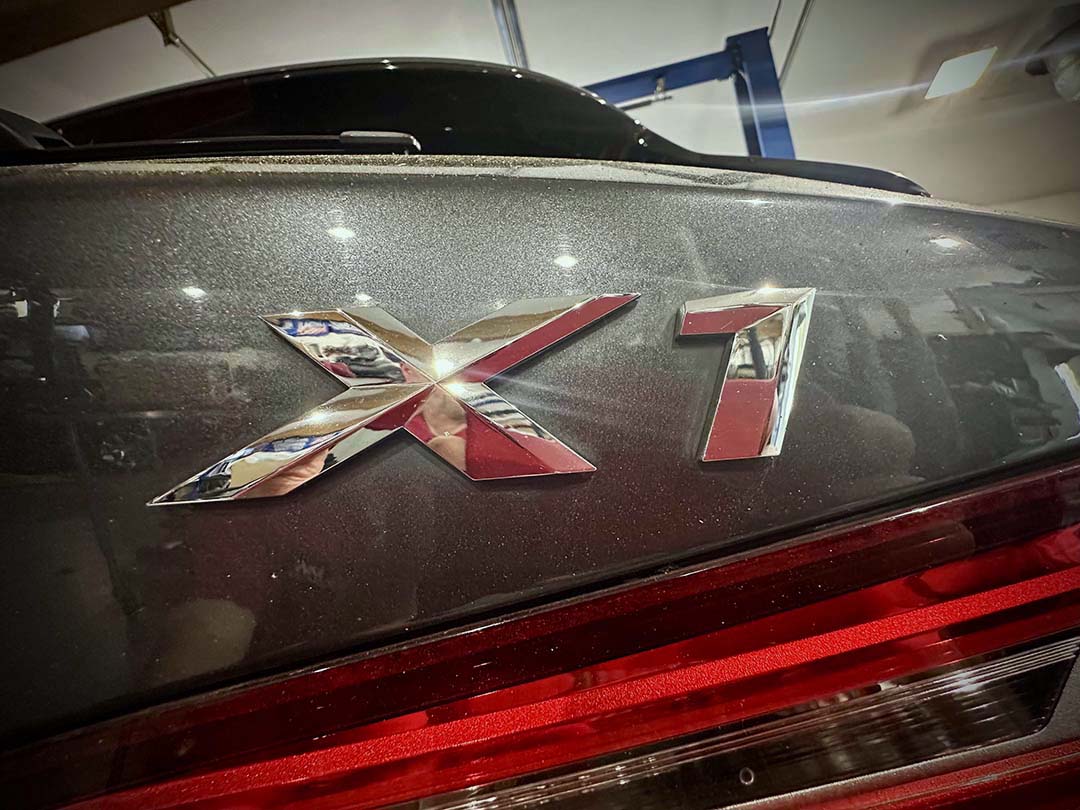
Do you have a knocking noise coming from the front end of your BMW X1? For example, a 2016, 2017, 2018, 2019, 2020, 2021, or 2022 F48 chassis. Then you found the right place for your BMW X1. Meister Werks has the solution.

This Technical Service Bulletin issues by BMW from November 2016 is the solution. You will need the Genuine BMW bolt repair kit to eliminate the knocking noise. Furthermore, you will also need new control arms and ball joints replaced.
Cracking noise in the area of the front axle support / wishbone
This Service Information bulletin supersedes Previous TSB dated April 2016
MODEL F48 (X1 sDrive28i, X1 xDrive28i)
SITUATION
Customer complains of cracking noise coming from the area of the front axle when driving over rough road surfaces, railroad crossings and speed bumps.
-
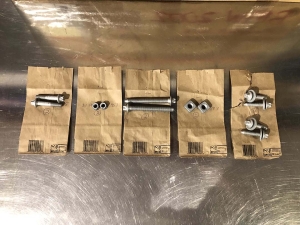
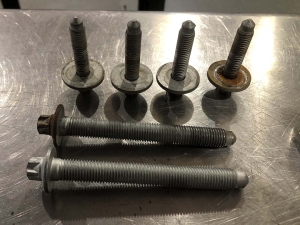
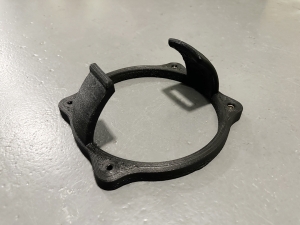
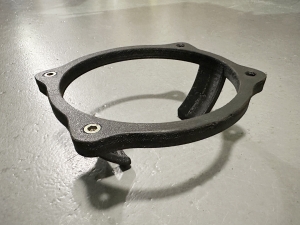
- BMW X1 front Superseded Suspension Bolt Kit
CAUSE
Wishbone rubber mount
PROCEDURE
After duplicating situation, replace both wishbones of the front axle as per ISTA: Remove, install left & right wishbone. After that, perform alignment on the front and rear suspension.
Why choose Meister Werks for your BMW X1 Front Knocking Noise Repair?
Is a persistent knocking sound plaguing your BMW X1’s front end? This unwelcome noise often signals underlying issues. This will impact your driving comfort, handling, and potentially your safety. At Meister Werks in Renton, WA, we specialize in European auto repair. Our expert technicians will accurately diagnose and resolve those frustrating front-end knocking noises. After that, we will restore the smooth and refined driving experience that comes with the BMW name.
Eliminate the Front Knocking Noise in Your BMW X1 for a Smooth and Quiet Ride
Ignoring a front knocking noise in your BMW X1 can lead to more significant problems down the road. What might start as an occasional annoyance can develop into a more pronounced and frequent issue, potentially causing further damage to interconnected components. For instance, worn-out control arm bushings, a common culprit for knocking sounds, can lead to uneven tire wear, compromised steering precision, and increased stress on other suspension parts like ball joints and tie rod ends. Addressing the noise promptly at Meister Werks can prevent these secondary issues and save you from more extensive and costly repairs in the future.
Meister Werks BMW Techs
High Quality Parts – High Quality Service
At Meister Werks, we are committed to high-quality. We always use German made Original Equipment Manufacturer for all our repairs. This ensures the longevity and reliability of our work. This will provide you with a lasting peace of mind. When we perform a front knocking noise repair, we don’t just replace the obviously failed part. We assess the condition of components. Then, we advise you on any other parts that may be nearing the end of their lifespan, helping you proactively maintain your vehicle and avoid future disruptions.
Bringing your BMW X1 to Meister Werks for a front knocking noise repair means entrusting your vehicle to a team that understands the nuances of European automotive engineering. We are passionate about providing exceptional service and ensuring your complete satisfaction. Don’t let that unsettling knocking noise detract from the joy of driving your BMW X1. Schedule an appointment and have our skilled technicians show you the Meister Werks difference. Where quality, expertise, and customer care drive everything we do. Let us restore the smooth, quiet, and confident ride you expect from your BMW.


 • Screen will prompt “HD Not Formatted”.