T4.5 Eurovan Coolant Bottle Bracket Adapter
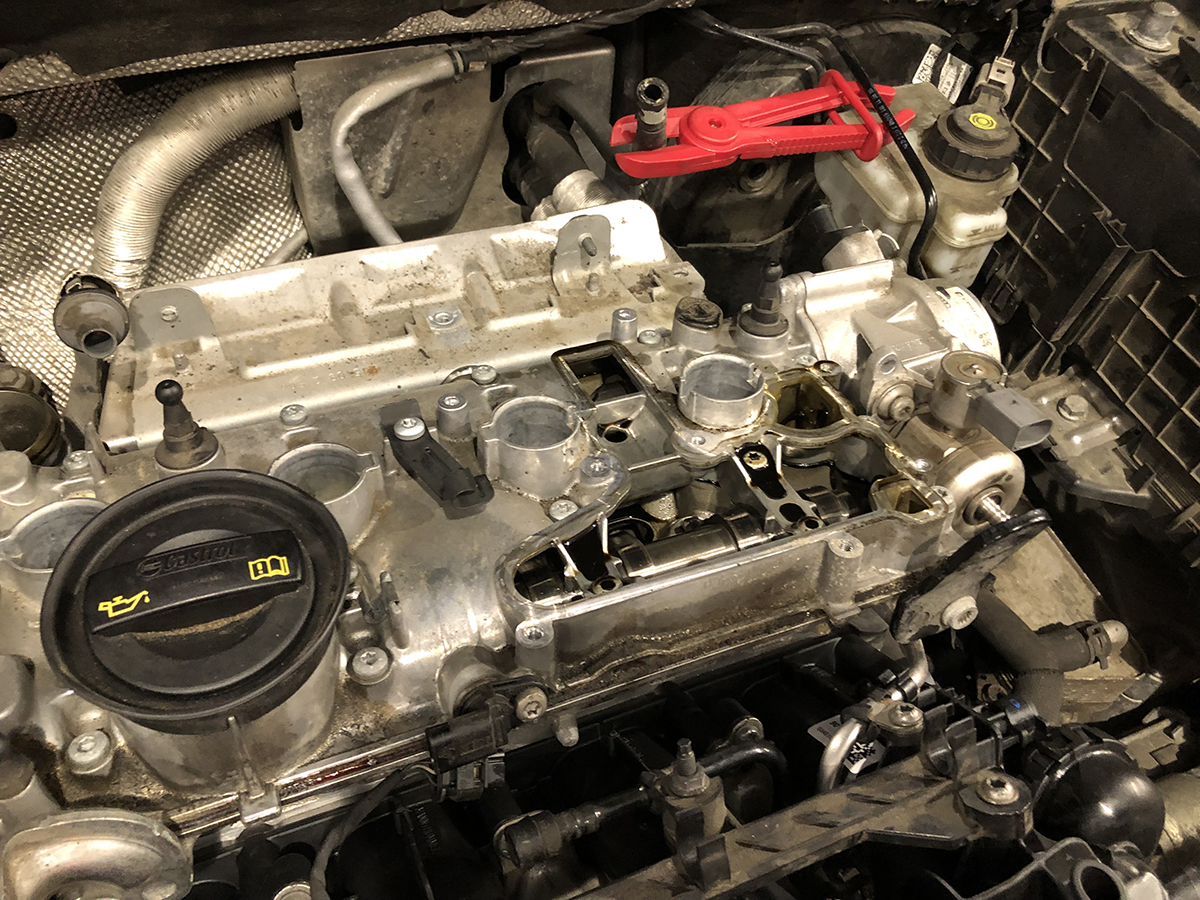
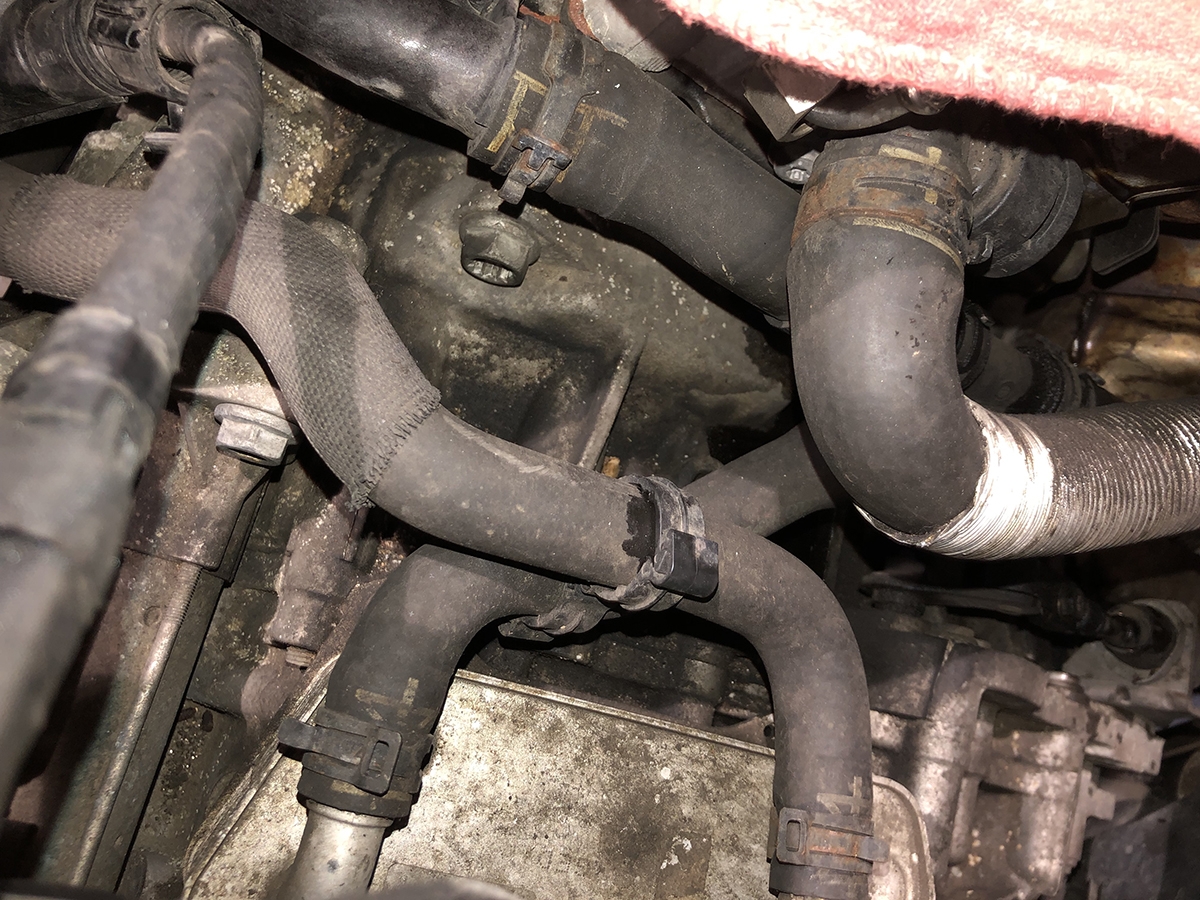
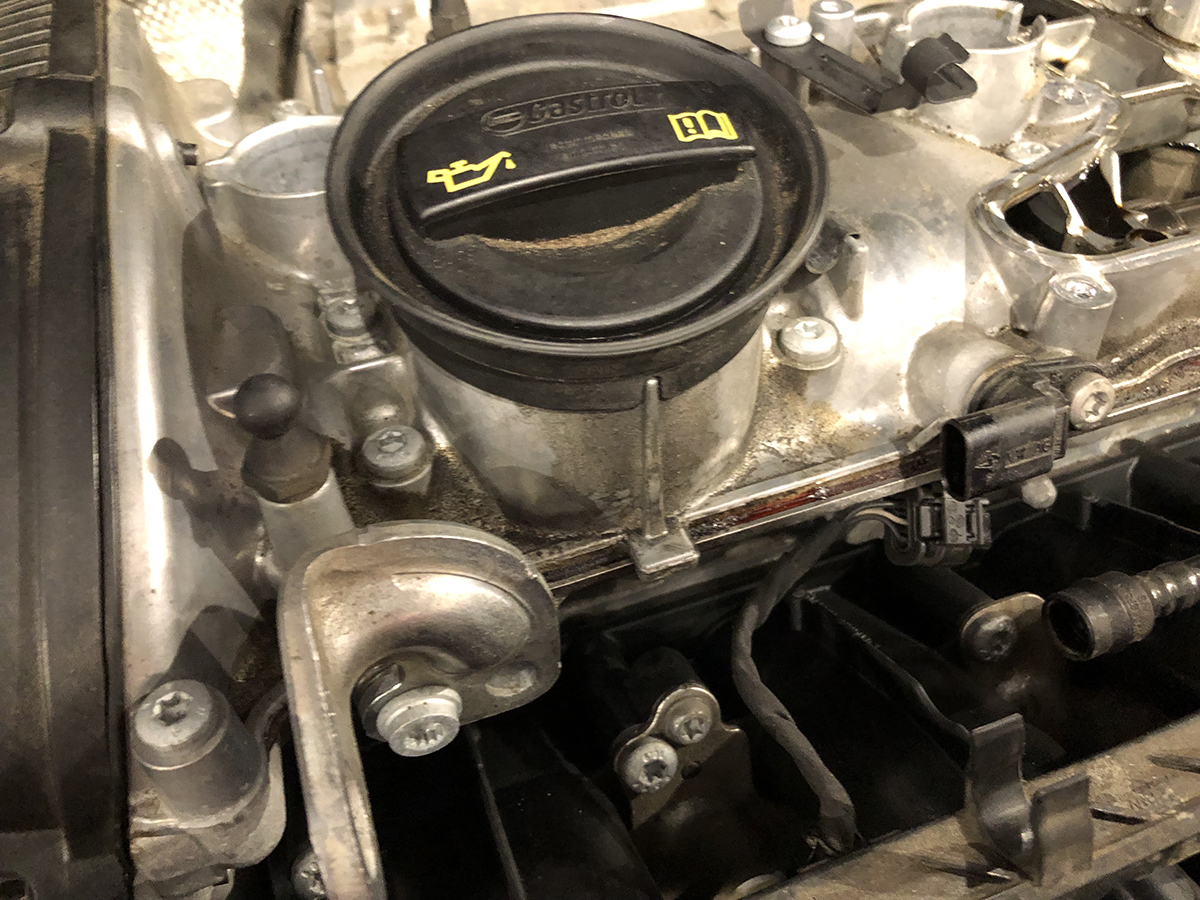
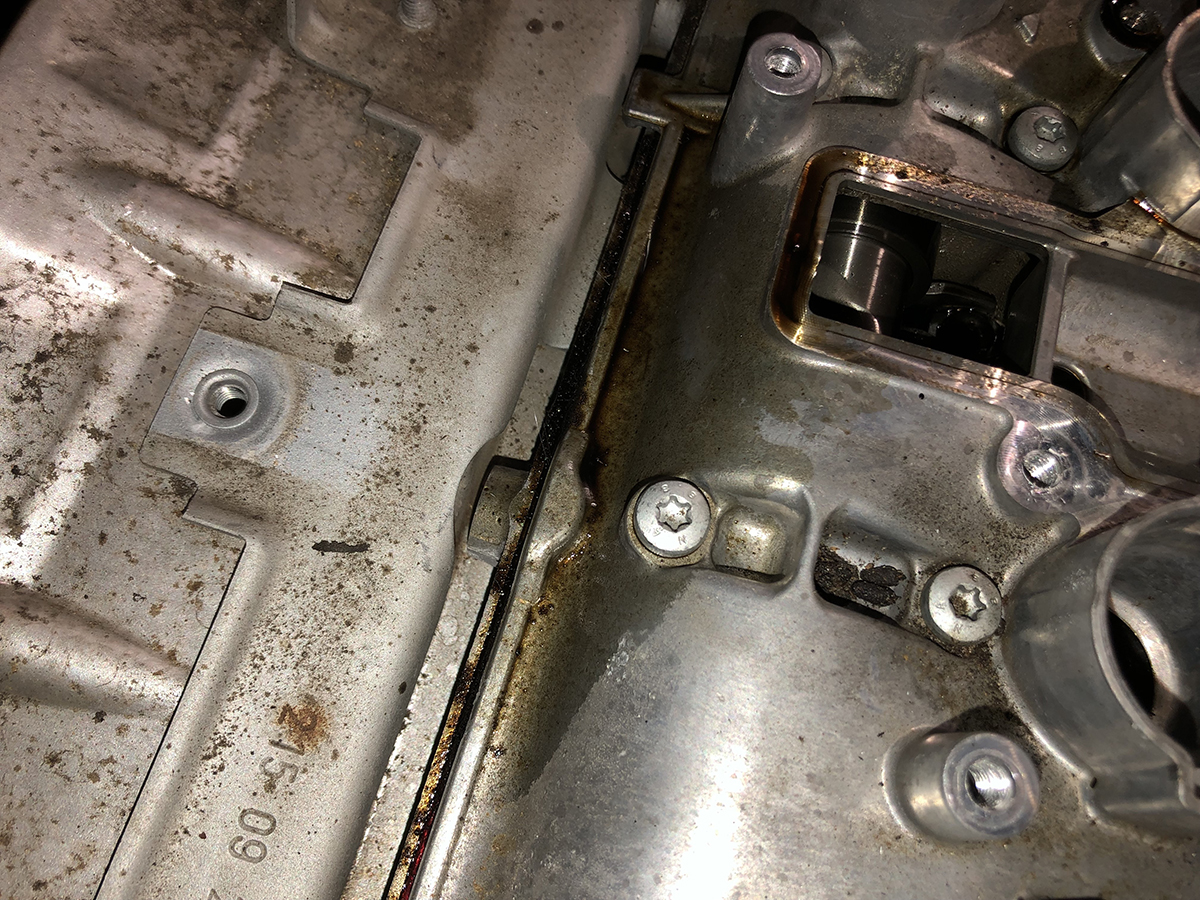
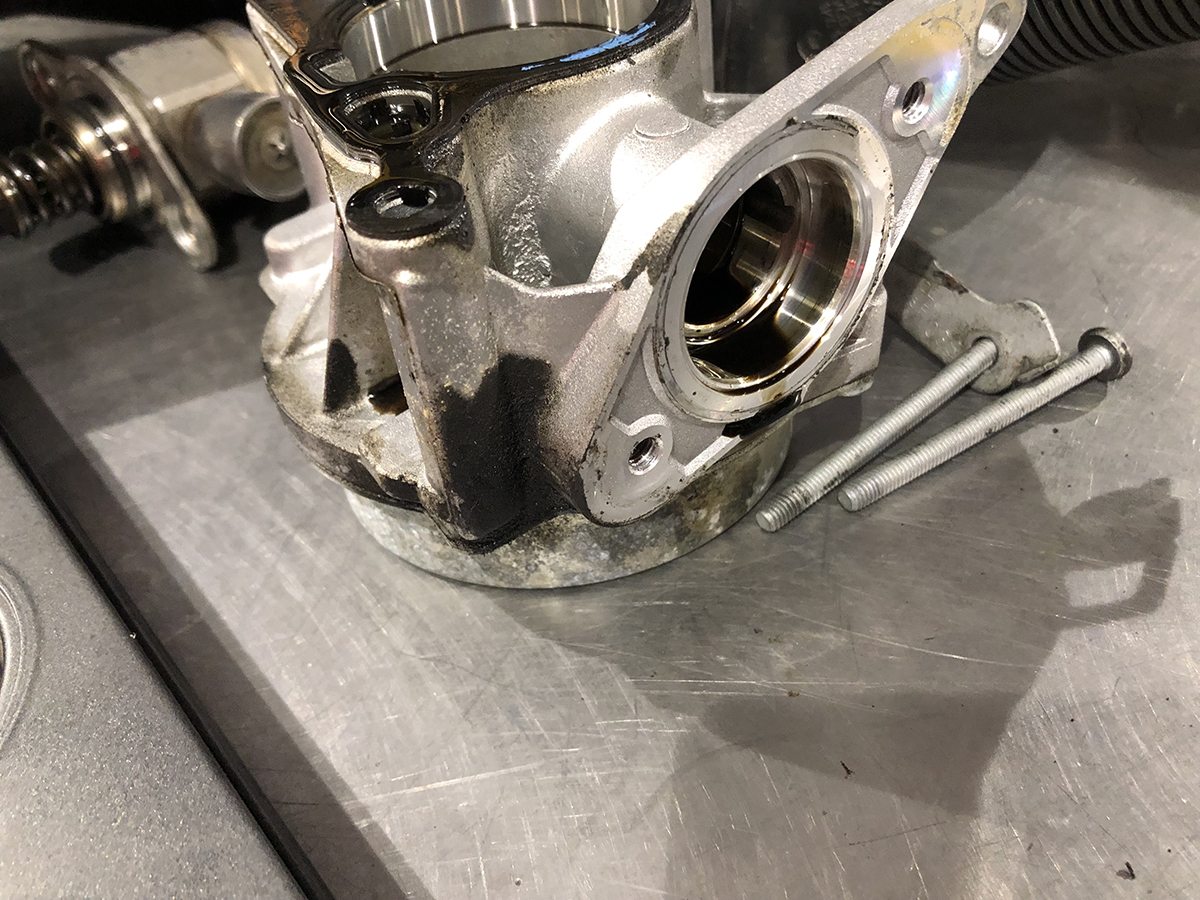
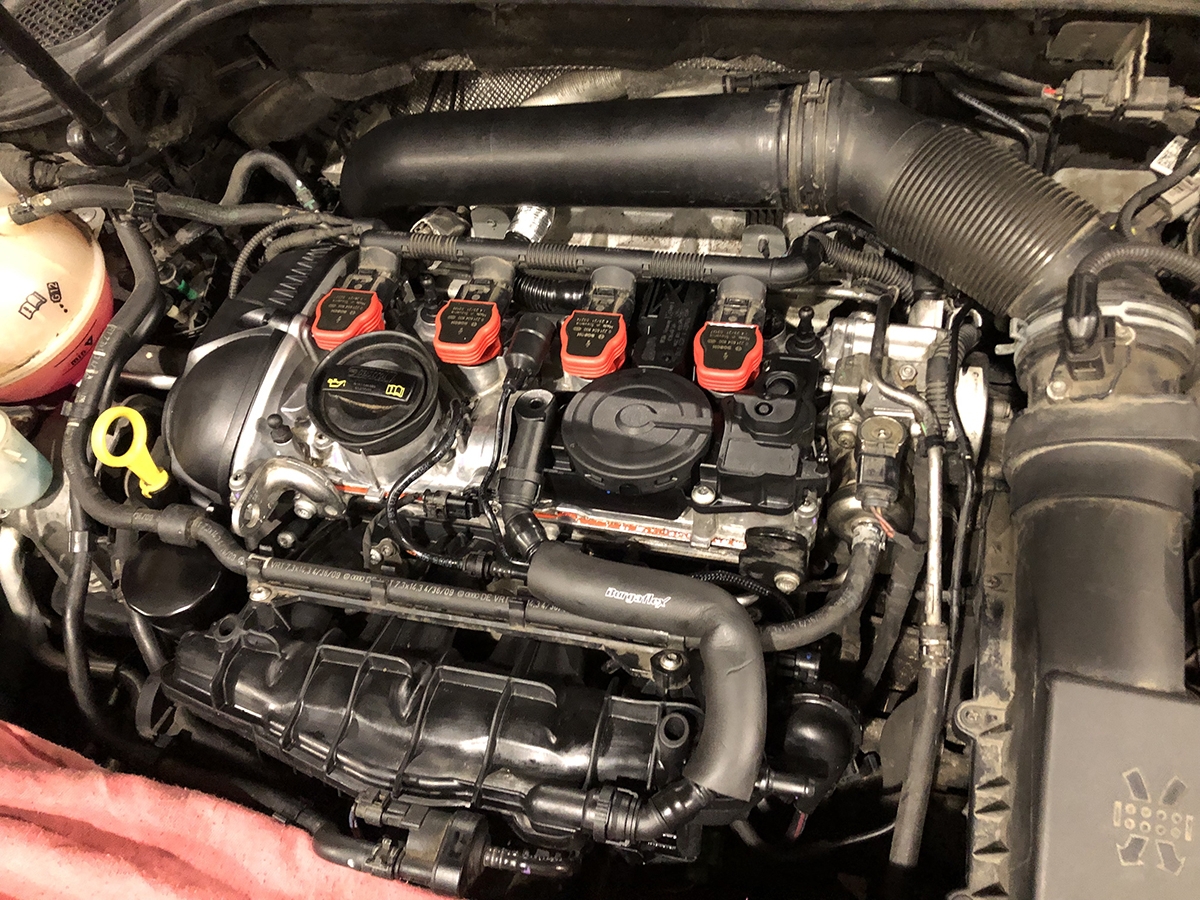
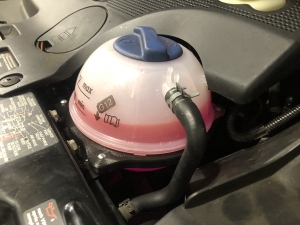
We had to make a custom adapter for a T4.5 Eurovan Coolant Bottle Bracket Adapter the other day. We needed a new coolant reservoir for our customer’s 2001 Volkswagen Eurovan VR6 MV. The warehouse sent me the wrong reservoir (Ver C, and not a Ver E). (701 121 407 E). The Ver C is for 1999-2000 Eurovans with a 12v VR6 engine, however all the connections and hoses are the same. It’s just 180º off from the one we needed. Apparently the Ver E coolant reservoirs are no longer available (NLA) and virtually impossible to find. We searched Classic VW parts, eBay and other sites and came up with zero results. Ver C is still available, however it is also hard to find, but they are available special ordered new from Europe. If you need a Ver C reservoir, we can get one for you.
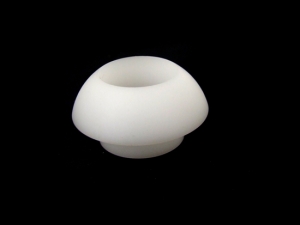
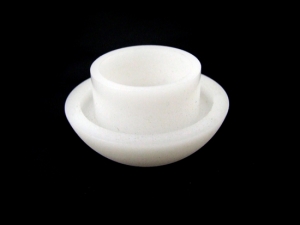
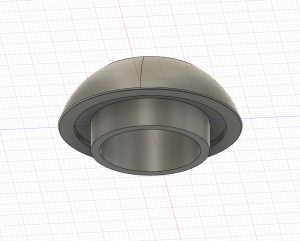
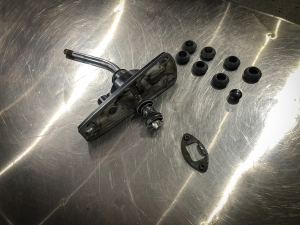
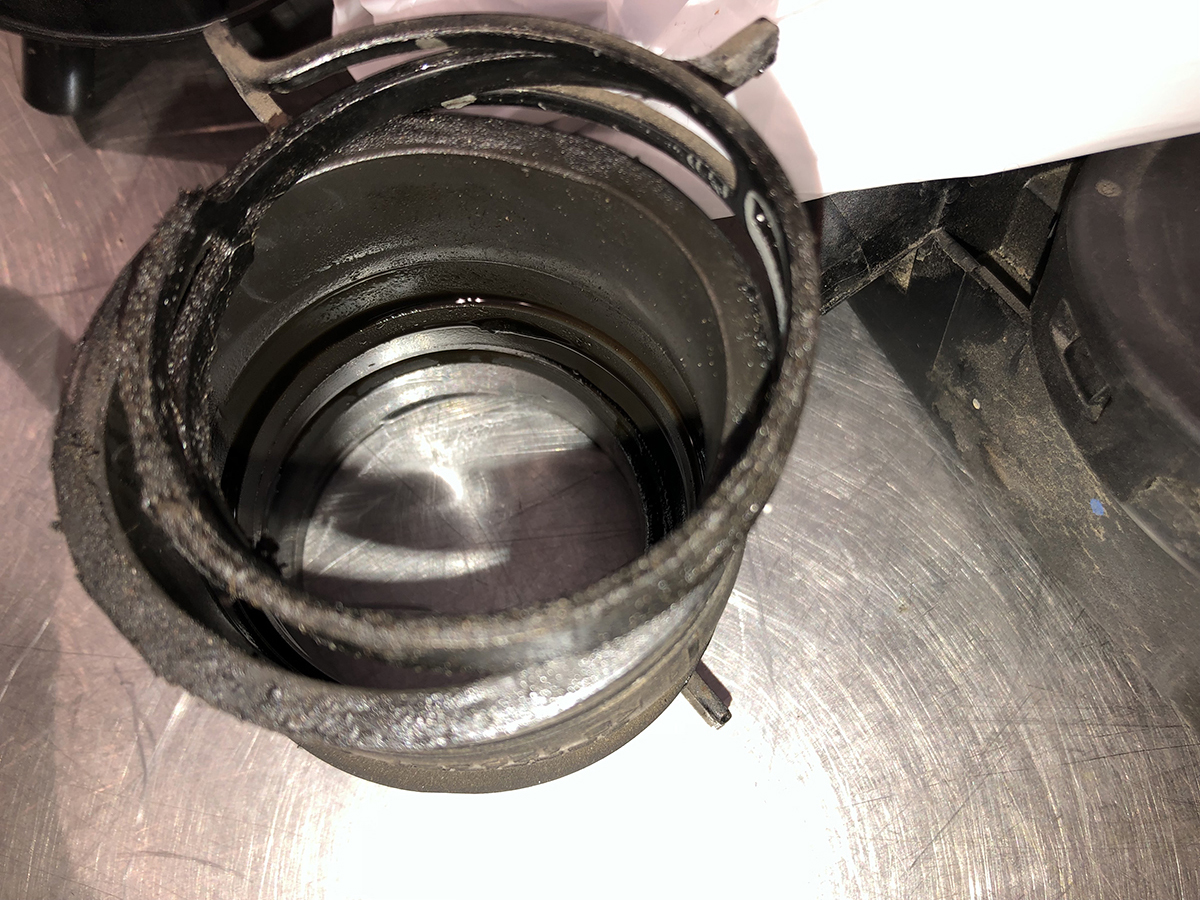
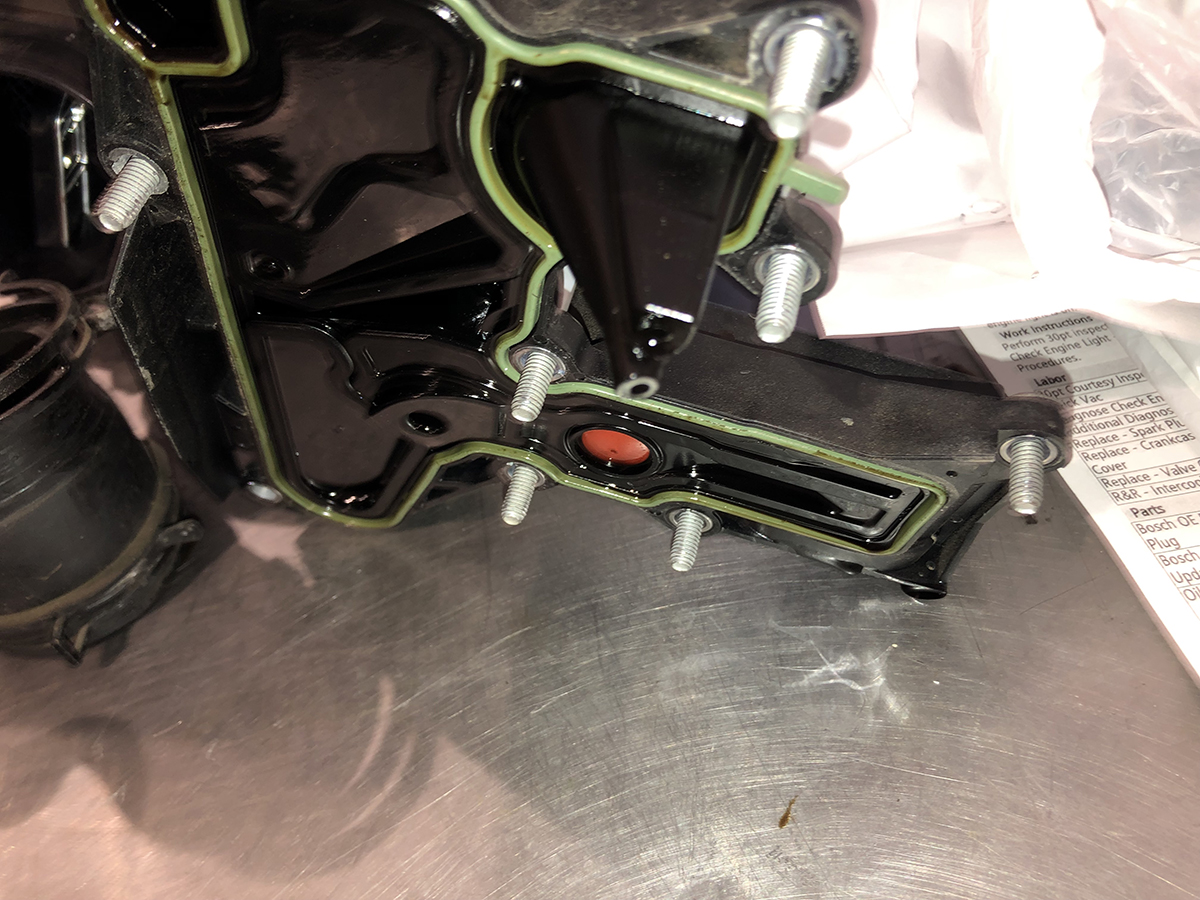
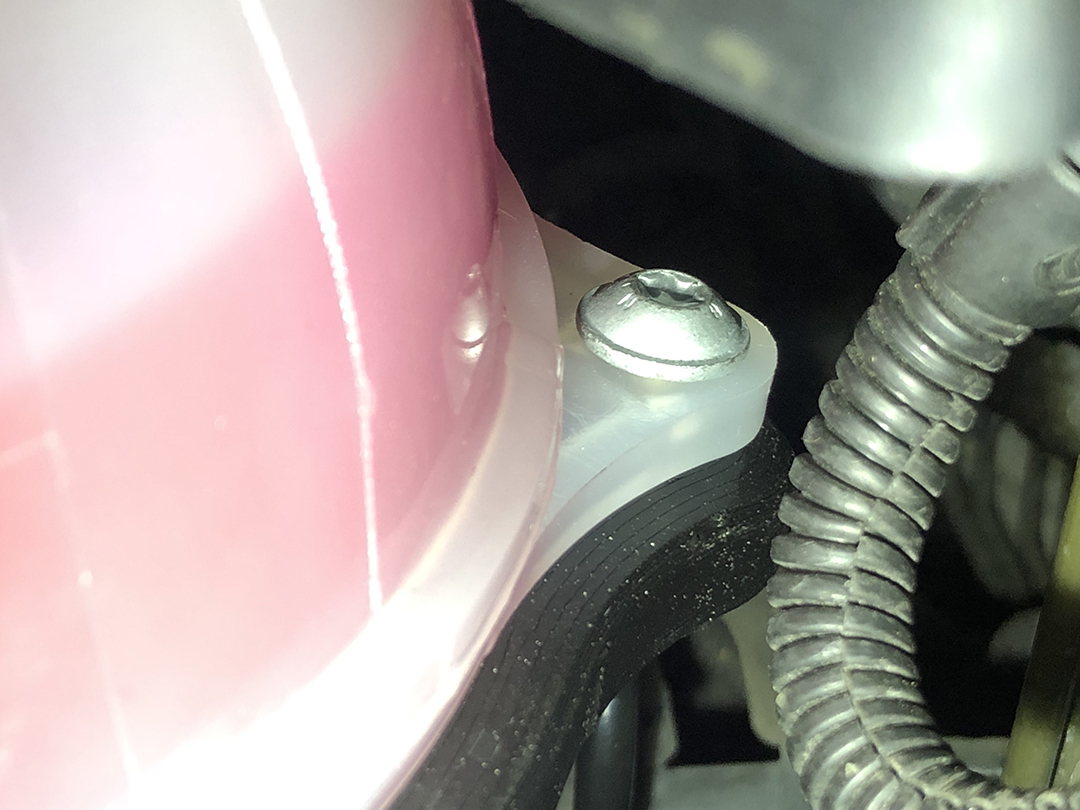
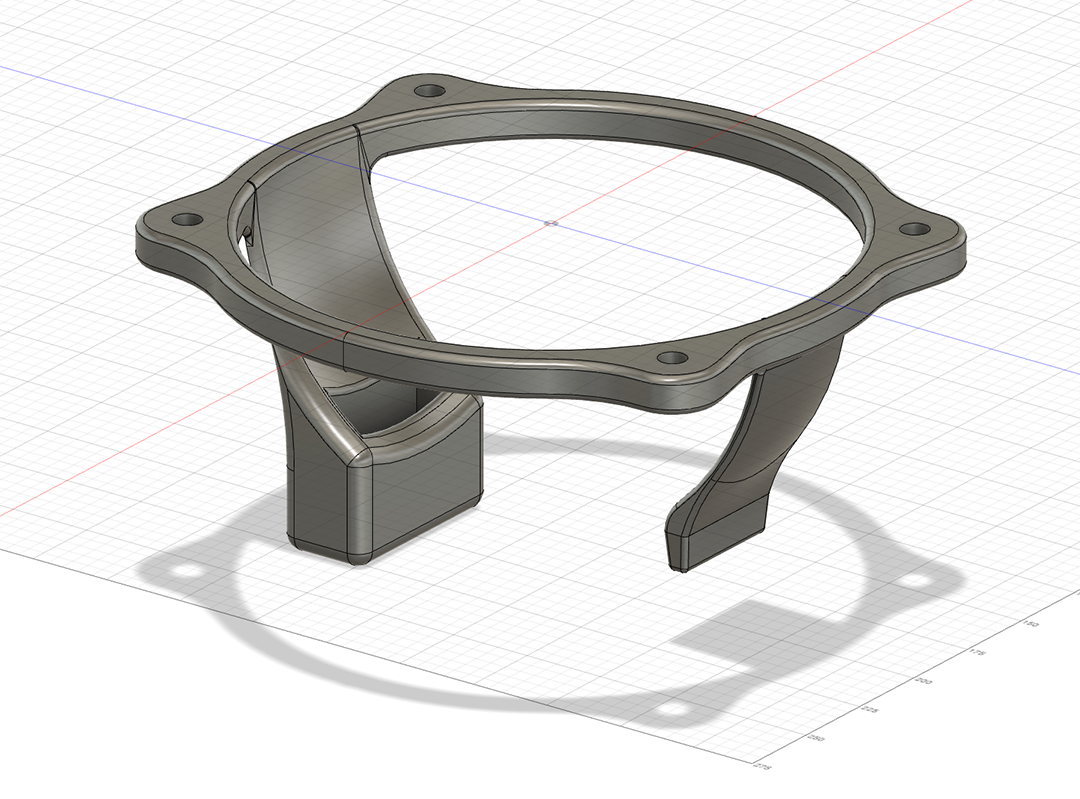
Instead of wasting time trying to find a new one, or installing a used part, we drafted a file in Fusion 360. Then we 3d printed this bracket. Printed with PA12-CF Polycarbonate Carbon Fiber (25%CF/75%Poly). The bracket is safe up to 220c / 428ºF. This will adapts the older C style bottles with the overflow return on the left / drivers side. These other tanks are readily available. Furthermore, this will fit so the left / drivers side electrical connection (coolant level sensor) fits the configuration for Eurovans with the Ver E bottles. Fits 2001+ T4.5 Eurovan / Transporter / Caravelle – 24v Engines, with the bottle that mounts to the core support. We also installed some brass inserts so we can just bolt it right in and the tank can be replaced it in the future, if need be.
-
- VW Eurovan Functional Application


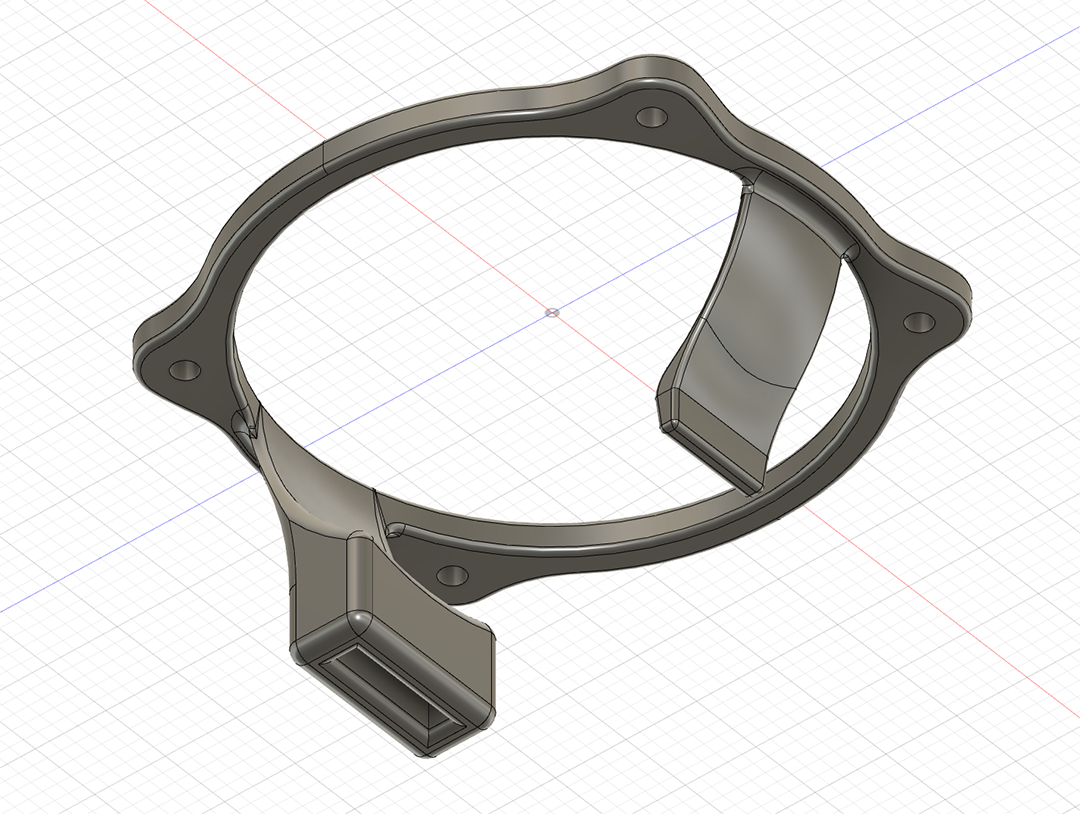
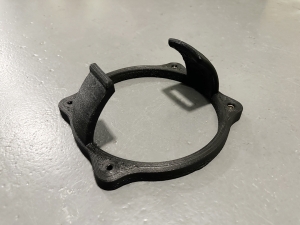
Version 2.0
We revised our design a little to make it both easier to print and use less material. It’s just as strong as Ver 1.0.
-
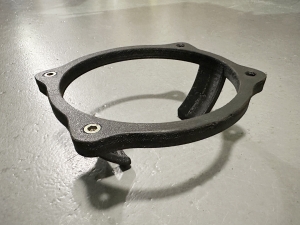
- VW Eurovan Coolant Bracket
More Info
For more information on how to get your Volkswagen Eurovan Repaired, please call 425-254-0627. You can also email us by clicking here. Meister Werks European & Import is located one block south from The Renton Landing in Renton, WA, across the street from the former Boeing Store and on the westside of the Paccar / Kenworth plant.
Purchase
If you would like to purchase one of these. You can do so by clicking the link below. These are made to order, so the turn time on these is approx 3-5 days to ship + shipping time.
Click Here to go to the shop site.