Our customer brought her BMW 440i xDrive in with a BMW Fuel Fillering Problems. Every time she would fill the fuel tank, the nozzle at the gas station would kick off every 5-10 seconds. There are many different reason why your there are issues with filling the fuel tank. Above all, these systems need to be gone through systematically. As a result, this will ensure the repair is performed correctly.
Inspection & Replacement
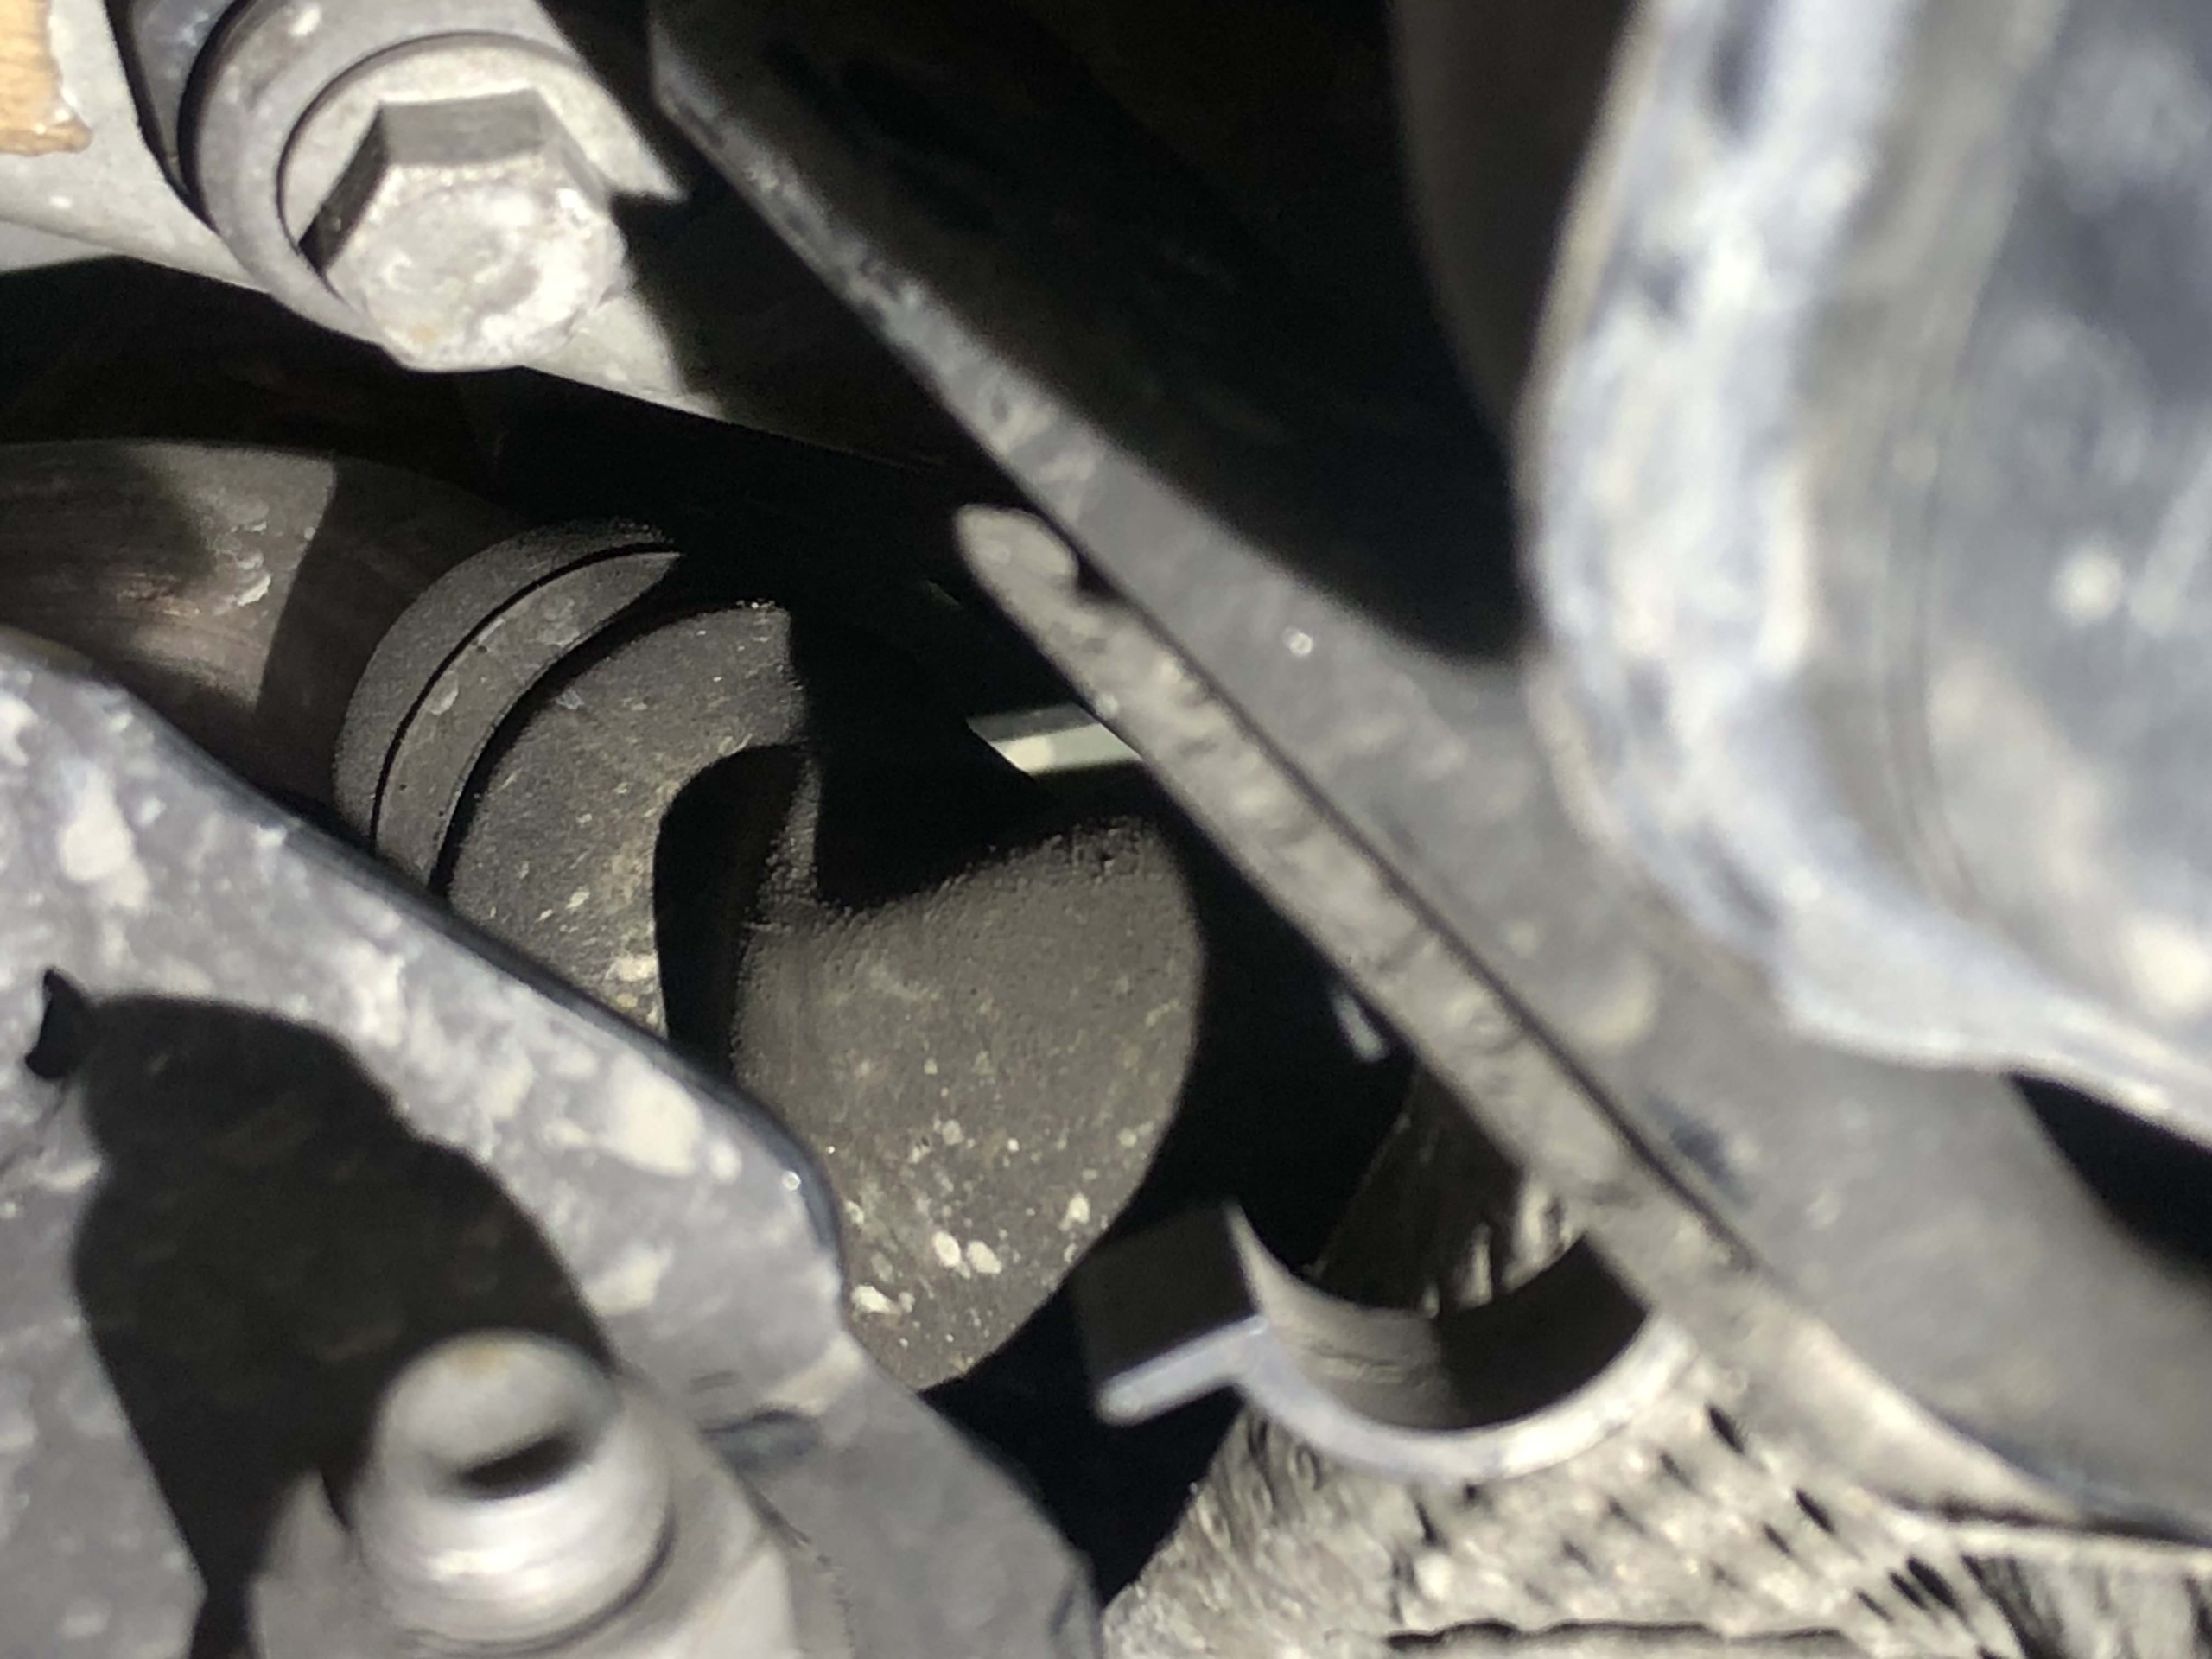
Collapsed hose behind fnder liner looking left from right rear wheel.
We typically look at is the EVAP charcoal canister to start. This canister filters evaporative gases from the fuel tank and fuel system. The vapors are scrubbed before being released to atmosphere. This canister is attached to multiple different system such as the fuel tank, fuel filler, and intake manifold via the purge valve. For example, on this customer’s car, the charcoal canister was wet around the fittings, so we knew there was fuel in the canister. When you over fill your fuel tank or “top it off’ all the way, this canister will sometimes fill with fuel. The fuel will vapor lock the EVAP system and will cause the fuel to back up in the filler neck causing this problem. Since e saw the wet hose connectors, we replaced the charcoal canister. After the canister was replaced, our customer was able to fill the fuel tank again.
Follow Up Inspection and Repair
A few weeks later, our customer called and said the fuel tank is not able to be filled again. Firstly, we performed a follow up inspection. Secondly, we removed all of the breather lines that attaches to the filler neck and charcoal canister. Because we were having these issues, we blew low pressure air though each line and all lines were free of clogs. Additionally, the air was able to flow through with ease. Thirdly, we inspected the overflow / air pressure release hose that is attached to the top of the fuel tank,. This runs up to the top of the underside of the fuel filler neck. The hose was also clear. After that, we put these hoses back together. We saw the filler neck hose, looked a little strange. The hose is difficult to see with the heat shield covering the back side of the hose. Furthermore, the only way to see this clearly was with the wheel well liner removed and the underbelly panel, directly under the right rear back seat footwell. Even with a flashlight and zoomed in with a camera it was hard to see unless you are at the correct angle.
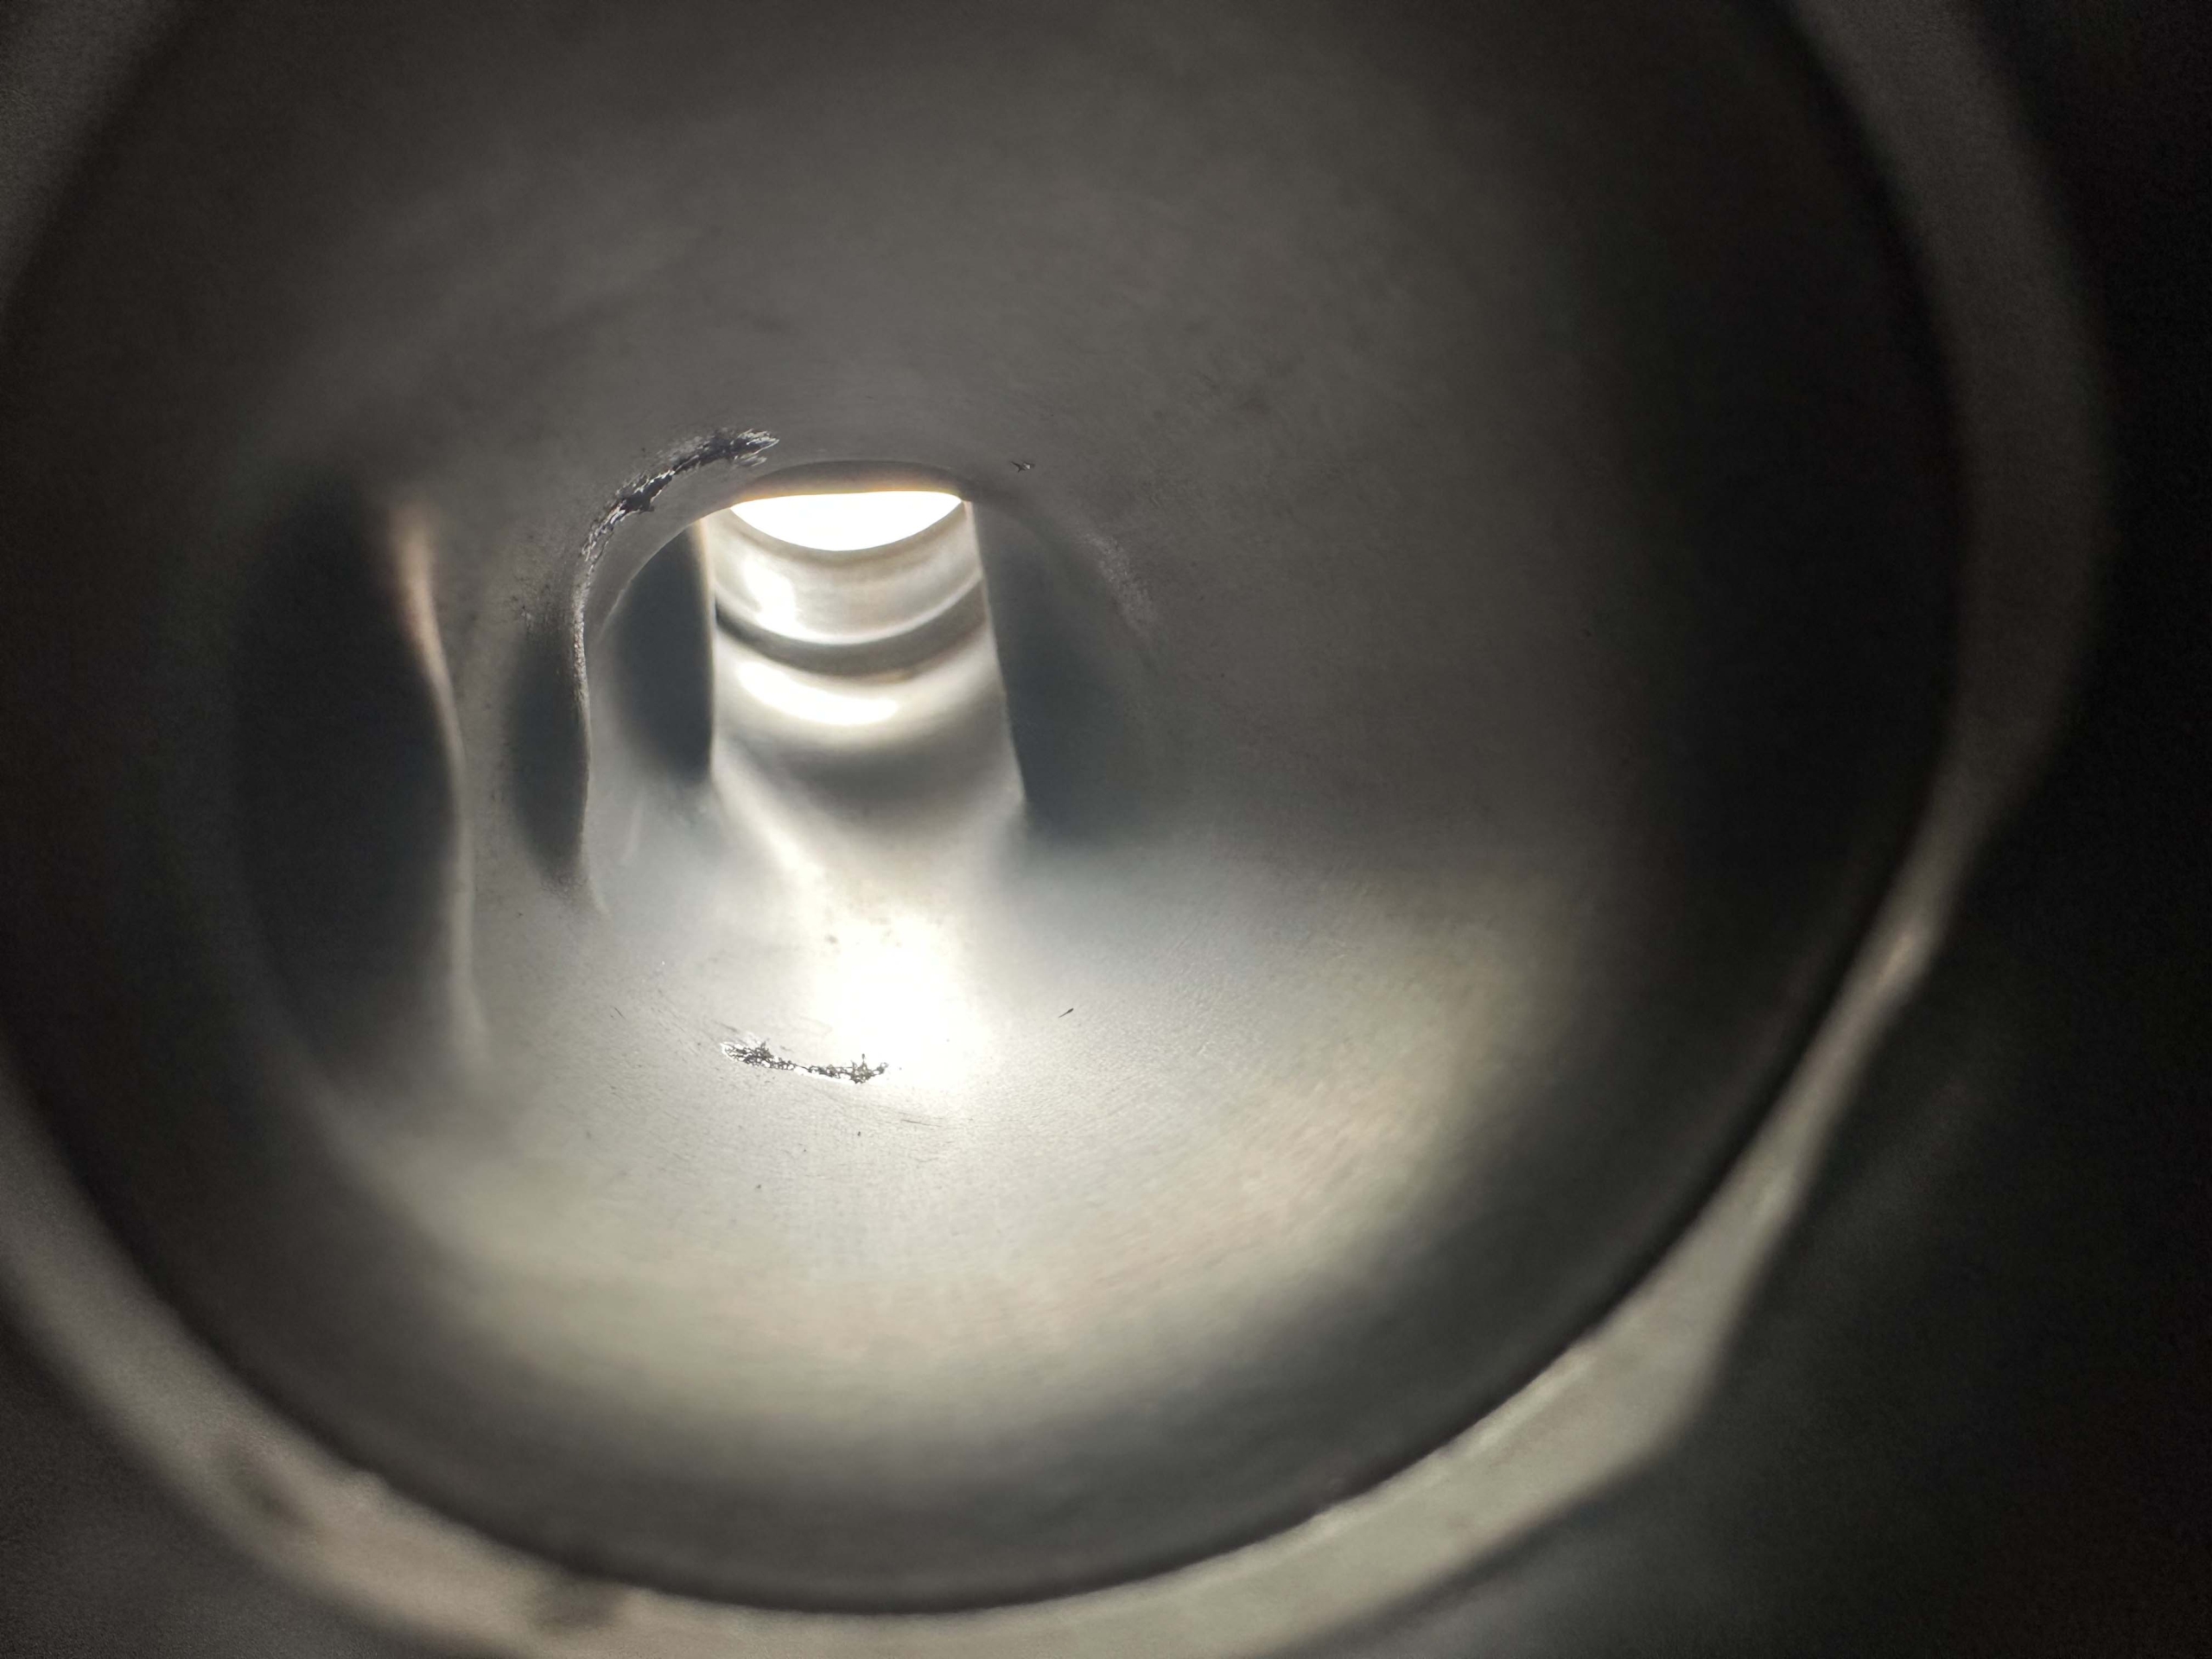
Another photo of delamination. Note bubbles that are no longer attached
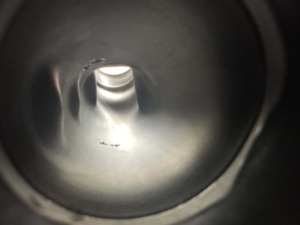
Next, we removed the rear heat shield and were able to access the hose from under the BMW. Once removed we felt the inside and found the inside of the hose was delaminating. The hose thickness that BMW uses is extremely thin. Approximately 2.5mm thick. Most fuel hoses are about 5.5mm thick and are reinforced with nylon thread. The BMW hose is more than half of that and does not appear to have any nylon reinforcements.
Repairing The Hose
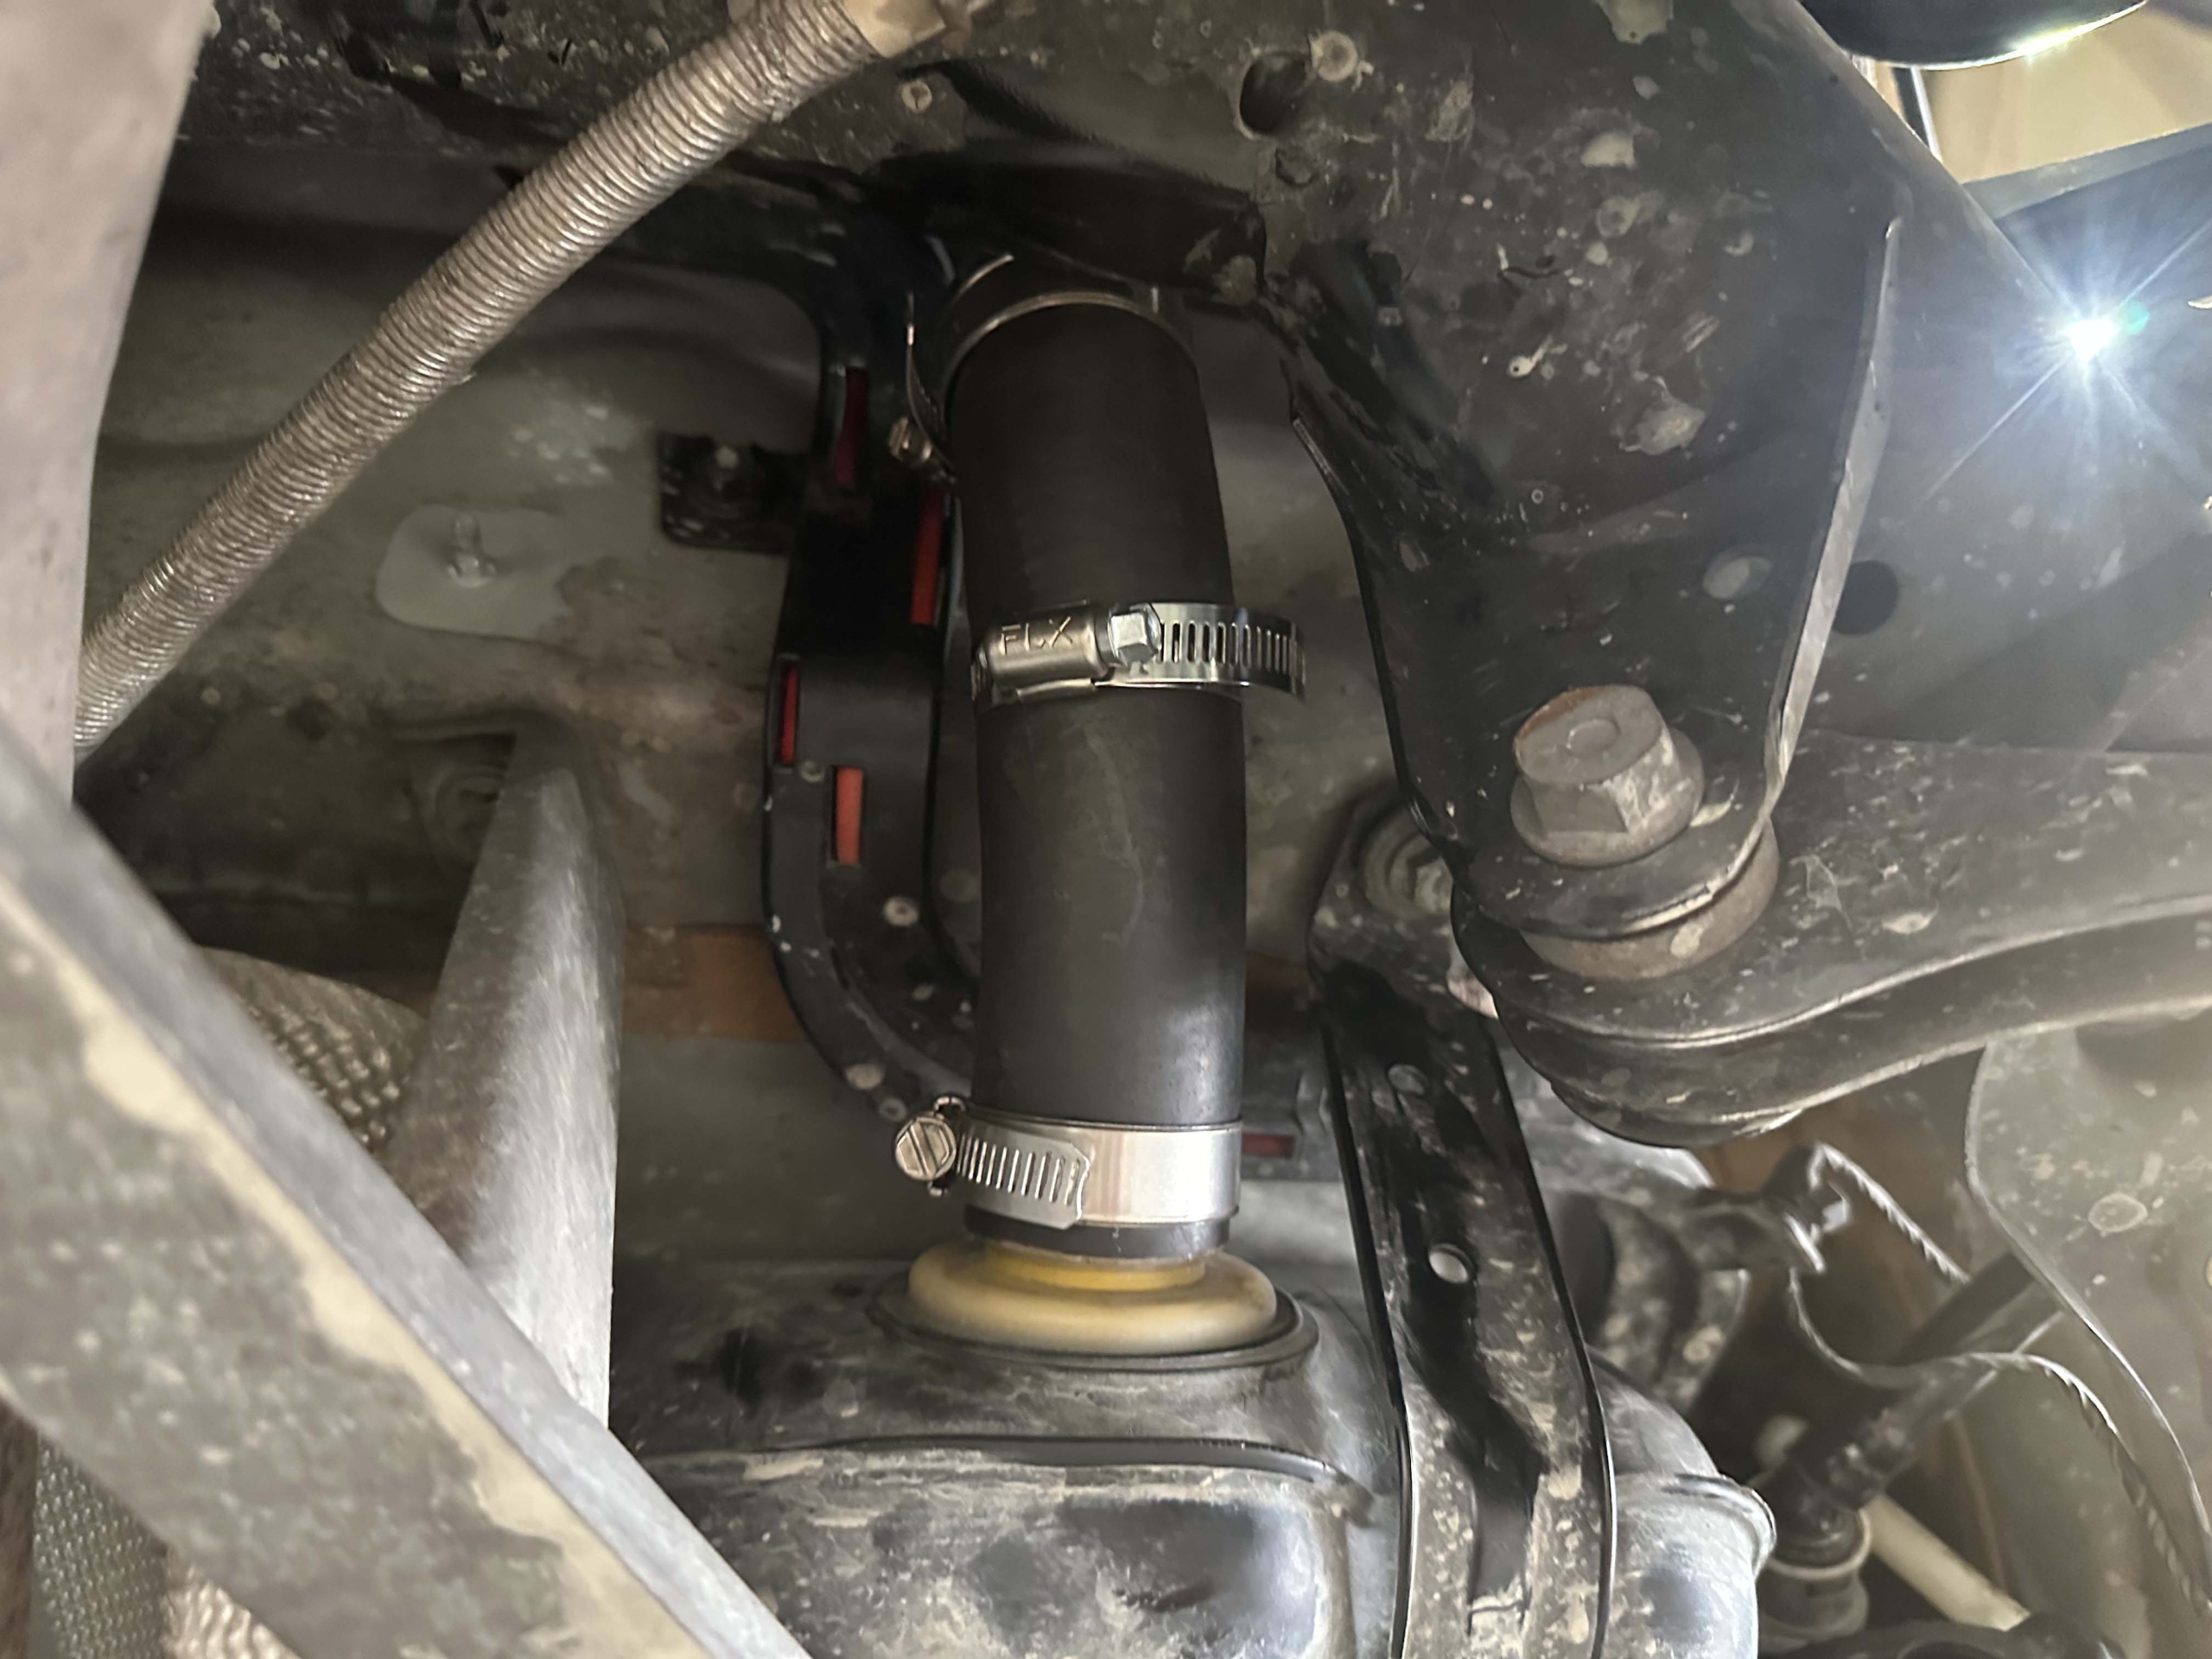
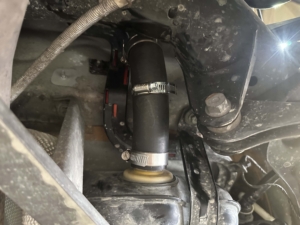
New hose installed with reinforcement clamp.
We found a much higher quality hose that specially made for fuel filler necks. These hoses made with a very specific hose material. The inside is lined with NBR or Nitrile Butadiene Rubber. Also, the inside has a nylon helix cord that prevents from hose from collapsing. The outside of the hose is made with polychloroprene or Neoprene. This is a highly versatile synthetic rubber invented by DuPont in 1930. This prevents the rubber from breaking down due to weather, heat, ozone, and UV.
Once installed, we could not achieve the approx. 25º bend that the OEM BMW hose has. Although, we did not let this stop us. Finally, we reinforced the center of the hose with an simple hose clamp to keep the hose from folding. Overall this was a very successful inexpensive repair.
For more information on how to get your BMW in the shop for BMW Fuel Filling Problem diagnostic, service, maintenance or custom work, contact us at 425-254-0627. You can also schedule an appointment or receive a quote by clicking here. Meister Werks European & Import is located one block south from The Renton Landing in Renton, WA, across the street from the former Boeing Store and at the westside of the Paccar / Kenworth plant.
The Faulty FRM Module Explained: Why Your BMW or MINI Cooper is Having Electrical Gremlins
If you own a modern BMW or a MINI Cooper, it is common that you will have Faulty FRM Module in. You might eventually encounter a day where your car’s electrical system seems to completely lose its mind. For Example, these vehicles include; BMW E90 3 Series, E70 X5, or E87 1 Series or R56 & R60. Just to name a few. The turn signals stop working, the power windows refuse to roll down, and the headlights stay on permanently—even when the switch is in the “off” position.
It is entirely understandable to feel panicked and assume your vehicle has a massive, unfixable wiring short. However, the reality is usually much less dramatic. These widespread electrical failures almost always point to a single, highly sensitive component: The FRM Module.
What is the FRM (Footwell) Module?
FRM is German for ‘Fussraummodul’, which translates to “Footwell Module.” Located exactly where the name suggests (behind the plastic kick panel in the driver’s side footwell), this computer is the central command center for your vehicle’s body electronics.
If you drive an all-wheel-drive (AWD) European car, chances are you are benefiting from a Haldex system. Unlike traditional, full-time mechanical AWD, Haldex is a smart. It utilizes an electro-hydraulic system. In most applications, the car operates primarily in front-wheel drive to save fuel. This will instantly sending power to the rear wheels via an electronic clutch only when slip is detected. However, this brilliant engineering is often an overlooked for maintenance.
One of the most confusing aspects of servicing a Haldex-equipped vehicle is the rear axle. Many owners are surprised to learn that the rear assembly actually houses two completely separate fluid chambers.
Two Haldex fluids:
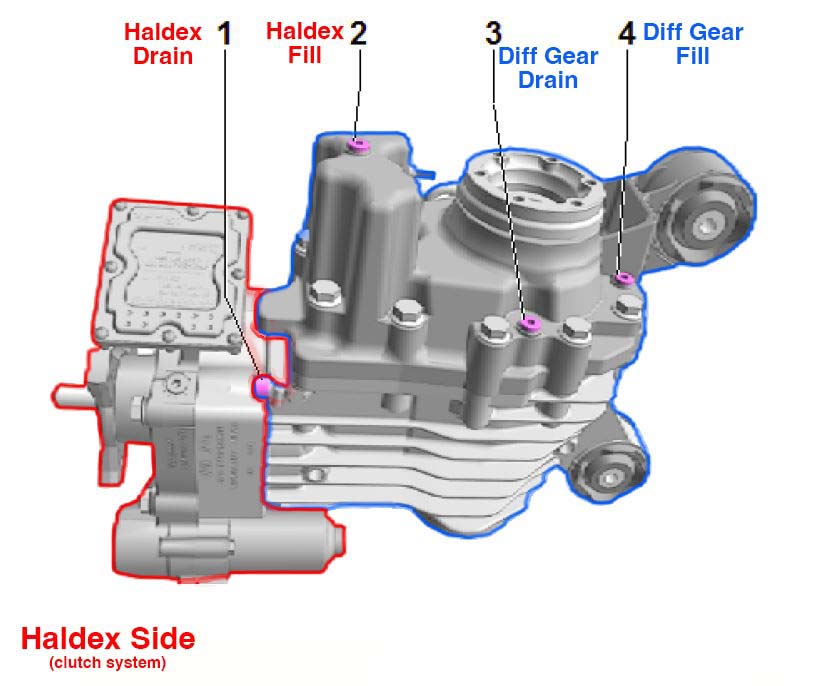
The rear assembly is essentially two components bolted together. First, you have the Haldex coupling itself, which is a wet multi-plate clutch pack controlled by an electronic pump. This requires a highly specialized, friction-modified hydraulic fluid to engage the clutches smoothly and transfer torque. Directly behind it sits the traditional mechanical rear differential, which uses heavy-duty gear oil (typically 75W-90) to lubricate the heavy metal ring and pinion gears that drive your axles.
These fluids do completely different jobs and must never be mixed. A notorious DIY mistake is draining the differential gear oil but accidentally topping off the Haldex chamber, leaving the mechanical gears bone-dry and the hydraulic clutches overfilled.
The Art of Diagnostics and Repairs: Why Auto Repair Isn’t Always an Exact Science
When you bring your European vehicle to a specialist for Diagnostics and Repairs, you likely expect a quick answer. You want to know exactly what is wrong. Furthermore, you will also want a guaranteed price for the fix. Most of the time, modern computer diagnostics allow us to provide that. However, there are instances where automotive repair feels less like simple math. Instead, it feels much more like practicing medicine. Especially for high end performance European vehicles.
The Doctor’s Dilemma
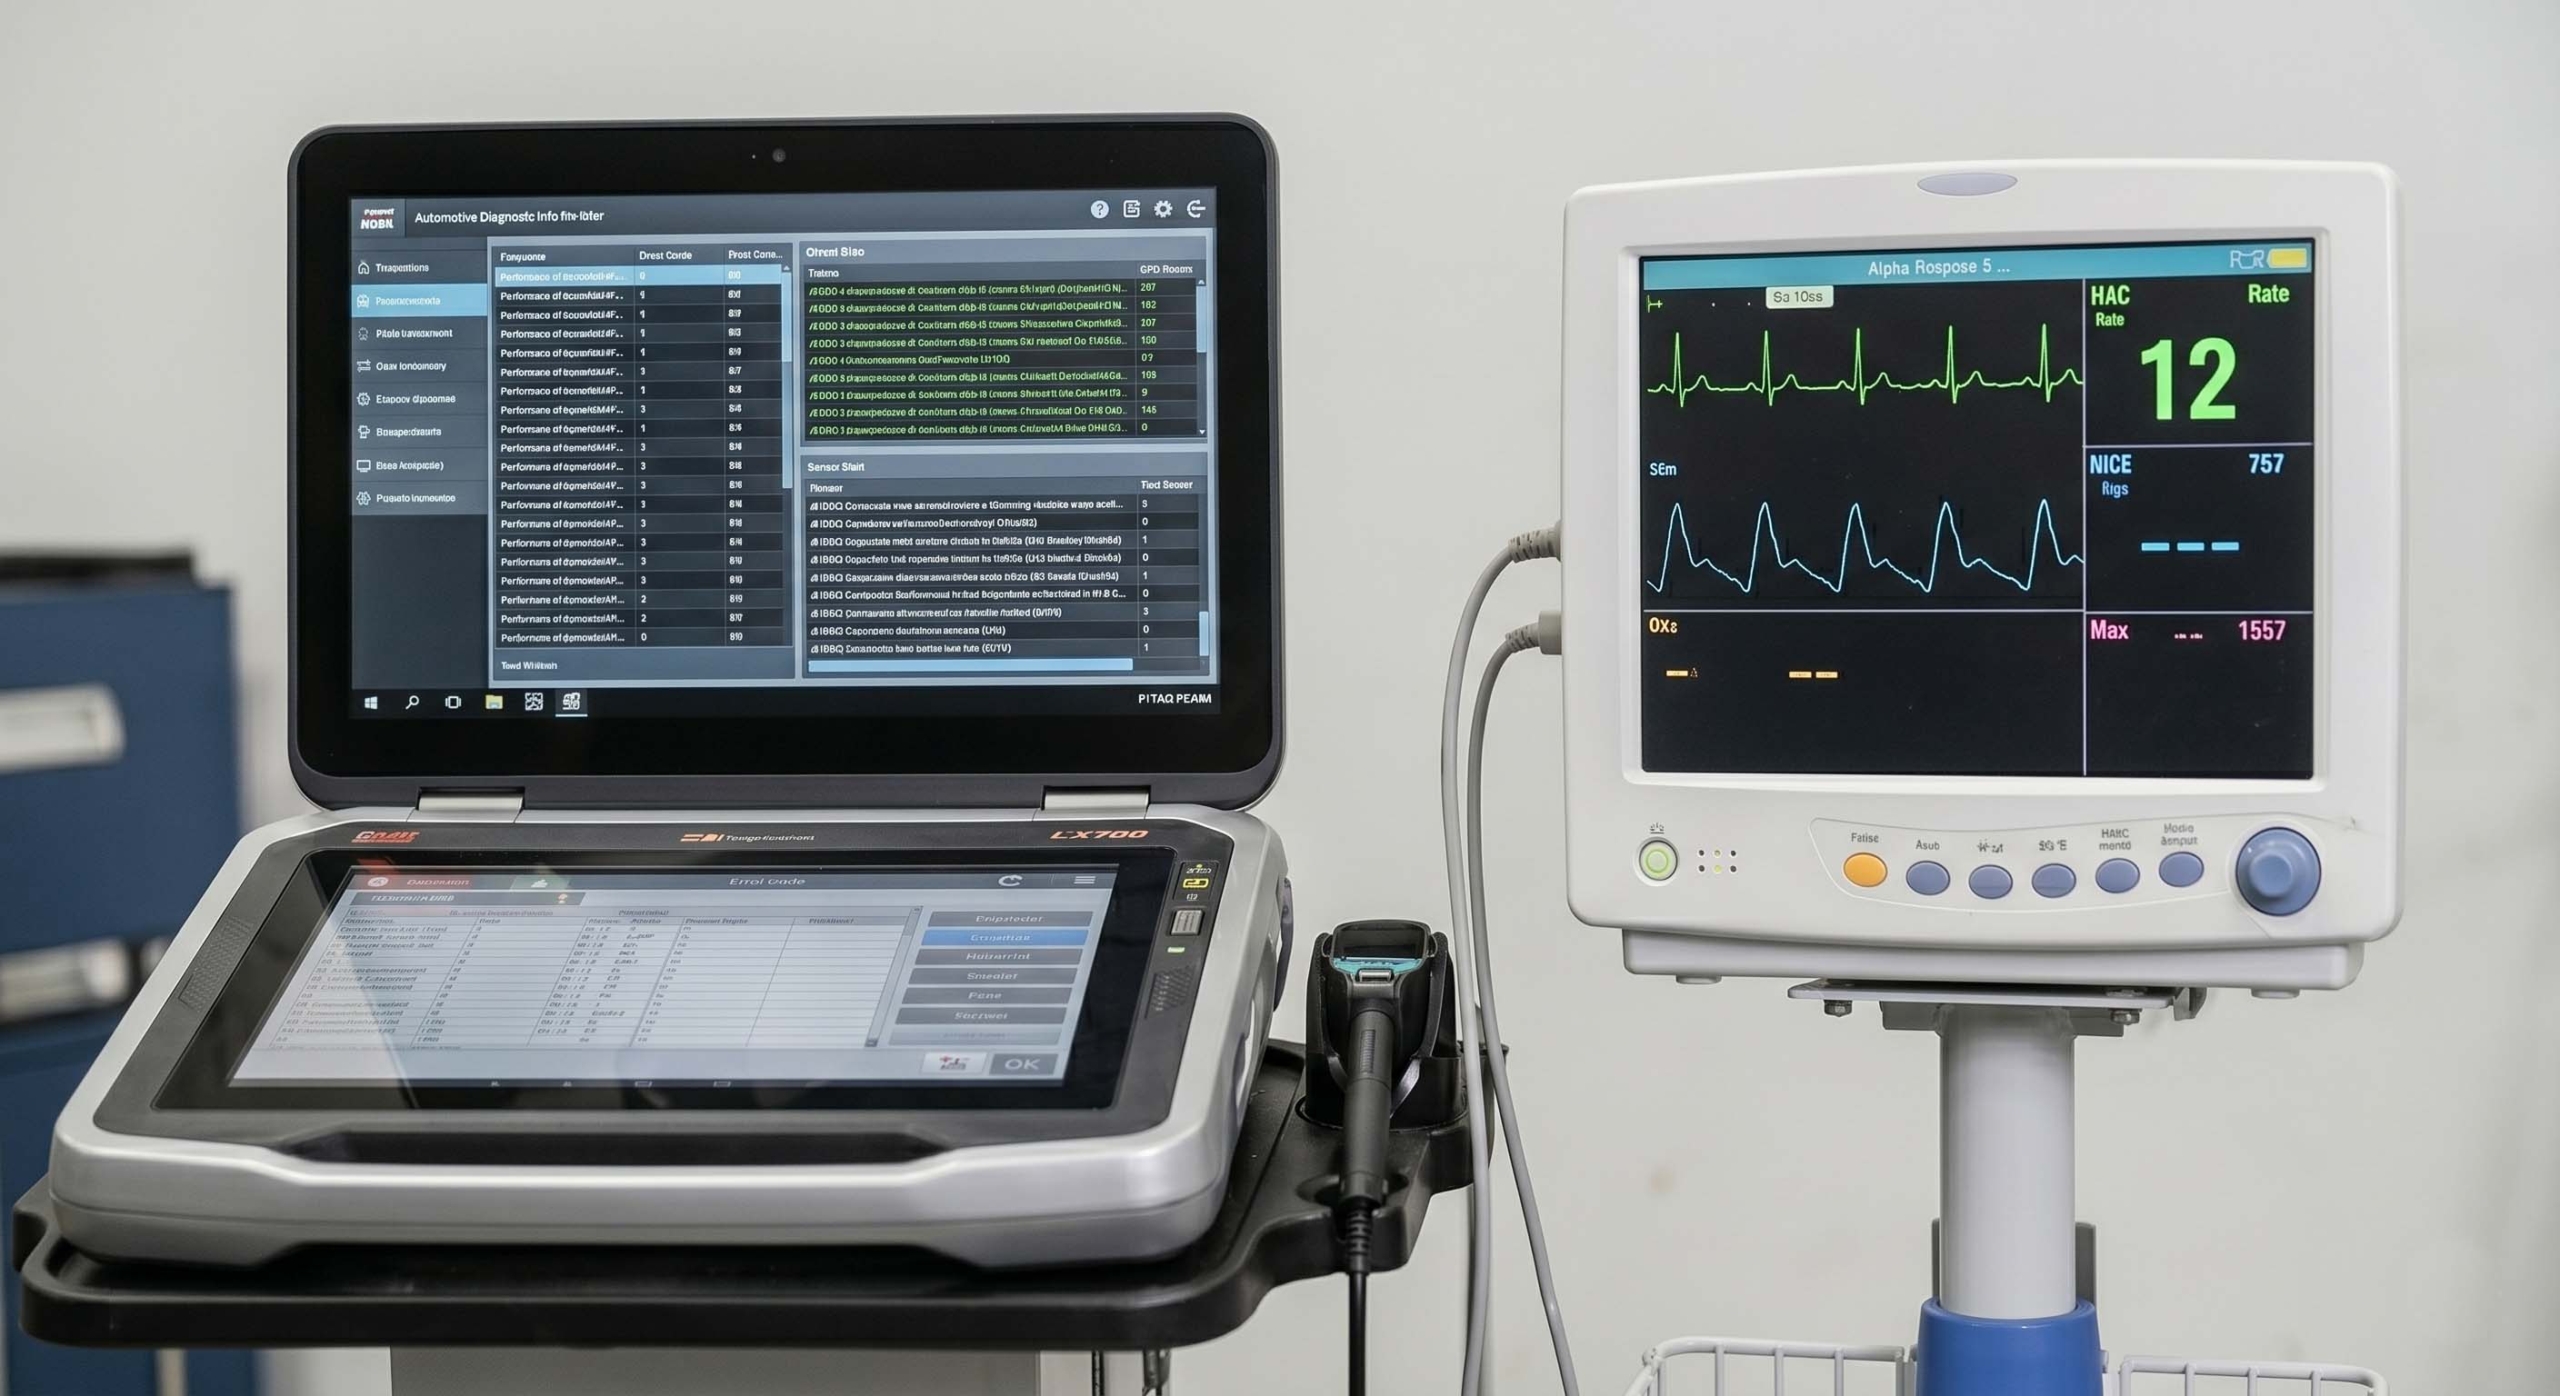
Imagine visiting a doctor because you have persistent chest pain. The doctor does not immediately wheel you into the operating room. First, they check your vitals and listen to your heart. They might run a blood test or order an X-ray. Even with these tools, the exact cause may remain hidden.
Is it a pulled muscle? Is it severe acid reflux? Or is it a developing heart condition? Often, a doctor prescribes a mild treatment first. They monitor your reaction to see if the symptoms subside. If the pain persists, they dig deeper with more expensive tests. Auto mechanics face this exact same challenge with complex European machinery.
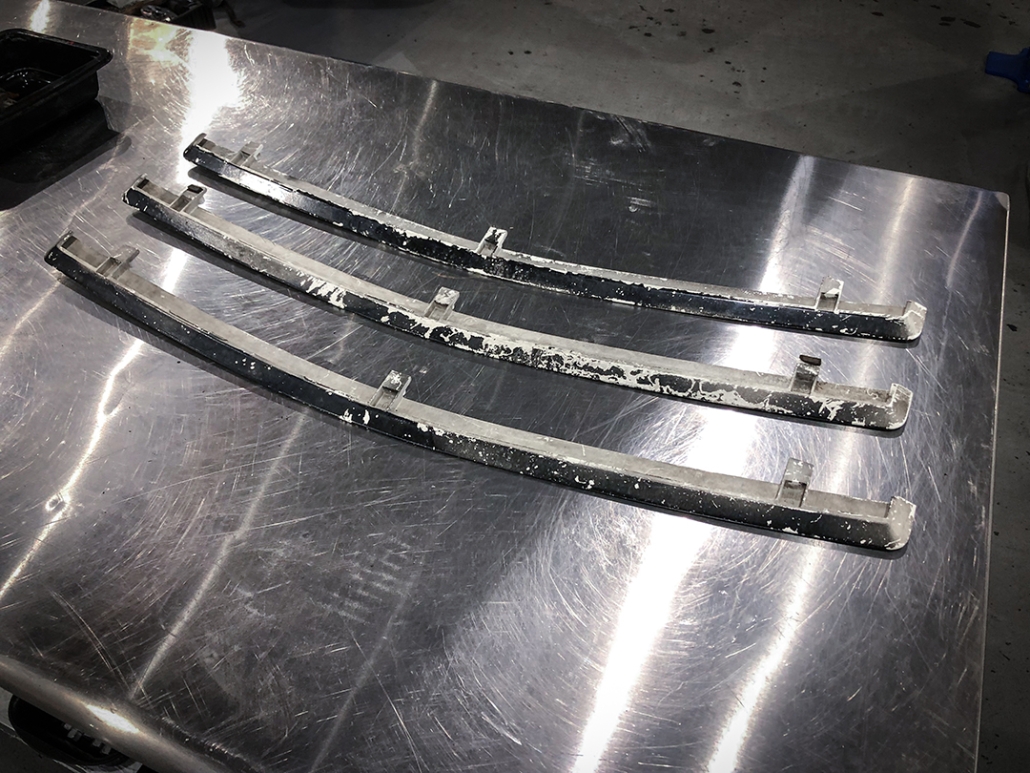
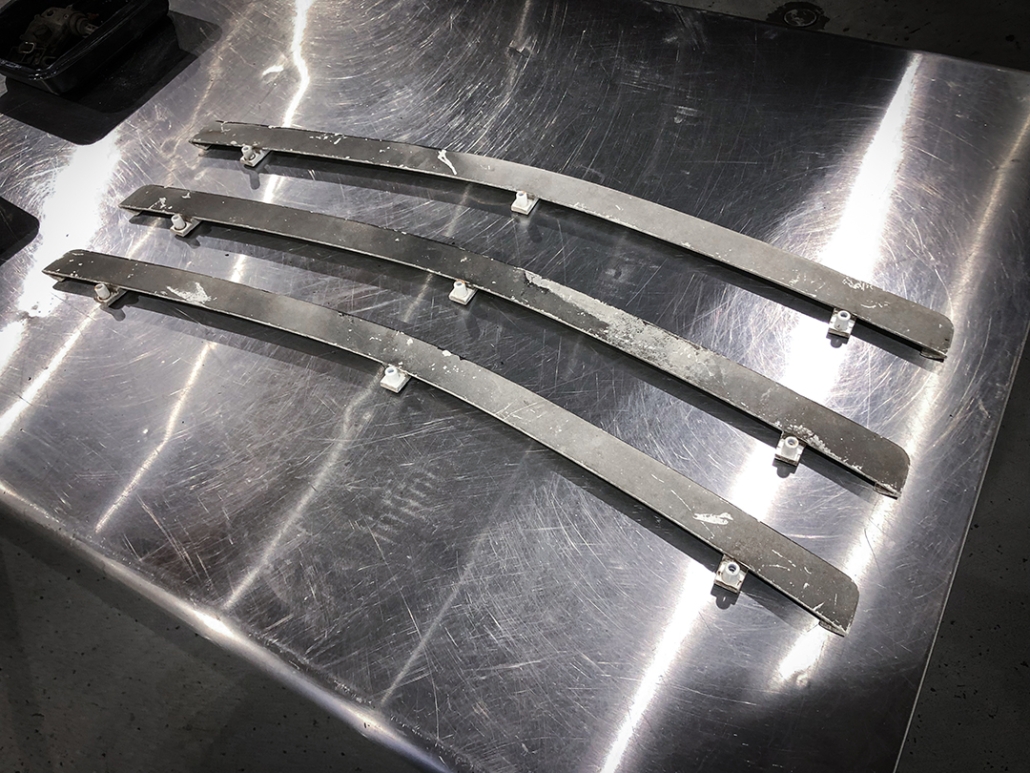
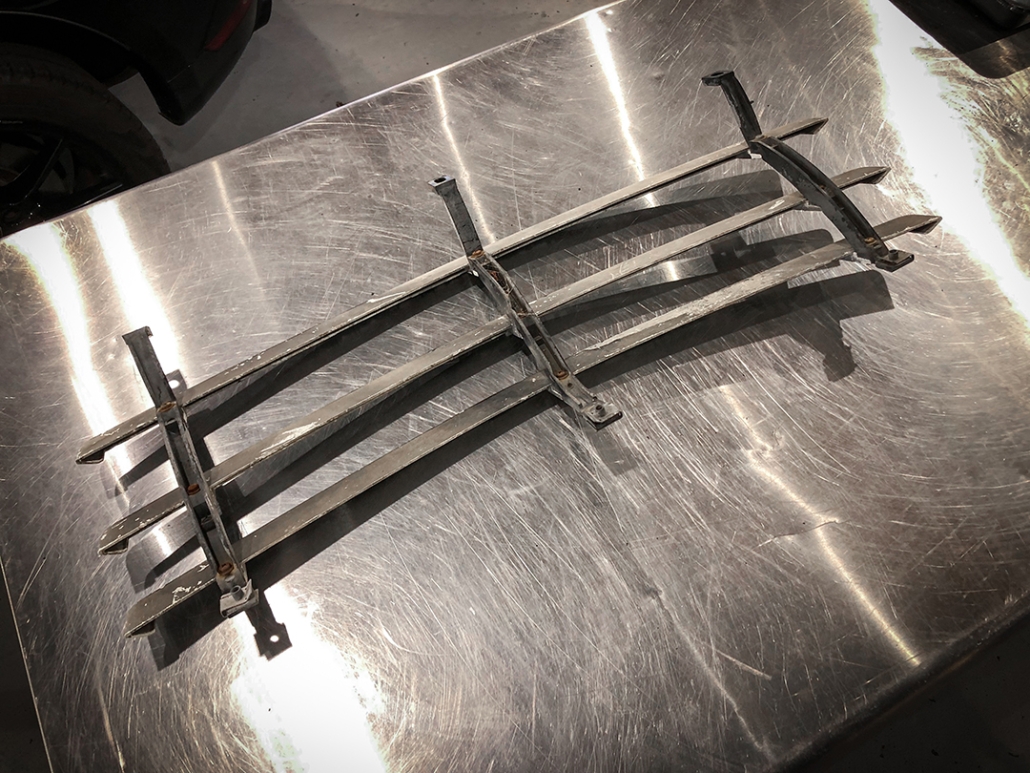
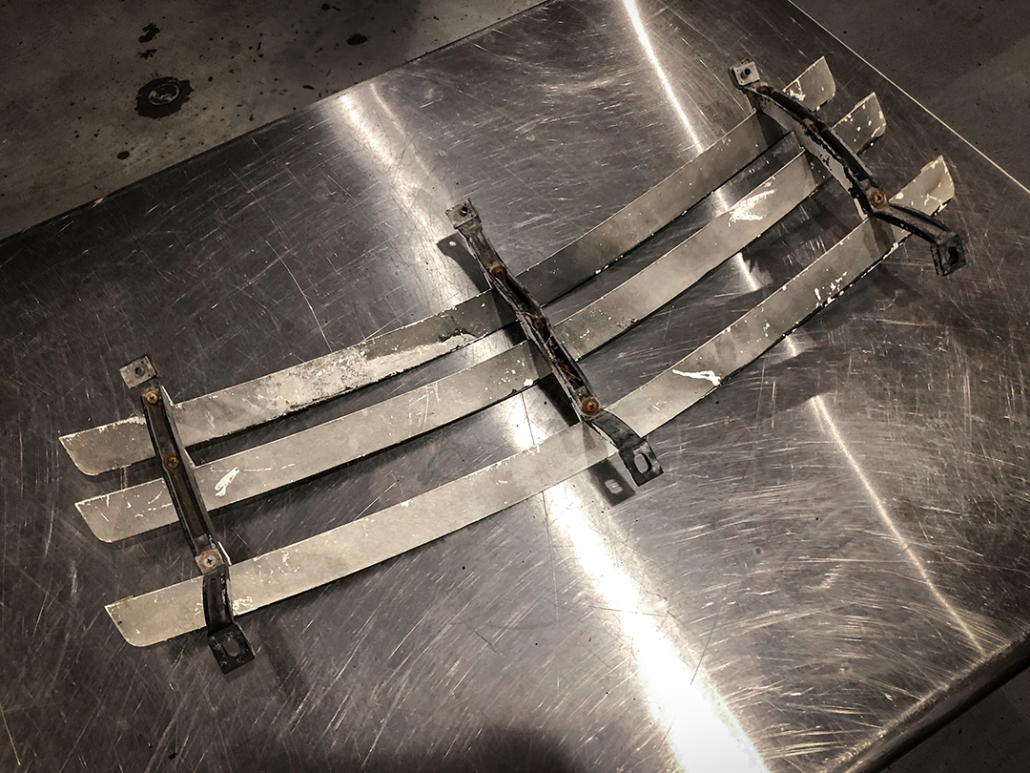
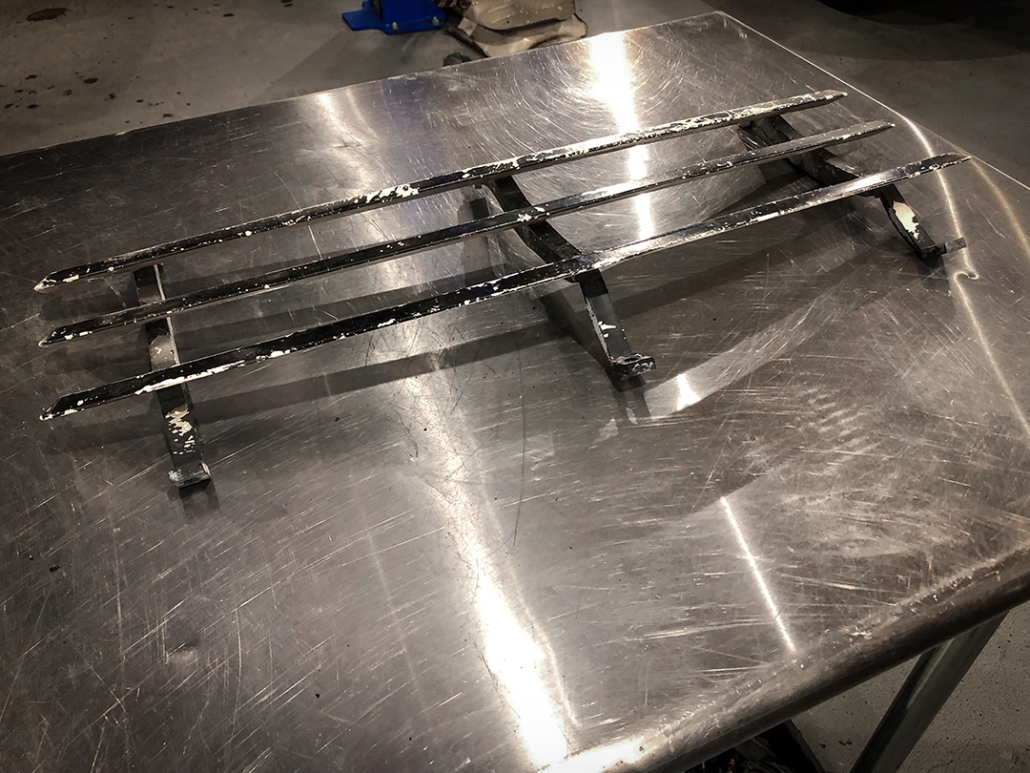
At Meister Werks, we pride ourselves on solving the automotive problems, such as MK5 Side Marker Repair Bracket repair. This is something that others simply cannot perform. Recently, a customer brought his 2008 Volkswagen Golf R32 to our Renton facility with a frustrating issue: his front bumper side marker was missing, and the internal mounting bracket had completely disintegrated. Because these specific brackets are integrated into the bumper skin, they are not listed as individual parts in the Volkswagen ETKA factory catalog.
Faced with a “part not available” scenario from the dealership, we decided to leverage our advanced in-house technology to perform a permanent Mk5 Side Marker Repair.
The Challenge: When Factory Parts No Longer Exist
Originally, the customer attempted to secure the light with clear packing tape. 3M double-sided trim tape was also used with no avail. However, due to road vibration and heat, these temporary fixes failed. Moreover, the side marker was eventually lost while driving. The customer returned with new aftermarket LED lenses. When installing, we discovered there was absolutely nothing left inside the bumper to clip the lights into.
After an exhaustive search of VW ETKA databases and aftermarket kits yielded zero results. As a result, we realized that a standard replacement was impossible. Consequently, we turned to our 3D scanning and printing services to create a custom-engineered solution from scratch.
To begin this specialized Mk5 Side Marker Repair, we utilized our high-precision 3D scanner to capture the geometry of the intact bracket on the opposite side of the car.
Precision Engineering: We captured the existing bracket with an accuracy of 0.2mm, ensuring every clip and mounting point was perfectly replicated.
CAD Drafting: Once we had the digital file, we imported the data into CAD software. By “flopping” or mirroring the left-side scan, we were able to create an exact, right-side-specific replica that the factory never sold separately.
The Execution: 3D Printing with High-Performance Materials
After finalized the CAD files, it was time to move into production. For this Mk5 Side Marker Repair, we didn’t just use standard plastic; instead, we loaded our 3D printer with polycarbonate carbon fiber filament. For example, this material offers extreme heat resistance and structural rigidity, making it far more durable than the original factory plastic.
By utilizing a fine 0.2mm layer height, the finished part achieved a smooth, high-resolution finish. Once the print was complete, the customer’s new LED side marker clipped into our custom bracket with a satisfying, factory-spec “click.”
For the final phase of the Mk5 Side Marker Repair, we needed something better than tape or epoxy. We required an adhesive that would create a permanent, structural bond. We stock 3M TPO 08239 Plastic Parts Repair adhesive, so we can perform these repairs any time.
Application: Using a dual caulk-style gun, we applied a 12mm bead of 3M adhesive around the perimeter of the new bracket.
The Bond: Because this specialized TPO adhesive has a working time of only 50 seconds. This requires professional speed and precision. Once applied, the bracket was held in position with blue tape on the outside. Oncet reached a full cure in approximately three minutes, the marker was ready to install.
The Result: Just Like a Factory Part
In the end, our custom-engineered Mk5 Side Marker Repair resulted in a fitment that was arguably stronger and more precise than OEM. The customer was able to repair his R32 side markers without the need for a new bumper or unsightly tape.
In conclusion, are you are struggling with a “NLA” (No Longer Available) part. Or maybe a part that is not available. Maybe you need a specialized Mk5 Side Marker Repair kit? Contact the experts at Meister Werks. We have the technology to build the parts the factory forgot.
We may request cookies to be set on your device. We use cookies to let us know when you visit our websites, how you interact with us, to enrich your user experience, and to customize your relationship with our website.
Click on the different category headings to find out more. You can also change some of your preferences. Note that blocking some types of cookies may impact your experience on our websites and the services we are able to offer.
Essential Website Cookies
These cookies are strictly necessary to provide you with services available through our website and to use some of its features.
Because these cookies are strictly necessary to deliver the website, refusing them will have impact how our site functions. You always can block or delete cookies by changing your browser settings and force blocking all cookies on this website. But this will always prompt you to accept/refuse cookies when revisiting our site.
We fully respect if you want to refuse cookies but to avoid asking you again and again kindly allow us to store a cookie for that. You are free to opt out any time or opt in for other cookies to get a better experience. If you refuse cookies we will remove all set cookies in our domain.
We provide you with a list of stored cookies on your computer in our domain so you can check what we stored. Due to security reasons we are not able to show or modify cookies from other domains. You can check these in your browser security settings.
Other external services
We also use different external services like Google Webfonts, Google Maps, and external Video providers. Since these providers may collect personal data like your IP address we allow you to block them here. Please be aware that this might heavily reduce the functionality and appearance of our site. Changes will take effect once you reload the page.

 Meister Werks • News


 The rear assembly is essentially two components bolted together. First, you have the Haldex coupling itself, which is a wet multi-plate clutch pack controlled by an electronic pump. This requires a highly specialized, friction-modified hydraulic fluid to engage the clutches smoothly and transfer torque. Directly behind it sits the traditional mechanical rear differential, which uses heavy-duty gear oil (typically 75W-90) to lubricate the heavy metal ring and pinion gears that drive your axles.